

.avif)


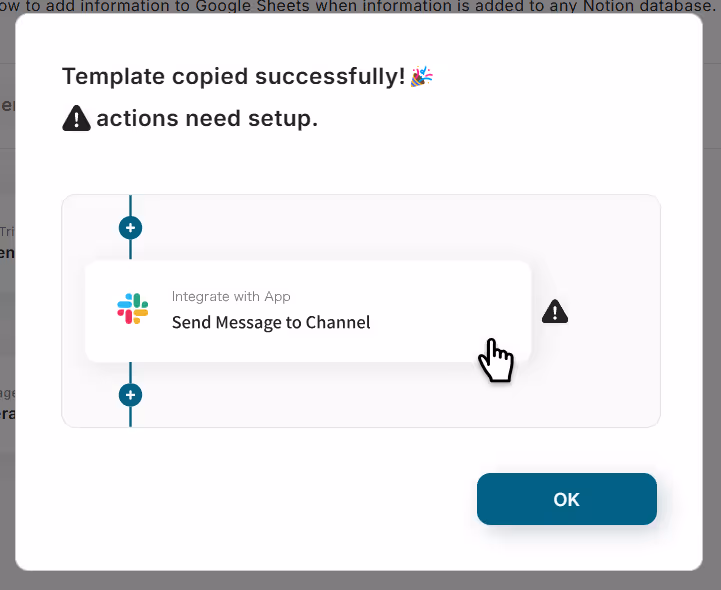
Read the following screen display and click "OK".
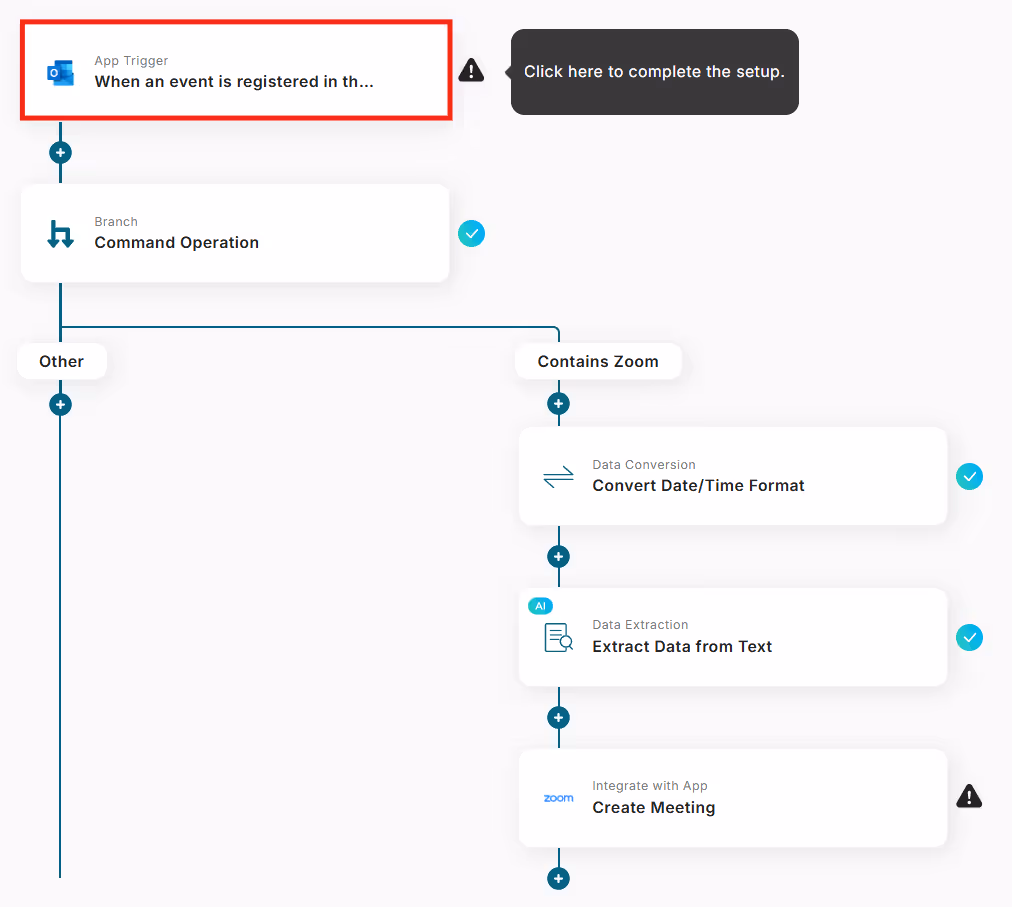
Step 3: Setting the initial Outlook trigger and subsequent Zoom notification
Next, operate the flow bot on the Yoom screen.
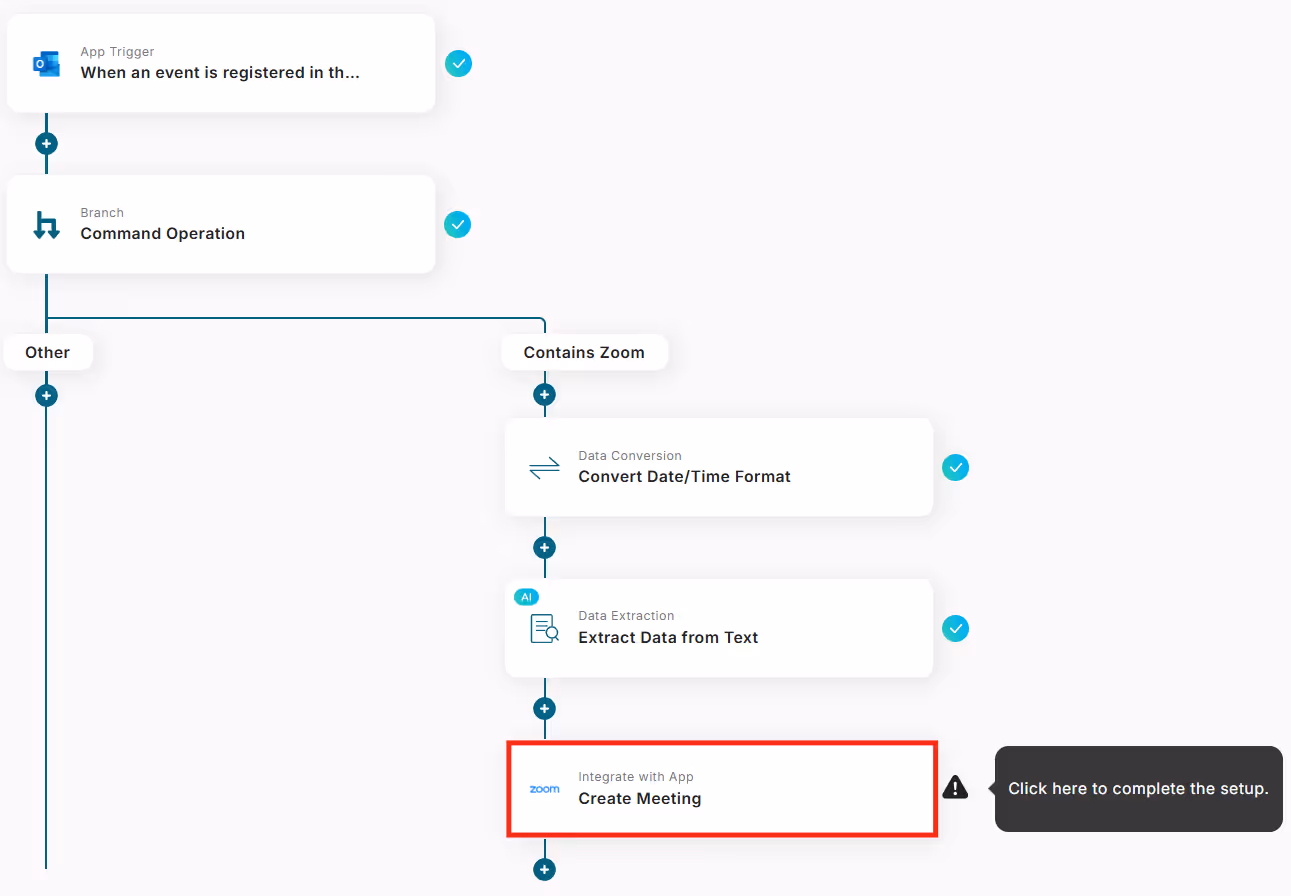
Click within the red frame in the image below.
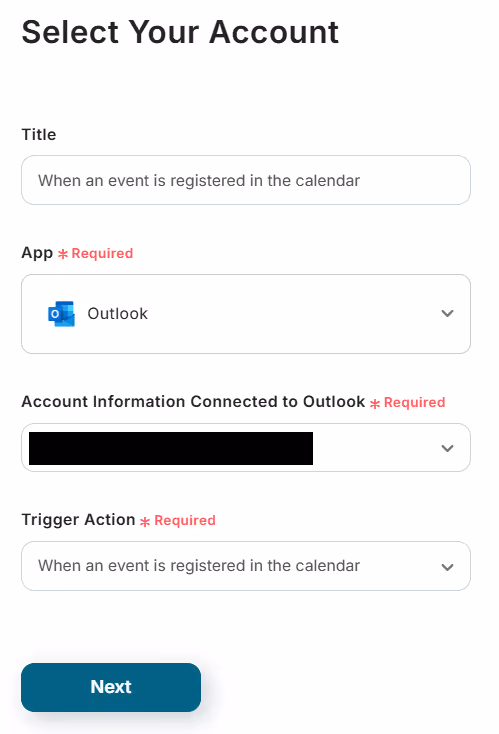
A screen like the one below will be displayed, so click "Next".
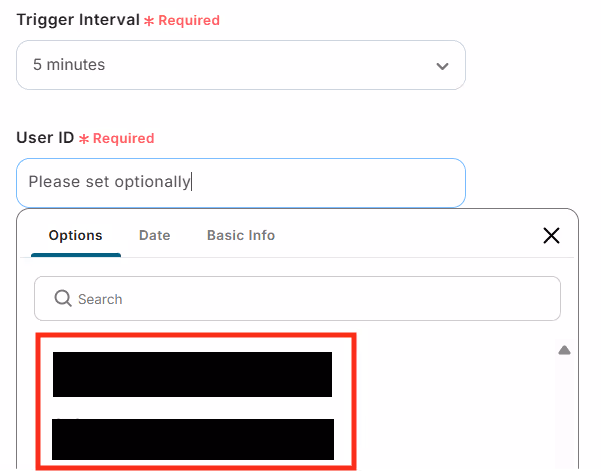
You can select the trigger time from 5 minutes, 10 minutes, 15 minutes, 30 minutes, or 60 minutes. (The shortest selectable time varies depending on the plan.)
When you click on the user ID, "Candidates" will be displayed at the bottom of the screen, so select the desired user.
Finally, the last setting.
A screen like the one below will be displayed, so click "Create Meeting" within the red frame.
(The operations 2 to 4 are set by default.)
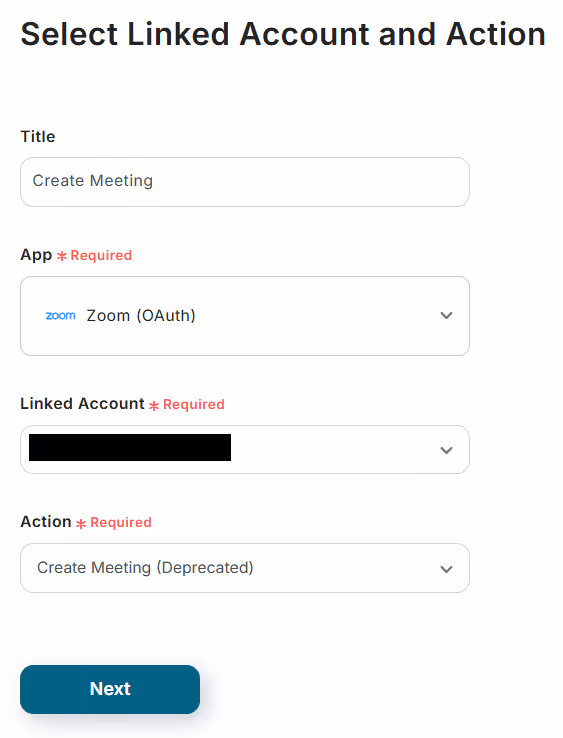
A screen to select the linked account and action will be displayed, so click "Next".
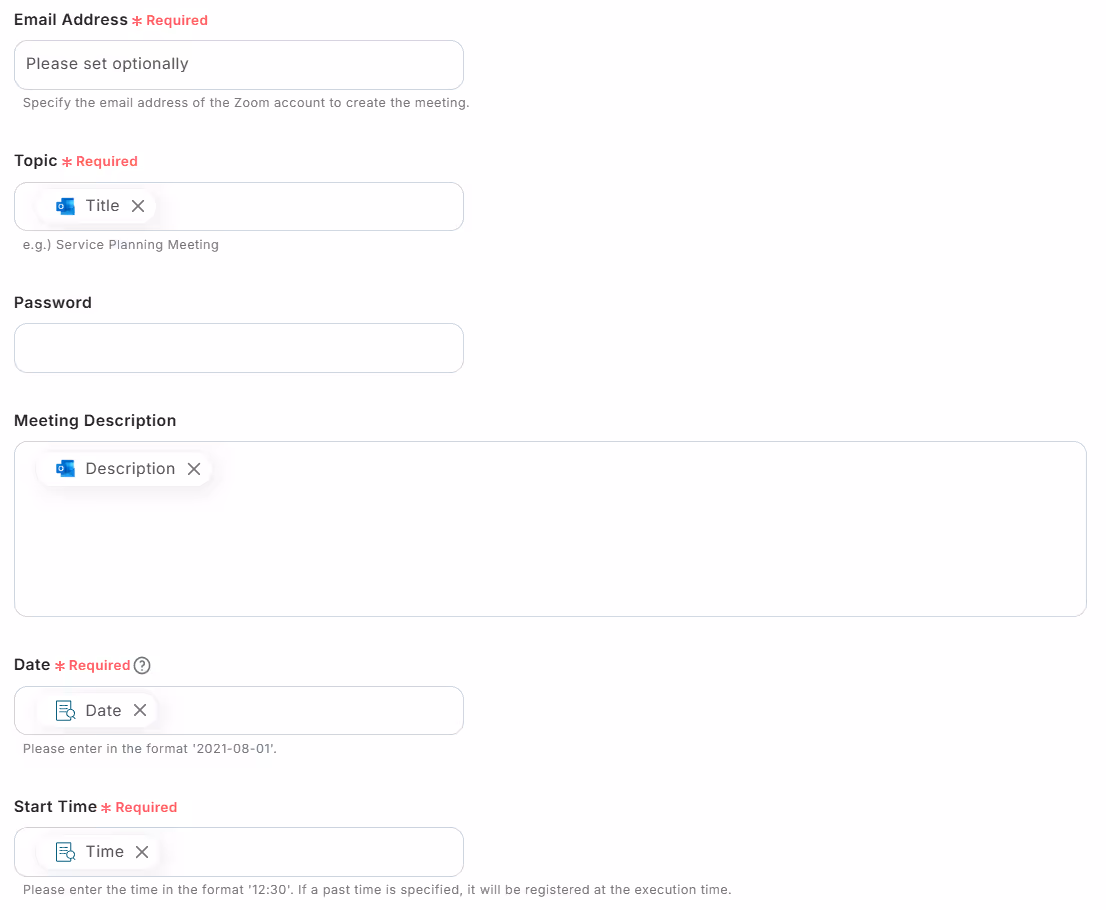
A screen like the one below will be displayed, so proceed with the input according to the content.
Explanation of required input fields.
・Email Address: Specify the email address of the Zoom account creating the meeting
・Topic: Enter a clear description such as "Company XYZ Meeting"
・Date: The date the meeting will be held is entered, so there is no problem
・Start Time: The time the meeting will start is entered, so there is no problem
・Meeting Duration: Enter the expected length of the meeting
Once the input is complete, click "Test" and after confirming "Test Complete", click "Save".
Step 4: Turn on the Trigger
Finally, click "Turn on Trigger" to complete the automation settings.
Check if the flow bot is activated correctly.


.avif)


