


My App Integration
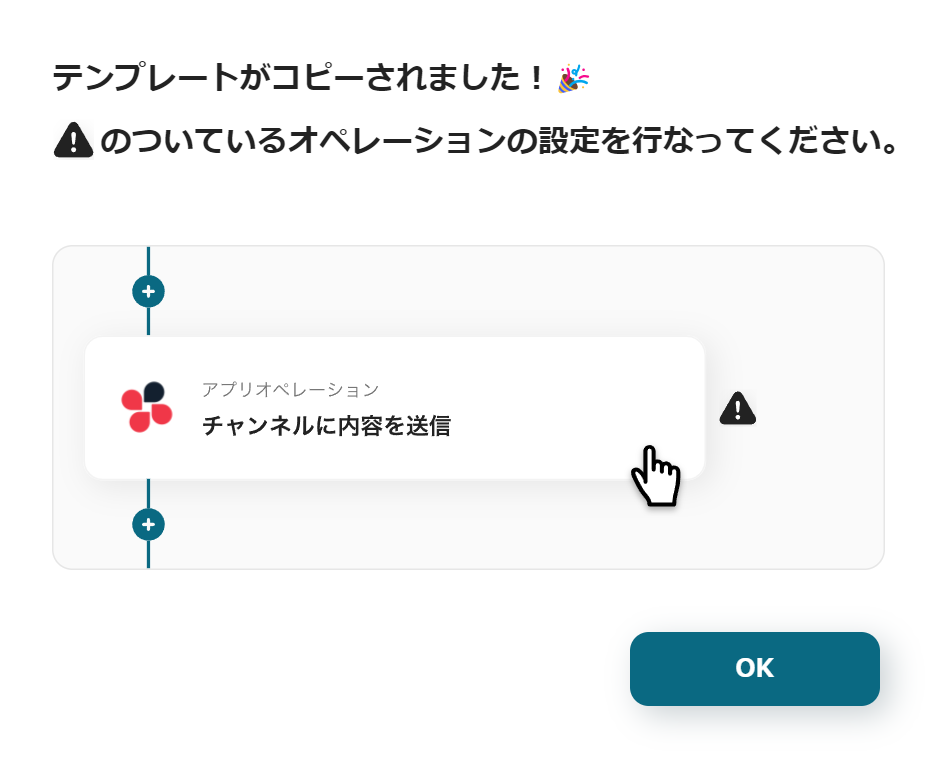
After completing the registration with Yoom and copying the template, a screen like the one above will be displayed, and you will be redirected to a page called "My Project".
Once this is done, the next step is to integrate Pipedrive with Yoom.
This is called "My App Integration".
↓
Please select "My App" from the menu on the left side of the screen.
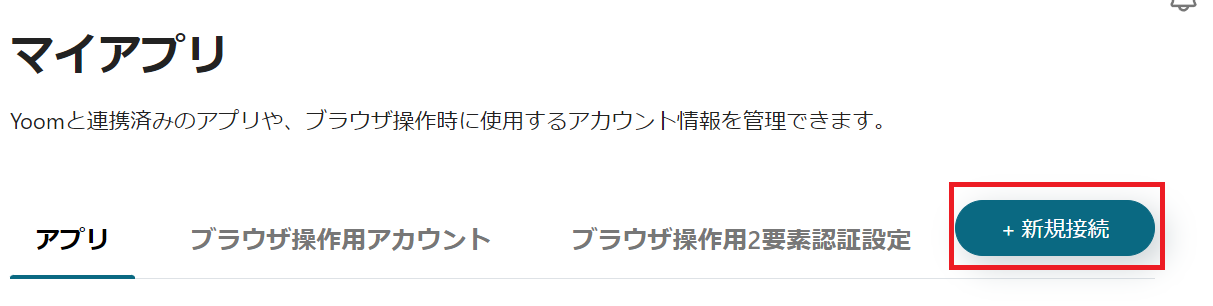
After pressing "Create New" at the top right, enter "Pipedrive" in the search window, and the Pipedrive icon will appear, so click on it.
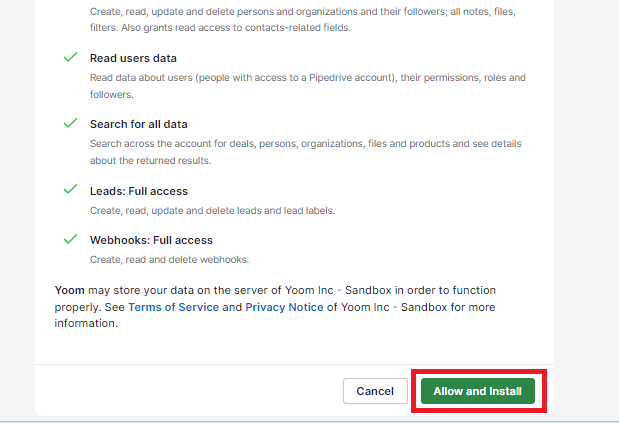
When the text like the one above is displayed, press the button at the bottom right after confirming.
This completes the integration of Pipedrive with Yoom!
Create a Form
Next, let's create a form.
From My Project on the left side of the screen, click "【Copy】Register a lead in Pipedrive when the input form is submitted".
Next, select the form trigger "When the form is submitted".
↓

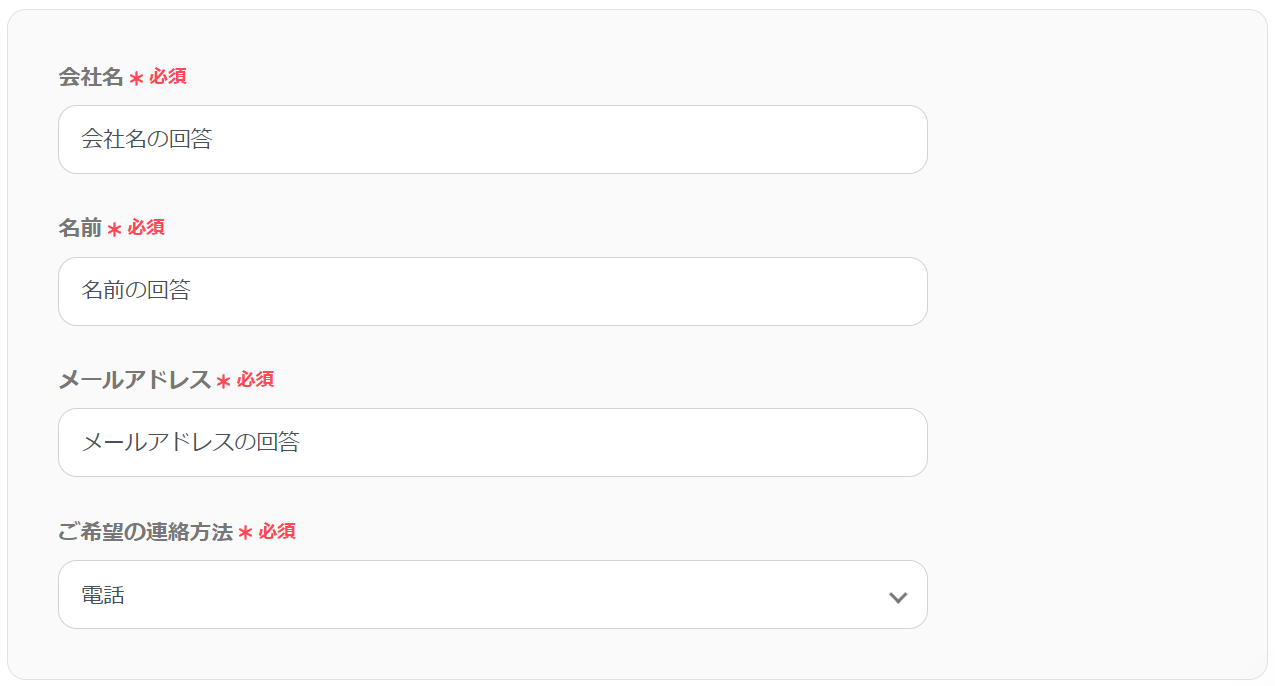
By default, three items are set: company name, name, and email address.
If there are other items you want to add, create them at this stage.
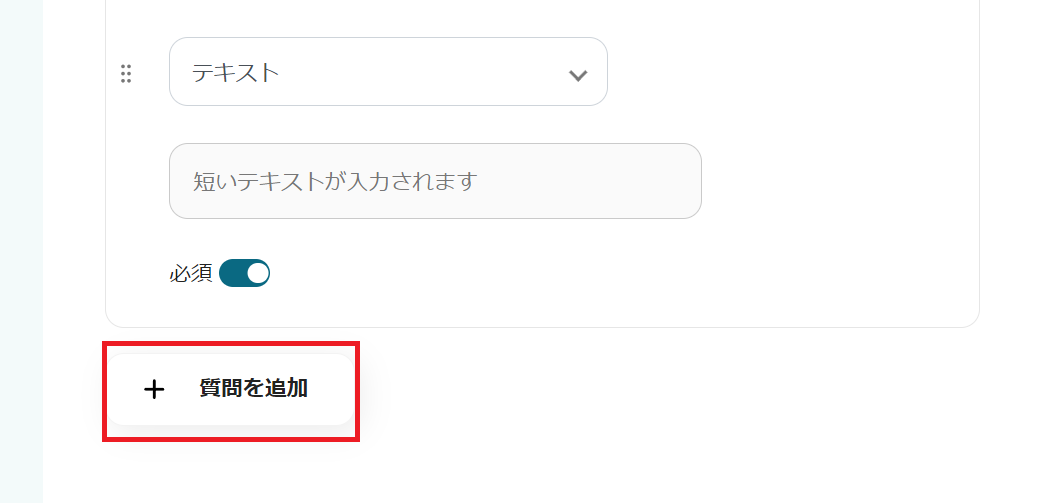
As you scroll down, there is a button to add a question.
Clicking it allows you to increase the number of items.
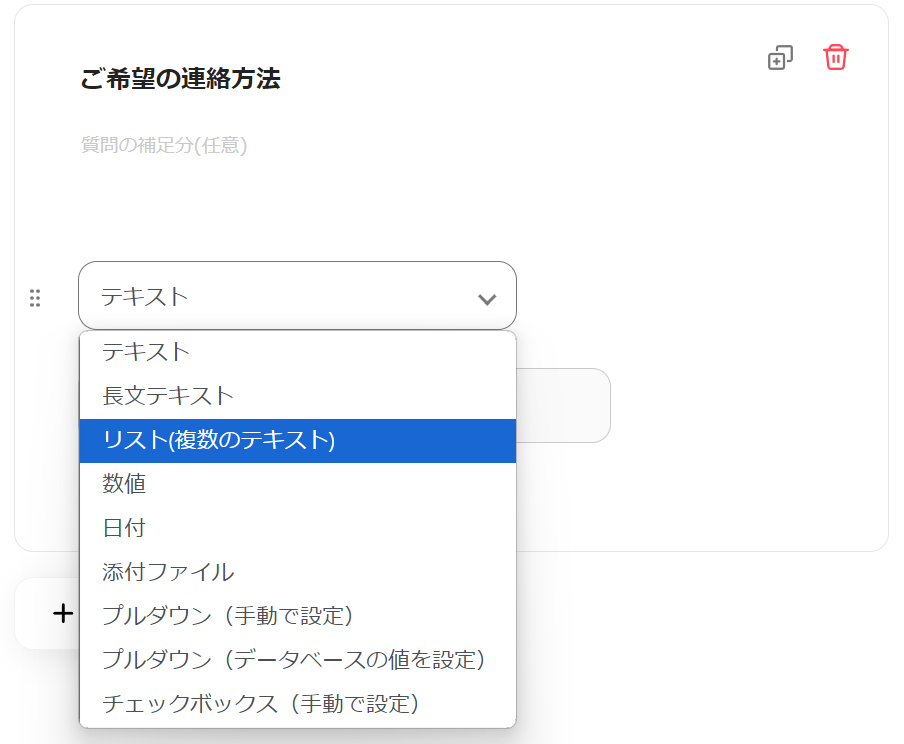
In addition to text, you can select lists or checkboxes from the dropdown.
You can also reselect items that have already been set, so change them as needed.
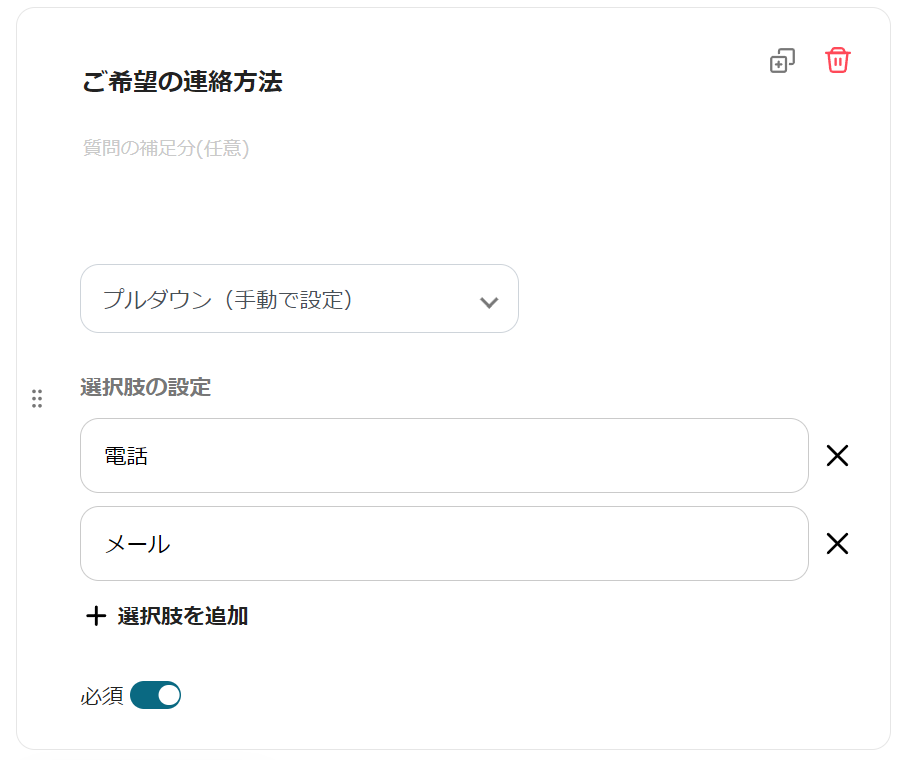
This time, we added the preferred contact method. If it's a required field, please check the box.

Scrolling further down, there is an item for setting the completion page.
As shown in the image above, you can create a message that will be displayed after the form is submitted.
It can be set optionally, so enter it if necessary.
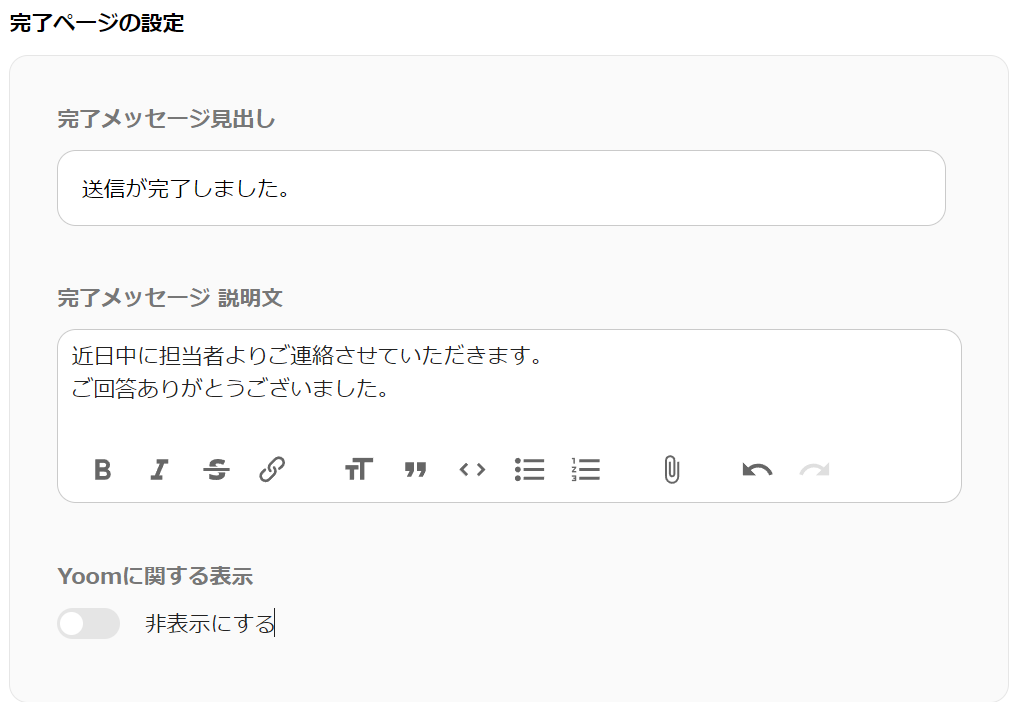
This time, we added a submission completion page like the one above.
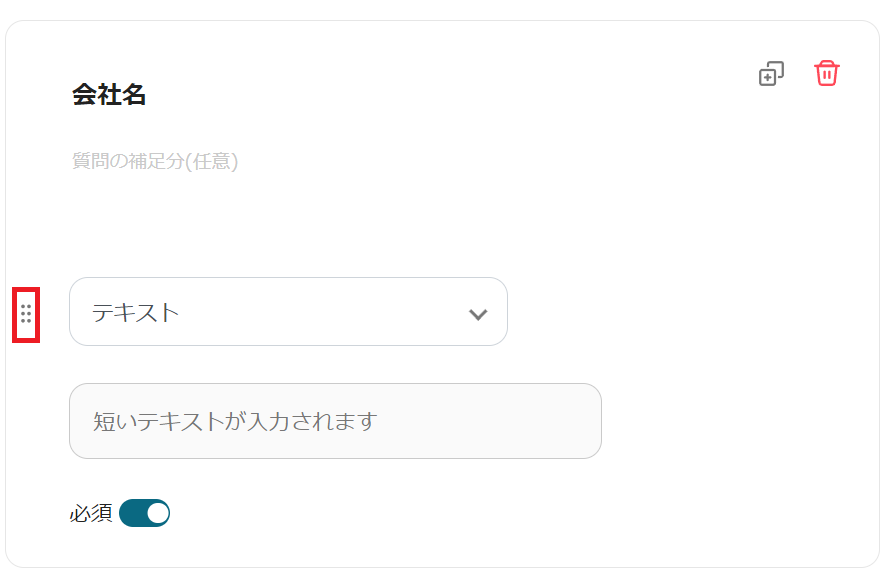
If you want to rearrange the order of the items, you can move them by clicking and holding the red frame part of the image.
Once the settings are complete, press Next.
↓
A sample of the created form will be displayed, so please check it.
If there are no problems, press Save. This completes the form creation!
Pipedrive Settings
Press "Create Lead" on the Pipedrive icon.
Since the necessary items are pre-entered by using the template, please check if the account information to be linked is correct and then click Next.
↓

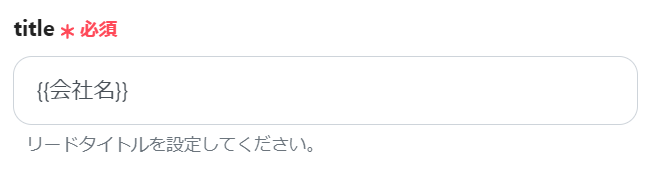
Set the content to be registered in the lead. Click the box where you want to add the lead content.
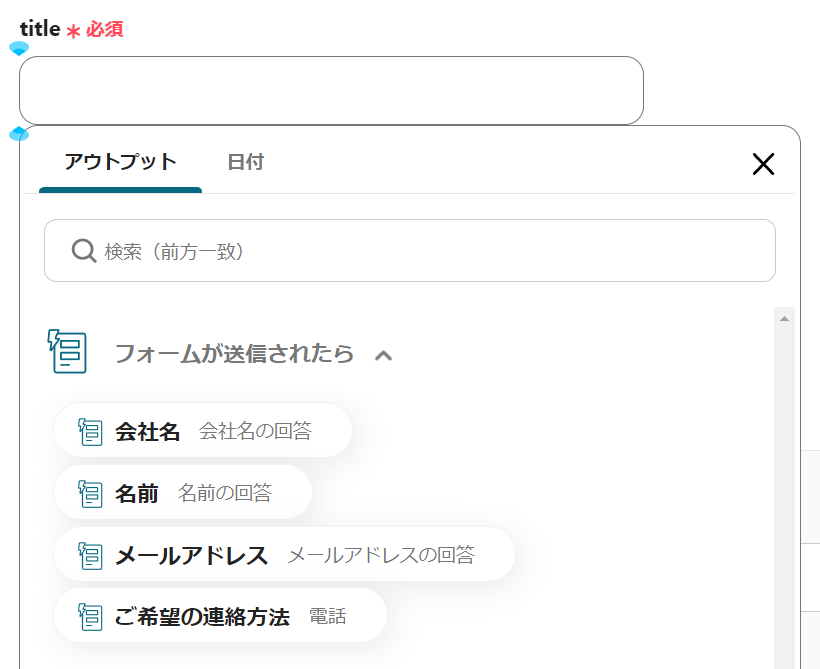
By clicking inside the box, the content of the form you created earlier will be displayed.
Select the information that corresponds to the box name.
Set the content to be registered in the lead. Click the box where you want to add the lead content.
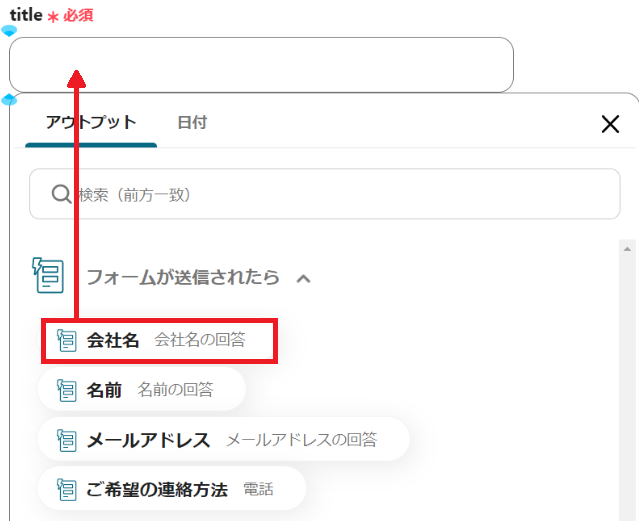
By clicking inside the box, the content of the form you created earlier will be displayed.
If there are other necessary items, set them, and once the input is complete, press Save at the bottom of the screen.
Turn ON the Trigger and Input Form
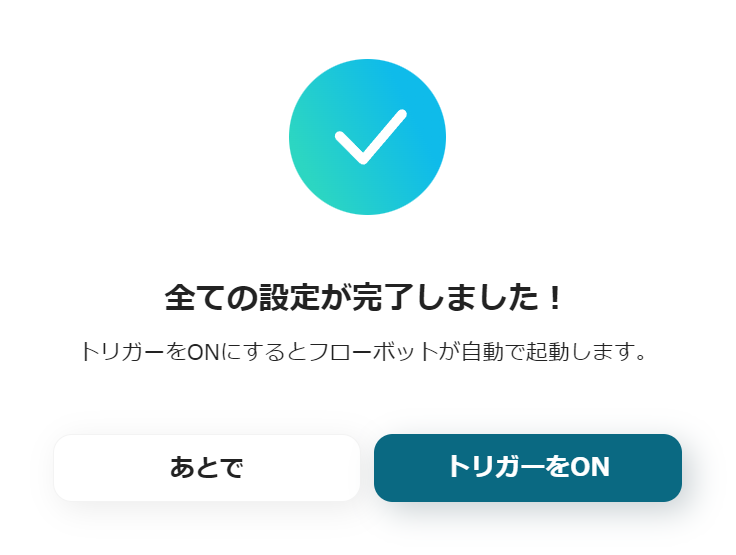
When the Flowbot settings are complete, the above popup will be displayed. Since it is currently OFF, turn the trigger ON as shown.
Turning the trigger ON will make the form usable.

The URL of the form can be copied from the red frame part of the image.
Just in case, open the form from the URL and try submitting a response. If it is registered in the Pipedrive lead, it's complete!
This completes the integration of Yoom and Pipedrive!
Yoom also has various other Flowbot templates available, so please take a look.


.avif)
.avif)
.avif)


