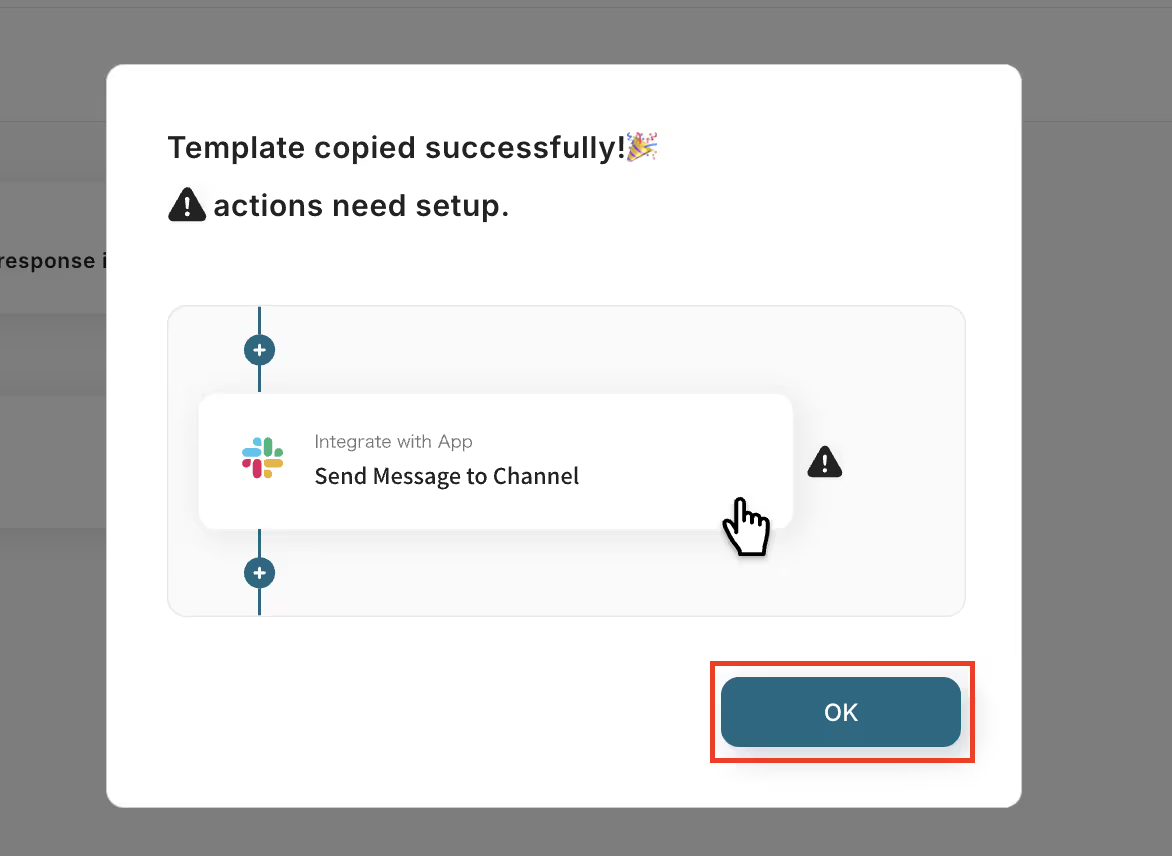
1. Click "try it" on the top banner
2. If you haven't registered with Yoom yet, please register
※ If you have already registered, the login screen will be displayed, so please log in.

Since you will transition to a page like the image, let's proceed with detailed settings.

Step 3: Setting to Activate Schedule Trigger
1. Select App Trigger
Click "When the specified schedule is reached".
Since the title and other settings are complete, please scroll down.
2. Set the Trigger

Set the time to activate every day.
In the image, it is set to activate at 10 AM every day. If you have any preferences, you can change it as desired, so please specify the time and date.
Once the settings are complete, press save.
Step 4: Setting to Send from Outlook
1. Integrate with the App

Select "Send Email" from the Outlook icon.
Scroll down.
2. Set Required Items
Set each item.
Enter any text for the subject and body.
Also, enter any recipient for the destination.
Once the settings are complete, press next.


【Supplementary Information】
By utilizing Yoom's data connect feature, it is possible to reuse recipients from other app databases.
By performing data connect, you can insert addresses already stored in Yoom's database with a click.
For more information on Yoom's data connect, please check About Data Connect Feature.
3. Confirm Created Email

When you move to the next page, a confirmation screen for the created email will be displayed as shown in the image.
If you want to perform a test send, click the "Test Button".
※ Please note that the email will actually be sent.
Finally, click save.
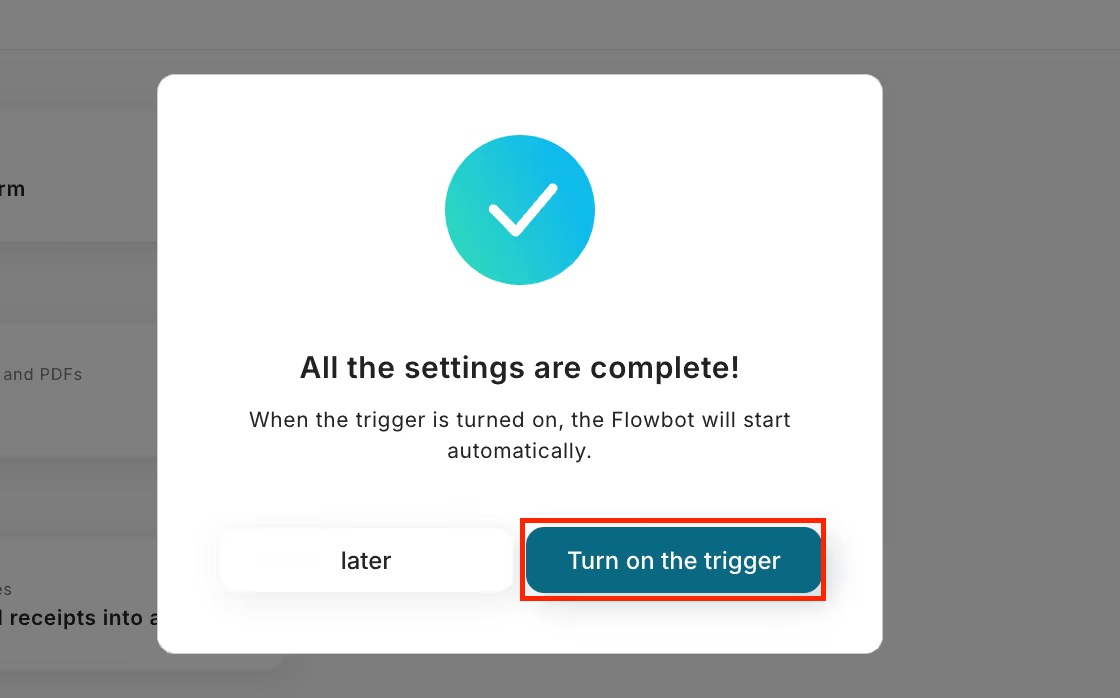
4. Turn ON the Trigger

When the creation of the Flowbot is complete, the above display will appear. The trigger is initially set to OFF, so turn it ON.
Flowbot template used this time
Send an email with Outlook at a specified time every day


.avif)


