SlackとMiroの連携イメージ
How to Integrate Applications

2024/12/20

How to integrate Slack with Miro to add messages posted in Slack to Miro

m.takahashi

How you manage tasks is extremely important for efficiently progressing with work. If unresolved tasks can be visually confirmed, it allows for quick and efficient verification of their quantity and content at a glance. However, increasing manual work for this purpose is counterproductive. Wouldn't it be convenient if task management could be automated and visualized? In this article, we explain how to automatically add messages posted on Slack as sticky notes in Miro. By integrating Slack and Miro, you can visualize project management and team collaboration, potentially making task resolution smoother. Be sure to check out how automation can be achieved until the end.

Recommended for

We highly recommend utilizing this automation for the following individuals!

  • Those who are using Slack and Miro individually but find the information integration cumbersome
  • Those facing challenges in project management and aiming to improve the accuracy of task management and progress sharing
  • Those who want to enhance collaboration efficiency in a remote work environment
  • Those in marketing and design departments who prioritize visual organization and want to streamline brainstorming and feedback management

Benefits and Examples of Integrating Slack and Miro

Benefit 1: Improved Team Collaboration Efficiency

By automatically adding sticky notes to Miro from Slack messages, information sharing among team members becomes smoother. Especially in brainstorming sessions, it eliminates the need for manual input of Slack chat content, allowing it to be automatically reflected on Miro's visualized board, thus avoiding information duplication. Additionally, team members may find it easier to verify information through the sticky notes added to the board. Moreover, by allocating the time previously spent on manual input to other core tasks, work progress can be streamlined.

Benefit 2: Enhanced Project Management Accuracy

Automatically reflecting task-related messages posted on Slack onto Miro's task management board during project progression can prevent task omissions.
For example, by simply setting up a dedicated task creation channel on Slack, sticky notes can be created in Miro as tasks, reducing the risk of task creation omissions. Additionally, since task creation is completed quickly after posting on Slack, it may help eliminate the time lag in information sharing. As a result, more time can be allocated to task resolution.

Benefit 3: Faster Decision-Making through Information Visualization

By automatically adding sticky notes to Miro from messages received on Slack, conversation-based information is visually organized. All stakeholders can confirm important points with sticky notes and proceed to the next step.
For example, conducting idea generation and task management at the initial stages of a project through this integration may lead to effective decision-making. Additionally, reflecting ideas and feedback on Miro may accelerate creative projects. With sticky notes being automatically added quickly, evaluating and improving ideas becomes easier.

Now, let's explain how to use the no-code tool Yoom to add messages posted on Slack to Miro.

[What is Yoom]

How to Visualize Content Added to Slack in Miro

It is possible to achieve this by using Slack's API to receive messages posted in a specified Slack channel and using Miro's API to create sticky notes in Miro with the content notified by Slack.
Generally, programming knowledge is required to achieve this, but with the no-code tool Yoom, it can be easily achieved without programming knowledge.

The integration flow is broadly divided into the following processes.

・Register Slack and Miro as my apps
・Copy the template
・Set up the Slack trigger as the starting point of the flow, followed by the Miro operation settings
・Turn on the trigger button and verify the integration operation between Slack and Miro

If you are not using Yoom, please register for free here.
If you are already using Yoom, please log in.

Step 1: Connect Slack and Miro to My Apps

First, let's register the apps you will be using in My Apps.
By registering them in My Apps beforehand, the flow setup will be smoother.

Let's start with registering Slack.
Access My Menu on the left side of the Yoom screen and click the New Connection button on the right side of the screen.

__wf_reserved_inherit

Next, enter Slack in the search box and select "Slack" from the displayed options.
If you are logged into Slack, the following screen will appear. Add a channel and click "Allow".

__wf_reserved_inherit

Next, let's register Miro in My Apps.
Similarly, enter Miro in the search box and select "Miro" from the displayed options.
On the displayed screen, log in according to the account you want to connect.
This is the procedure if you are connected with a Google account.

__wf_reserved_inherit

You will see the account selection screen, so select the account you want to use.

__wf_reserved_inherit

Check the screen content and account, then click "Next".

__wf_reserved_inherit

When the following screen appears, optionally select a team and click "Add" to complete.

__wf_reserved_inherit

If Slack and Miro are displayed in My Apps, the registration is complete.

Step 2: Set the Slack Trigger "When a New Message is Posted to a Channel"

Now, let's proceed with the automation settings.
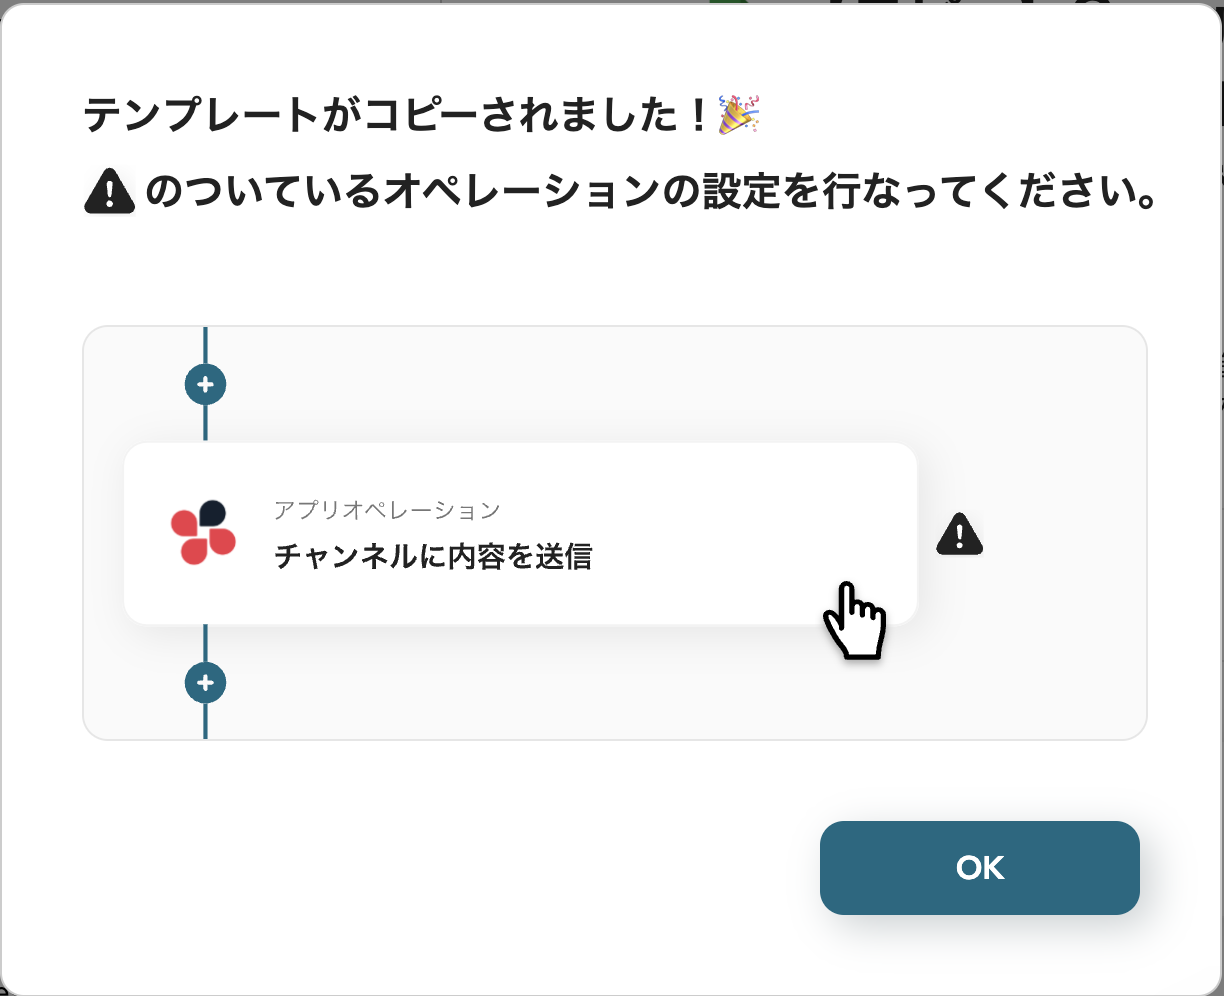
Click "Try it" on the banner below to copy the flow bot.

When you click, an image like the one below will appear, so press OK.

__wf_reserved_inherit

When the following screen is displayed, check the "Title" and "Description".
If changes are needed, you can click on the relevant section to make changes.
First, let's click to set up Slack's "When a new message is posted to the channel".

__wf_reserved_inherit

When the following screen is displayed, make the settings below.

"Title" → Can be changed as needed
"Account information to integrate with Slack" → Check if the account is correct
"Trigger action" → When a new message is posted to the channel

Once the settings are complete, click "Next".

__wf_reserved_inherit

Let's set the details.

"Trigger interval" → Please select
* The trigger interval can be selected at intervals of 5 minutes, 10 minutes, 15 minutes, 30 minutes, and 60 minutes. Please note that the shortest trigger interval varies depending on the plan.
"Channel ID" → Please select from the candidates

Once the settings are complete, run "Test" and if successful, click "Save".

__wf_reserved_inherit

Step 3: Set the Miro "Create a sticky note on the board" action

Next, we will set up creating sticky notes in Miro.
Click "Create a sticky note on the board" and make the following settings.

"Title" → Can be changed as needed
"Account information to integrate with Miro" → Check if the account is correct
"Action" → Create a sticky note on the board

Once the settings are complete, click "Next".

__wf_reserved_inherit

Set the details.
Here, we will use the output obtained from the trigger action.
By using the output, you can change the content with each flow activation.
* For more details about the output, please see here.

"Board ID" → Obtain from the URL and set
"text" → Set the output

You can also make settings related to the display of sticky notes, so set the content as needed.
Once the settings are complete, run "Test" and if successful, click "Save" to complete.

__wf_reserved_inherit

Step 4: Verify the automation of Slack and Miro

Finally, click "Turn on Trigger" to complete the automation setup.
Check if the flow bot starts correctly.

__wf_reserved_inherit

Thank you for completing the setup!

Other Automation Examples Using Miro

There are many other examples of automation using Miro in Yoom, so here are a few to introduce.

1. Create a board in Miro when a row is added in Google Sheets

The first example is the integration flow with Google Sheets. If you manage task or project information using Google Sheets, this will help you avoid manual entry in Miro and streamline your workflow.

2. Create a line on a Miro board when a row is updated in Google Sheets

The next flow to introduce is triggered by updates in Google Sheets. By creating a line based on the information in Google Sheets, it seems possible to smoothly associate and share subsequent tasks.

3. After finishing a meeting with a company on Zoom, create a new board on Miro

Lastly, we introduce a flow bot that creates a board after a Zoom meeting ends. For example, after the first company meeting, creating a company board on Miro might help automatically standardize the level of detail recorded.

Summary

By integrating Slack and Miro, you can eliminate the need for manual input and automatically create sticky notes. This integration centralizes and visualizes information, enhancing team collaboration and improving the accuracy of project management. As a result, it may lead to increased operational efficiency and faster decision-making. Please try incorporating the integration using Yoom into your workflow to experience how much efficiency can be achieved.

The person who wrote this article
m.takahashi
I experienced jewelry sales as a new graduate, got married and gave birth, and worked at a social insurance labor consultant office for about 6 years. I experienced a variety of office work in both industries, including inventory management and customer management. Especially when I work at a company labor office, I often end the day with a huge amount of input work and paperwork. When I learned about Yoom, my first voice was “Why couldn't we meet sooner...” I try to write easy-to-understand sentences so that I can bring the convenience of Yoom to everyone!
Tags
Slack
Miro
Automatic
Automation
Integration
Related Apps
App integration
No items found.
What is Yoom hyperautomation?
Conventional RPA can only automate simple repetitive tasks, and the setup process was very complicated.
With “hyperautomation,” which combines various technologies such as AI, API, RPA, and OCR, it is possible to automate many tasks that could not be realized until now more easily than before.
Don't Just Connect Apps—Automate Everything
Most tools simply connect one app to another, leaving the complex tasks to you. Yoom goes much further: From document creation and browser automation to OCR and generative AI, Yoom handles it all seamlessly in one platform.

Why settle for basic integrations? Streamline your entire workflow with Yoom’s powerful hyperautomation.
Learn more about Yoom
Helpful Materials
I understand Yoom! 3-piece set of materials
Download materials
Understand in 3 minutes! Yoom service introduction materials
Download materials
Find out by Before After! Yoom Case Study Collection
Download materials
See a list of useful materials