


The template will be copied to my project.

Click on the title within the red frame to transition to the settings screen.
Step 3: App Trigger "When a Collection Item is Created"

Click on the first process. Set up the integration with the relevant site in Webflow and configure the output to be extracted.
(1/3) Select Integration Account and Action
The following are pre-configured, so no action is required.
- Title
- Database App
- Account Information for Integration with Webflow
- Execution Action
→ Click Next
(2/3) API Connection Settings for App Trigger
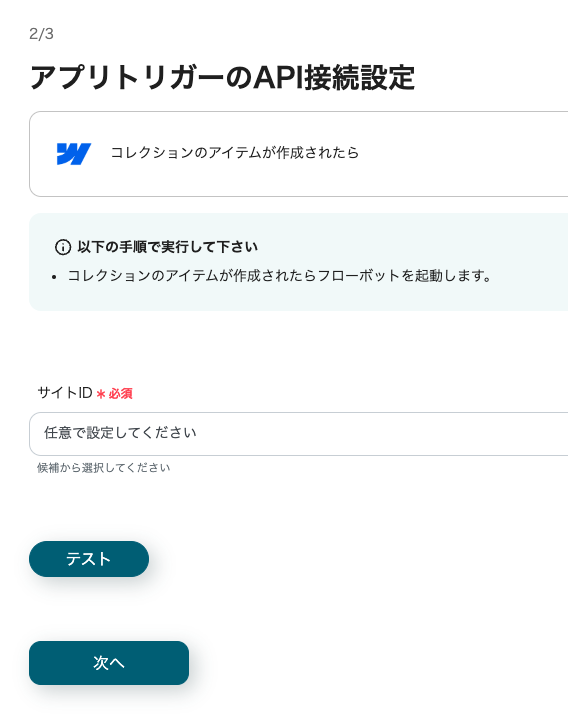
Set the Site ID. Click the edit field to open a dropdown and display candidates. Selecting one will automatically quote the ID.
Alternatively, you can obtain it using the following method.
- In the Webflow dashboard, select the target site.
- Proceed to "Site Settings" and open the "General" tab.
- Scroll down the page to find the "Site ID" displayed, where you can check and copy it.
→ Click Test → Success
→ Click Next
(3/3) API Connection Settings for App Trigger

- What is a Webhook Event
- It occurs when a collection item is created (or updated) on Webflow.
→ Click Test → Success. In this output setting, you can obtain the relevant items.
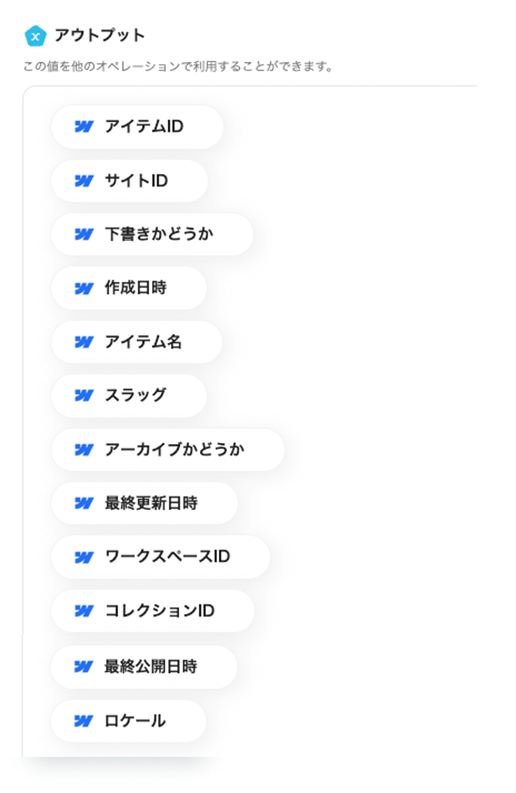
→ Click Save
Step 4: Operate the Database "Add Record"

Here, you will link with Google Sheets and associate the additional information.
(1/2) Select Integration Account and Action
The following are pre-configured, so no action is required.
- Title
- Database App
- Account Information for Integration with Google Sheets
- Execution Action
◆ Database Integration

- Spreadsheet ID
- Click the edit field, and candidate sheets from the linked Google account will be picked up. Selecting the relevant sheet will quote the ID.

- Spreadsheet Tab Name
- Click the edit field, and candidate tab names from the linked Google account will be picked up. Selecting the relevant tab will quote the ID.
- Table Range
- Set it in the format "A1:G30". This time, since A to L is the table range, I entered A1:L1.
→ Click Next!
(2/2) Detailed Settings for Database Operation

The headers of the linked sheet will be extracted. I have reflected the first and second output items in the headers. Here, you will link the outputs.

Click the edit field, and a dropdown will open displaying the previously extracted outputs as candidates. Selecting one will automatically embed the quote code.

→ Click Test → Success
→ Click Save!
Step 6: Turn the App Trigger [ON]
Once all processes are set up, a completion screen will pop up.
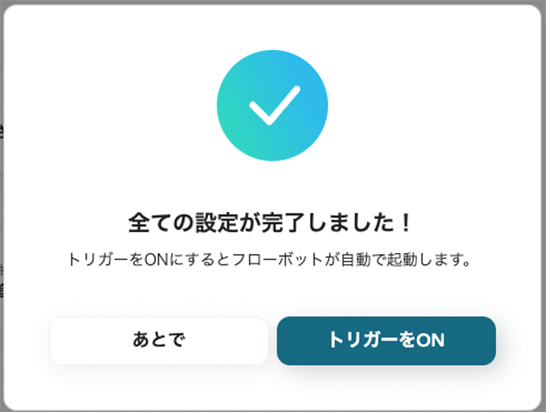
Turn the Trigger [ON] to complete the setup.

The integration work is now complete! The integration was completed in a short time without using programming. Here is the template for this time.


.avif)
.png)

.png)


