

.avif)


Step 2: Select and Copy the Template
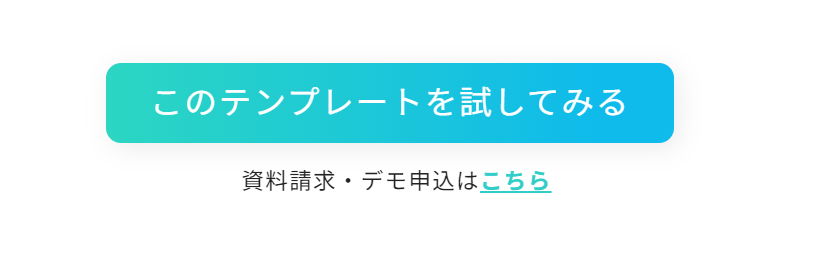
1) Open the template above and click on the "Try this template" icon.
2) A display like the one below will appear.
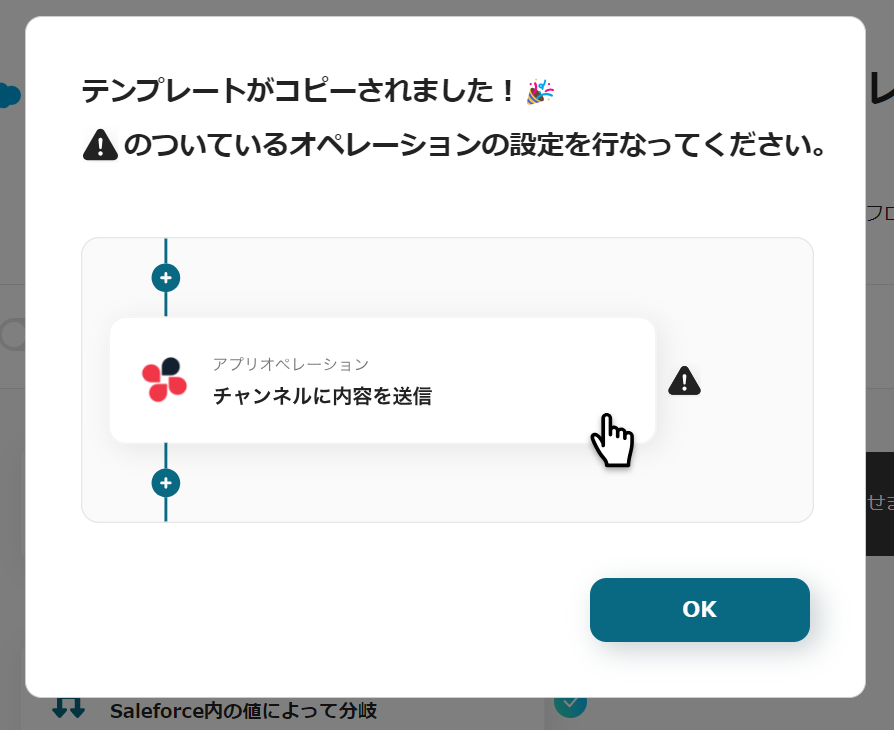
Click the icons with "!" on the right in order to set up the operations.
The title and details can be edited by clicking, so please change them as needed.
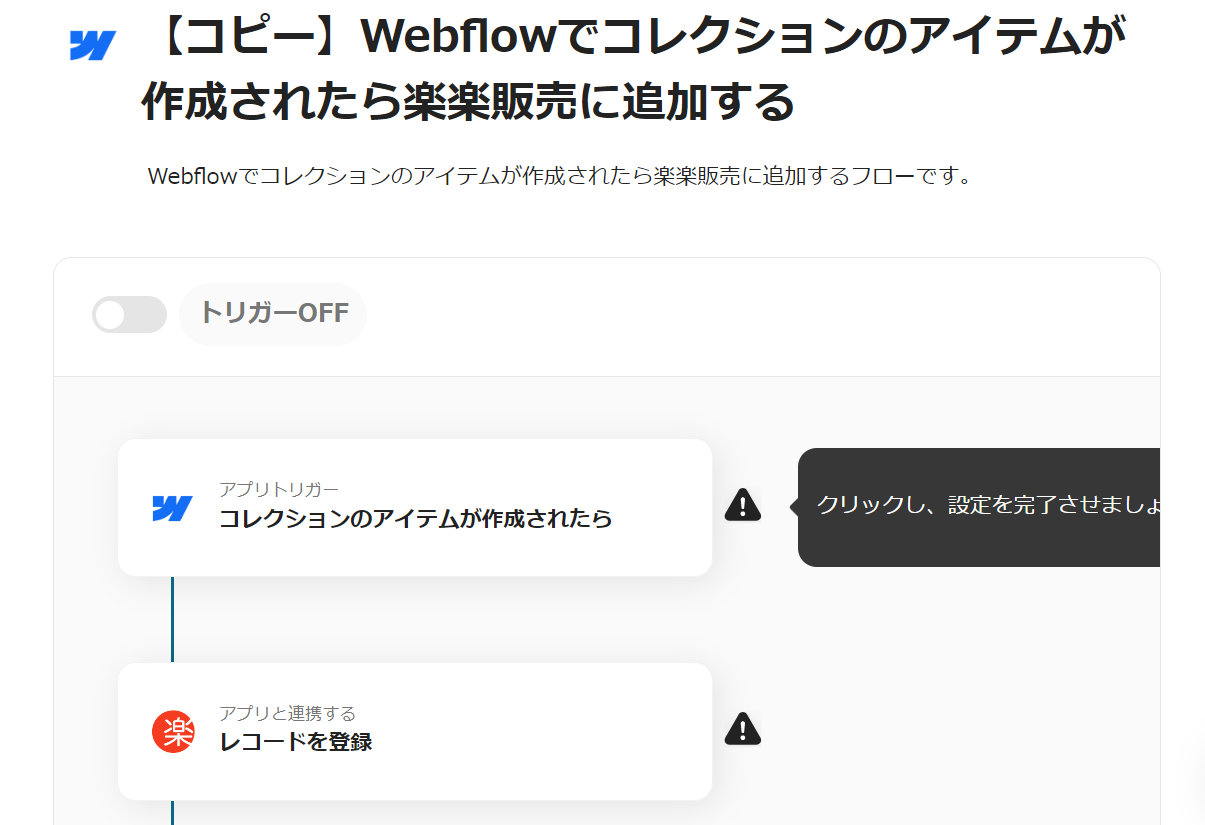
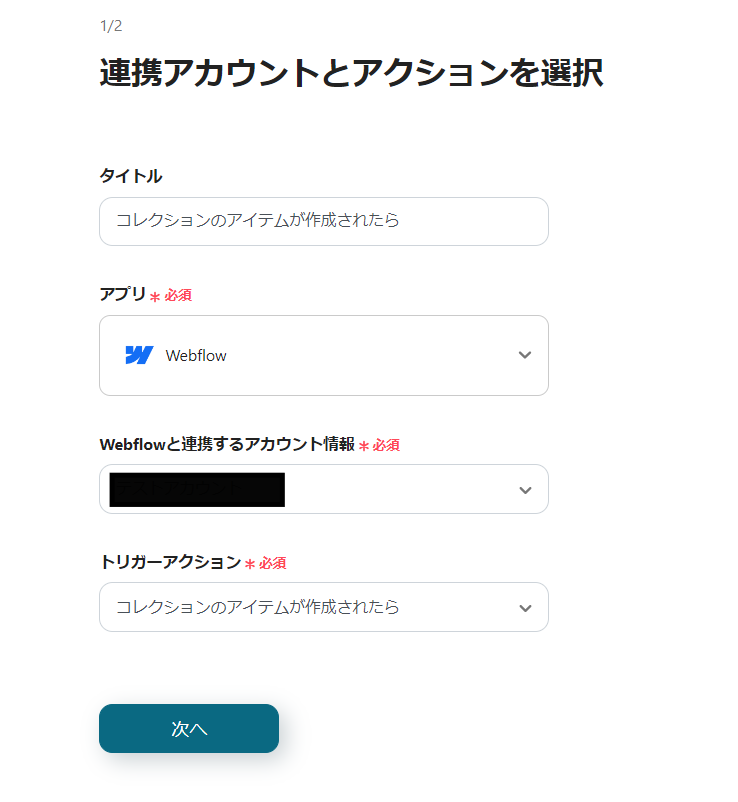
Step 3: Set the Trigger
Click on "App Trigger: When a Collection Item is Created".
Step 4: Set Webflow Actions
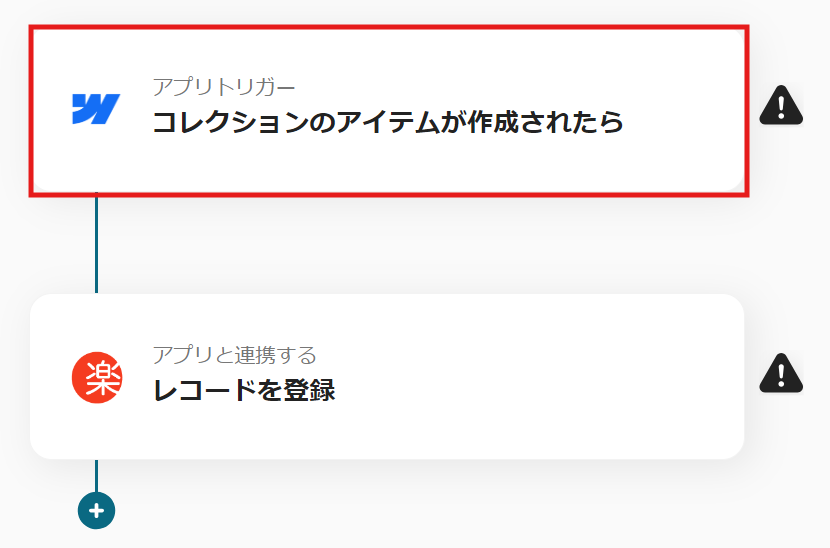
1) Select the action "When a Collection Item is Created" and click "Next".
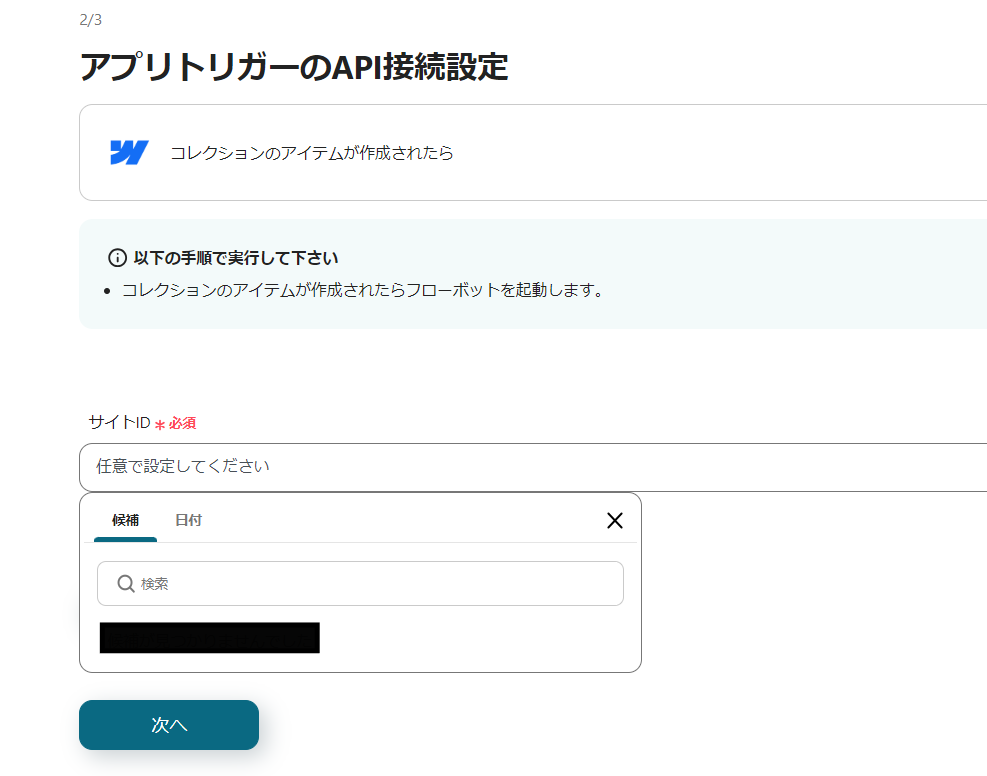
2) Enter the Site ID.
If the app is linked, you can select from the suggestions.
Once the input is complete, click "Test", and after a successful test, click "Save".
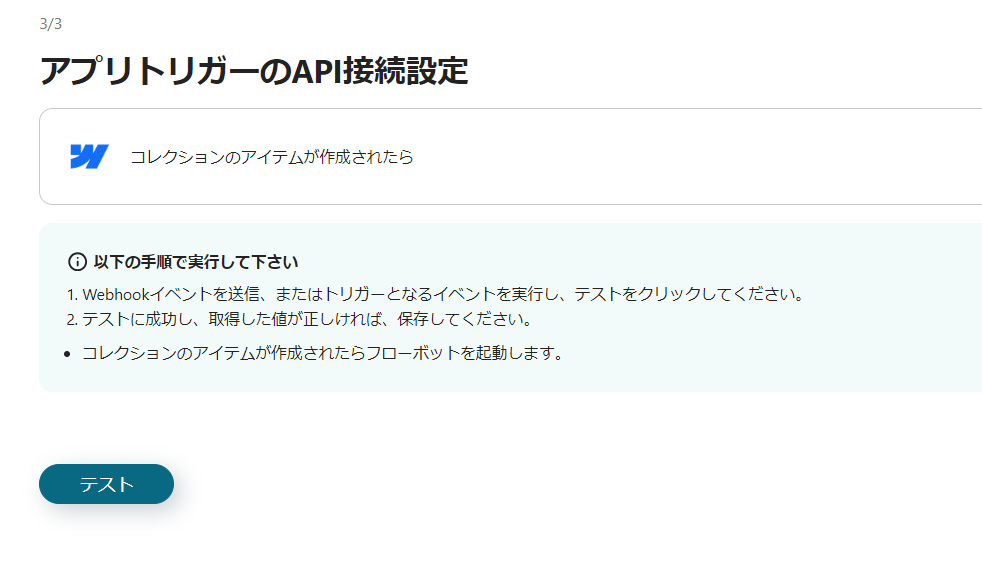
3) Send a webhook event, click "Test", and after a successful test, click "Save".
Step 5: Set Raku-Raku Sales Actions
1) Return to the flow and click on the "Register Record with App Integration" icon.
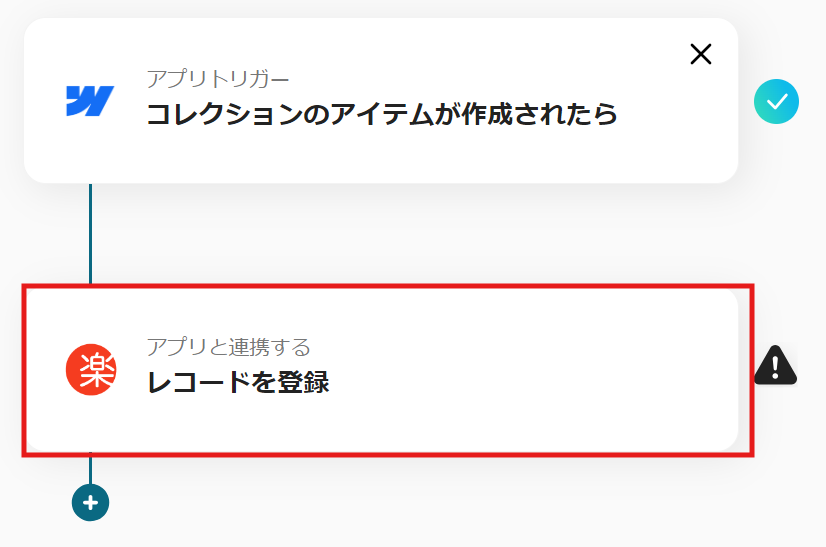
2) Select the action "Register Record" and click "Next".

3) Enter the required fields.
If the app is linked, you can use Webflow's output information for input.
Select from the suggestions as needed, and once the input is complete, click "Save".


This completes the flow of "Add to Raku-Raku Sales when a Collection Item is Created in Webflow".
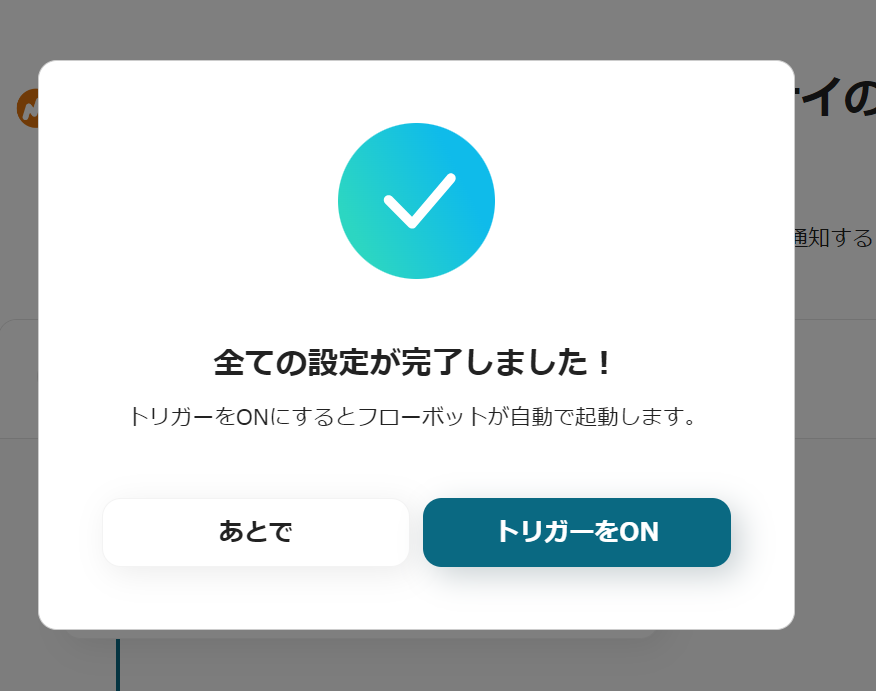
Step 6: Test and Verify
Once the setup is complete, a screen like the one below will appear, so click "Turn on Trigger".
Start the flowbot and verify that it operates correctly.
Here is the template used this time


.avif)
.avif)
.avif)


