[No Code Required] How to Automatically Sync Wrike Data with Google Calendar
How to Integrate Applications
・
2025-05-20
[No Code Required] How to Automatically Sync Wrike Data with Google Calendar
t.aizawa
"Huh? Did I properly reflect this task in Google Calendar?" Have you ever created a task but forgotten to add it to your schedule, only to add it later? After creating a task in Wrike, manually entering it into the calendar or failing to share schedule changes can lead to various errors when done manually. Accumulating small mistakes can potentially affect team coordination.
The solution to these problems is the integration of Wrike and Google Calendar. For example, when you create or update a task in Wrike, it can automatically be reflected in Google Calendar. This makes <span class="mark-yellow">task and schedule management easier, allowing the team to always share the latest schedule.</span>
In this article, we introduce how to easily integrate Wrike and Google Calendar without any coding, as well as automation tips. If you're looking to streamline task and schedule management, this is a must-read!
For those who want to try it quickly
By using Yoom, you can easily integrate Wrike and Google Calendar without any coding. Yoom provides templates for integrating Wrike and Google Calendar, allowing you to achieve integration immediately without any API knowledge, just by registering.
What You Can Do by Integrating Wrike with Google Calendar
By integrating the APIs of Wrike and Google Calendar, you can automatically sync Wrike data with Google Calendar! For example, you can automatically perform data synchronization like the examples below without any manual intervention.
By clicking "Try it out" on the automation example you're interested in and registering an account, you can immediately experience the integration of Wrike and Google Calendar. Registration takes just 30 seconds, so feel free to give it a try!
Sync Tasks Created or Updated in Wrike with Google Calendar
By automatically reflecting tasks created or updated in Wrike in Google Calendar, you can visualize tasks and schedules, allowing for efficient schedule management. Additionally, automation enables accurate information sharing.
Let's Create a Workflow to Integrate Wrike and Google Calendar
Now, let's create a workflow to integrate Wrike and Google Calendar! We'll be using Yoom to proceed with the integration of Wrike and Google Calendar without any coding, so if you don't have a Yoom account yet, please create one using this registration form.
[What is Yoom]
This time, we will create a workflow to sync tasks created or updated in Wrike with Google Calendar! The creation process is broadly divided into the following steps.
Integrate Wrike and Google Calendar with My Apps
Copy the template
Set up the app trigger
Use AI features to extract data from text
Integrate with Google Calendar and create an event
Set the trigger to ON and complete the preparation for workflow operation
Step 1: Connect Wrike and Google Calendar with My Apps
(1) After logging into Yoom, select "My Apps" from the left column and click "+Add". Click on Wrike from the list of new connections in My Apps.
(2) Log in with your account from the Wrike login screen.
(3) After logging in, an authentication screen like the one below will appear. Click "Approve".
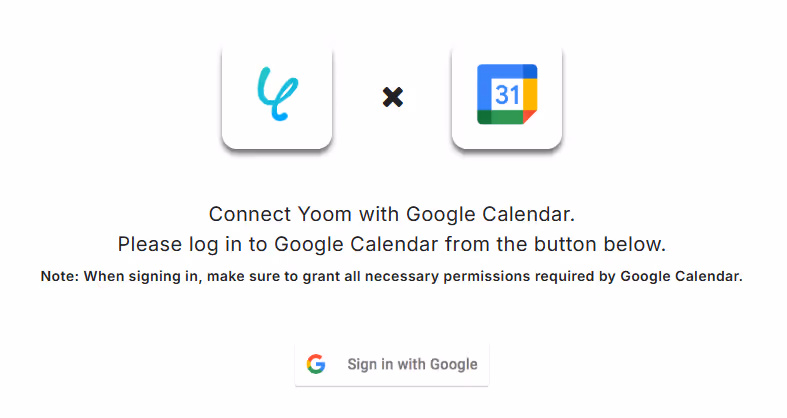
(4) Next, connect Google Calendar. Similarly, click on Google Calendar from the list of new connections in Yoom. Click "Sign in with Google" from the Google login screen.
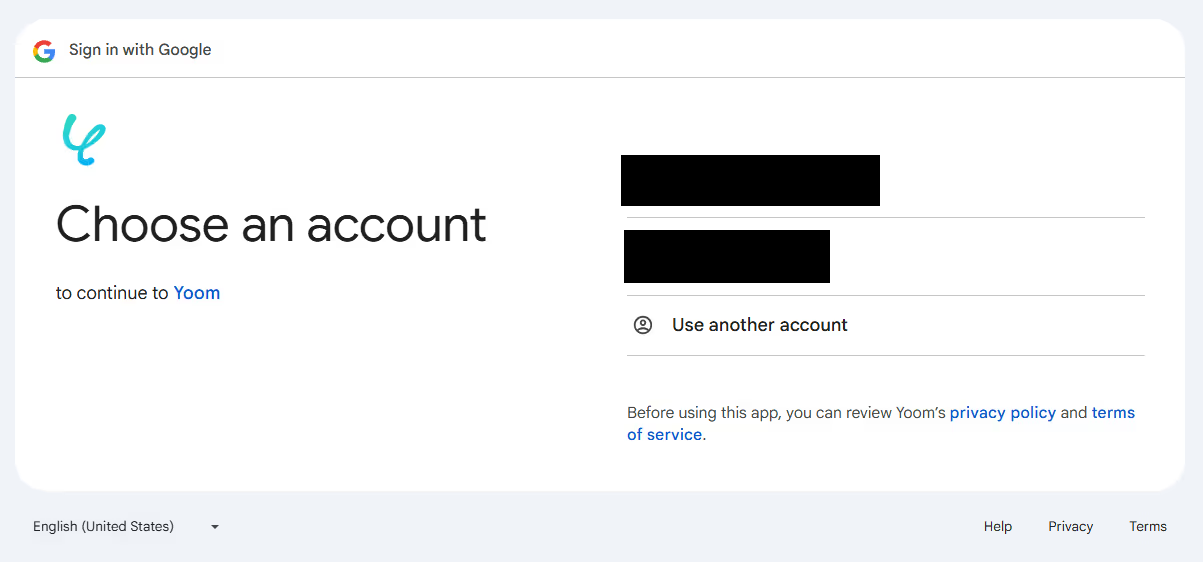
(5) Select an account.
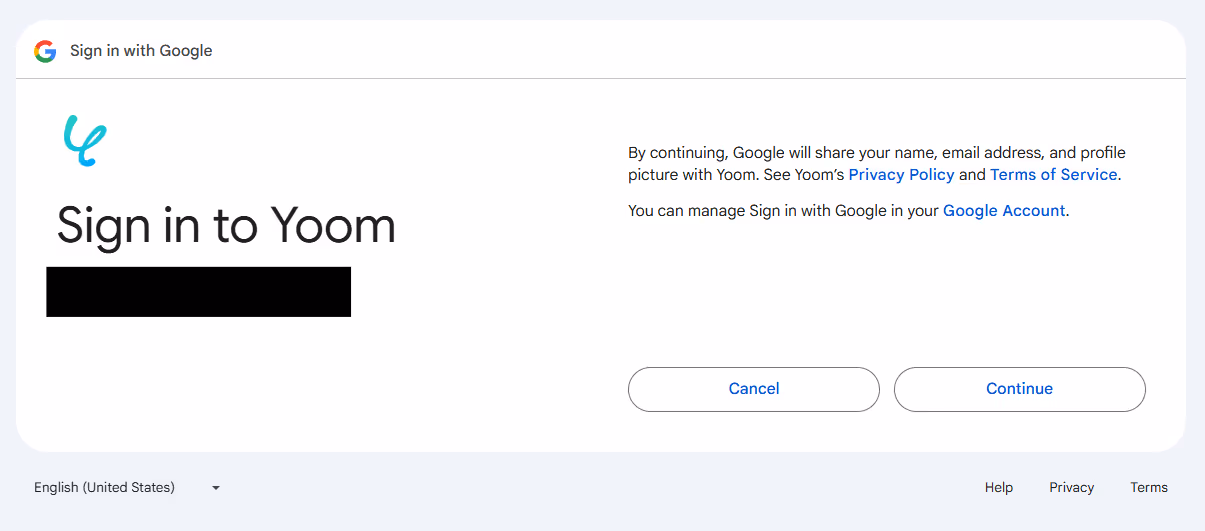
(6) Click "Next".
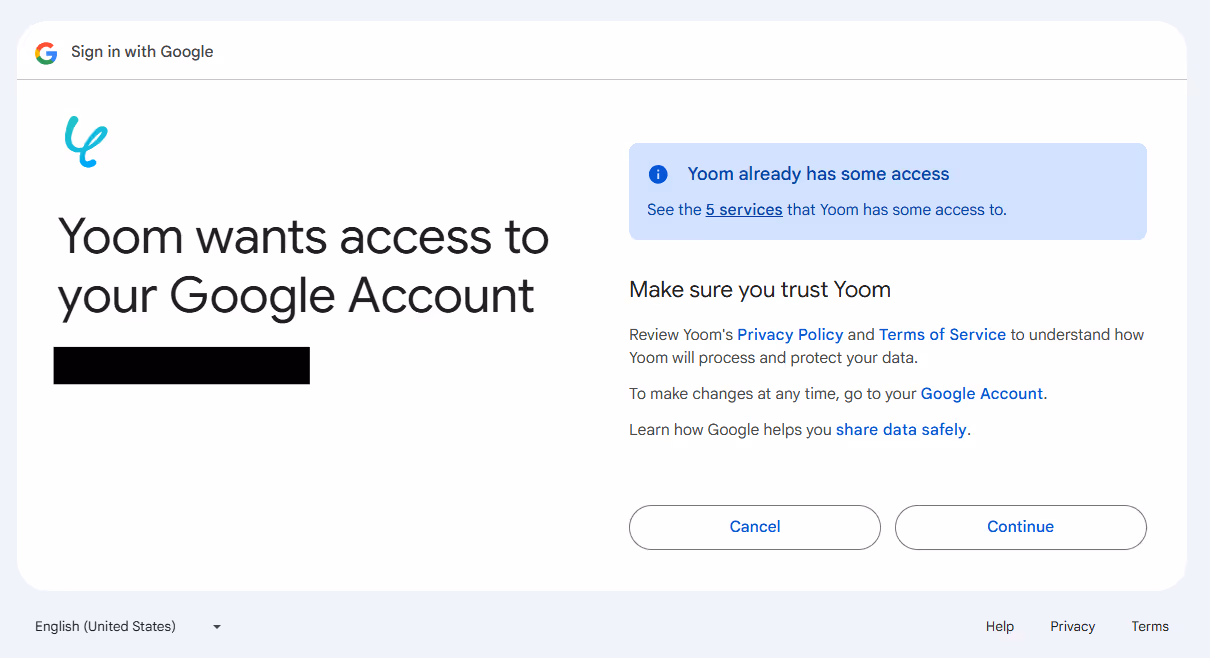
(7) Click "Continue".
Once the connection is complete, Wrike and Google Calendar will be registered in Yoom's My Apps.
This completes the My Apps registration. Next, let's set up a trigger using a template!
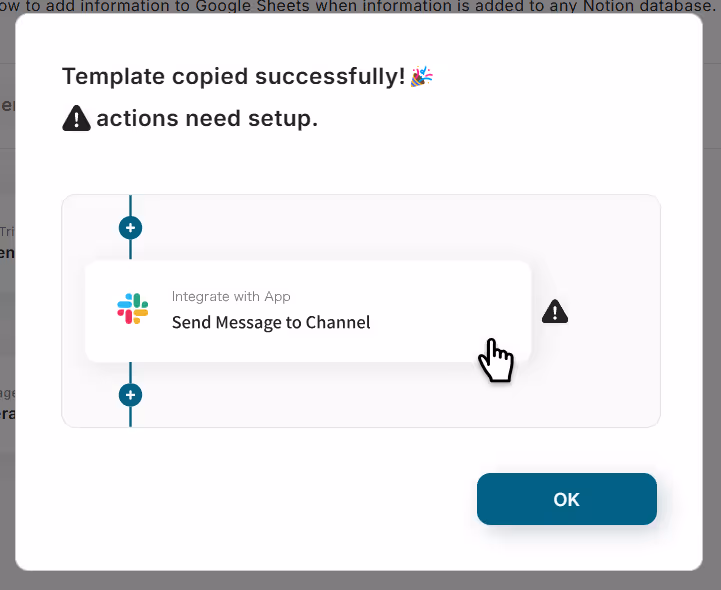
Step 2: Copy the Template
We will use the template introduced earlier. Click "Try it" on the banner below to copy it. Once copied, the template will be copied to your Yoom management screen as shown below, so press OK to proceed with the setup.
Step 3: Set Up App Trigger
(1) Configure the settings for creating or updating a new task in Wrike. Click on "When a task is created or updated" in the app trigger.
(2) From the "Select Linked Account and Action" screen in Wrike, verify that there are no errors in the account information linked with Wrike, keep the trigger action as "When a task is created or updated," and click "Next."
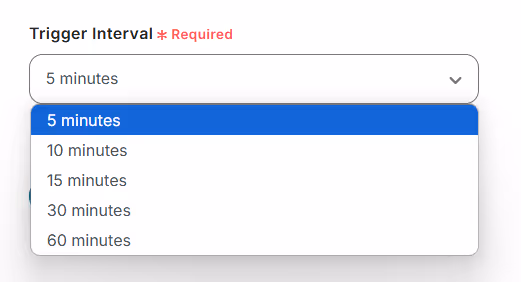
(3) From the "App Trigger API Connection Settings" screen, select the trigger activation interval. Select the trigger activation interval from the dropdown menu, choosing between 5 minutes, 10 minutes, 15 minutes, 30 minutes, or 60 minutes. Note: The shortest trigger activation interval varies depending on the plan, so please be careful.
Let's create a task in Wrike for testing purposes. Once the setup is complete, click "Test" at the bottom. If the information from Wrike is reflected in the output, the test is successful. If you're wondering "What is output?", please refer to the site below!
(2) From the "Select Action" screen, click "Change."
Select the conversion type according to the number of characters in the text. Once the selection is complete, click "Next."
(3) From the "Set Details" screen, input the "Target Text" using the output. By using the output, you can reference the information obtained by the app trigger!
Scroll down and enter the items you want to extract, separated by commas. Once the input is complete, click "Test," and if no errors occur, click "Save" at the bottom.
Step 5: Integrate with Google Calendar and Create an Event
(1) Next, integrate with Google Calendar to create an event. Click "Create Event."
(2) From the "Select Linked Account and Action" screen in Google Calendar, verify that there are no errors in the account information linked with Google Calendar, keep the action as "Create Event," and click "Next."
(3) From the "API Connection Settings" screen, check the red line and enter the calendar ID. Use the output to input the event title, event start date and time, event end date and time, and event description.
※Enter a space between date and time.
The following items are not mandatory. Please enter the necessary items. Once the input is complete, click "Test" at the bottom, and if no errors occur, click "Save."
Step 6: Set Trigger to ON and Complete Flow Operation Preparation
Well done! All settings are now complete. Once the setup is complete, a menu like the one below will be displayed, so turn the trigger ON.
Try activating the flow bot and check if the tasks created or updated in Wrike are synchronized with Google Calendar!
If You Want to Integrate Google Calendar Data with Wrike
This time, we introduced how to integrate data from Wrike to Google Calendar, but if you want to integrate data from Google Calendar to Wrike, please also use the template below.
Create a Task in Wrike When an Event is Added in Google Calendar
When you add an event to Google Calendar, you can automatically create a task in Wrike. This eliminates the need to manually create tasks and helps prevent input errors. Additionally, automation allows you to unify information in Wrike!
Other Automation Examples Using Wrike and Google Calendar APIs
It is possible to automate various tasks using the APIs of Wrike and Google Calendar. If you find something interesting, please give it a try!
Automation Examples Using Wrike
You can create tasks in Wrike based on email content or database information. You can also reflect the completion or update of Wrike tasks in other systems.
Examples of Automation Using Google Calendar
You can reflect the schedule details registered in the database on Google Calendar. You can announce Google Calendar events on social media or create meetings.
Conclusion
By integrating Wrike with Google Calendar, you can eliminate the hassle of missing schedule entries and double management. The automation introduced here, which reflects task creation or updates in Wrike onto Google Calendar, allows the team to share the latest schedule. This way, you can check the task details on Google Calendar, eliminating the need to launch Wrike. Conversely, you can also add tasks to Wrike based on schedules created in Google Calendar, saving the effort of task creation.
If you are interested in automation using Yoom, please create a free account here. It can be easily registered in about 30 seconds, so you can set it up during work! Use this template to manage your schedule effortlessly!
The person who wrote this article
t.aizawa
We aim to make your daily work easier! We will be sharing information on how to improve work efficiency using Yoom!
Conventional RPA can only automate simple repetitive tasks, and the setup process was very complicated. With “hyperautomation,” which combines various technologies such as AI, API, RPA, and OCR, it is possible to automate many tasks that could not be realized until now more easily than before.
Most tools simply connect one app to another, leaving the complex tasks to you. Yoom goes much further: From document creation and browser automation to OCR and generative AI, Yoom handles it all seamlessly in one platform.
Why settle for basic integrations? Streamline your entire workflow with Yoom’s powerful hyperautomation.


.avif)


.avif)


