


1. Click "Try it" at the bottom of the transitioned screen
2. If you haven't registered with Yoom yet, please register
※ If you have already completed registration, the login screen will be displayed, so please log in.

When the Flowbot template is copied to "My Projects", the above display will appear.
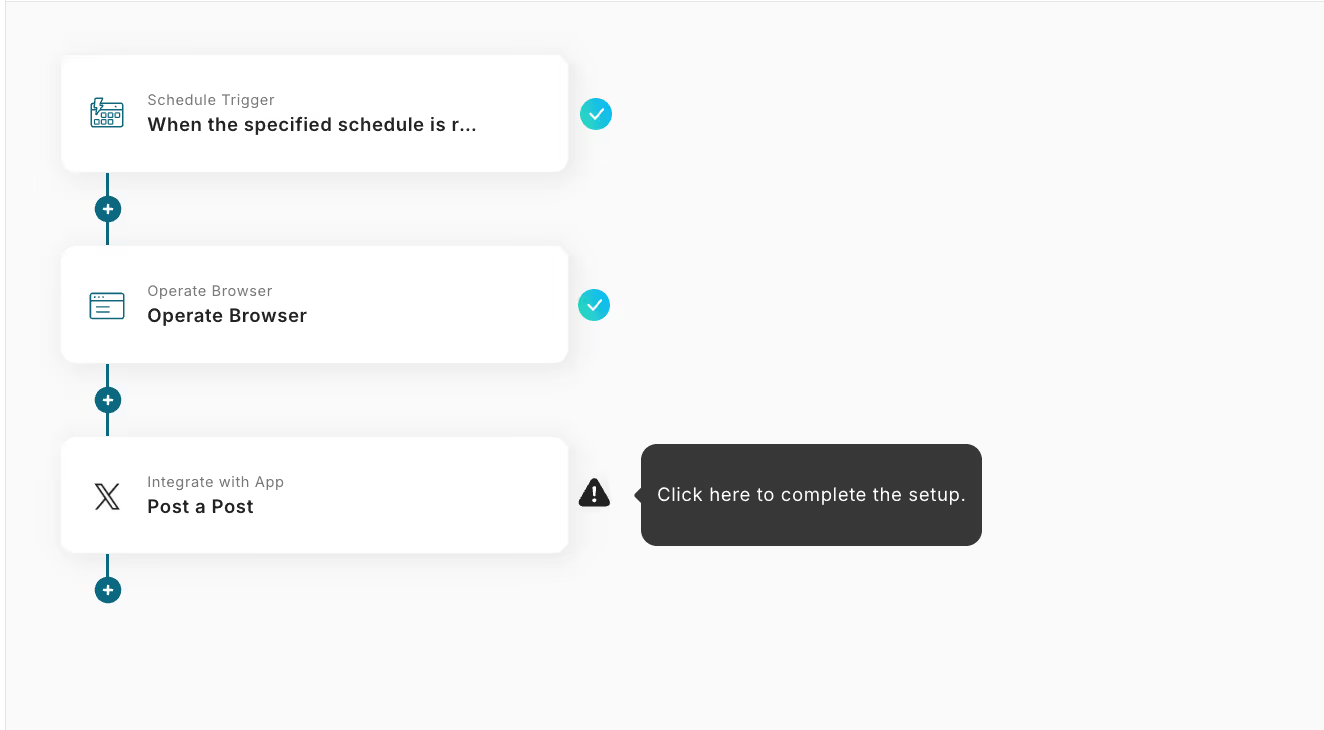
You will transition to a page like the image, so let's proceed with detailed settings.
Step 3: Set up browser operations on a specific site by specifying the RPA schedule
1. Open My Projects
Open "My Projects" from the menu on the left side of the screen.
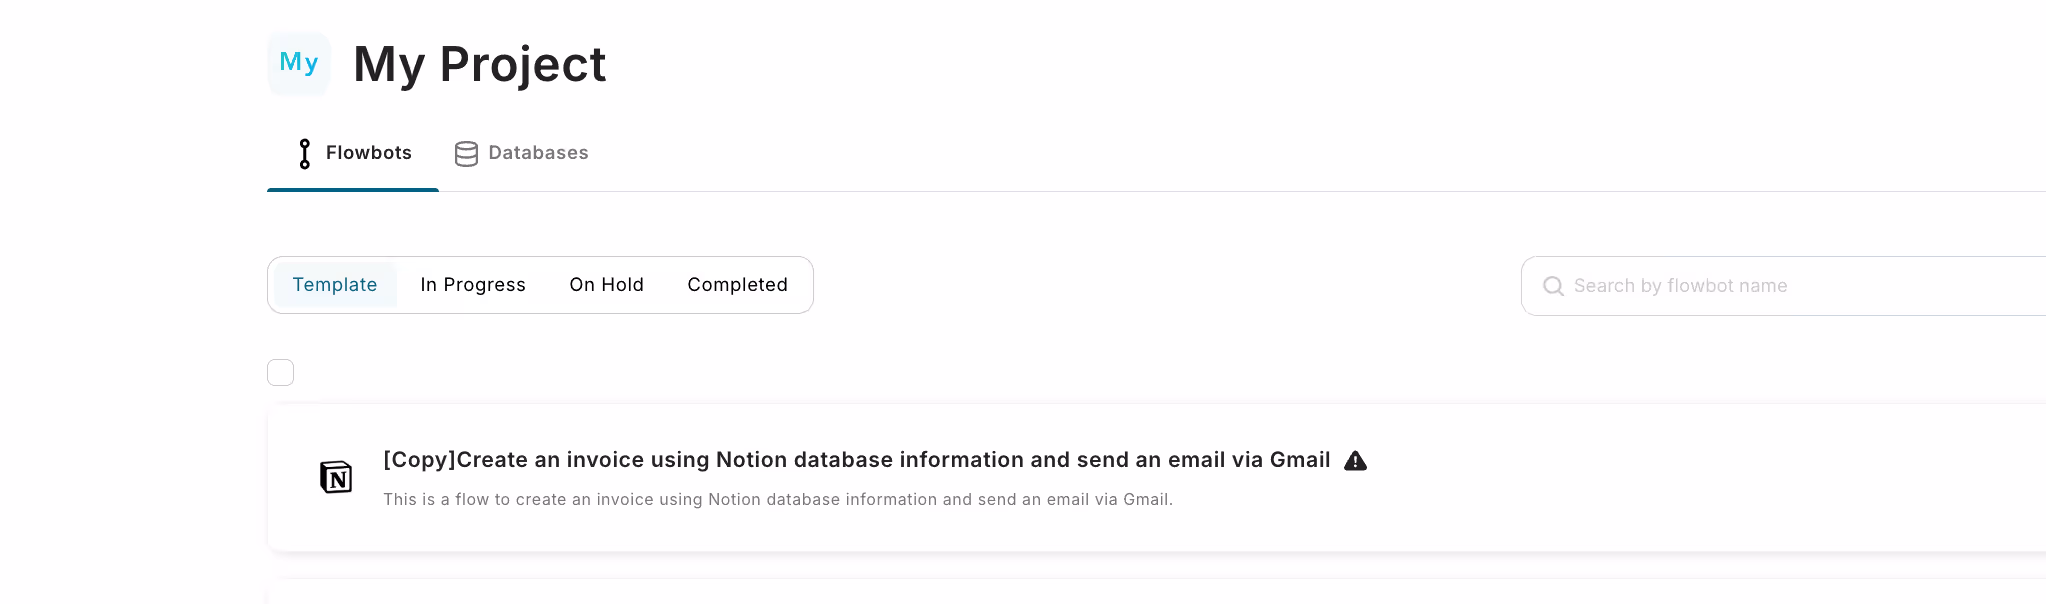
2. Open the copied template
Click "【Copy】Retrieve exchange rate information daily with RPA and automatically post to X (Twitter)".
3. Select an app trigger
Click "When the specified schedule is reached".
The title and other settings are complete, so please scroll down.
4. Set the trigger
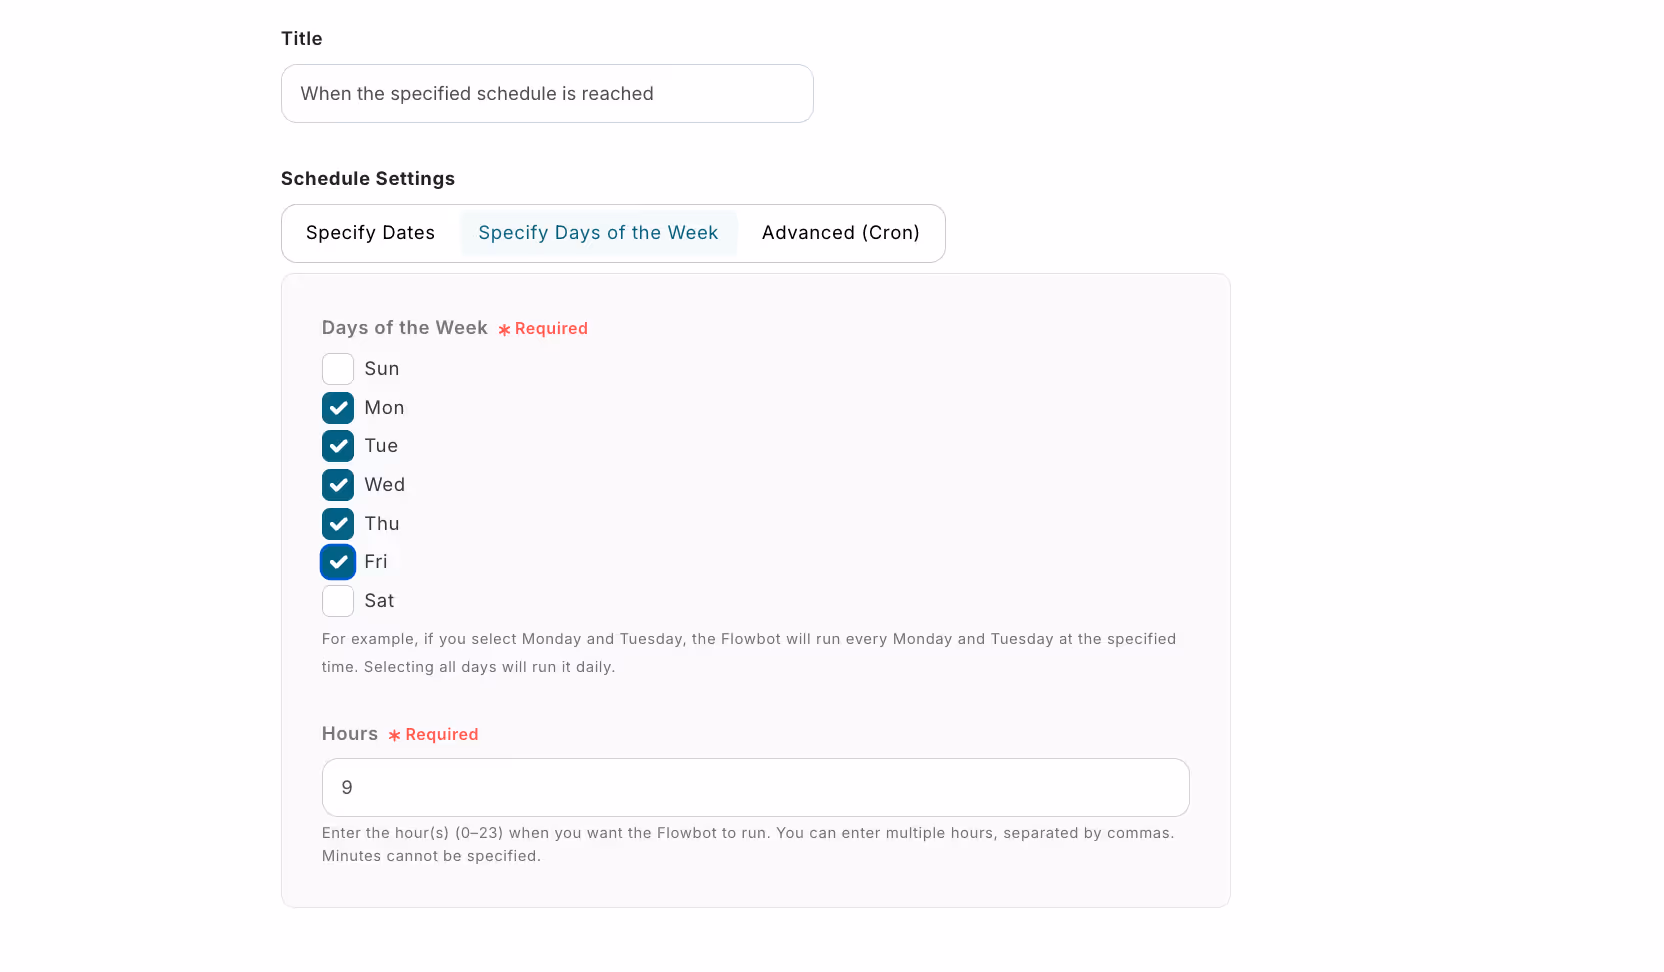
Set when to activate the RPA, such as the day of the week and time.
In the image, it is set to activate at 9 AM from Monday to Friday. If you have preferences, you can change them by clicking the checkboxes to change the days or adjust the numbers to set the time.
Once the settings are complete, press save.
Continue with the RPA settings.
5. Operate the browser
※ Browser operations are available only in some paid plans.
※ A two-week trial of the paid plan is available.
Please click "Operate the browser".
The title and other settings are complete, so please scroll down.
6. Browser operation settings
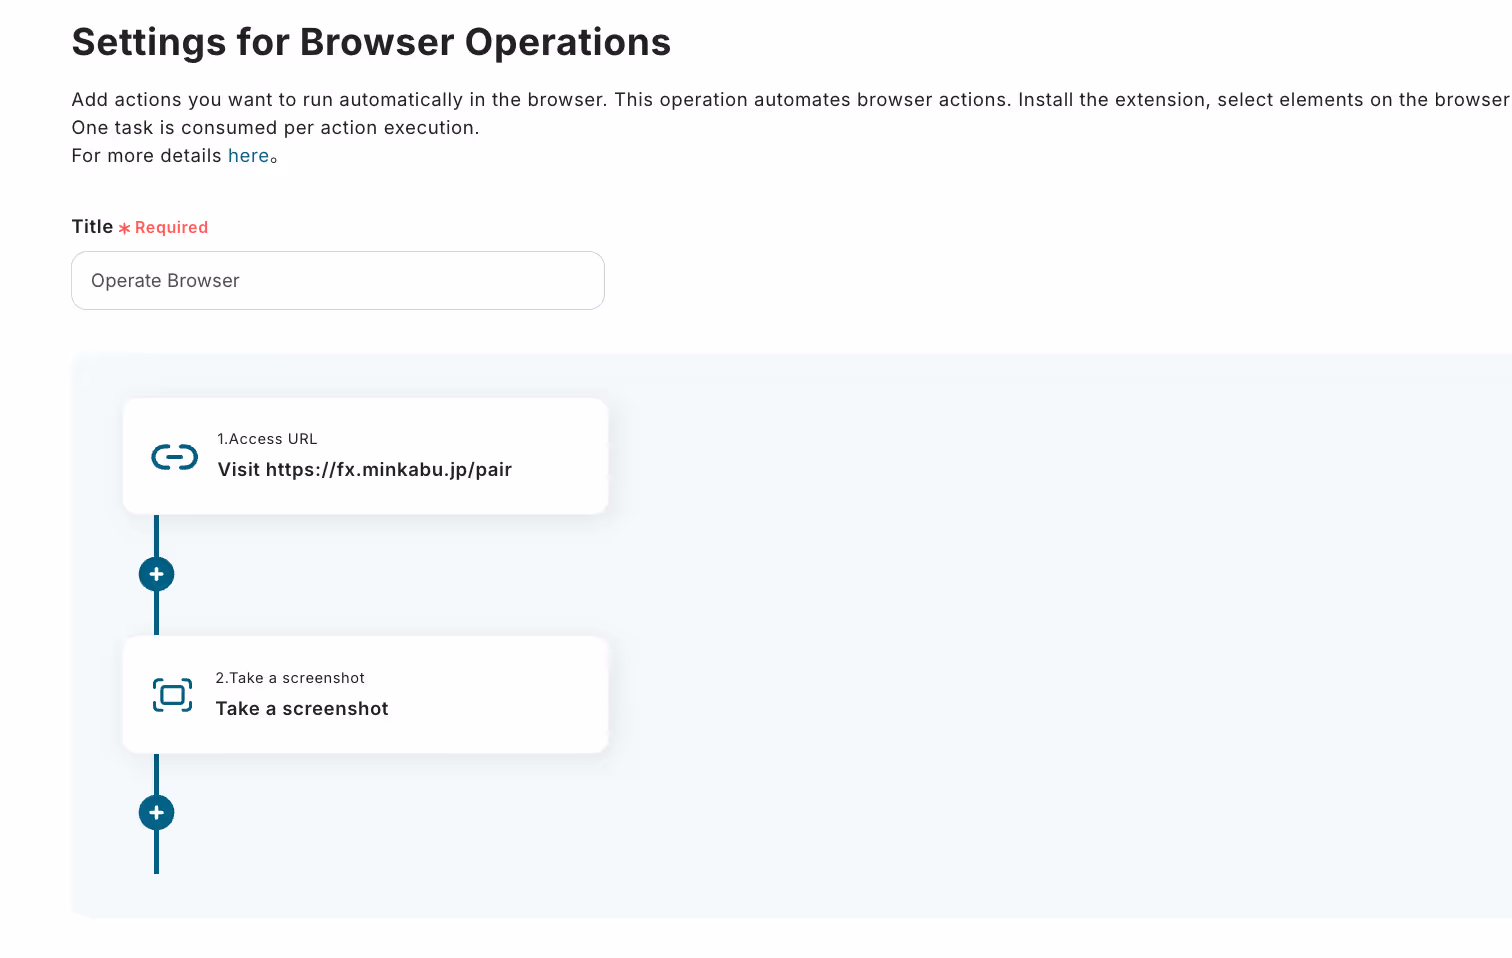
First, set which site to access. Click the red frame.
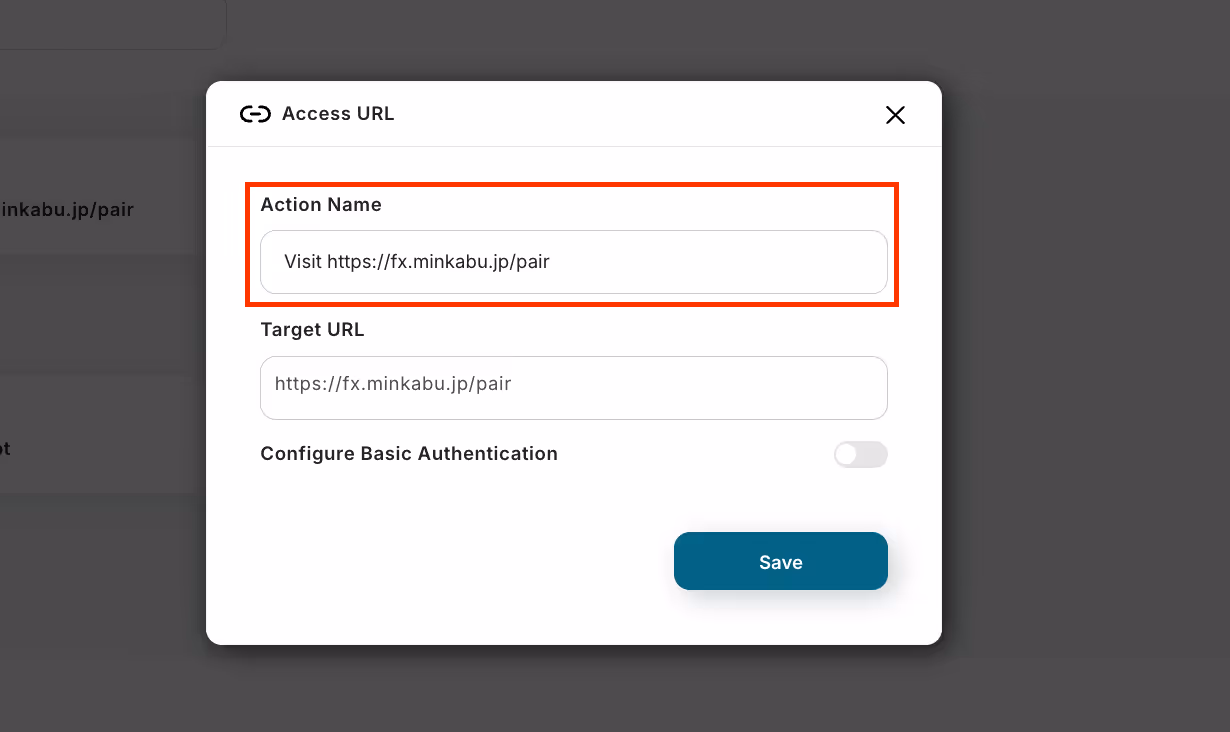
Set an arbitrary name for the action name.

For the target URL, enter the URL of the site to access.
Once the settings are complete, press save.
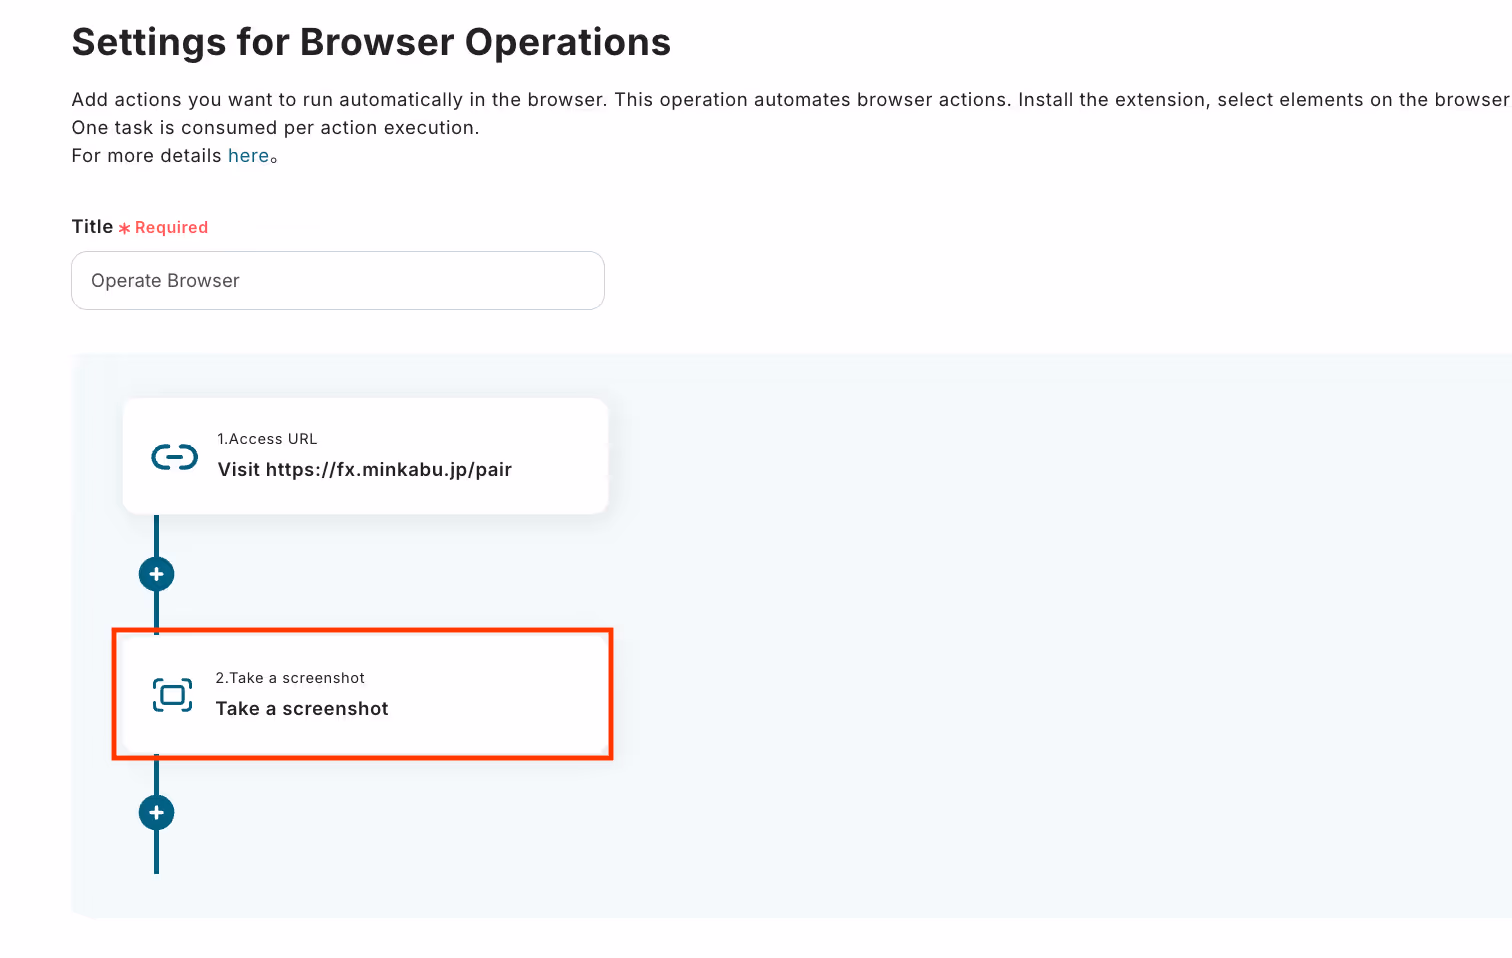
Next, set what actions to perform on the specified site. Click the red frame.
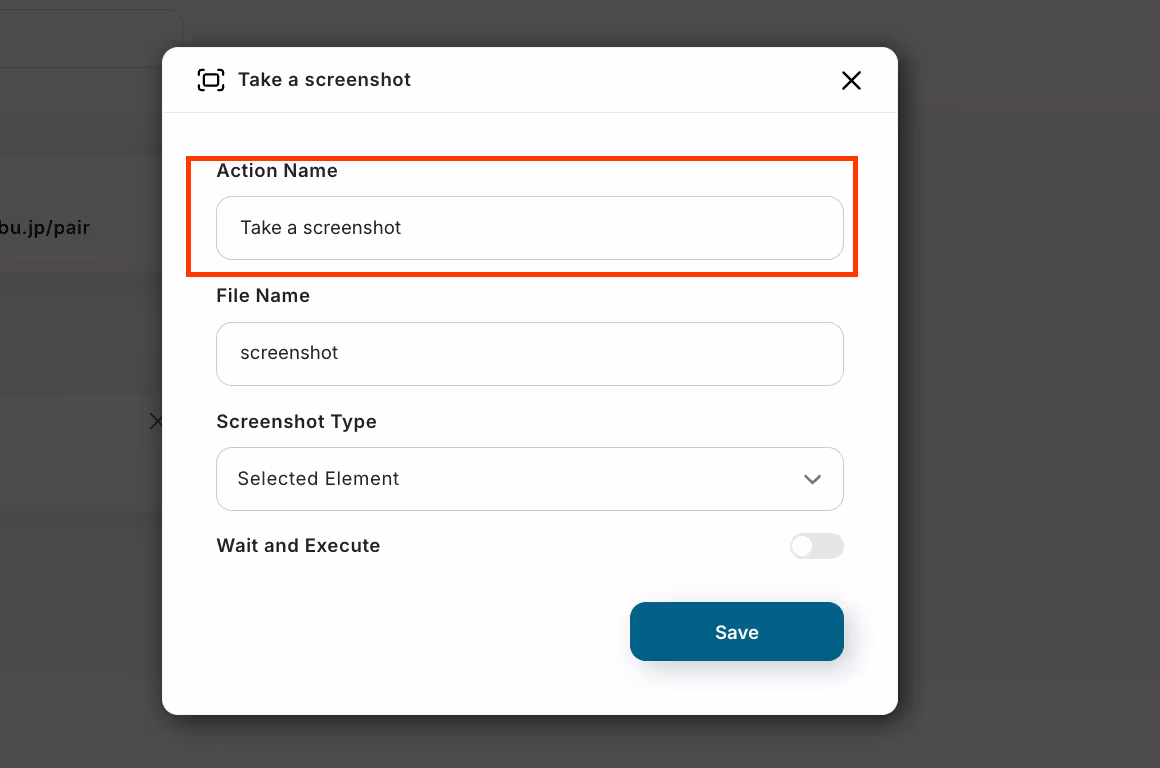
Set an arbitrary name for the action name as before.
This time, since you will take a screenshot and save it as a file, set the file name in the red frame.
In the screenshot type, you can specify either the entire screen or the selected element (site part only).
This time, it is set as the selected element, so if you want to change it to the entire screen, change it from the dropdown.
Once the settings are complete, press save.
7. Save
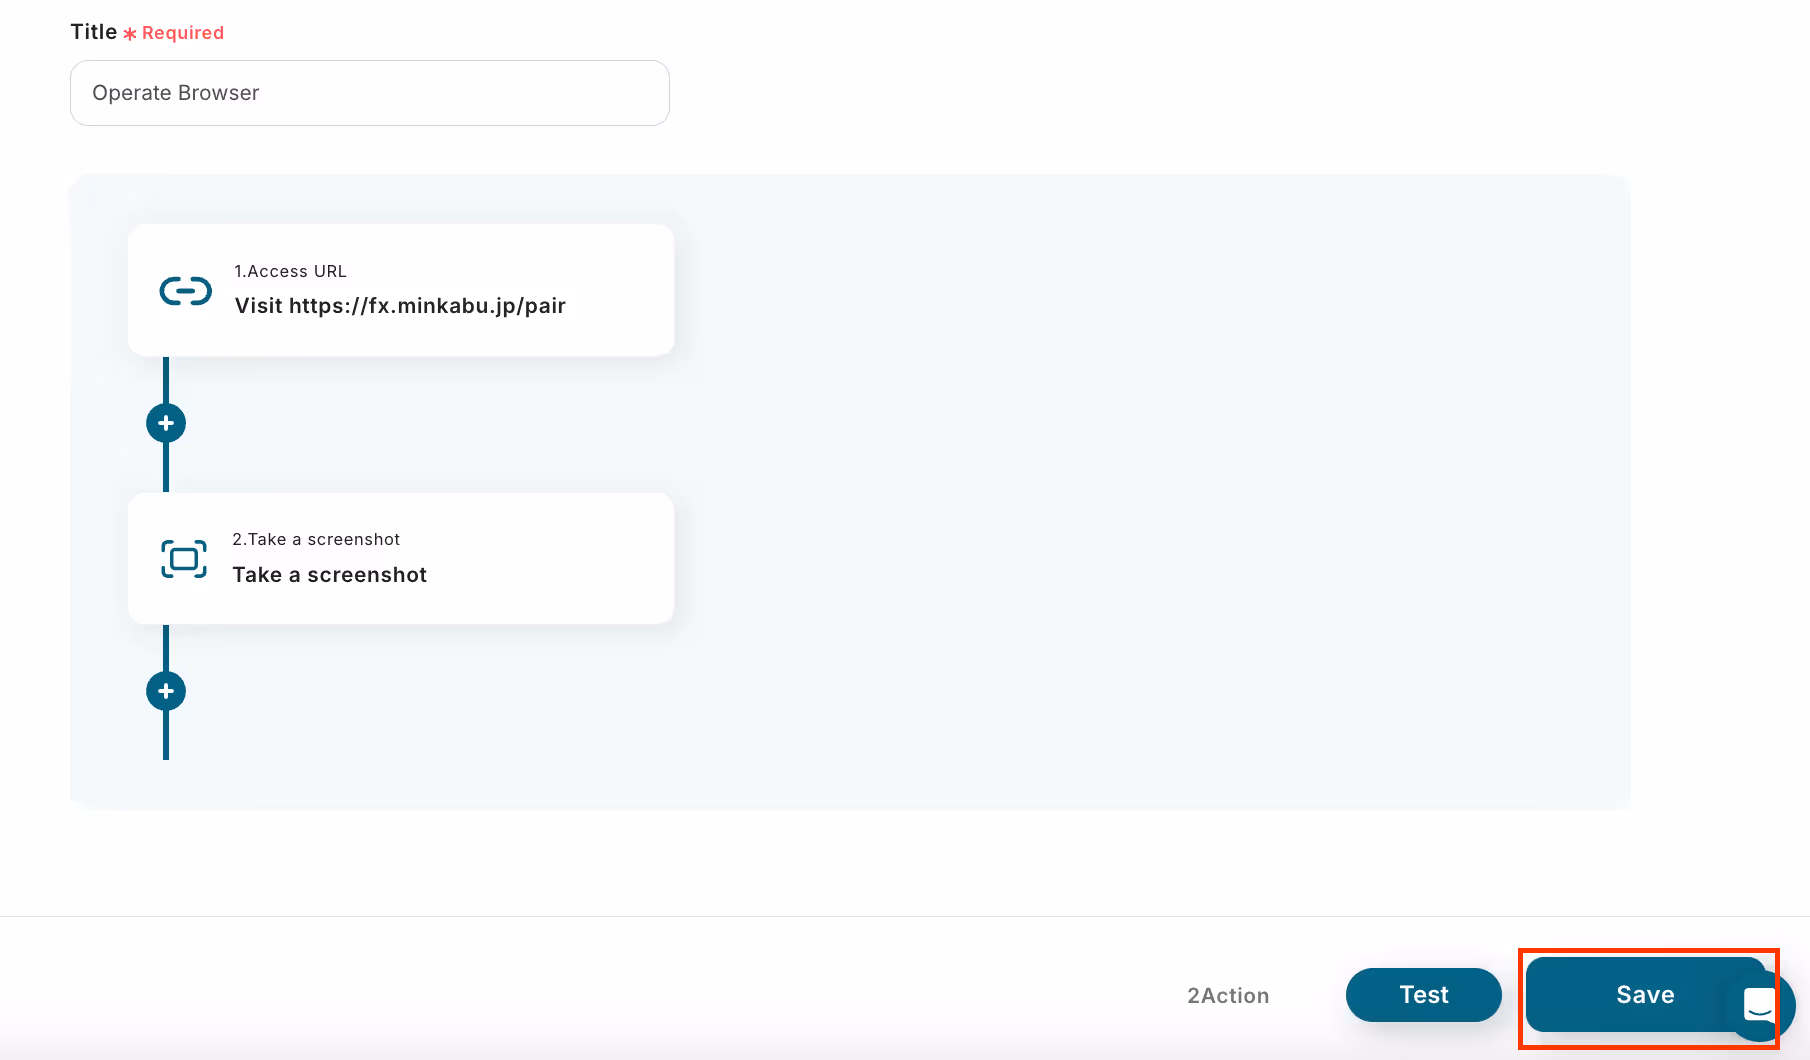
When you return to the above screen, click save again.
Step 4: Set up posting to X (Twitter)
1. Connect with the app
Click "Post to X (Twitter)" icon.
The title and other settings are complete, so press next.
2. Set required items
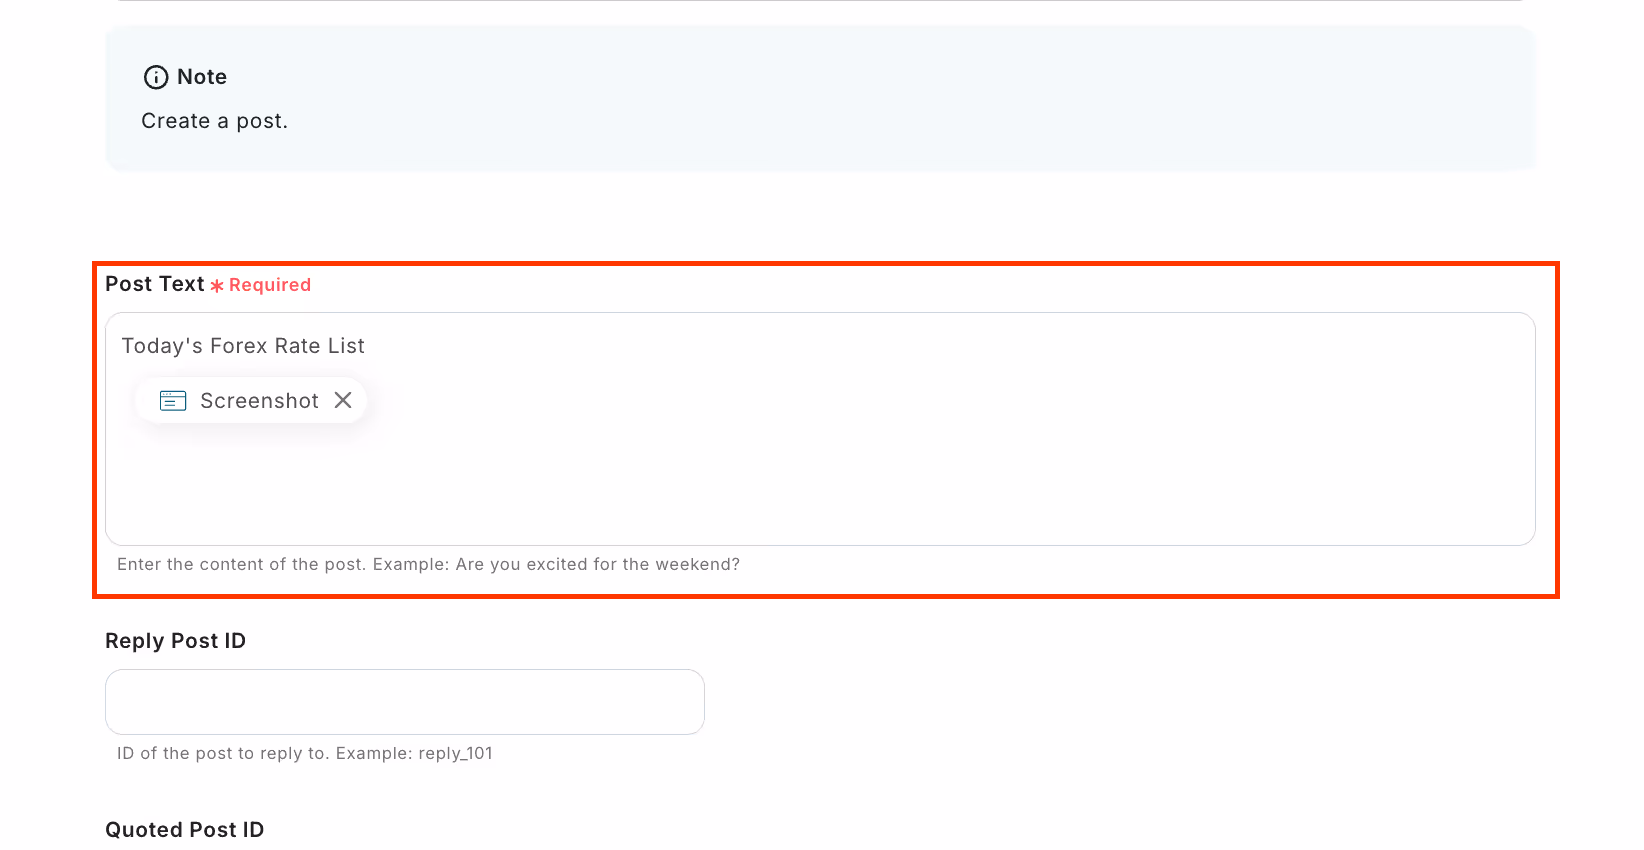
The required items in the red frame will be the post content.
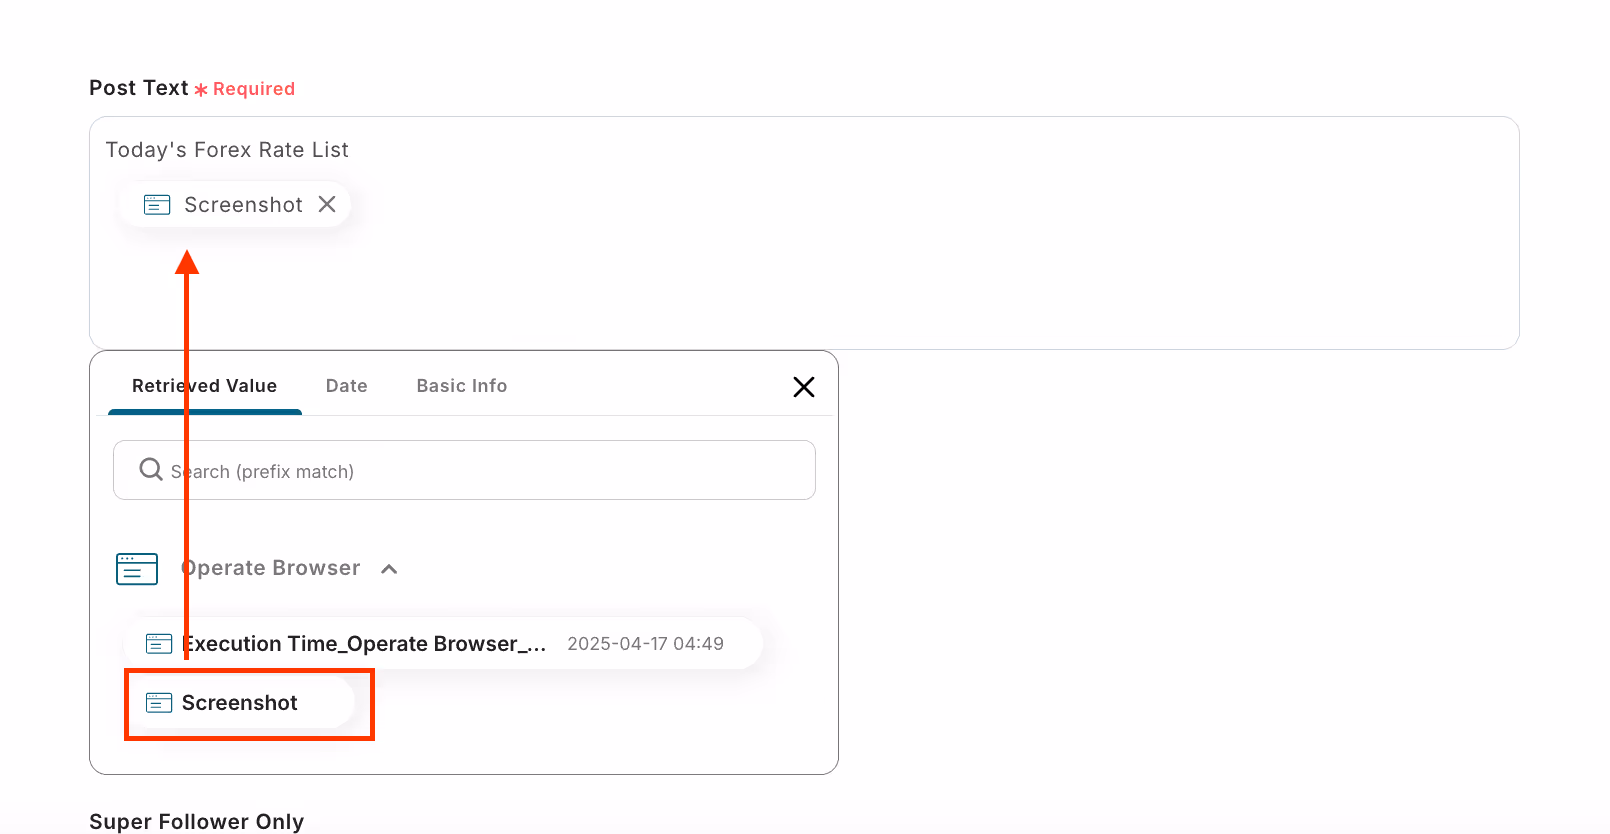
Since you are using a template, data is inserted as shown in the image, and the settings are complete.
The screenshot will also be posted simultaneously with the post.
If you want to change other text, you can set it optionally.
3. Execute the test
Once the data insertion is complete, press the test button.
If "Test successful" is displayed, the settings are complete. Press save.
4. Turn on the trigger

When the Flowbot creation is complete, the above display will appear. The trigger is initially set to OFF, so turn it ON.
This completes the app integration.
Flowbot template used this time
Retrieve exchange rate information daily with RPA and automatically post to X (Twitter)


.avif)
.avif)

.avif)


