

.avif)

The integration flow is broadly created through the following processes.
- Register Zoho CRM and Microsoft SharePoint as My Apps
- Set up a trigger that activates when a new account is registered in Zoho CRM
- Configure settings to create a folder in Microsoft SharePoint
- Testing and verification
Step 1: Integration of Zoho CRM and Microsoft SharePoint as My Apps
First, log in to your Yoom account.
If you do not have an account, please create one on the Yoom account creation page.
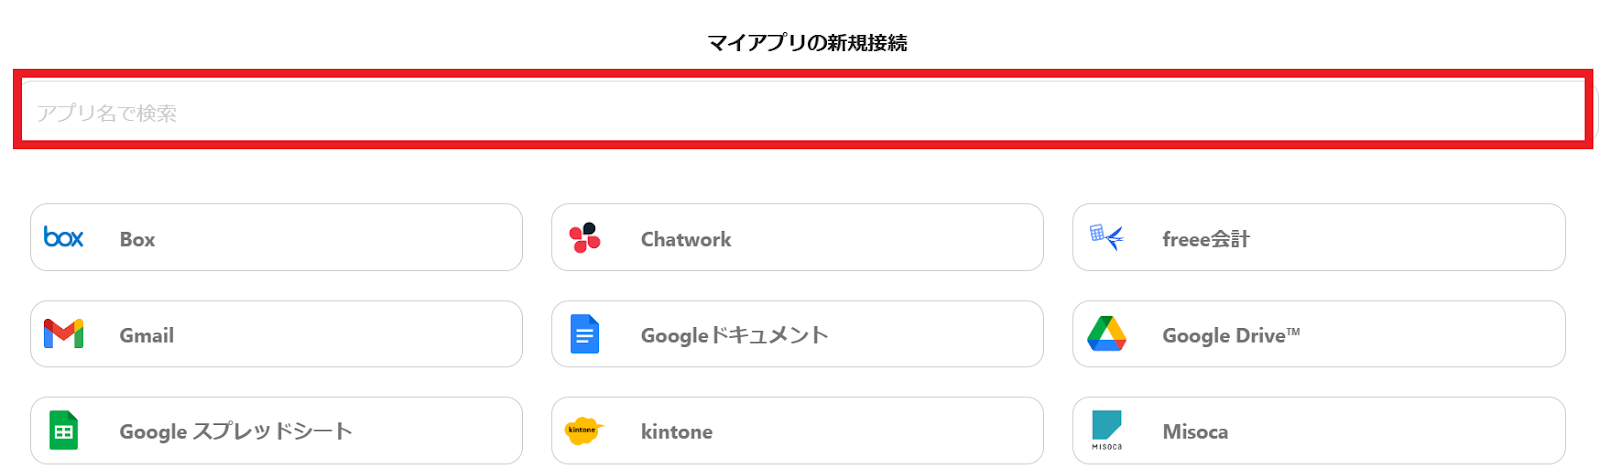
1. Click on My Apps and then click on New Connection.

2. You can search by app name in the input field.
This time, search for and register Zoho CRM and Microsoft SharePoint respectively.
Registering Zoho CRM as My App
Let's start by registering Zoho CRM. Enter Zoho CRM in the input field, and the Zoho CRM icon will appear, so click on the icon.
1. Enter the domain URL.
Set it according to your data center.

Registering Microsoft SharePoint as My App
Microsoft365 (formerly Office365) has plans for home users and general business users (Microsoft365 Business). If you are not subscribed to the general business plan, authentication may fail. Please be careful.
Similarly, search for Microsoft SharePoint and click on the icon.
1. The Microsoft login screen will appear.
Sign in with the account you want to integrate.
For detailed instructions on registering My Apps, please refer to the following link.
Instructions and Precautions for Registering My Apps in Microsoft365 Services

This completes the registration of Zoho CRM and Microsoft SharePoint as My Apps.
Once the My Apps registration is successful, the following screen will be displayed.
Check if the icons for Zoho CRM and Microsoft SharePoint are displayed on the My Apps screen.

For more detailed information about Yoom, please check the Yoom Help Center.
Selecting a Template
Click on "Try it" from the link below.


.avif)
.avif)
.avif)
.avif)


