

.avif)
Preparation
■Log in to Yoom
If you do not have a Yoom account, please create one from the Yoom registration page. You can register in 30 seconds!
After registration, log in to Yoom.
■Create a OneDrive Folder
Create a folder to save files attached to emails.
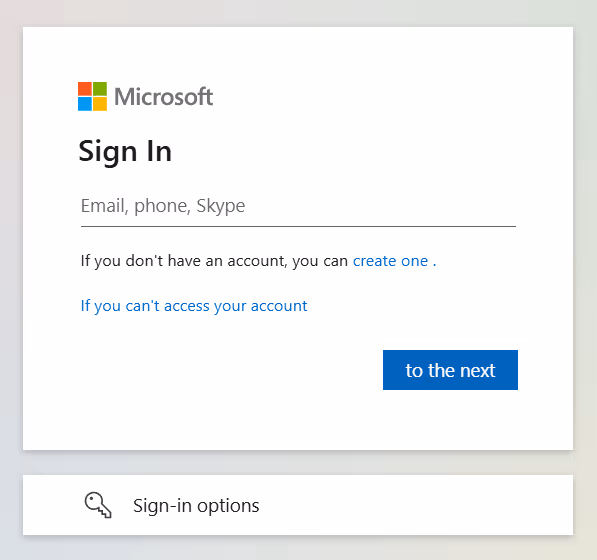
1. Log in to OneDrive.
2. After logging in, click "Folder" from "+Add new" on the left side of the screen.
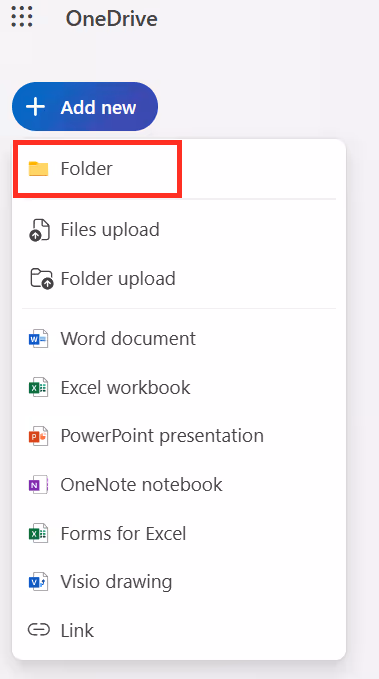
3. Enter a folder name and color of your choice, and click "Create" to complete the folder creation!
This time, the folder name is "Test_0711".

Flowbot Creation Procedure
■App Integration
1. Integrate Microsoft Teams and OneDrive apps. Select the app from "Add" in My Apps.

2. Sign in with the account you will use.
3. Once registered, an icon will appear in My Apps.
Microsoft365 (formerly Office365) has plans for home use and general business use (Microsoft365 Business), and if you are not subscribed to the general business plan, authentication may fail.
■Create New Project and Flowbot
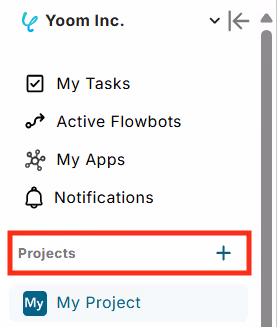
1. You can create a new project from the + button in the project list. Enter a project name of your choice and save it.
2. Click "+Create New" in "Flowbot" and select "Create from Template Gallery".
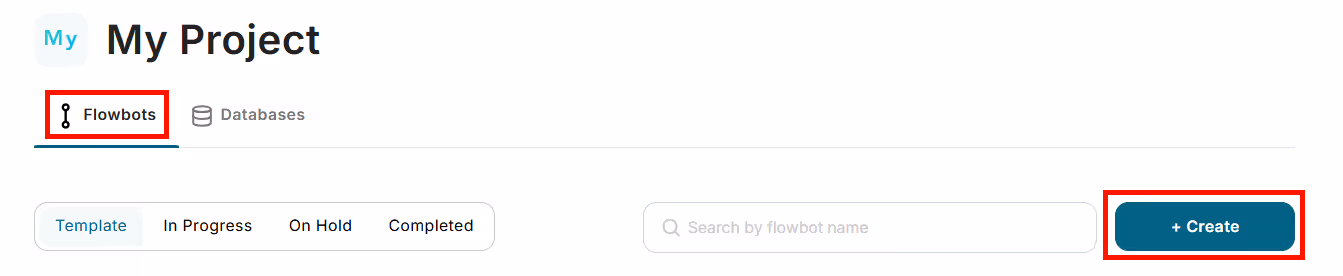
3. Search for the template and click "Try this Template".

The new creation of the flowbot is complete!
Now, let's start setting up the contents of the flowbot.
■Trigger Settings
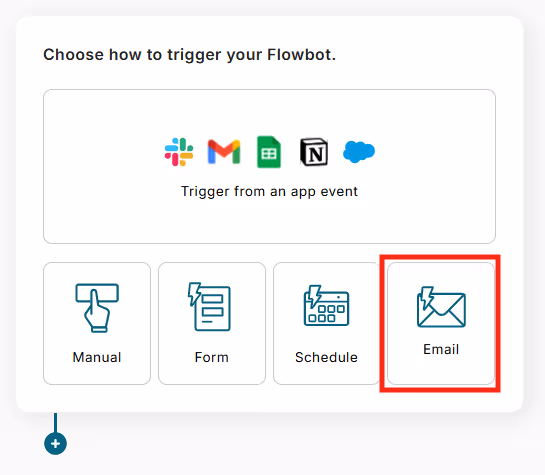
1. Enter a title and description of your choice, then select the trigger "Email".
2. On the email trigger condition setting page, enter a title of your choice and enter any text in the receiving access creation field.
Proceed to the next step.

3. Send an email with an attachment to the address set on the previous page.

4. Run the test. If you see the success message, save it.
■OneDrive Settings
1. Click the + button and select "OneDrive" from "Integrate with App".

2. On the page to select the integration account and action, enter a title of your choice and select "Upload File" as the action.
Proceed to the next step.
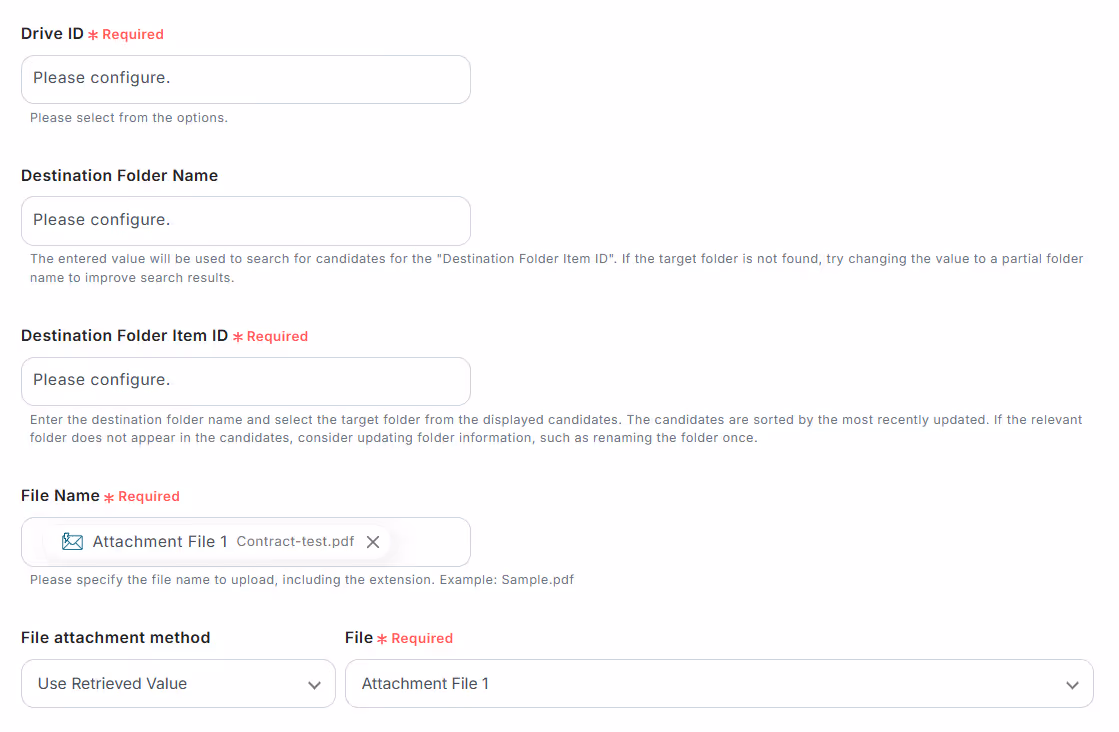
3. On the API connection settings page, make the following settings:
・Drive ID: Click the field and select the drive name where the file will be stored
・Destination Folder Name: Enter the folder name or part of the folder name created in the preparation
・Destination Folder Item ID: Click the field and select the folder name created in the preparation
・File Name: Click the field and select "Attachment File 1" from the trigger
・File Attachment Method: Select "Use Retrieved Value" from the dropdown and select the email attachment (this time "Attachment File 1")
4. Run the test. If you see the success message, save it.
■Microsoft Teams Settings
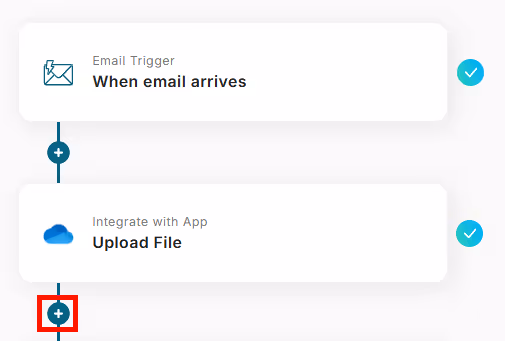
1. Click the + button and select "Microsoft Teams" from "Integrate with App".
2. On the page to select the integration account and action, enter a title of your choice and select "Send Message to Channel" as the action.
Proceed to the next step.
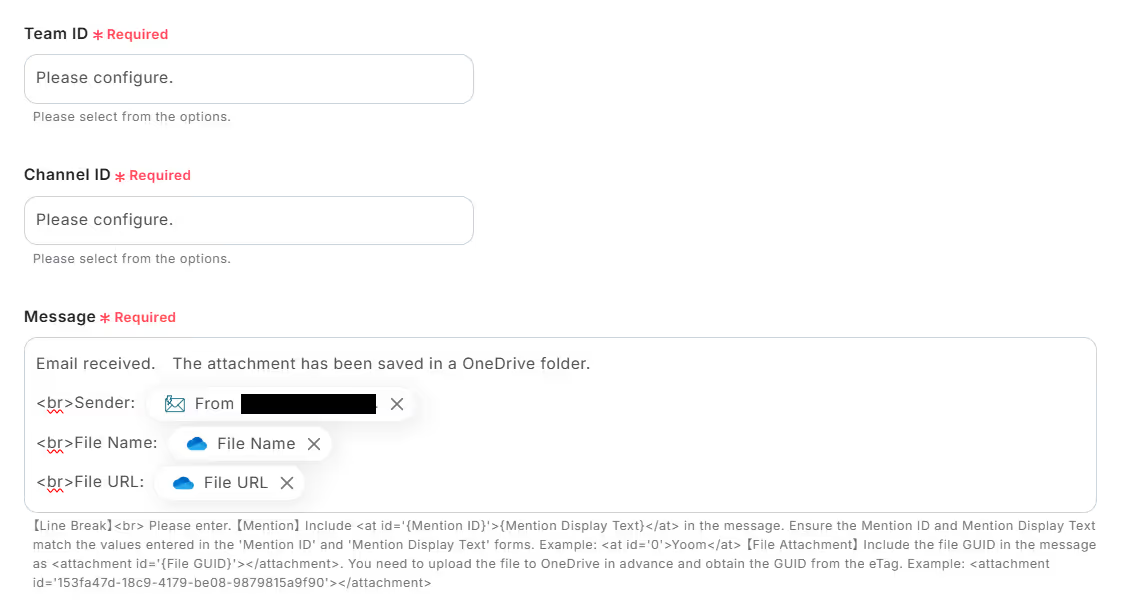
3. On the API connection settings page, make the following settings:
・Team ID: Click the field and select the team name of your choice
・Channel ID: Click the field and select the channel name of your choice
・Message: Enter a message of your choice *You can also click the field and use the retrieved values.
4. Run the test. If you see the success message, save it.
The flowbot is now complete!
Thank you for your hard work!


.avif)
.avif)
.avif)
.avif)


