

.avif)


Click "Try this template".

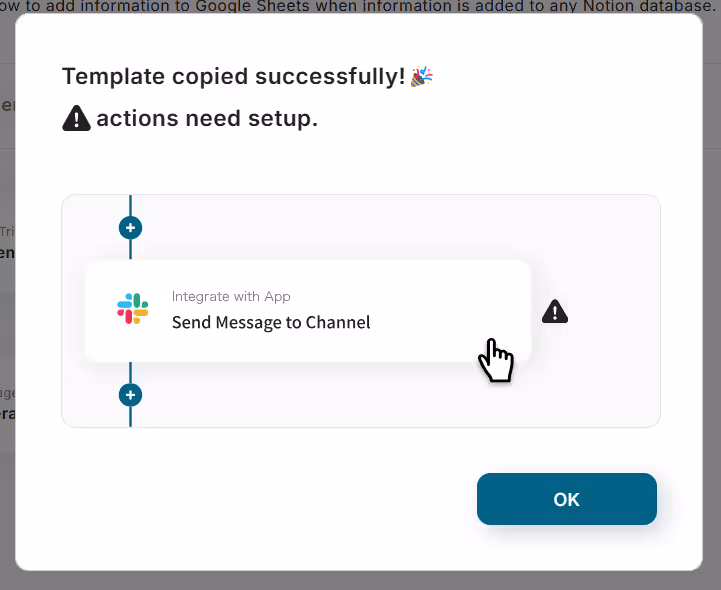
Click "OK" and give this Flowbot a name to recognize.
This template will be copied to your “My Project”.
Step 3: Set Up GitHub Trigger
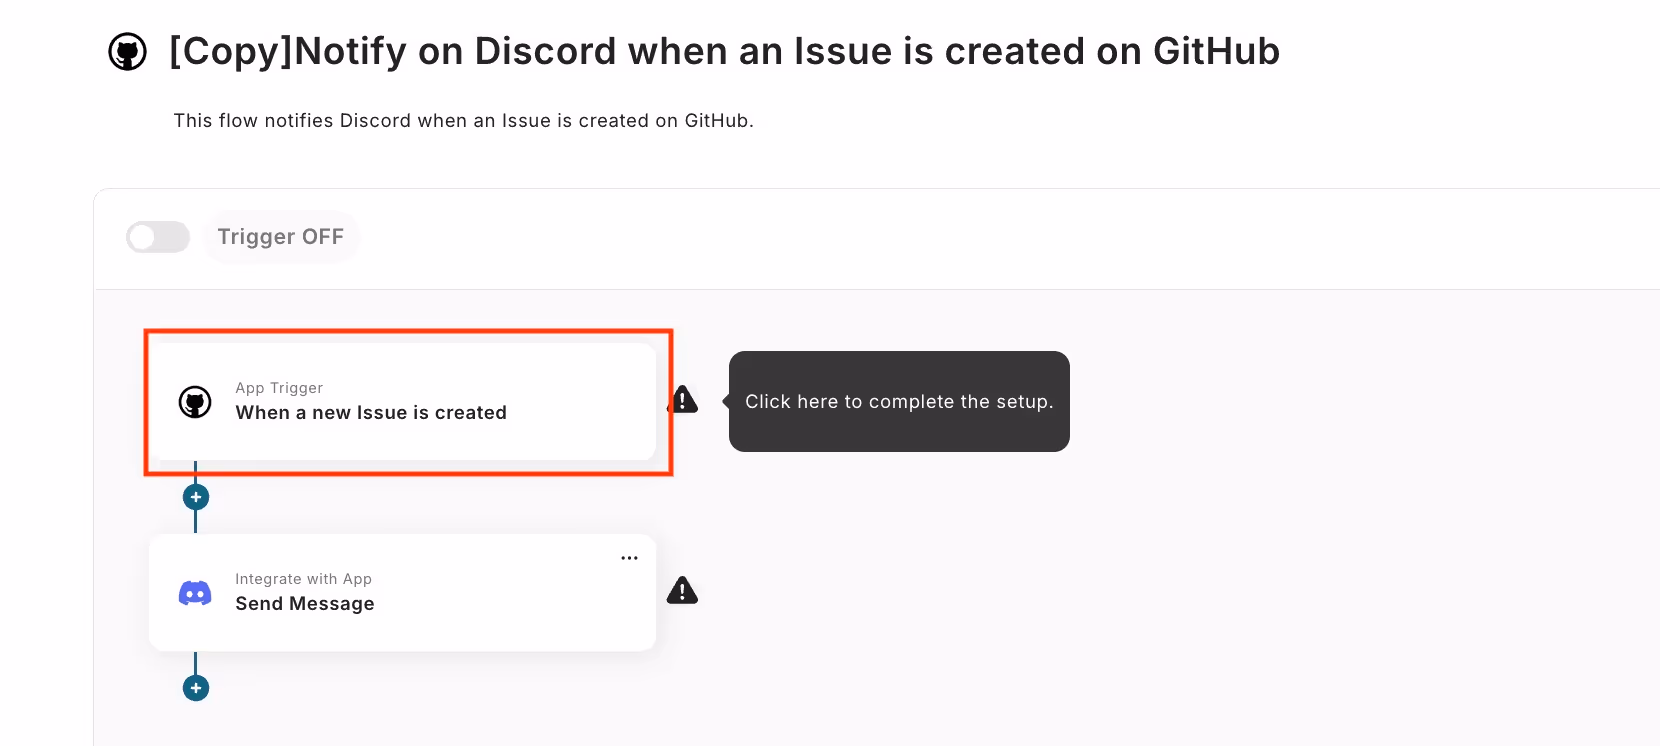
Click on the trigger step labeled, "When a new Issue is created".
Give your trigger a title (anything you like).
If there are no issues with the default setting, click “Next”.
Set your trigger interval (frequency of sync) on how frequently Yoom checks GitHub for updates.
It can be set to 5 minutes, 10 minutes, 15 minutes, 30 minutes, or 60 minutes.
We recommend setting the trigger to the shortest activation interval available for your plan.
⚠️ Note:
The trigger interval varies on your Yoom plan. Be sure to check your current plan’s limit.

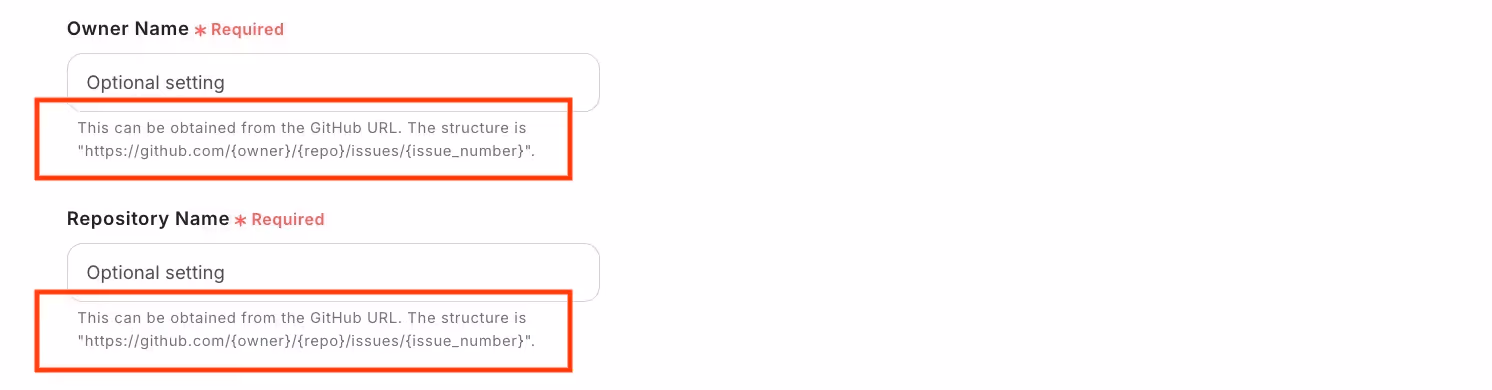
Enter the “Owner Name” and “Repository Name”.
Follow the instructions for each field, and copy & paste the corresponding name from the GitHub URL.
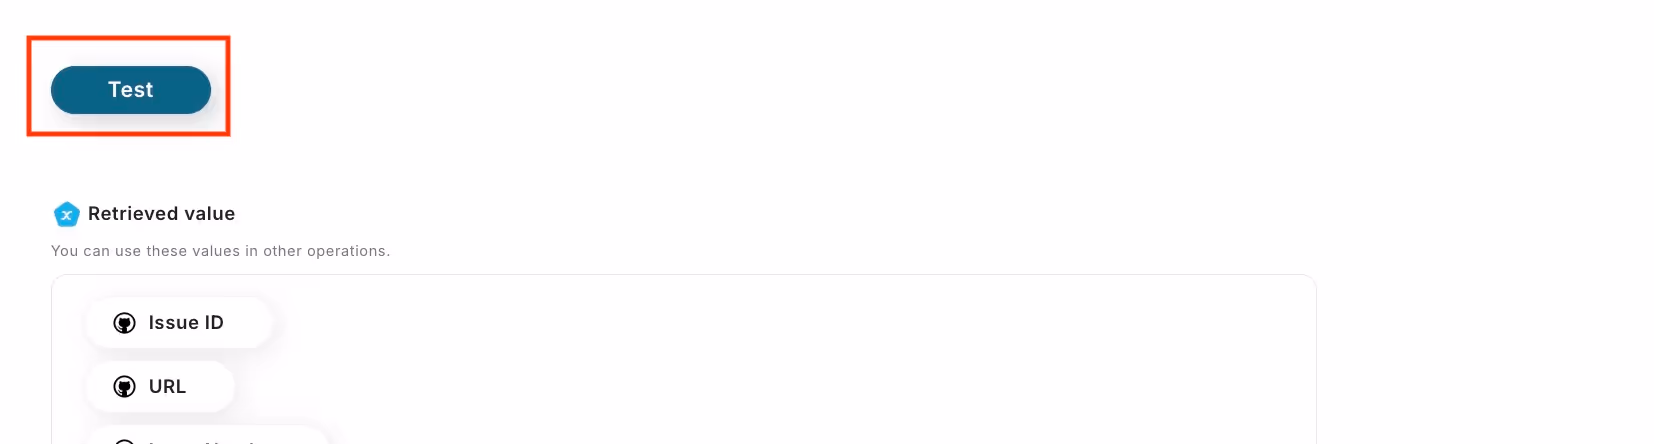
Click “Test”.
If successful, click “Save”.
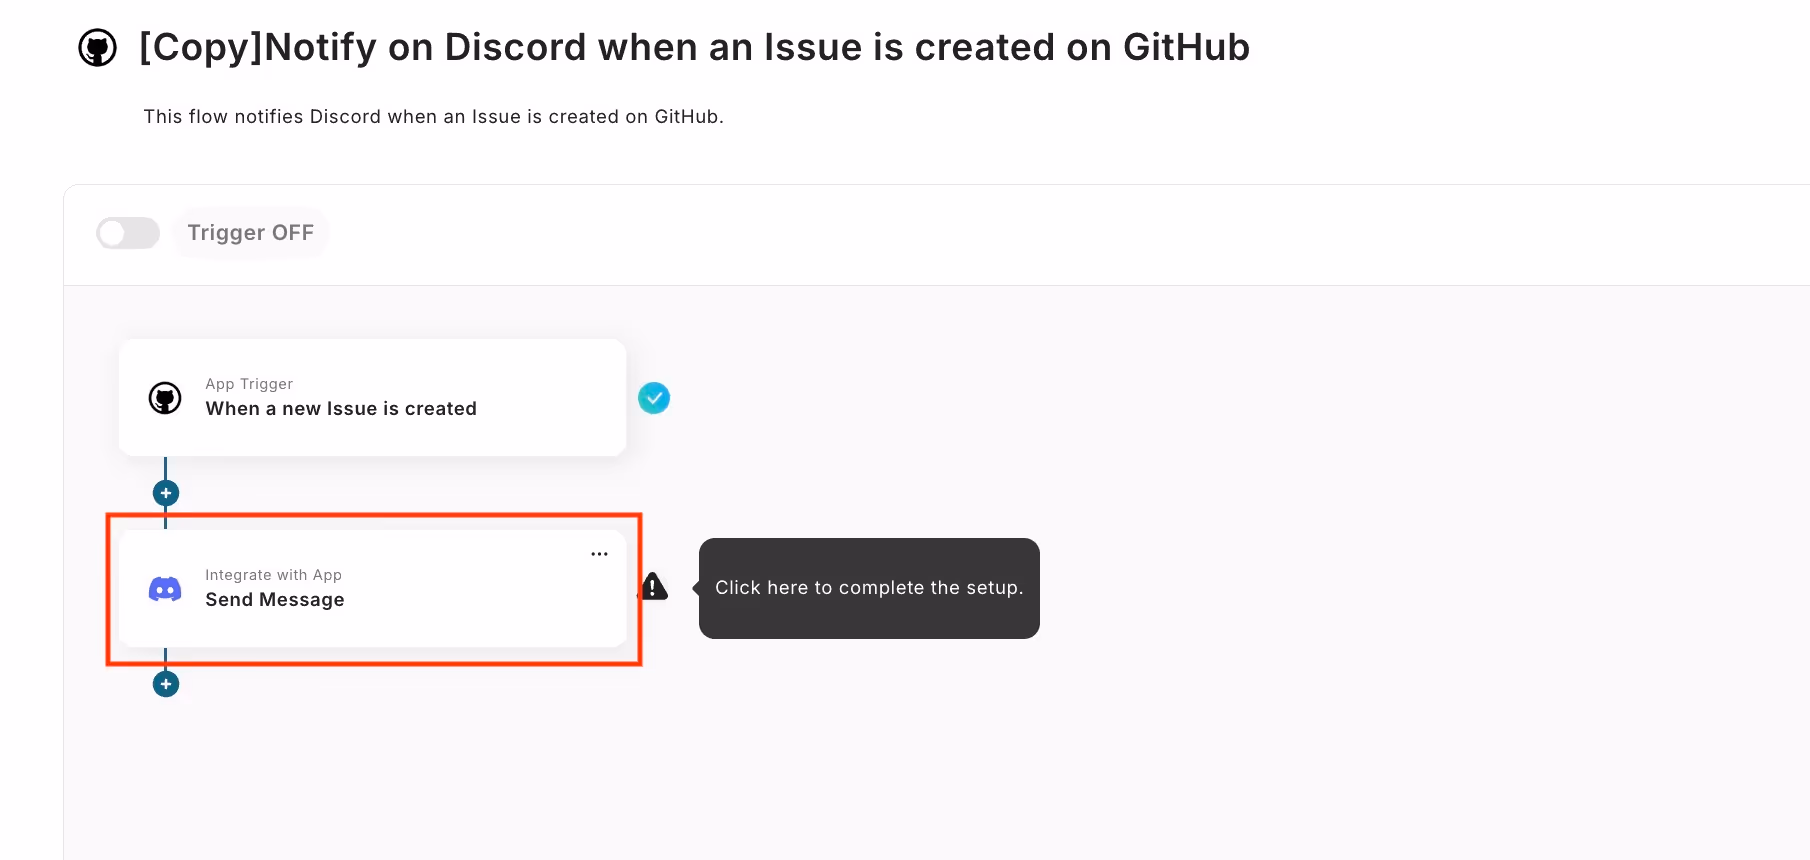
Step 4: Configure Discord Action
Click on the Discord action step labeled, "Send a message" under the Discord icon.
Give your action a name (anything you like).
Select your Discord account, and check the default settings.
If there are no issues click “Next”.
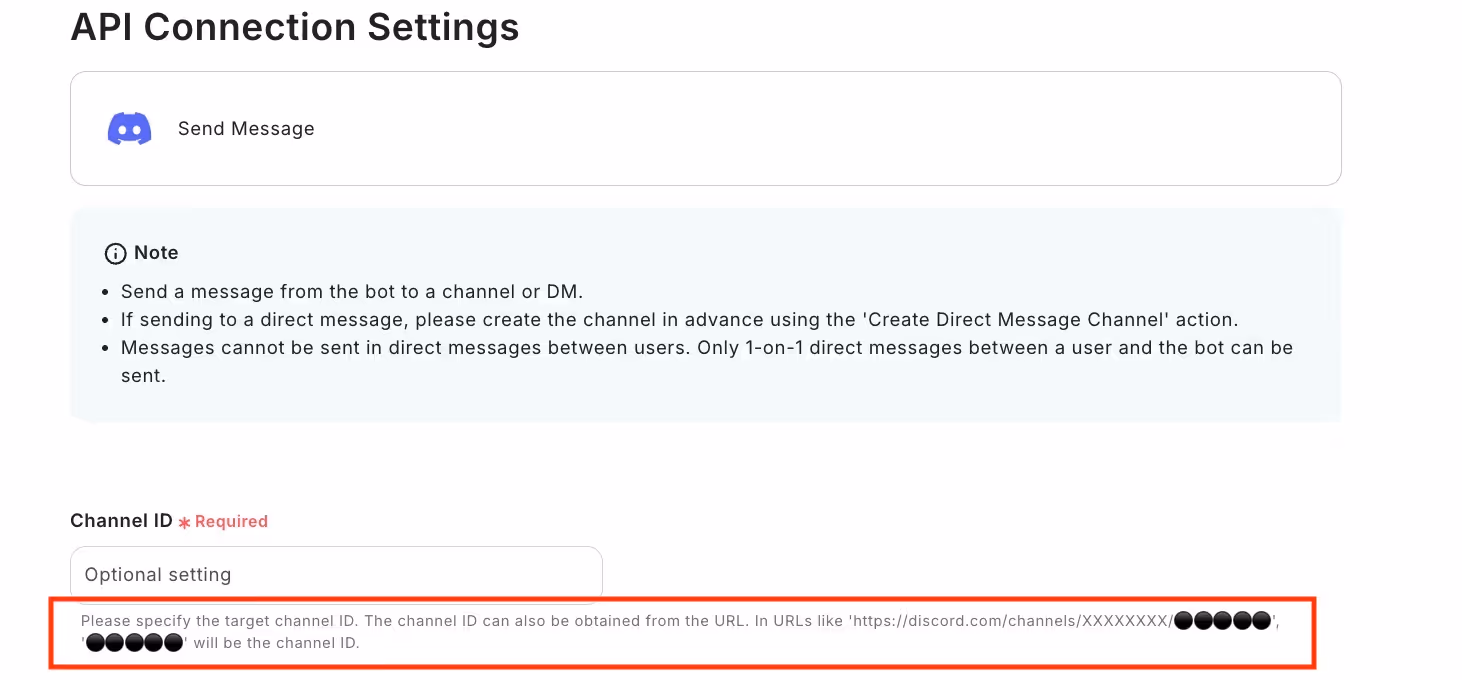
Specify the Channel ID (where you want to receive about new GitHub issues).
Follow the instructions provided below the input box to enter the Channel ID correctly.
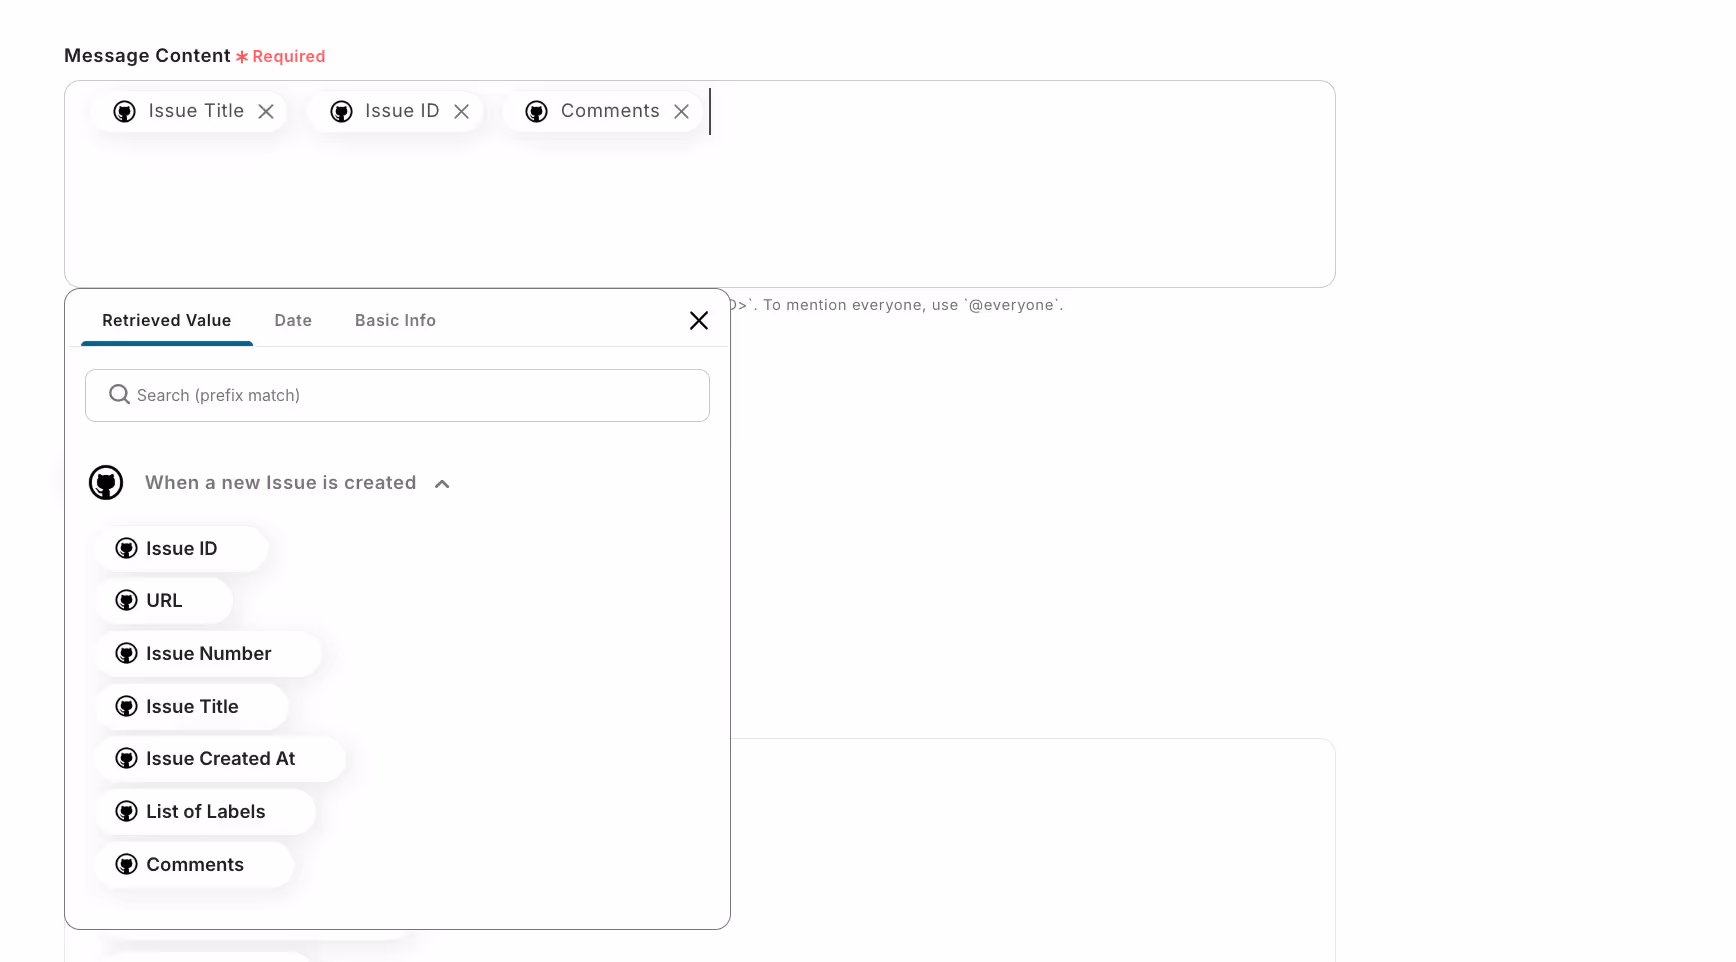
Set the content of the message you want to send to Discord by clicking inside the message box.
The GitHub test data you sent earlier will be displayed in the retrieved value list.
Click on the data you want to include in the Discord message.
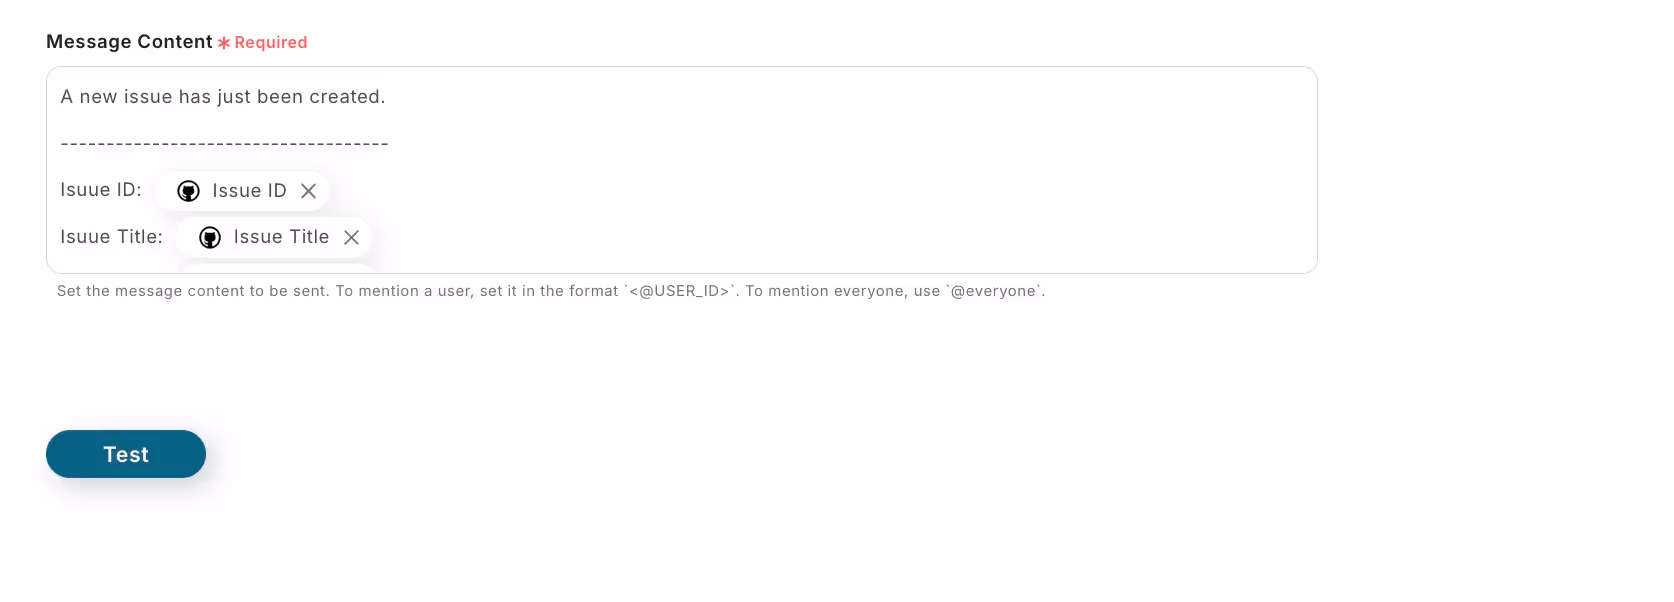
After clicking the data you want to send, it will be added into the message box like below.
If you want to include other information, you can add it.
📚 Reference:
For more details on retrieved values and how to set it up, see the guide here.
Customize your message layout.
This will make your Discord notifications easier to read :)
Once your message is ready, click the “test” button.
If successful, your setup is complete.
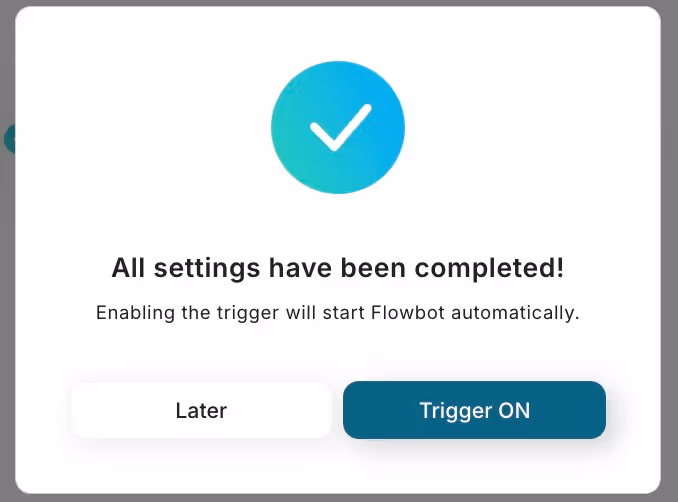
Step 5: Activate the Flowbot
Toggle the "Trigger On"button to activate your flow!
Check if the Flowbot you set up is working properly.
That’s it! 🎉
Your GitHub is now automatically sending notifications through Discord :)


.avif)
.avif)
.avif)
.avif)


