


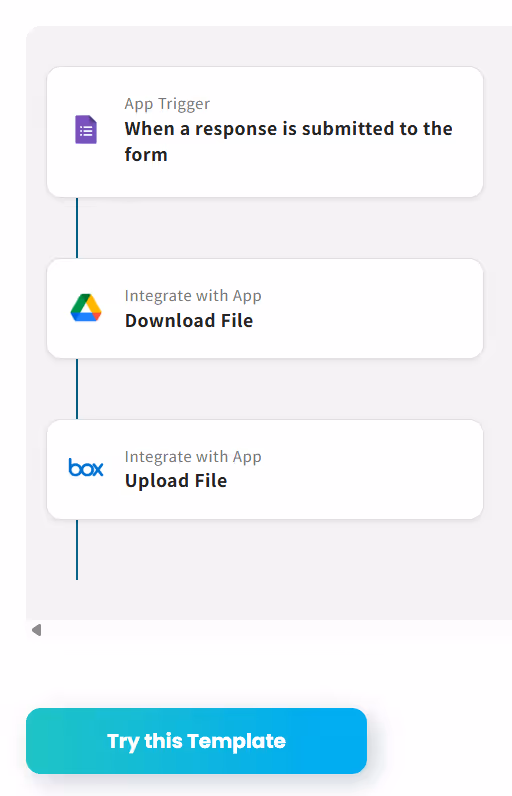
・Click "Try this template" to complete the copy.
Step 2: Set up the trigger Google Form
Set up the trigger action that initiates the flow.
This flow is triggered when a file is submitted to the Google Form.
1. Select "My Projects" in the Yoom management screen and click "[Copy]Upload files submitted via Google Form to Box".
* You can change the template title on the next screen.

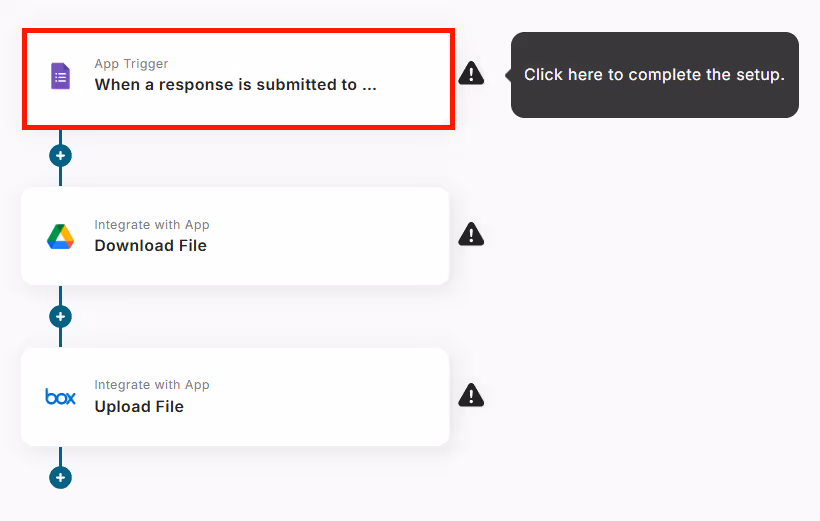
2. Click "App Trigger When a response is submitted to the from".
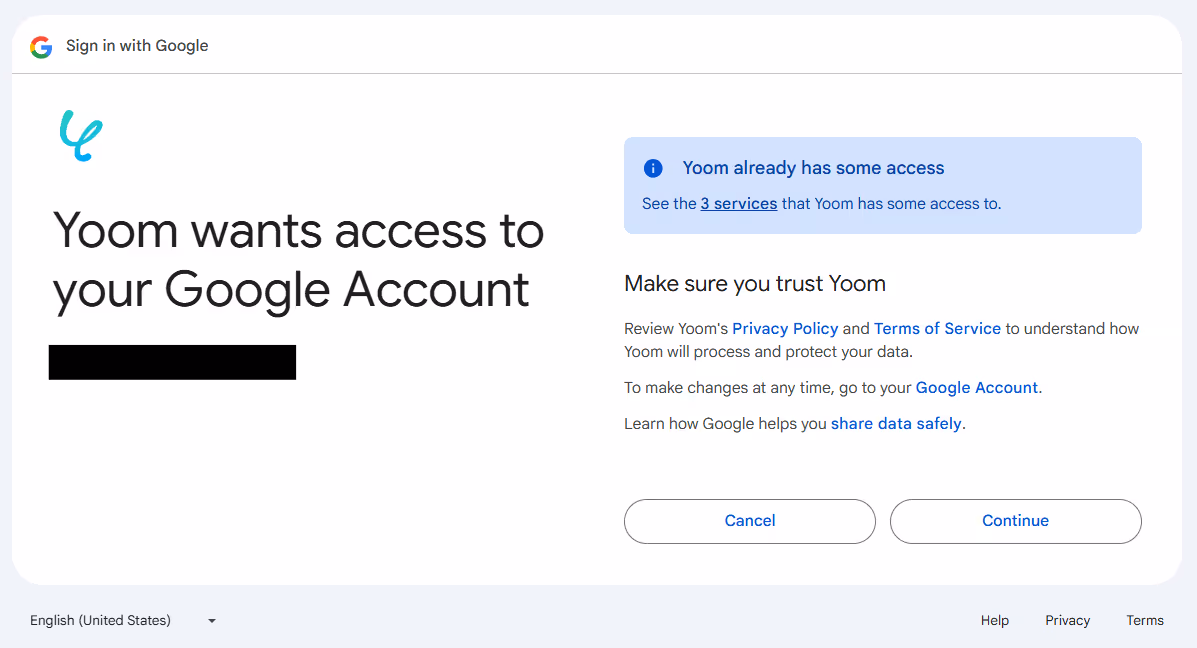
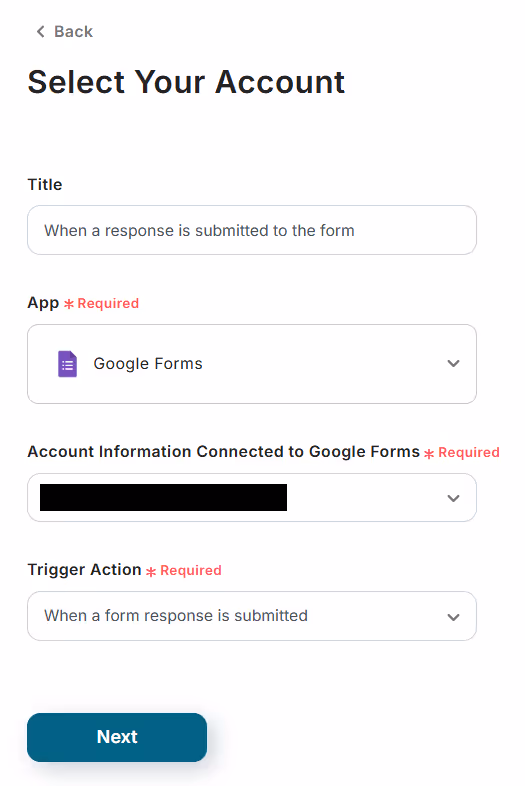
3. Confirm the account information connected to Google Forms and click "Next".
* Other items are set by default.
4. Set the trigger interval and form ID, and conduct a test.
* Trigger intervals available are 5 minutes, 10 minutes, 15 minutes, 30 minutes, and 60 minutes, and the selectable time varies depending on the plan.
* For each selected interval, check the trigger action on the app, and if executed, the flowbot will start. If you want to save files to Box immediately, a shorter interval setting is recommended.

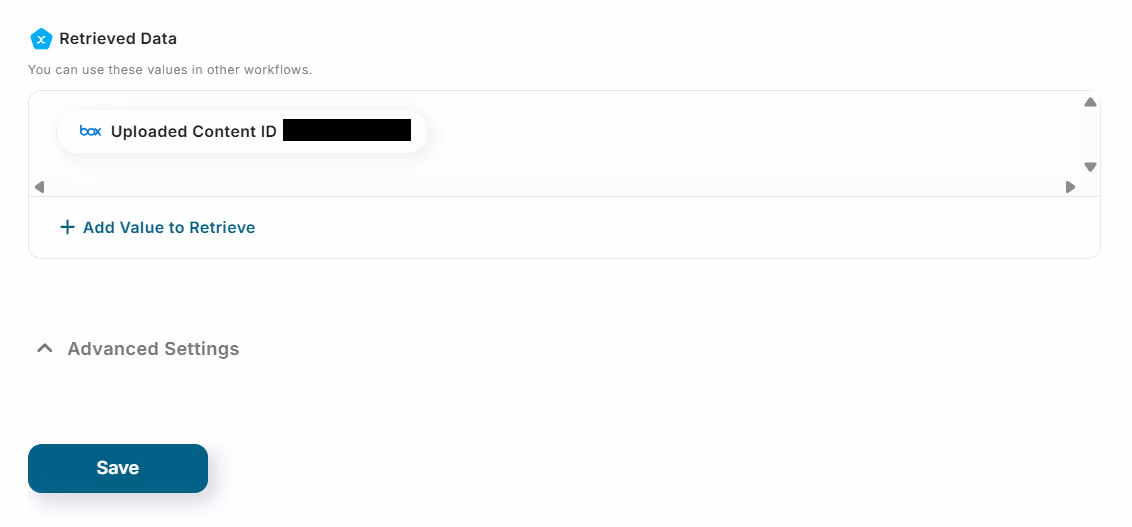
5. If the test is successful, the information obtained from Google Forms will be displayed in the retrieved value.
Click "+ Add value to retrieve" to add items to be used for the file ID and file name in the retrieved value and save.
* By default, the retrieved values that can be obtained from Google Forms are limited to "Response ID", "Last Response Date", "Response Creation Date", and "Respondent's Email Address". To obtain response content, you need to add output using JSONPATH. For how to add output, check the help pages here and here.

Step 3: Set up downloading files from Google Drive
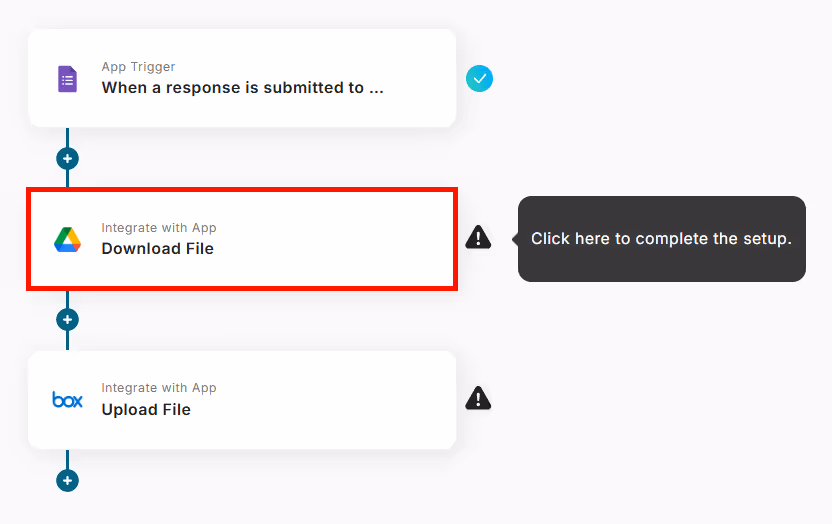
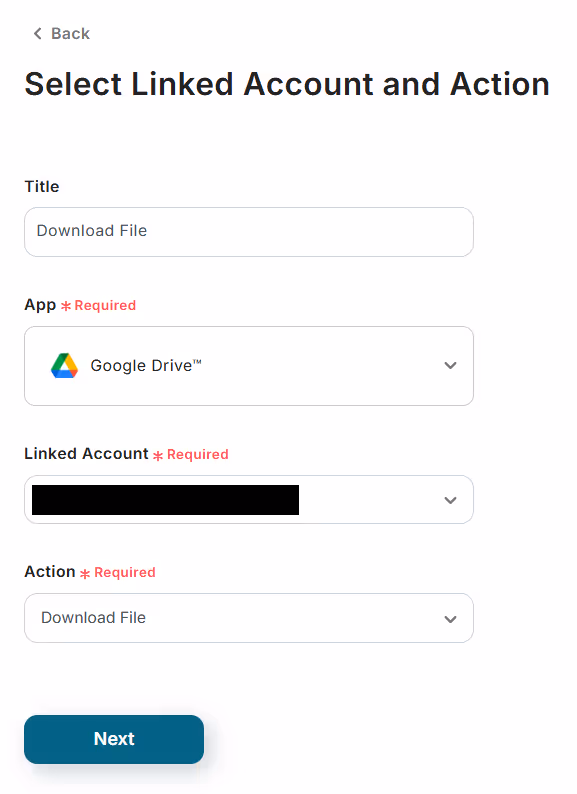
1. Click "Integrate with app Download file".
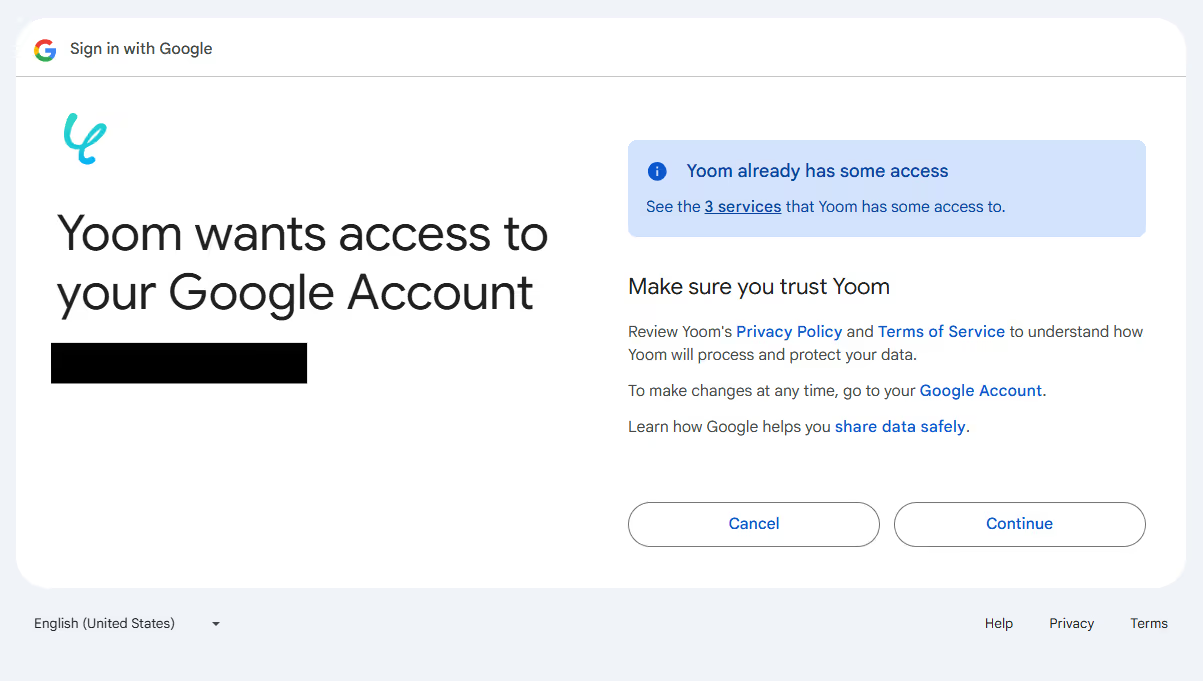
2. Confirm the linked account and click "Next".
* Other items are set by default.
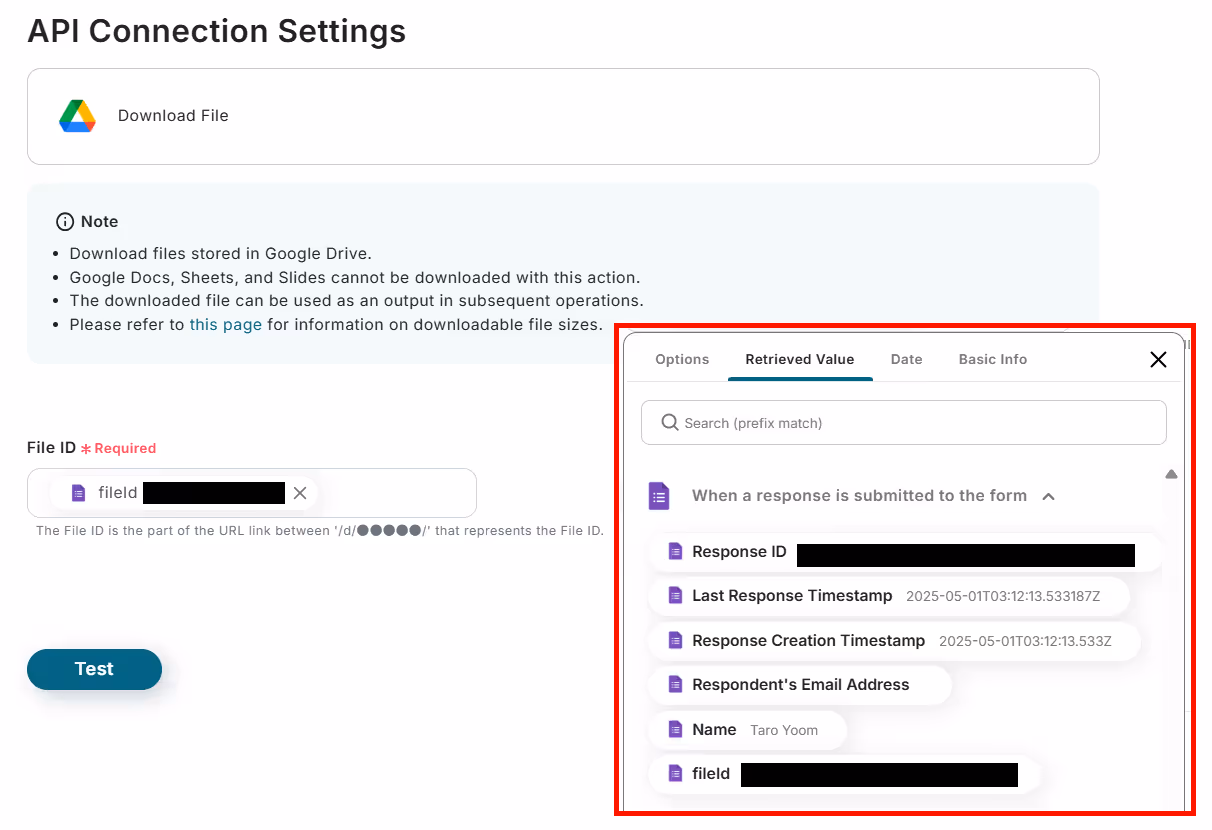
3. Set the file ID and conduct a test.
* The file ID is selected from the retrieved value displayed when you click the frame under "When a response is submitted to the form". This allows dynamic reflection of IDs that change with each file.
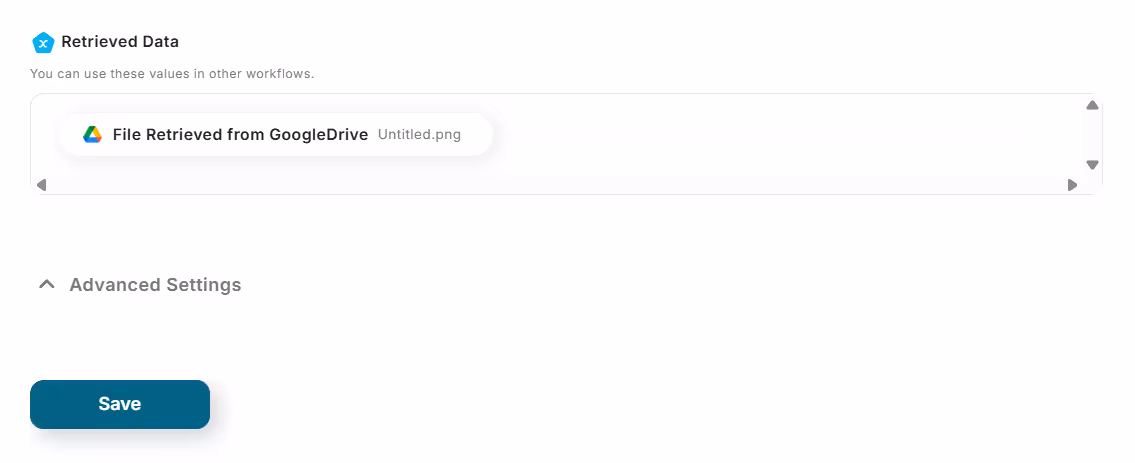
4. If the test is successful, save it.
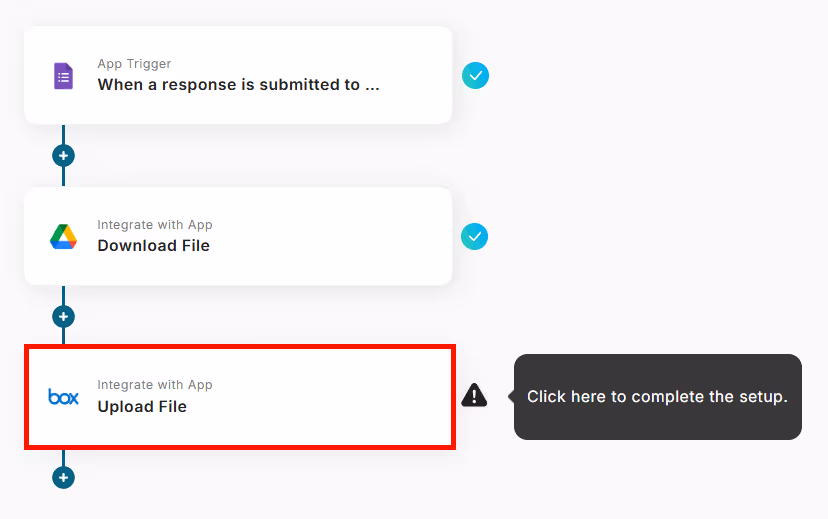
Step 4: Set up saving files to Box
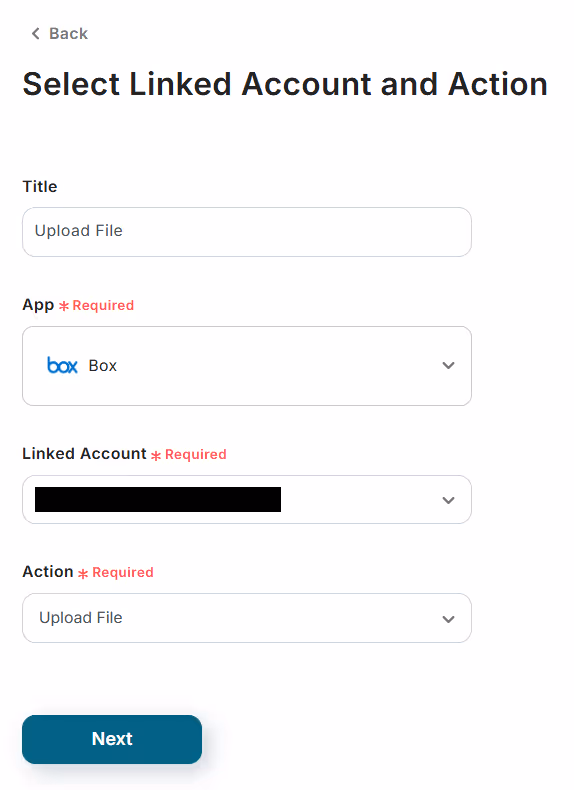
1. Click "Integrate with app Upload file".
2. Confirm the linked account and click "Next".
* Other items are set by default.
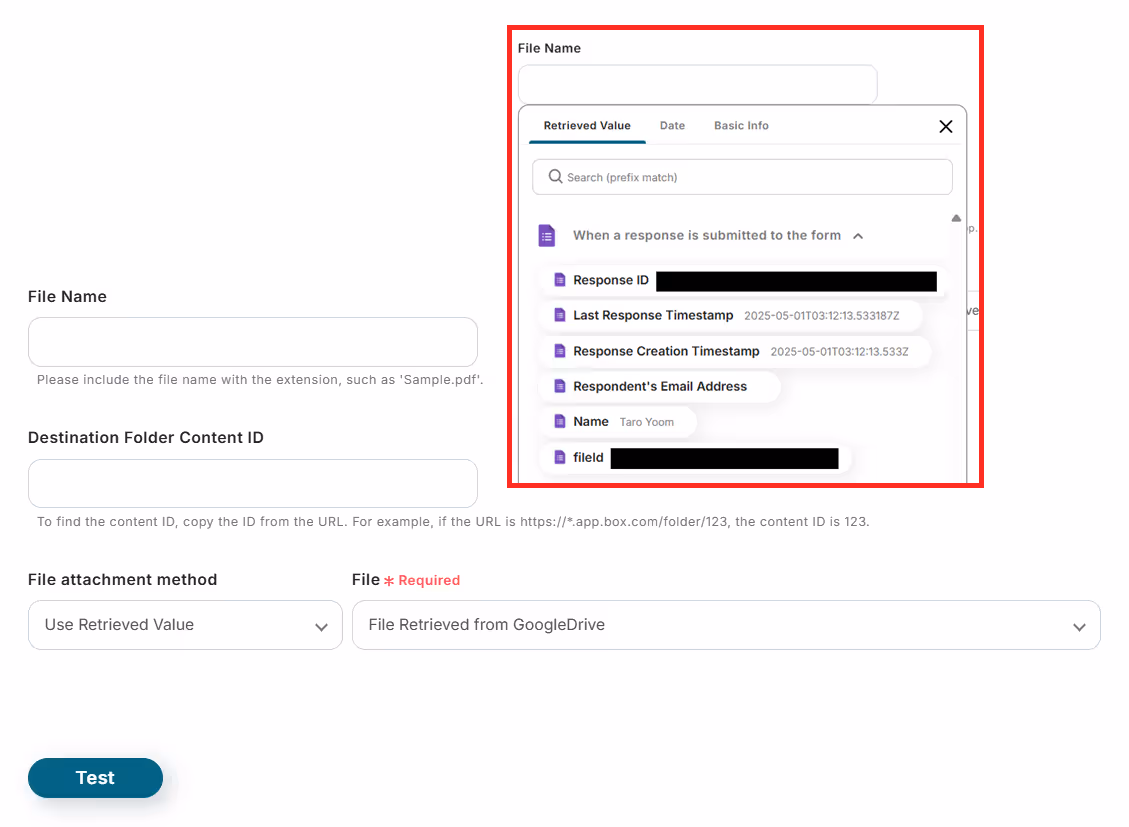
3. Set the file name and the destination folder content ID, and conduct a test.
* The file name can be set dynamically by selecting items from the retrieved value displayed when you click the frame under "When a response is submitted to the form". The extension is entered directly. You can also enter fixed text.
* The method of attaching files is set by default.
4. If the test is successful, the file will be saved in the specified Box folder.
If there are no issues, save it.
5. Once the trigger is turned ON, files will be automatically saved to the Box folder each time they are submitted to the Google Forms.

If you have any questions about the flow introduced, please check the help page here.


.avif)

.avif)


