How to upload files submitted through Google Forms to Microsoft SharePoint
How to Integrate Applications
・
2024/12/15
How to upload files submitted through Google Forms to Microsoft SharePoint
m.takahashi
File management is one of the important elements for improving business efficiency. However, have you ever experienced spending time searching for a file you thought you saved while handling daily tasks? In this article, we will explain how to automatically upload files submitted via Google Forms to Microsoft SharePoint. Integrating Google Forms, Google Drive, and Microsoft SharePoint can be an effective means to achieve business efficiency and optimize data management. This integration method can be easily set up without any coding, making it reassuring for those who are not confident in their IT skills. Please read through to the end.
Recommended for
We highly recommend this integration for the following individuals!
Those who are utilizing Google Forms, Google Drive, and Microsoft SharePoint
Those who find managing files submitted via Google Forms cumbersome
Those who have implemented Microsoft SharePoint and want to utilize the automatic file upload feature
IT personnel at companies looking to improve the efficiency of file management used in business
Those who feel challenged by information sharing and security management within their team
Benefits and Examples of Integrating Google Forms, Google Drive, and Microsoft SharePoint
Improving Business Efficiency
By integrating Google Forms, Google Drive, and Microsoft SharePoint, you can be freed from manual file management, thereby improving business efficiency. For example, when employees or customers submit files via Google Forms, the files are first uploaded to Google Drive and then automatically uploaded to Microsoft SharePoint, eliminating the need to manually move or organize files. This saves the time previously spent on file management, allowing employees to focus on other important tasks. This effect is particularly expected in operations that handle many forms and file management daily.
Centralized Information Management and Optimization of Access Rights
Automatically uploading files submitted via Google Forms to Microsoft SharePoint through Google Drive allows for centralized management of all information. Microsoft SharePoint allows for detailed access rights settings, so only specific members can view highly confidential files. Additionally, centralized information allows the entire team to quickly access necessary data, improving business transparency. Compared to when storage locations are not unified, it may also help with risk management and cost reduction.
Considering Data Integrity
The process of uploading information collected via Google Forms directly to Microsoft SharePoint reduces errors that occur during manual data entry. This is particularly beneficial when handling large volumes of data or complex information, as it helps prevent incorrect entries and duplicate data. Automating file uploads maintains data integrity and reduces the hassle of reconfirming data storage locations later. This streamlines tasks such as data analysis and report creation, allowing for quick access to accurate information necessary for decision-making.
Now, let's explain how to use the no-code tool Yoom to upload files submitted via Google Forms to Microsoft SharePoint.
[What is Yoom]
How to Upload Files Submitted via Google Forms to Microsoft SharePoint
It is possible to automatically add files received via Google Forms to a Google Drive folder using the Google Forms API and Google Drive's API. Additionally, using the API provided by Microsoft SharePoint, you can store files downloaded from Google Drive. Generally, programming knowledge is required to achieve this, but with the no-code tool Yoom, it can be easily accomplished without programming knowledge.
The integration flow is broadly divided into the following processes:
Register Google Forms, Google Drive, and Microsoft SharePoint as My Apps
Copy the template
Set up the trigger for Google Forms, which serves as the starting point of the flow, and configure the subsequent operations for Google Drive and Microsoft SharePoint
Turn on the trigger button and verify the integration operation of Google Forms, Google Drive, and Microsoft SharePoint
If you are not using Yoom, please register for free here. If you are already using Yoom, please log in.
Step 1: Register My Apps for Google Forms, Google Drive, and Microsoft SharePoint
Let's start by registering the apps you will use in My Apps. By registering them in My Apps in advance, you can set up the flow smoothly.
[Google Forms]
First, access My Menu on the left side of the Yoom screen and press the New Connection button on the right side of the screen.
Next, enter Google Forms in the search window and select "Google Forms" from the displayed options. The following screen will be displayed, so click "Sign in with Google".
You will be taken to the account selection screen, so click on the account you want to link.
When the following screen appears, check the details and click "Next" if the account is correct.
When the following screen appears, click "Continue" to complete.
[Google Drive]
Similarly, enter Google Drive in the search window and select "Google Drive" from the displayed options. The following screen will be displayed, so click "Sign in with Google" and set it up in the same way as Google Forms.
[Microsoft SharePoint]
If you are logged into Microsoft SharePoint, you will be logged in automatically. Note: Microsoft365 (formerly Office365) has both home and business plans (Microsoft365 Business), and if you are not subscribed to the business plan, authentication may fail.
If Google Forms, Google Drive, and Microsoft SharePoint are displayed in My Apps, registration is complete.
Step 2: Set the Trigger for Google Forms "When a Form Response is Submitted"
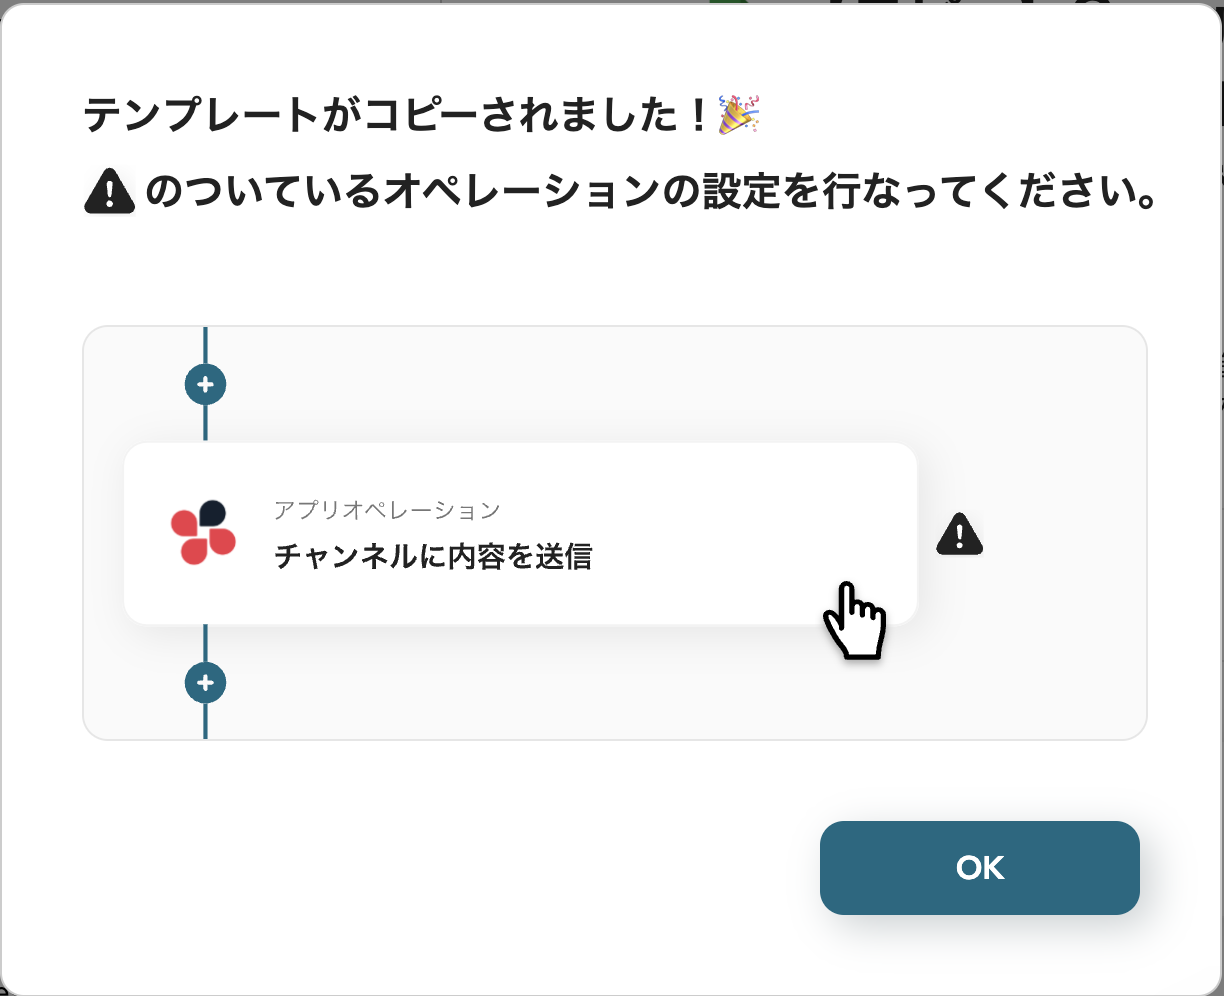
Now, let's proceed with setting up the integration flow! Click "Try it" on the banner below to copy the flow bot.
When you click, an image like the one below will appear, so press OK.
When the following screen is displayed, let's check the "Title" and "Description". If changes are necessary, you can click on the relevant section to make changes. First, to set up Google Forms, click "When a response is submitted to the form".
When the following screen is displayed, proceed with the settings below.
"Title" → Can be changed as needed "Account information linked with Google Forms" → Check if the account is correct "Trigger action" → When a response is submitted to the form
Once the settings are complete, click "Next".
Simultaneously set up Google Forms. This time, we have prepared a form exclusively for file submission like this! Keep the created form open and proceed to the next setting.
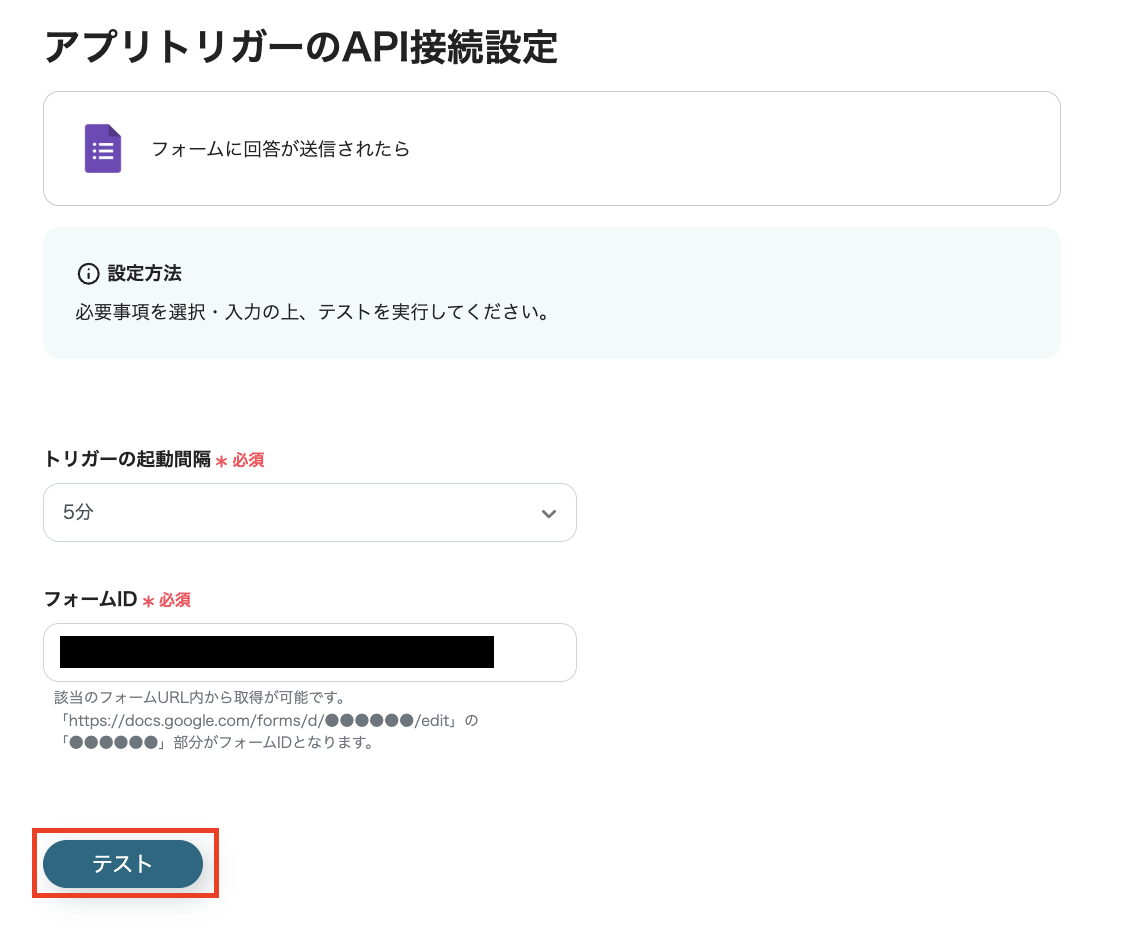
Return to Yoom and configure the details.
"Trigger interval" → Please select * The trigger interval can be selected at intervals of 5 minutes, 10 minutes, 15 minutes, 30 minutes, or 60 minutes. Please note that the shortest trigger interval varies depending on the plan. "Form ID" → Obtain and set it from the URL of the Google Form you just set up
Once the settings are complete, execute the "Test".
By executing the test, you can obtain the output. By using the output, you can respond to values that change with each flow activation. * For more information about the output, please see here.
However, since "fileId" and "fileName" used in the subsequent operation cannot be obtained, they need to be added manually. Click "+ Add value to obtain" to add the value, and it will be displayed as follows. * For how to obtain the response content when using Google Forms as a trigger, please refer to here.
Once the output acquisition is complete, click "Save" to finish.
Step 3: Set up actions for Google Drive "Download File" and Microsoft SharePoint "Upload File"
Next, set up the action to obtain the file that was sent via the form and saved in Google Drive. Click "Download File" in Google Drive, and it will be displayed as follows, so proceed with the settings.
"Title" → Can be changed as needed "Account information linked with Google Drive" → Check if the account is correct "Action" → Download file
Once the settings are complete, click "Next".
Check the precautions before setting.
Scroll down the screen to find the "File ID" setting section. Enter the "fileId" that was manually added in the trigger action here. Click the input field, and a suggestion will appear below, so click "Output" and select "fileId" from "When a response is submitted to the form". After setting, execute the "Test", and if successful, click "Save" to complete.
When you click "Upload File" in Microsoft SharePoint, the following screen will be displayed, so proceed with the settings.
"Title" → Can be changed as needed "Account information linked with Microsoft SharePoint" → Check if the account is correct "Action" → Upload file
Once the settings are complete, click "Next".
Let's set up the API connection.
"Site ID" → Select from suggestions "Drive ID" → Select from suggestions "Destination folder name" → Set "Item ID of the destination folder" → By setting the folder name, suggestions will appear, so select one
Scroll down the screen and set the file name of the file to be stored this time. This time, since the "fileName" output is obtained in the trigger action, let's set that.
Set the method of attaching the file. Set the file downloaded in the previous action as follows.
Once the settings are complete, execute the "Test", and if successful, click "Save" to complete.
Step 4: Verify the automation of Google Forms, Google Drive, and Microsoft SharePoint
Finally, click "Turn on Trigger" to complete the automation settings. Let's check if the flow bot starts correctly.
Thank you for your hard work on the settings!
Other Automation Examples Using Microsoft SharePoint
There are many other examples of automation using Microsoft SharePoint on Yoom, so here are a few introductions.
1. Create a Folder in Microsoft SharePoint When a Client is Registered in Notion
The first example is a flow integrated with Notion. Based on the registered client information, a folder is automatically created, making the storage location for materials used in business clear and allowing smooth access to the materials.
2. Upload the file received by email to Microsoft SharePoint and notify Microsoft Teams
The next flow introduces integration with Microsoft Teams. By automatically notifying file uploads, it may reduce the effort of confirmation and facilitate smooth information sharing within the team.
3. Upload the contract signed with freee Sign to Microsoft SharePoint
The last introduction is the integration flow with freee Sign. You can automatically store signed contracts, allowing you to quickly search and refer to them when needed. ※ Branching is a feature (operation) available with the Mini Plan or higher. Please note that if you are on the Free Plan, the operation of the flow bot you set will result in an error. Paid plans like the Mini Plan offer a 2-week free trial.
Summary
By integrating Google Forms, Google Drive, and Microsoft SharePoint, you can manage files more efficiently. This automation can reduce manual work and ensure data consistency, leading to improved transparency and efficiency in operations. Clearly knowing where files are stored can also enhance accessibility to information when used in business operations. As a result, it may lead to increased productivity for the entire team.
Please try incorporating automation using Yoom into your daily work to experience how much efficiency can be improved.
The person who wrote this article
m.takahashi
I experienced jewelry sales as a new graduate, got married and gave birth, and worked at a social insurance labor consultant office for about 6 years. I experienced a variety of office work in both industries, including inventory management and customer management. Especially when I work at a company labor office, I often end the day with a huge amount of input work and paperwork. When I learned about Yoom, my first voice was “Why couldn't we meet sooner...” I try to write easy-to-understand sentences so that I can bring the convenience of Yoom to everyone!
Conventional RPA can only automate simple repetitive tasks, and the setup process was very complicated. With “hyperautomation,” which combines various technologies such as AI, API, RPA, and OCR, it is possible to automate many tasks that could not be realized until now more easily than before.
Most tools simply connect one app to another, leaving the complex tasks to you. Yoom goes much further: From document creation and browser automation to OCR and generative AI, Yoom handles it all seamlessly in one platform.
Why settle for basic integrations? Streamline your entire workflow with Yoom’s powerful hyperautomation.


.avif)


.avif)
.avif)
.avif)
.avif)


