

Update Notion Page Properties When a Row is Updated in Google Sheets
Of course, updates are supported as well! Eliminating the need for duplicate data entry can also improve work efficiency, right?
.avif)
・

When managing the same data in both Google Sheets and Notion, do you ever struggle with duplicate data entry?
Not only does it take time to input the same data into two tools, but if there are transcription errors or missed updates, you might end up wondering, "Which data is correct?"...
The solution to this problem is automation through data integration between Google Sheets and Notion!
By utilizing this integration, data between Google Sheets and Notion is automatically synchronized.
As a result, data addition and updates can be automated, potentially completing tasks that previously took up your time much more quickly.
Additionally, by using the no-code tool Yoom, integrating data between Google Sheets and Notion can be easily achieved.
This method allows even those without programming knowledge to easily set up the integration. Please give it a try!
By using Yoom, you can easily integrate Google Sheets and Notion without any coding.
Yoom provides templates for integrating Google Sheets and Notion, so even without API knowledge, you can achieve integration immediately just by registering.
By integrating Google Sheets with Notion's API, you can automatically sync data from Google Sheets to Notion!
For example, you can automatically perform data synchronization like the one below without manual intervention.
This flow is recommended for cases where you are managing customer lists or task management in Google Sheets while using Notion for team sharing, thus avoiding double management.
Of course, updates are supported as well! Eliminating the need for duplicate data entry can also improve work efficiency, right?
If you are manually performing data aggregation tasks in Google Sheets and sharing them within your team, this will help reduce your working time!
Let's get started by creating a workflow that integrates Google Sheets and Notion!
This time, we will proceed with the integration of Google Sheets and Notion using Yoom without any coding. If you do not have a Yoom account yet, please issue one from the registration form here.
[What is Yoom]
This time, we will create a flow bot that adds a record to Notion when a row is added in Google Sheets!
The creation process can be broadly divided as follows:
Click "+ Add" from "My App" in the left menu of the Yoom screen.

1. Search

Click the Gmail icon.
2. Sign In
Click "Sign in with Google"
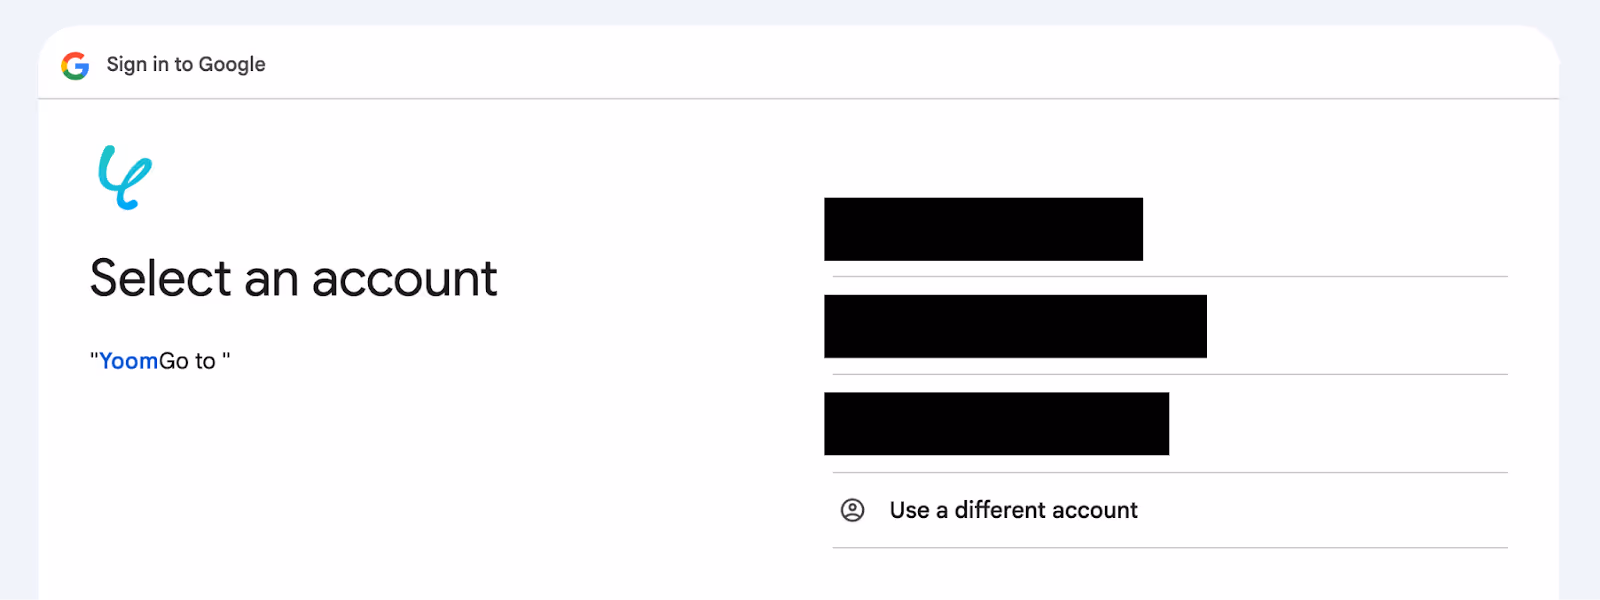
3. Select Account
Select the account to connect.
Review and agree, then press Next.
4. Connection Complete

The screen will change, and if the above display appears, the connection is complete.
1. Prepare Notion
Before connecting Notion and Yoom, you need to prepare Notion at this stage.
2. Search
Search for Notion and click the Notion icon.
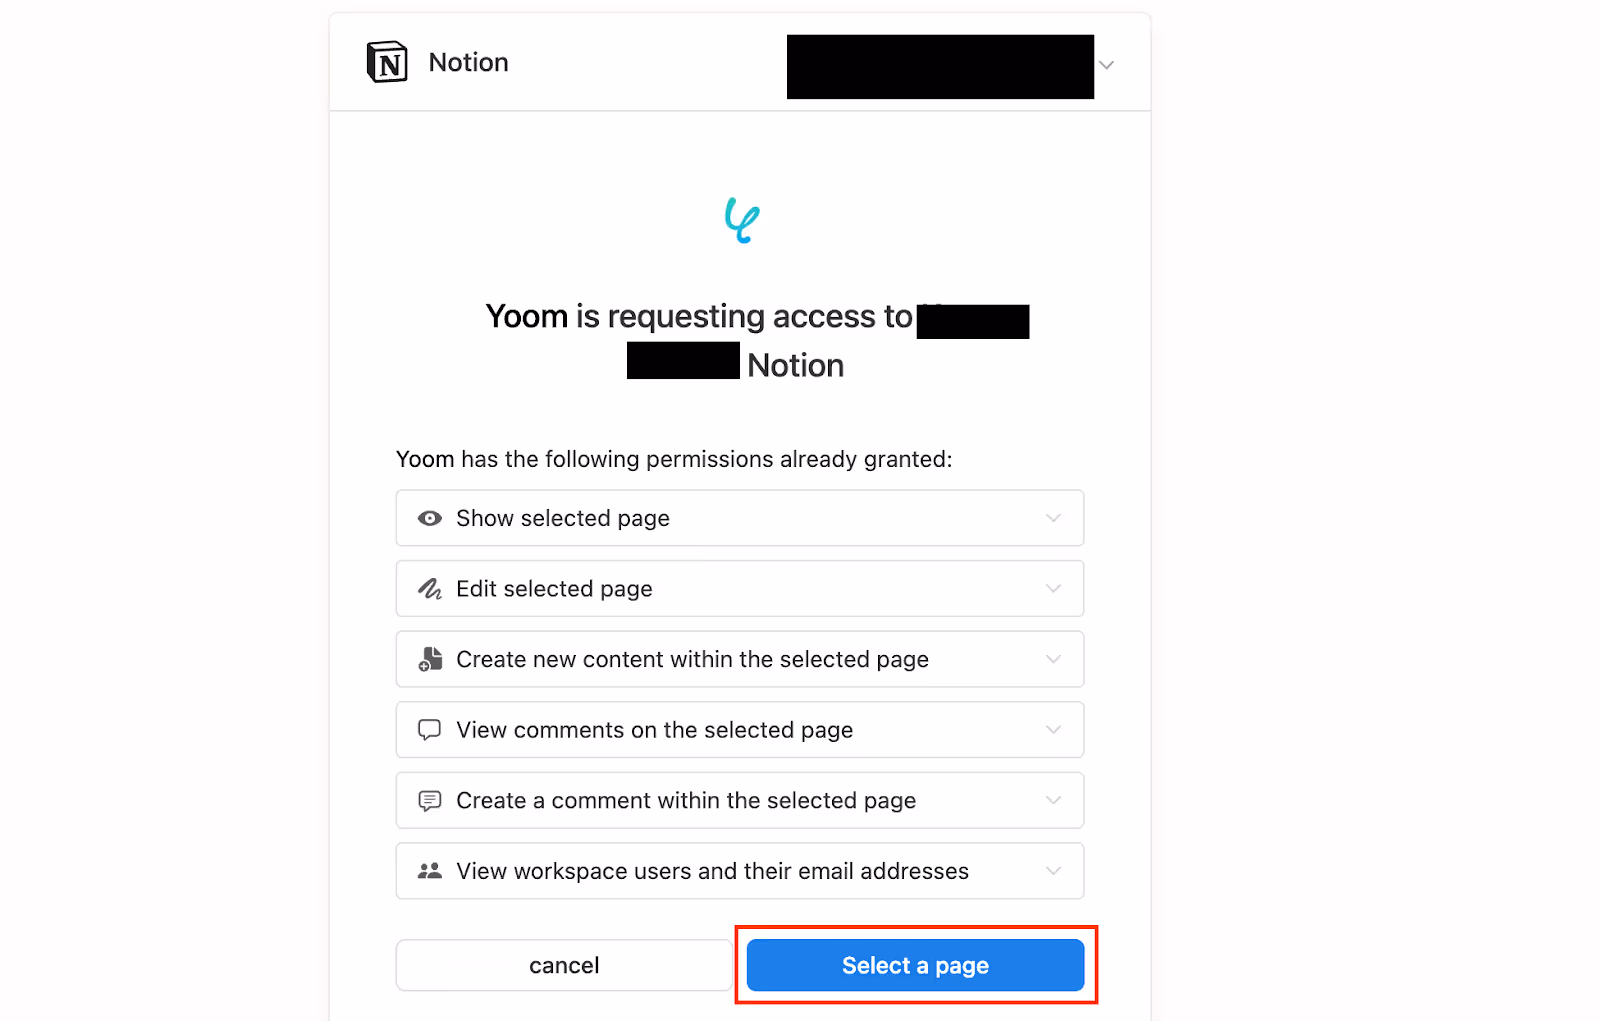
3. Access Request
The access request will be displayed as shown in the image.
Check and click "Select Page".
4. Select Page

The pages already created in Notion will be displayed.
Select the page you prepared earlier and press "Allow Access".
5. Connection Complete
Return to the Yoom screen, and if the above display appears, the connection is complete.
Next, copy the template to be used this time.
* If you have already completed registration, please log in.
When the template is copied to "My Project", a screen like this will be displayed.

Open the copied template from "My Project" in the menu on the left.

Click on "When a row is added".

Enter the necessary information.
"Title": Can be changed if necessary
"Account information linked with Google Sheets": Confirm if correct
"Trigger action": Select "When a row is added"

First, select the "Trigger interval".
You can choose the trigger interval from 5 minutes, 10 minutes, 15 minutes, 30 minutes, or 60 minutes.
If you want to add to Notion quickly, set a shorter interval!
*Note that the selection of intervals may vary depending on the plan.

Next, enter the "Spreadsheet ID".
Click the input field to display suggestions.
Selecting from the suggestions makes it easy to enter!

This time, as a test version, we created a sheet like this in Google Sheets.
Therefore, we are selecting this sheet!

Let's also select the "Sheet ID" from the suggestions.

Enter the "Table range (start and end)" and the "Column with unique values".
Once you finish entering, press "Test".

If the test results show no issues, "Test successful" will be displayed.
Then, as an output, the data on the sheet will be displayed as shown in the image.
Once this screen is displayed, click "Save"!

Click on "Add record".

Enter the necessary information.
"Title": Can be changed if necessary
"Account information linked with Notion": Confirm if correct
"Execution action": Select "Add record"

Enter the "Database ID".
Click the input field to display suggestions and select one.

We created a table like this in Notion for testing, so we are entering the ID of this table.

Enter the "Values of the record to be added".
Input fields corresponding to the Notion table will be displayed, so use the output obtained in Step 3 to enter the values!
① Click the input field to display the output
② Click "When a row is added"
③ Select "Content"

Enter other items in the same way.
After entering all items, press "Test" and if there are no issues, click "Save".

Finally, click "Turn on the trigger" to complete the automation setup.
Make sure the flowbot is activated correctly.
Thank you for setting it up!

These are the steps to link Google Sheets to add a row and add a record in Notion!
This time we introduced how to link data from Google Sheets to Notion, but if you want to link data from Notion to Google Sheets, please also use the following template.
Recommended if you manage creative elements in Notion and detailed numerical data in Google Sheets!
You can also synchronize data at specified schedules! Doing this at key moments, such as the start or end of the day, might help you get a clear overview of cluttered data.
By leveraging the API of Google Sheets and Notion, various automations can be realized!
How about considering the following automations?
By integrating with other tools, you can centrally manage data and eliminate the hassle of duplicate management. You can check data without accessing each tool, thereby improving work efficiency.
Tasks such as transferring data to other tools and creating folders can be automated. Additionally, since you can add information from other tools, it is recommended for teams using Notion as a platform for information sharing.
Data synchronization between Google Sheets and Notion can save you from entering the same data twice into different tools and may help minimize the panic of "Which tool has the latest data!?"
This makes data management easier than ever and is expected to lead to improved work efficiency. For those who manage a lot of data daily, this is a very welcome benefit!
Moreover, Yoom is designed to be simple and user-friendly, allowing even beginners to easily integrate apps. You don't need any complicated programming knowledge, so rest assured!
This makes it easier for those who have given up on automation implementation to take on the challenge!
Registration takes just 30 seconds, and you can start using it immediately afterward. Try it out and see how it feels!

.avif)


.avif)

