

.avif)

Step 3: Setting Up Integration Between Google Sheets and Notion
0) Since this flow adds information from Google Sheets to Notion, you need to create a corresponding Notion database in advance. Please prepare the database with the necessary fields.
1) Click the "Try this template" icon on the previously introduced template and copy it to My Projects.

2) The following display will appear.
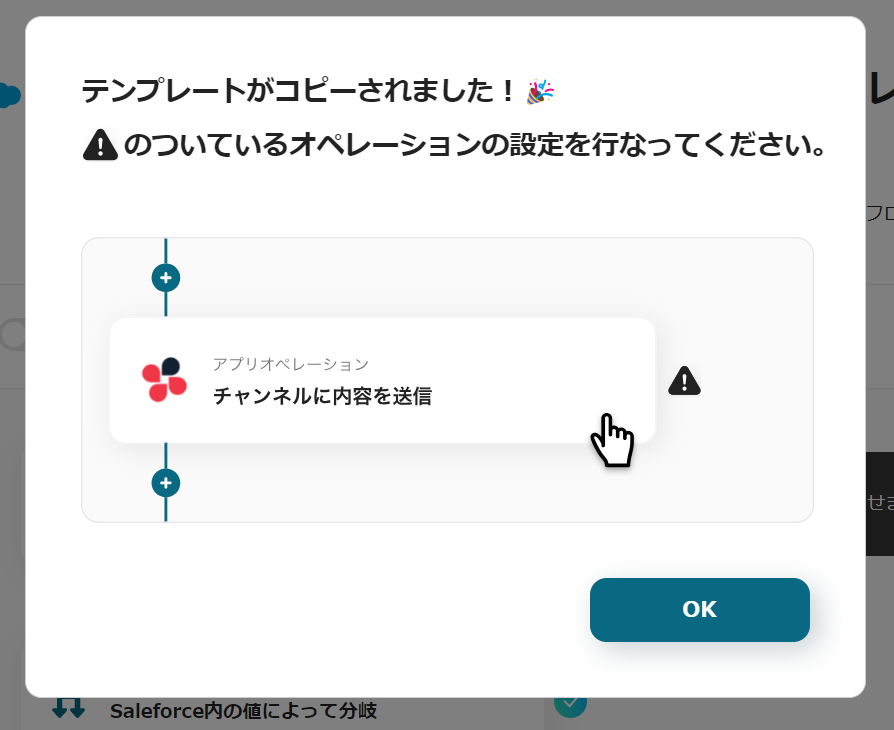
Follow the instructions and click the flow icons with "!" on the right in order to edit them. You can change the title and details by clicking on them. Please modify them to make them user-friendly.

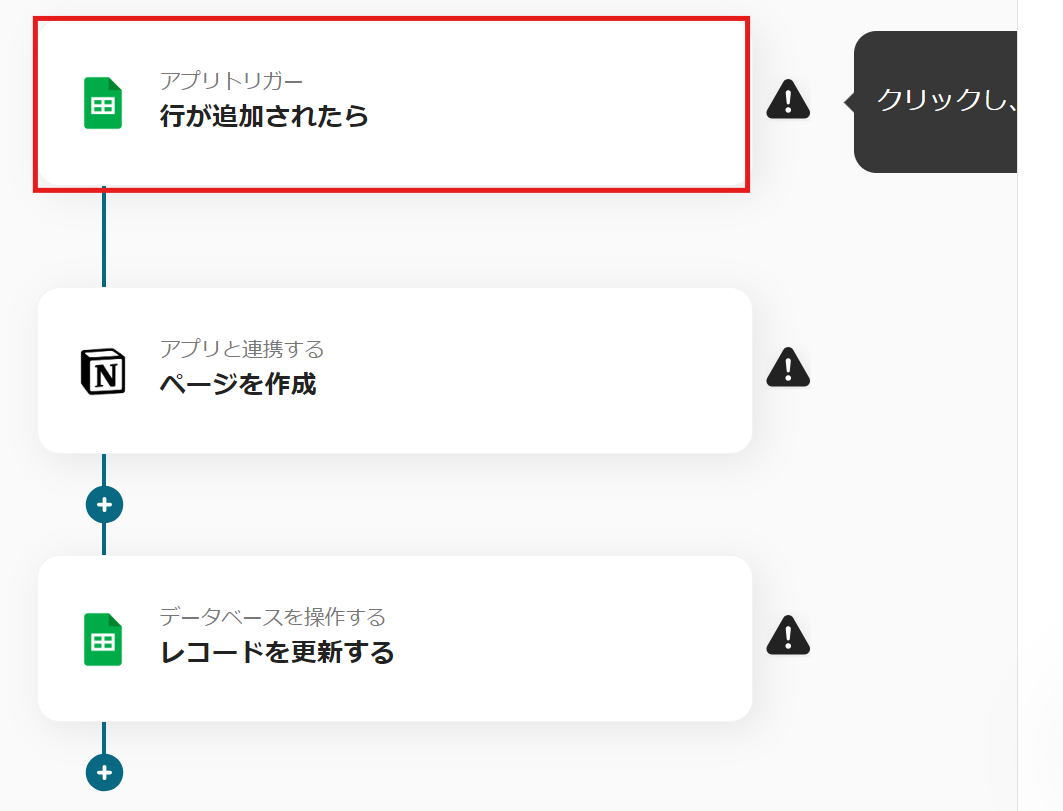
3) Click "App Trigger: When a row is added".
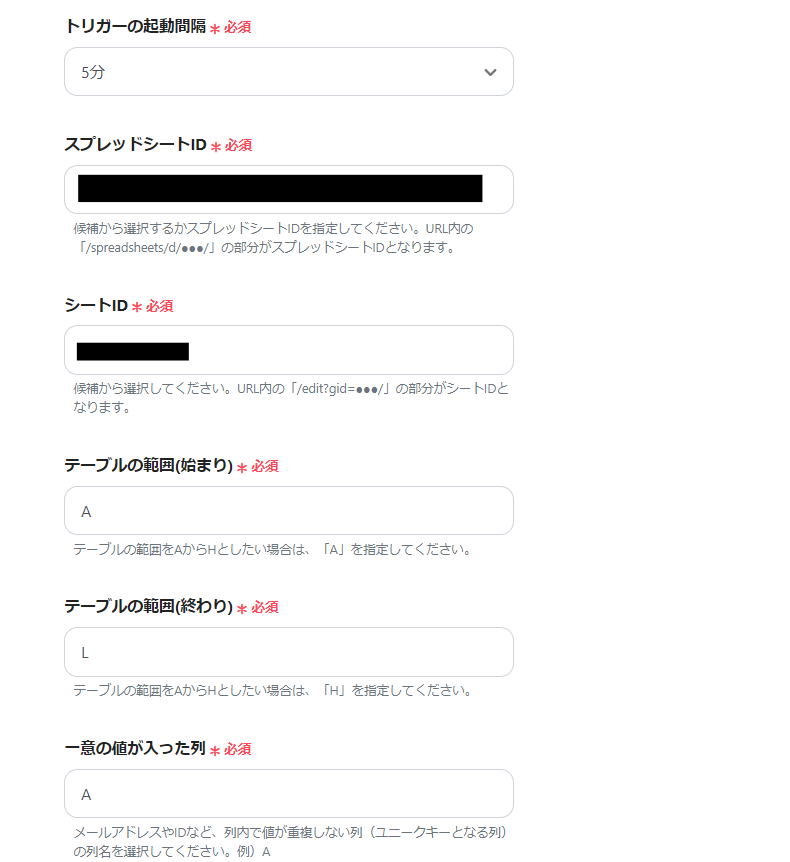
4) Select "When a row is added" for the trigger action and click "Next".

5) Select "Trigger Interval" and enter the required fields. The Spreadsheet ID and Sheet ID are registered in the app, so you can select them from the options. Once all entries are complete, click "Test". If the test is successful, click "Save".
6) Return to the flow and click the "Integrate with App: Create Page" icon.

7) Select "Create Page" for the action and click "Next".
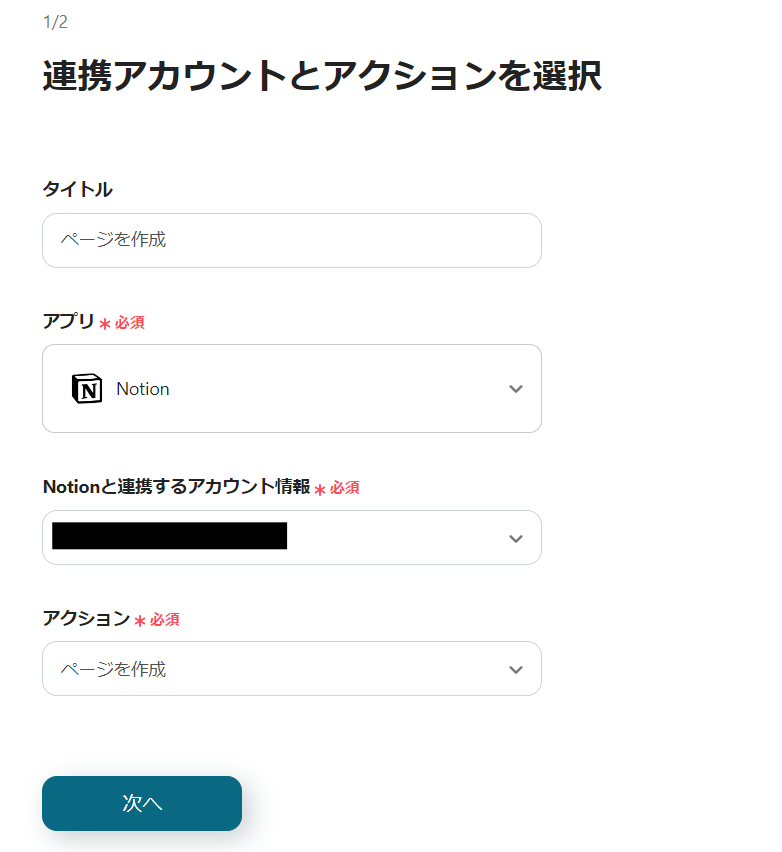
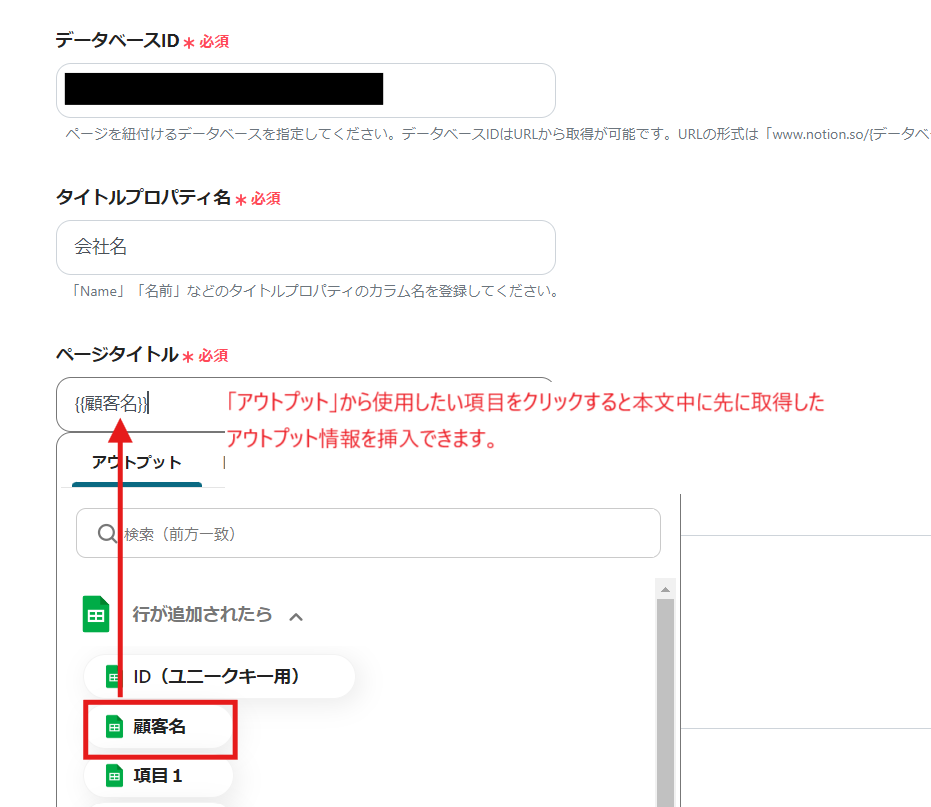
8) Enter each field.
Select the database you created earlier for the Database ID. You can reference the output information from the Google Sheets you integrated earlier, so quote from the options as needed. Once the entries are complete, click "Test". If the test is successful, click "Save".
9) Return to the flow and click the "Operate Database: Update Record" icon.
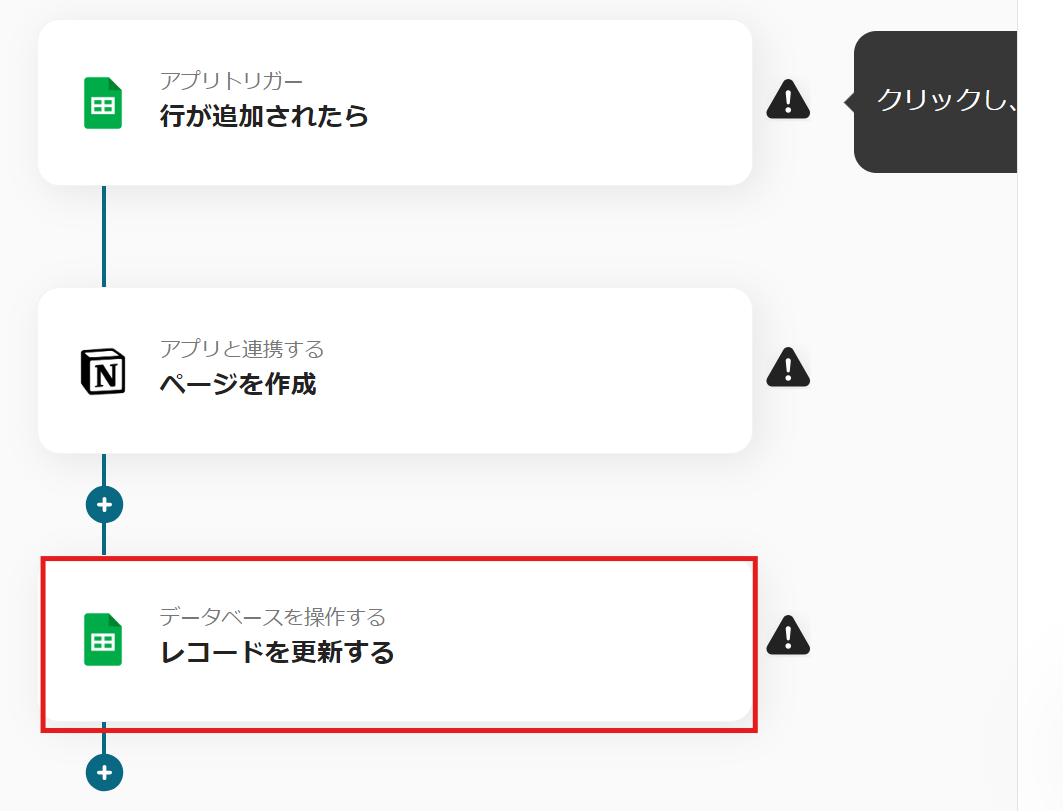
10) Select "Update Record" for the action and enter the required fields. Once the entries are complete, click "Next".
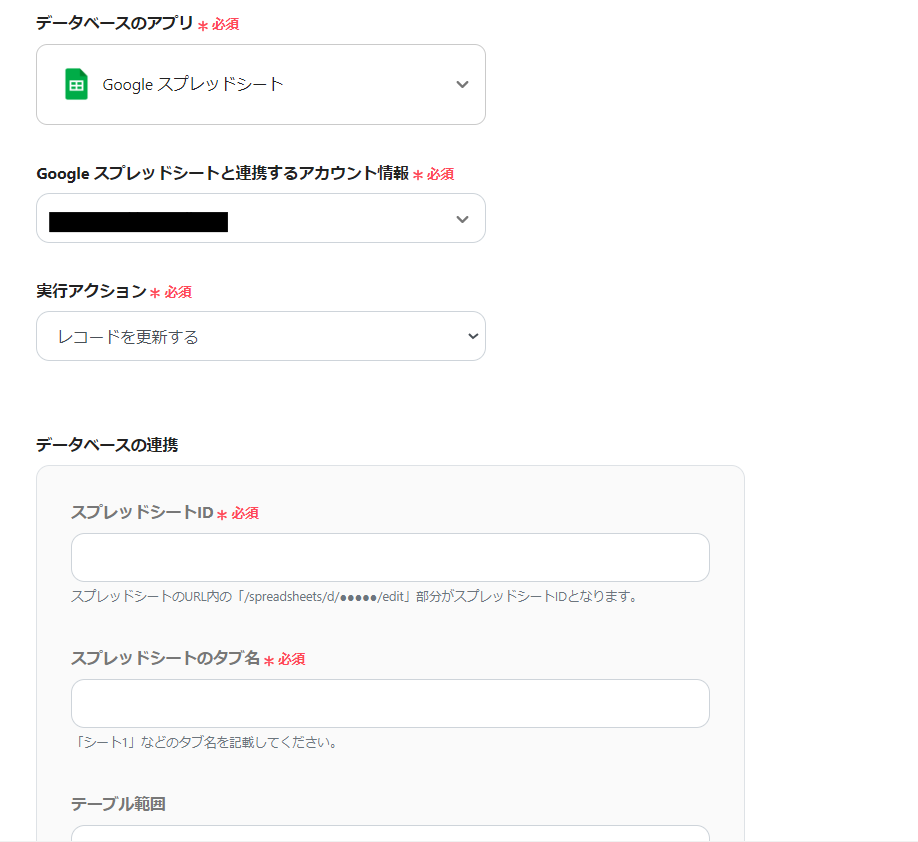
11) For the condition of the record you want to update, select "Equals" and enter the value for the updated record. You can reference the output information from Notion you integrated earlier, so quote from the options as needed.
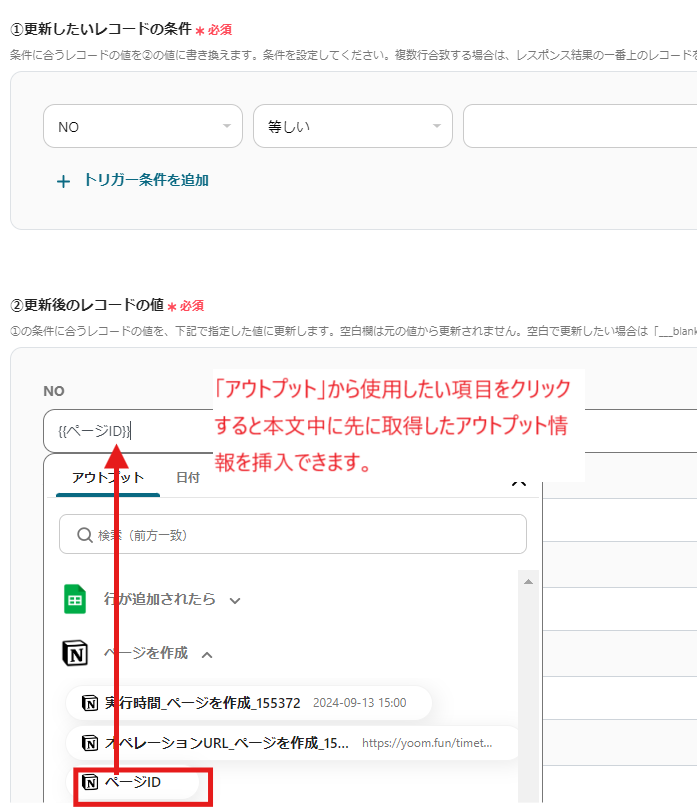
Once the entries are complete, click "Test". If the test is successful, click "Save".
12) This completes the flow of 【Creating a Page in Notion When a Row is Added in Google Sheets】.
Step 4: Testing and Verification
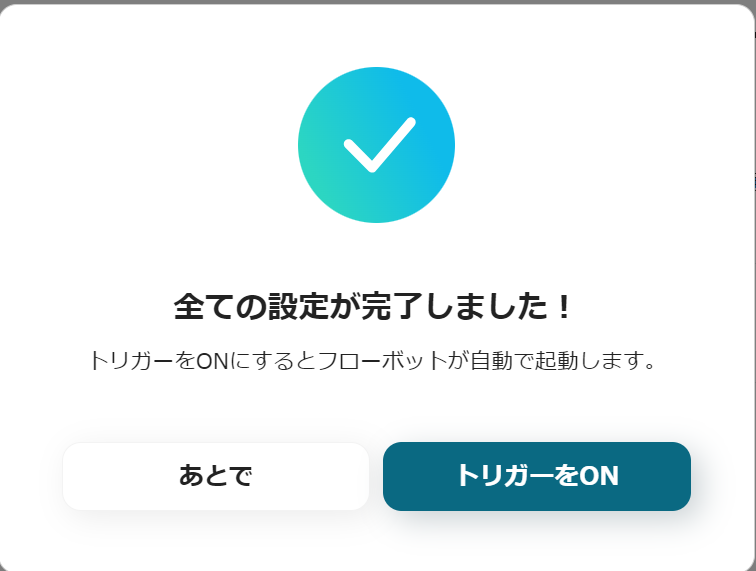
13) Once the setup is complete, the following display will appear, so click "Turn on Trigger". Start the flow bot and check if it operates correctly once.
Here is the template used this time


.avif)

.png)


