

.avif)


By using the above template, you can easily automate the process.
First, open My Project in Yoom and click on "+ Create".

Next, select "Create from Template Gallery".

In the search box at the top right, enter "Send an email with Outlook when a row is updated in Google Sheets" and search.
On the right side of the displayed template, select "Create Template" in blue text.

This completes the template copy. A popup will appear, so press OK.
From here, follow the instructions and proceed with the settings mainly on the "!" part on the screen.

③ Setting the Trigger
First, select "When a row is updated" and check the settings.
Enter the account information to be linked and press "Next".


Then, you will transition to a screen like the one below, so read the instructions carefully and proceed with the input.

Please check the supplementary information at the bottom of the input field.
Use your own Google Sheets ID.
You can choose the trigger interval from 5 minutes, 10 minutes, 15 minutes, 30 minutes, or 60 minutes. (The shortest trigger interval varies depending on the plan)


After completing the input, you can check the operation with the test button.
If successful, it will look like the screen below, so please refer to it.

If there are no issues with the settings, let's return to the first screen by clicking "Save".
④ Setting the Linked App
Next, select "Send Email" and enter the account information to be linked.


Scroll down to find the email content settings section, and set the email content you want to send as desired.
* You can use the output by clicking on the input field.

Once you have completed entering the email body for automatic sending, press "Next".

Here you can test whether the email can actually be sent.
Check if necessary.
If there are no issues, press "Save".

Then, the following popup will appear, so press "Trigger on ".
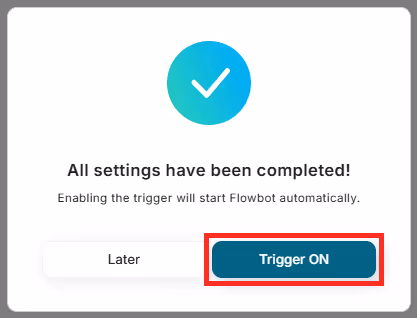
This completes all the settings for "Send an email with Outlook when a row is updated in Google Sheets".
Good job!


.avif)
.avif)
.avif)


