How to integrate Google Sheets with WooCommerce to add customer information to WooCommerce after adding a row in Google Sheets
How to Integrate Applications
・
2025-04-16
How to integrate Google Sheets with WooCommerce to add customer information to WooCommerce after adding a row in Google Sheets
k.ueno
When you receive a lot of emails every day, it can be quite a hassle to save files to Dropbox each time. Moreover, many people might have experienced the struggle of missing a file save or saving a file in the wrong folder, making it difficult to find later.
In this article, we will introduce a method to automatically save files received in Gmail to Dropbox!
By using no-code tools, you can easily set up automation between Gmail and Dropbox. You can start using it right away, so be sure to give it a try!
Recommended for
Those who want to automatically upload files attached to Gmail to Dropbox
Those who want to integrate Gmail and Dropbox to facilitate smooth file sharing within the team
Those who want to prevent the loss of attachments and ensure proper document storage
For those who want to try it immediately
In this article, we will introduce the integration method using the no-code tool "Yoom".
No complicated settings or operations are required, and even non-engineers can easily achieve it.
You can start right away using the template below, so please give it a try!
Business tools are indeed very convenient, but minor human errors are inevitable. Integrating Google Sheets with WooCommerce using Yoom can automate registration tasks, minimizing input errors and typos. This article introduces how to create an automation flow that eliminates tedious manual tasks and enables accurate data management.
Recommended for
・Those who manage customer information with Google Sheets and operate the sales process with WooCommerce ・Those who find customer information registration tasks cumbersome and want to improve work efficiency through automation ・Those who want to reduce human errors in data entry in WooCommerce ・Those who want to streamline customer information management during busy periods or sales periods
Benefits and Examples of Integrating Google Sheets and WooCommerce
Benefit 1: Improved Work Efficiency
By omitting the manual process of adding customer information from Google Sheets to WooCommerce, work efficiency can be expected to improve. With the introduction of this flow, when new customer information is entered into Google Sheets, the data is reflected in WooCommerce, partially reducing the time spent on registration tasks. For example, manually entering customer information for hundreds of people gathered at a large-scale event could take several hours, but automation enables faster information processing.
Benefit 2: Reduction of Human Errors
Preventing typos and registration errors from manual input allows for accurate customer data management. If there are errors in important data such as names, email addresses, and addresses during customer information registration, it could affect subsequent sales processes and customer interactions. For instance, with the introduction of an automation flow, accurate information registration in WooCommerce can prevent shipping mistakes and email distribution troubles, enabling smooth customer interactions.
Benefit 3: Centralized Database Management
Automatically synchronizing information recorded in Google Sheets with WooCommerce makes it less likely for management data to be dispersed. By leveraging this integration, you can grasp most of the information just by checking the Google Sheets side, which is expected to reduce management burdens. For example, when the support team checks customer data, they can grasp basic information by only checking the Google Sheets side, potentially reducing the time spent on cross-application tasks.
[About Yoom]
Now, let's actually create a flow bot using the template "Add customer information to WooCommerce when a row is added in Google Sheets".
How to Create a Google Sheets and WooCommerce Integration Flow
The process to complete the flow will proceed as follows.
・Integrate Google Sheets and WooCommerce with My Apps ・Copy the template ・Set triggers in Google Sheets and configure WooCommerce ・Turn on the trigger
Let's start by making a new connection for the apps you want to integrate.
・Integrate Google Sheets and WooCommerce with My Apps
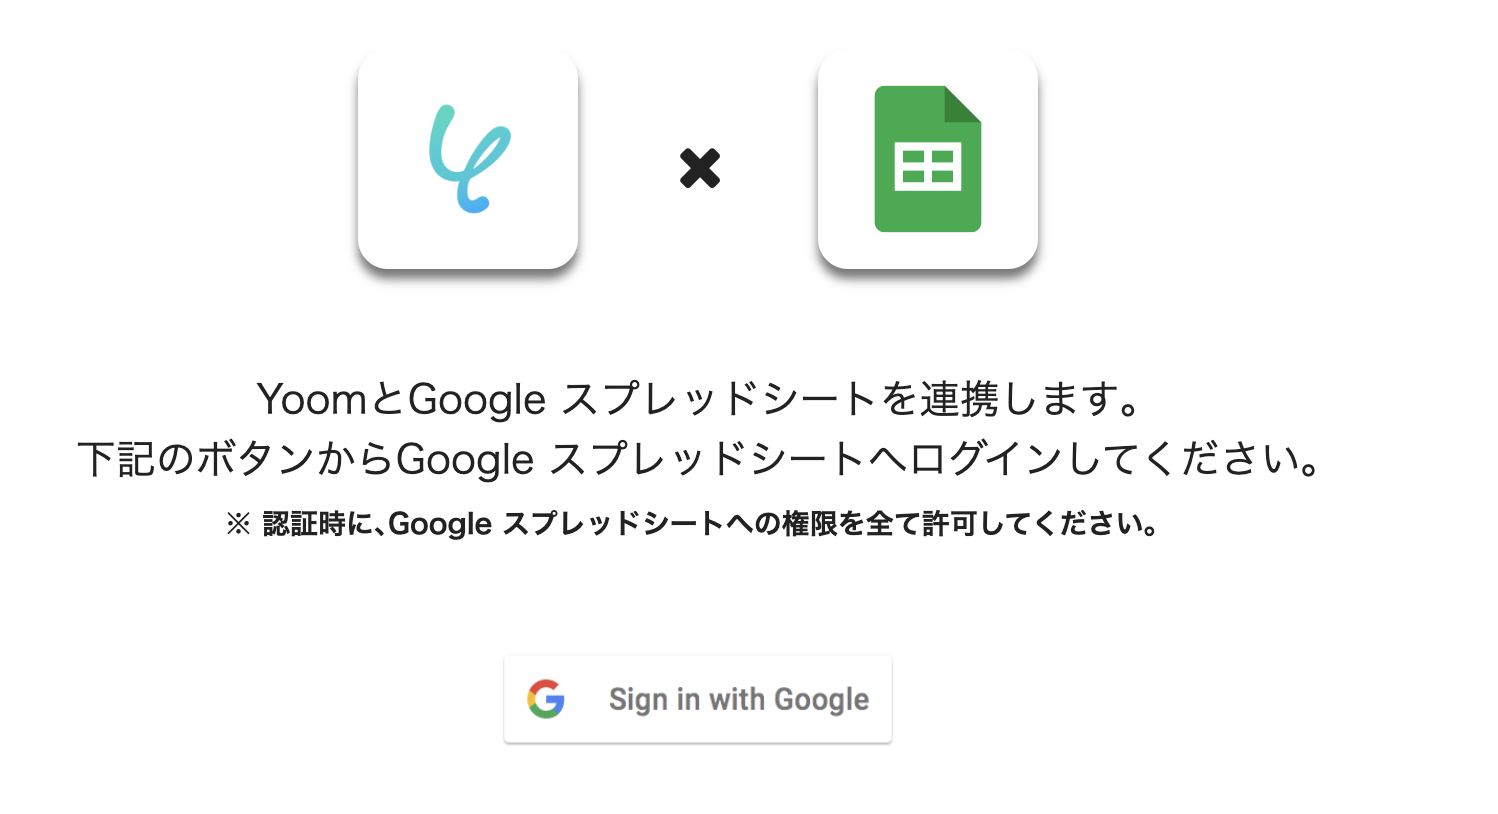
(1) First, connect Google Sheets to My Apps. After logging into your Yoom account, click "My Apps" on the left and search for Google Sheets from "New Connection".
Search for and click on the Google Sheets app icon.
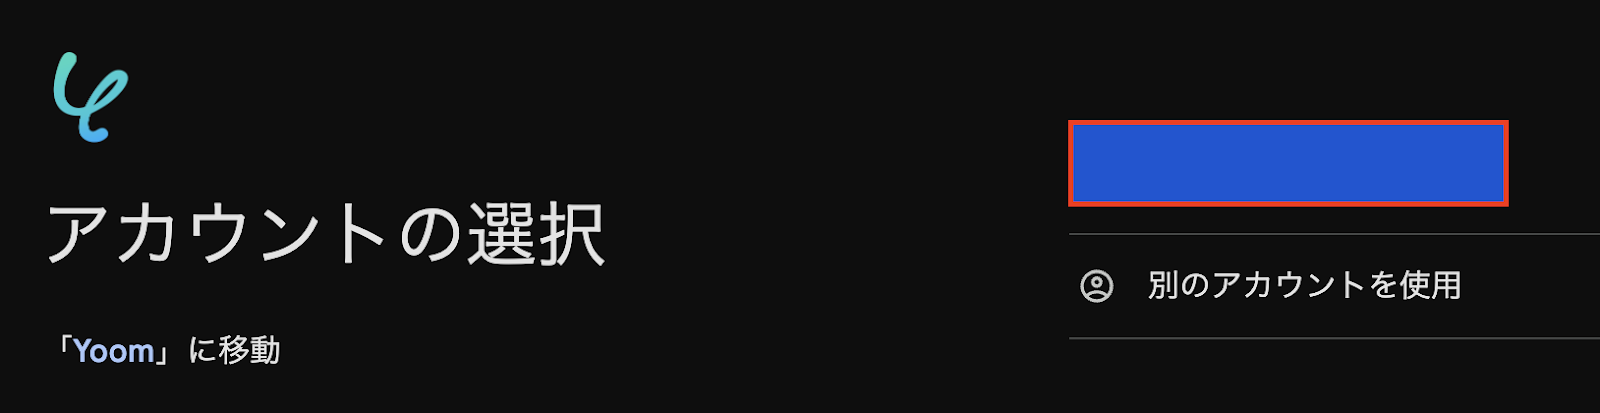
(2) Click "Sign in with Google" to move to the account selection screen, then select the account you want to integrate from the management accounts on the right. After selection, proceed to the sign-in screen and complete the authentication. The first Google Sheets connection is now complete.
(3) Next, integrate the WooCommerce app. Select WooCommerce in the same way as registering Google Sheets with My Apps.
(4) Enter the "Account Name" and "Access Token" for the WooCommerce you want to integrate. After entering the information, click [Add].
If the settings are done correctly, you will move to the My Apps screen of your Yoom account with the two apps added. Now, the two apps are connected to your Yoom account.
・Copy the Template
After confirming that the new connection of the target app is completed in your Yoom account, click the icon for "Try this template" below.
Click the "OK" button to copy the template. You will be taken to the "My Projects" screen of your Yoom account, so please check the template content.
There are three setup flows.
・Google Sheets Trigger Setup
(1) First, set up the Google Sheets app trigger.
From the "My Projects" on the left side of your Yoom account screen, click "【Copy】Add customer information to WooCommerce when a row is added in Google Sheets".
After clicking, the template content will be displayed as shown in the screen below.
(2) First, click on the trigger "When a row is added".
(3) Enter the account information to be linked and click [Next]. On the next screen, enter information such as "Trigger Interval" and "Spreadsheet ID".
Select any of the following for "Trigger Interval": 5 minutes, 10 minutes, 15 minutes, 30 minutes, 60 minutes. ※ The trigger interval varies depending on the plan, so be careful.
(4) For the "Spreadsheet ID" and "Sheet ID" fields, click the input bar to expand the information obtained from the account as "candidates" as shown in the screen below. Let's also make use of this information.
(5) After entering the information, click [Test] and if there are no problems, click [Save]. At this step, you can obtain information like the one below as output. As noted, "This value can be used in other operations," you can quote and use this in subsequent steps.
・WooCommerce Setup
(1) Next, click on the second action "Create Customer".
(2) Enter the account information for WooCommerce to be linked and click [Next].
(3) On the next screen, enter information such as "TOP Page URL" and "Email". Click the input bar to select the output. For example, below is a reference to the output [Email Address] obtained from the previous step.
(4) After entering the information, click [Test] and if there are no problems, click [Save].
(5) Finally, click on the third action "Update Record".
(6) Make sure that the Google Sheets account information is entered. Scroll down to the "Database Integration" section and enter the relevant information. You can expand the information obtained from the linked account as "candidates", so let's make use of this as well.
(7) After entering the information, click [Next].
(8) On the next screen, set to retrieve records that match the conditions from the specified table in Google Sheets and update the value of the top record in the response result. For example, in "① Condition of the record to be updated", specify 'Unique Key' for the record you want to update, set the condition to 'Equal', and set the information that matches the condition to 'Unique Key' (using output).
(9) Next, set "② Value of the record after update". The value set in "① Condition of the record to be updated" will be updated to the value set here. Click the input bar and enter the information. You can also use the output as shown in the screen below.
(10) After entering the information, click [Test] and if there are no problems, click [Save]. This completes the setup.
・Turn on the Trigger
By clicking the red frame part "Turn on the Trigger" on the screen below, the flow bot will start automatically.
Here is the template used this time
Other Automation Examples Using Google Sheets and WooCommerce
There are other examples of automation using Google Sheets and WooCommerce on Yoom, so here are a few to introduce.
Update WooCommerce Customer Information When a Row is Updated in Google Sheets
When customer information is updated in Google Sheets, WooCommerce information is automatically updated, allowing you to resolve important tasks without interrupting update operations, thus facilitating smooth business progress.
Read Business Card Data with AI-OCR and Store in Google Spreadsheet
When business card data is uploaded to the form, a workflow is set up to automatically extract the necessary information from the business card using AI operations, store it in a Google Spreadsheet, and automatically send an email to the specified recipients.
Convert the CSV received by email into a Google Spreadsheet and add it to another Google Spreadsheet
You can automatically and consistently convert the received CSV file into a Google Spreadsheet and accumulate the information into an existing Google Spreadsheet, thus reducing the time spent on manual tasks. Since the entire process is carried out automatically from start to finish, it helps prevent human errors and omissions.
Summary
By integrating this Google Spreadsheet with WooCommerce, you can automate the registration tasks between apps and manage customer information accurately. By eliminating manual work, you can also expect improved work efficiency. Additionally, it can reduce the workload on staff, allowing them to focus on more important tasks.
Please take advantage of Yoom to experience automation through app integration.
The person who wrote this article
k.ueno
Until now, as customer support, we have made efforts to resolve users' questions and concerns.
I was moved to learn that by using Yoom, tasks that are becoming increasingly complicated on a daily basis will progress quickly!
From now on, we will continue to distribute content with easy-to-understand content so that people who aim to improve work efficiency can use the service smoothly.
Conventional RPA can only automate simple repetitive tasks, and the setup process was very complicated. With “hyperautomation,” which combines various technologies such as AI, API, RPA, and OCR, it is possible to automate many tasks that could not be realized until now more easily than before.
Most tools simply connect one app to another, leaving the complex tasks to you. Yoom goes much further: From document creation and browser automation to OCR and generative AI, Yoom handles it all seamlessly in one platform.
Why settle for basic integrations? Streamline your entire workflow with Yoom’s powerful hyperautomation.


.avif)


.avif)
.png)

.avif)


