

はじめる前に
まず、Yoomアカウントをお持ちでない方は、Yoomのアカウント発行ページからアカウントを発行してください。30秒で始められます!
ステップ1:GithubとSlackをマイアプリ連携
Githubのマイアプリ登録方法
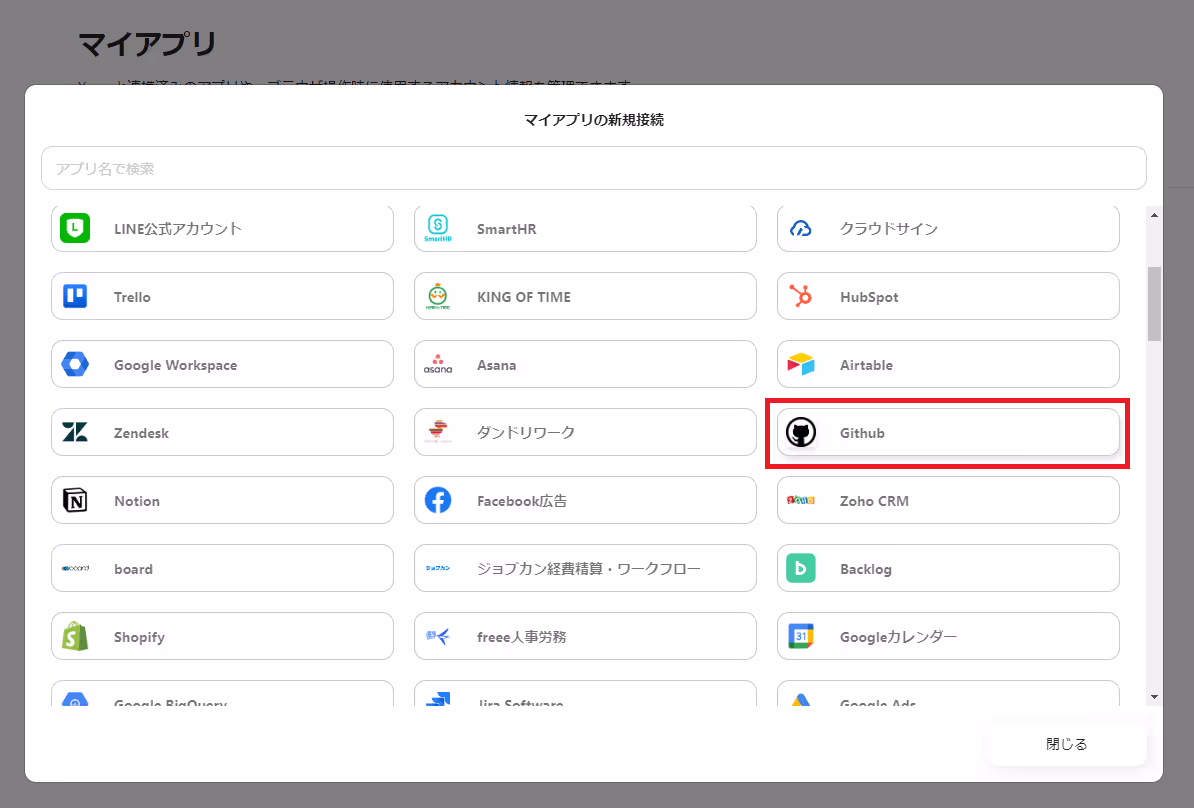
Yoomにログインし、Yoomのマイアプリページの「新規接続」ボタンをクリックし「Github」を選択します。
使用しているアカウントでログインしてください。
Slackのマイアプリ登録方法
Slackのマイアプリ登録の詳細はこちらを確認してください。

・
Isn't it possible that the lack of regular checks on project progress could lead to misunderstandings among team members or delays in progress?
By integrating Github and Slack, you can solve such problems. For example, by automatically notifying the creation of new issues in real-time, you can respond quickly and eliminate the need to manually share information, thus preventing information sharing omissions. Furthermore, real-time automatic notifications can shorten the cycle time from sharing project progress to receiving prompt feedback.
Additionally, by centrally managing notifications and discussions on Slack, you can visualize who is doing what and which tasks are in progress, making it easier to grasp the overall productivity of the team. Avoiding the hassle of switching between multiple tools and consolidating information is another advantage.
Integrating Github and Slack can lead to more efficient project management, improved communication, and increased work speed.
In this article, we will introduce how to set up a flow to notify Slack when an issue is created in Github using Yoom.
Using Yoom allows you to centrally manage multiple apps, which is a great point for improving work efficiency.
First, we will explain in detail how to integrate Yoom with each app, so please refer to it.
まず、Yoomアカウントをお持ちでない方は、Yoomのアカウント発行ページからアカウントを発行してください。30秒で始められます!
Yoomにログインし、Yoomのマイアプリページの「新規接続」ボタンをクリックし「Github」を選択します。
使用しているアカウントでログインしてください。
Slackのマイアプリ登録の詳細はこちらを確認してください。
Click on "Create New Project" and select "Create from Scratch".

Next, you will be asked to set the condition to activate the flowbot. Select "When a specific app event is received".

Then, you will transition to a screen to select the app.
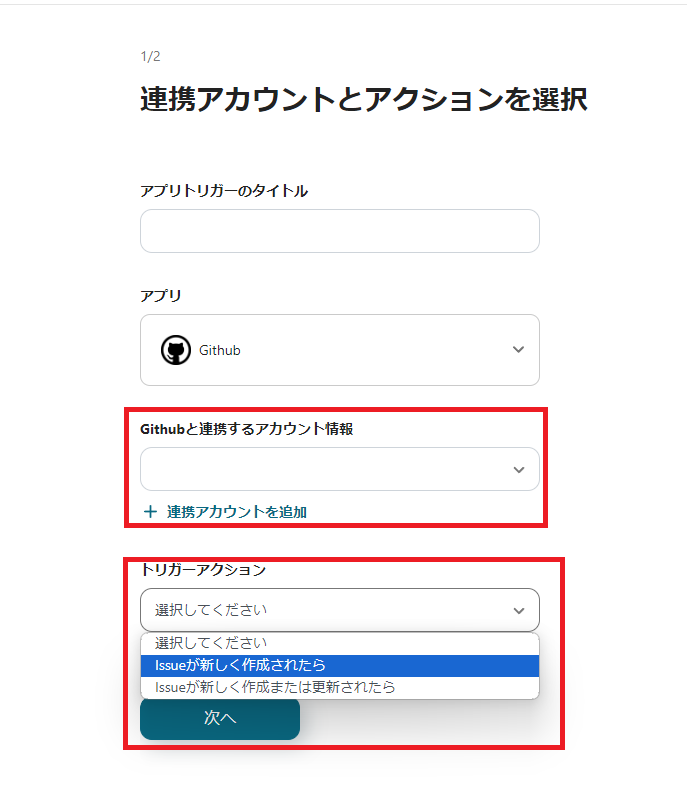
Here, we will proceed with the settings from Github, so select Github.

Verify that the linked account information is correct and select the trigger action "When a new issue is created".
Once selected, click the "Next" button at the bottom of the screen.
Next, set the API connection settings for the app trigger.
The trigger activation interval can be set as desired. Here, it is set to 5 minutes.
The "Owner Name" and "Repository Name" can be obtained from the Github URL.
The URL structure is "https://github.com/{OwnerName}/{RepositoryName}/issues/{IssueNumber}".

Once this is done, the Github trigger setup is complete!
Next, select the + mark below the Github app trigger.

Then, a screen to select the operation type will be displayed, so select "Integrate with App".

This time, since we want to notify Slack, select Slack and proceed with the action selection just like with Github.
First, verify that the linked account information is correct, then select the action item "Send a message to a channel" and click the "Next" button.

If you don't know how to check the Slack channel ID, please check here.
The message to be sent can be set as desired. This time, I set it so that the issue title and URL from Github are known.

In this article, we provided a detailed explanation of how to integrate Github with Slack and how to configure Yoom.
Some of you might have been surprised by the number of apps that can be integrated when you saw the options for registering your app and selecting trigger apps.
The appeal of Yoom is its ability to integrate with various apps and manage them centrally on Yoom, eliminating the need to switch between apps, which is incredibly convenient.
In this article, we sent notifications to Slack, but you can also add content to Google Sheets or send notifications to Microsoft Teams.
You can also make use of the templates provided by Yoom, so be sure to take advantage of them!
.avif)


.png)
.png)
.png)

