

.avif)

How to Create a RakuRaku Meisai and Salesforce Integration Flow
Step 1: Integrating RakuRaku Meisai with Salesforce My Apps
1.Log in to your Yoom account and register the app you will use.
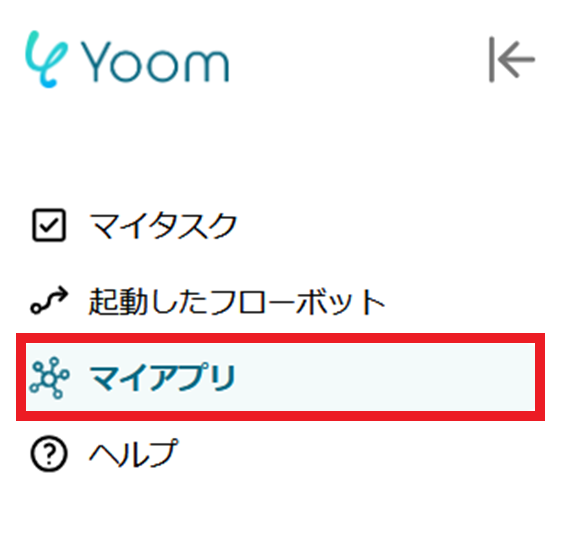
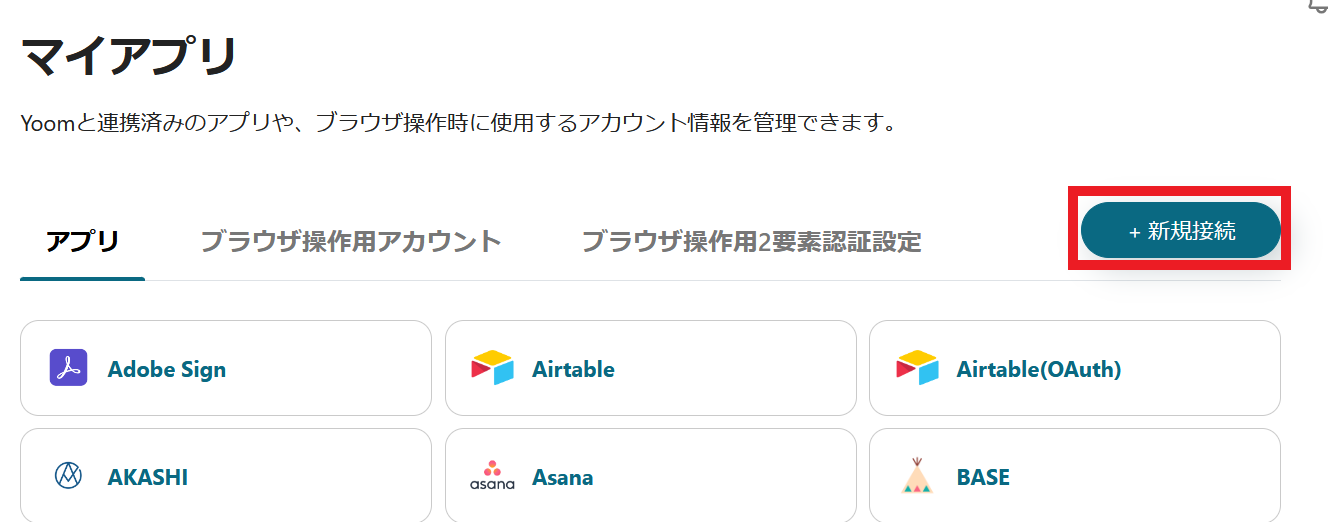
Click "My Apps" and select "New Connection."
2.First, select the app you want to register and log in with the account corresponding to each app.
Once the registration of the first app is complete, click the "New Connection" button again to register the next app.
3.Once registration in My Apps is complete, the corresponding icons will be displayed.
Be sure to check that the icons for the two registered apps are displayed correctly.
For detailed instructions on registering Salesforce, please refer to the link below.
How to Register Salesforce My Apps
If you do not have an account, please create one on the Yoom Account Issuance Page. If you are using the app for the first time, be sure to check out the First Time Yoom.
If you have any other questions about Yoom, please check the Yoom Help Center.
Step 2: Selecting a Template and Preparing the Storage Location
This time, we will create a flow that [Adds Form Information to Salesforce When a Form is Issued in RakuRaku Meisai].
By utilizing this flow, you can automatically add RakuRaku Meisai information to Salesforce, eliminating the need for manual input.
Furthermore, the time spent on input can be used for other tasks, revitalizing the entire team's operations and leading to increased productivity.
Step 3: Setting Up the Integration Between RakuRaku Meisai and Salesforce
1.Click "Try It" from the link below.


.avif)
.png)
.png)


