

.avif)

Step 3: Setting Up Integration Between Notion and Yoom's Email Feature
1) Click the "Try it" icon on the template to copy it to My Projects.
2) The following display will appear.

Follow the instructions and click the flow icons with "!" on the right in order to edit them.
You can change the title and details by clicking on them.
Modify them as needed for ease of use.
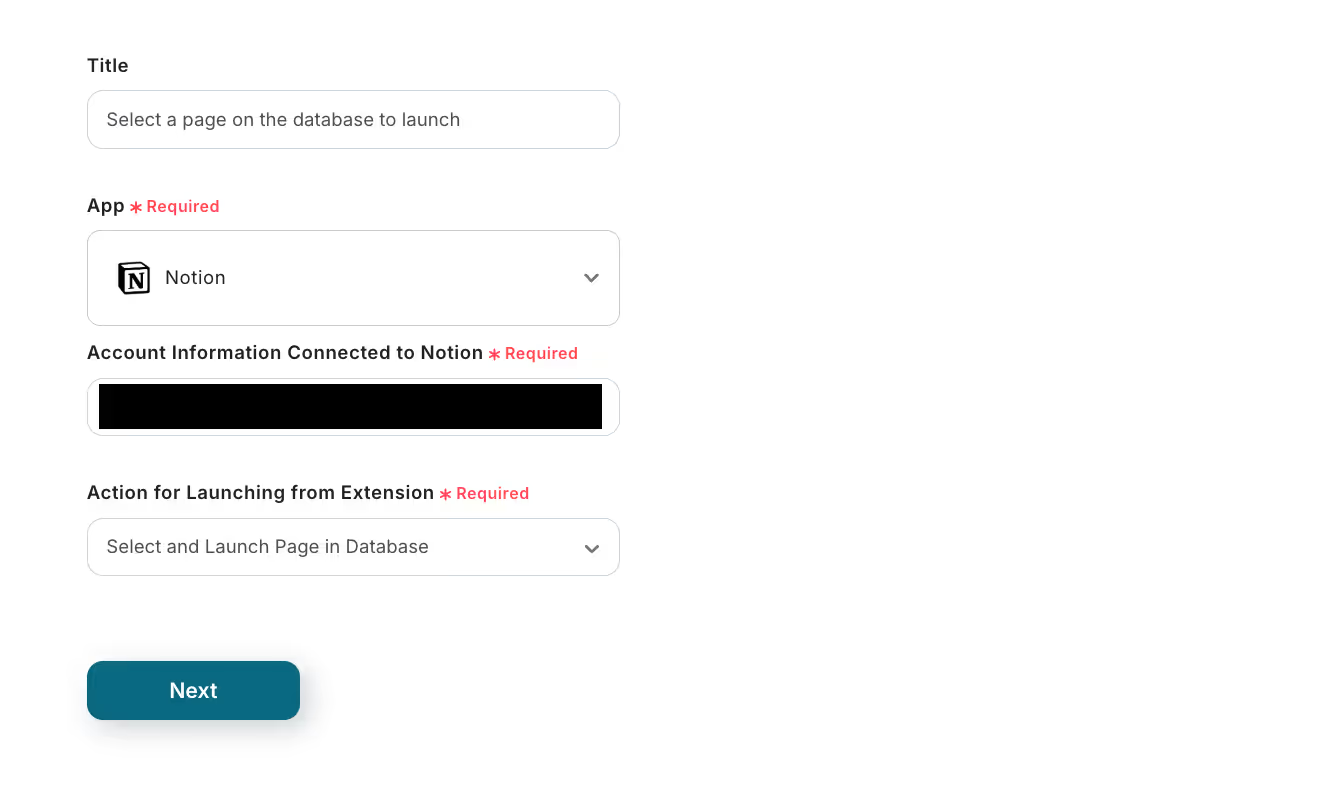
3) Click "Chrome Extension Trigger: Select a page on the database to launch".

4) Select "Select and Launch Page in Database, and click "Next".
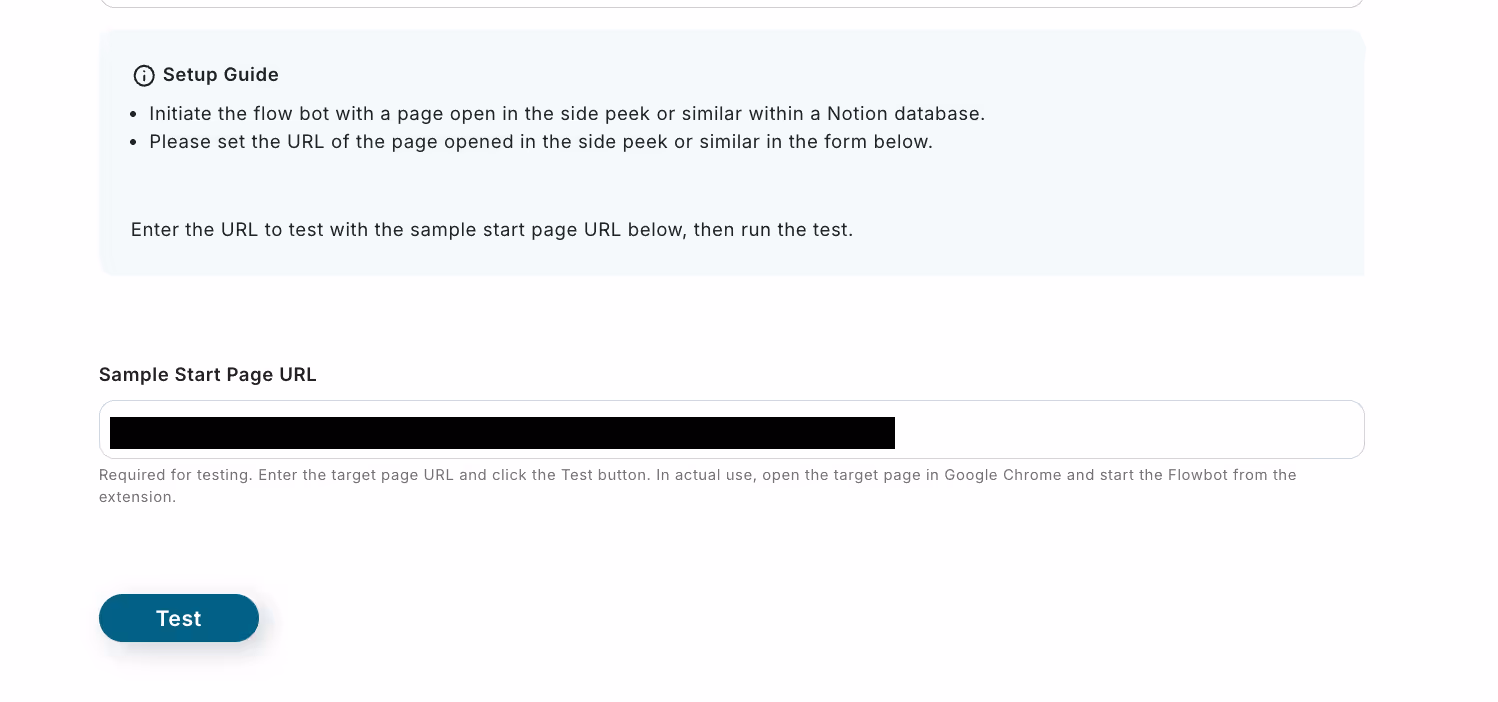
5) Enter the URL for testing in the "Launch Page URL Sample".
Refer to this for how to check the URL.
[Chrome Extension Trigger] How to Check Sample URL When Using Notion | Yoom Help Center (intercom.help)
Once the input is complete, click "Test".
If the test is successful, click "Save".
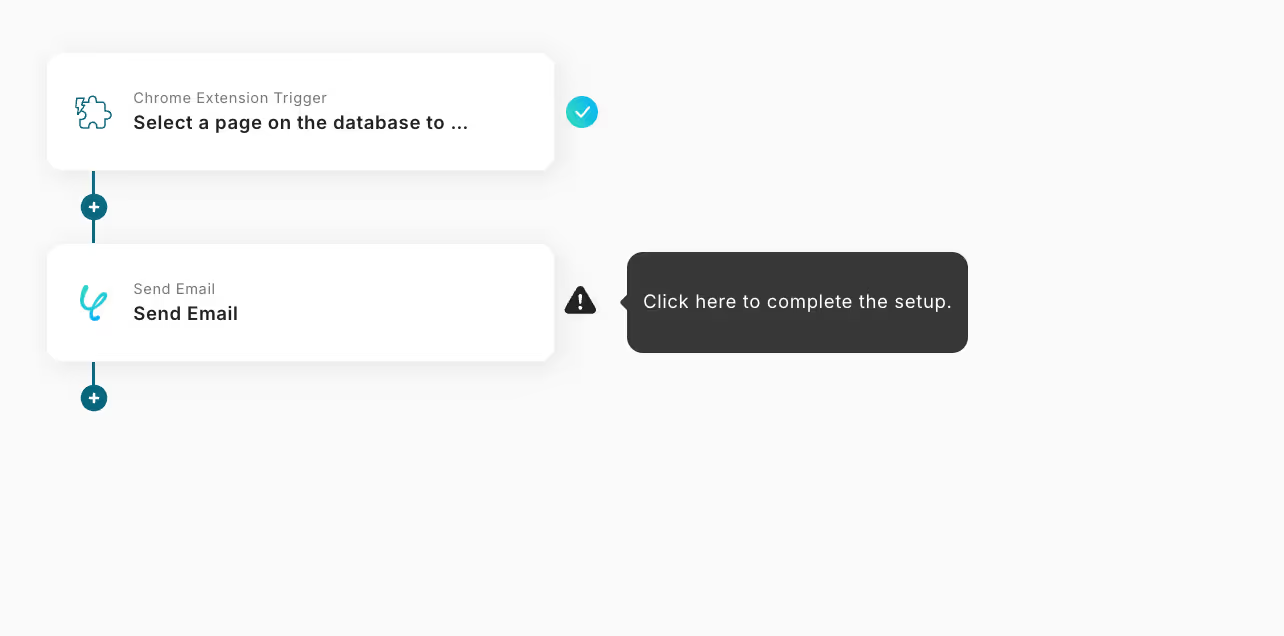
6) Return to the flow and click the "Send Email" icon.
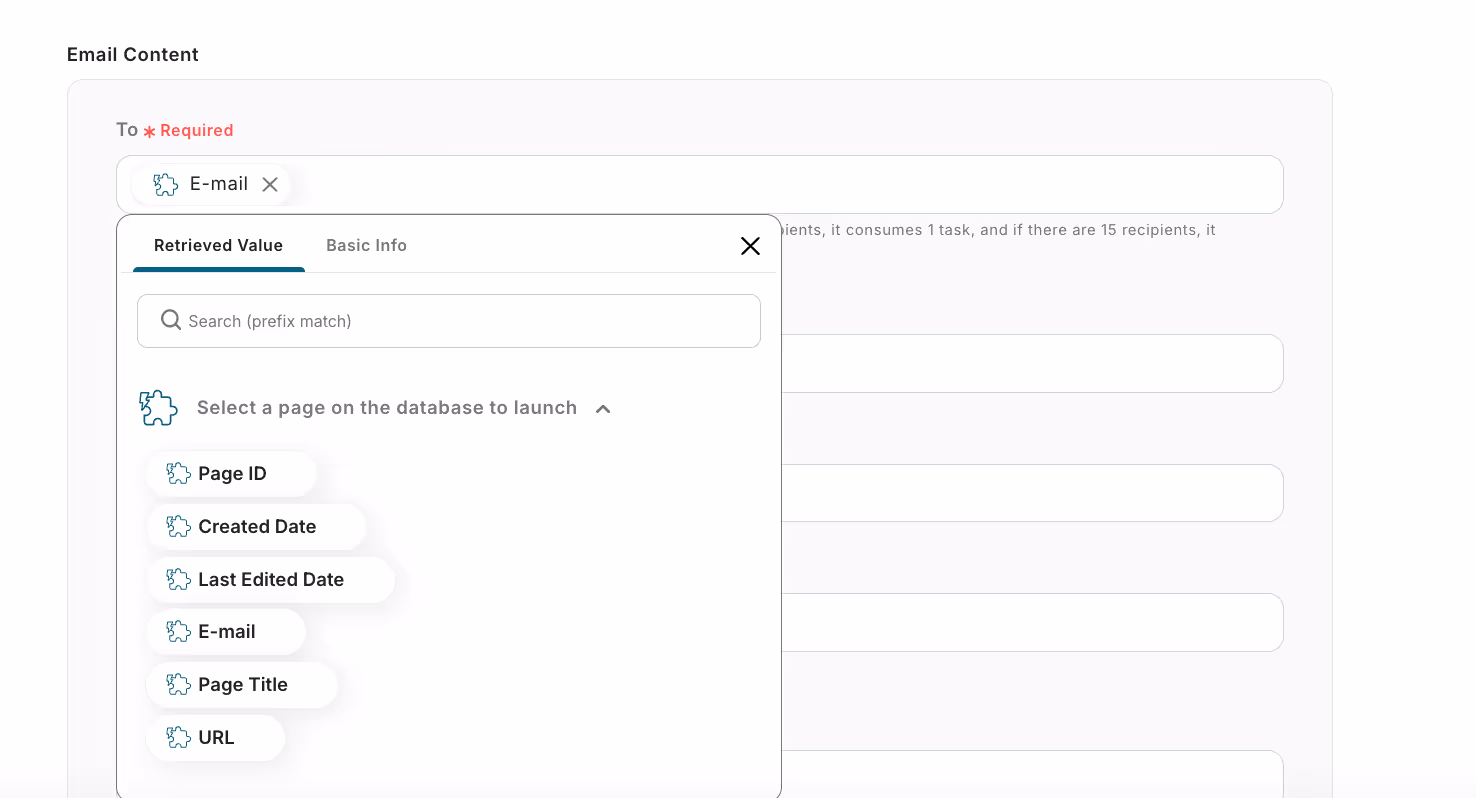
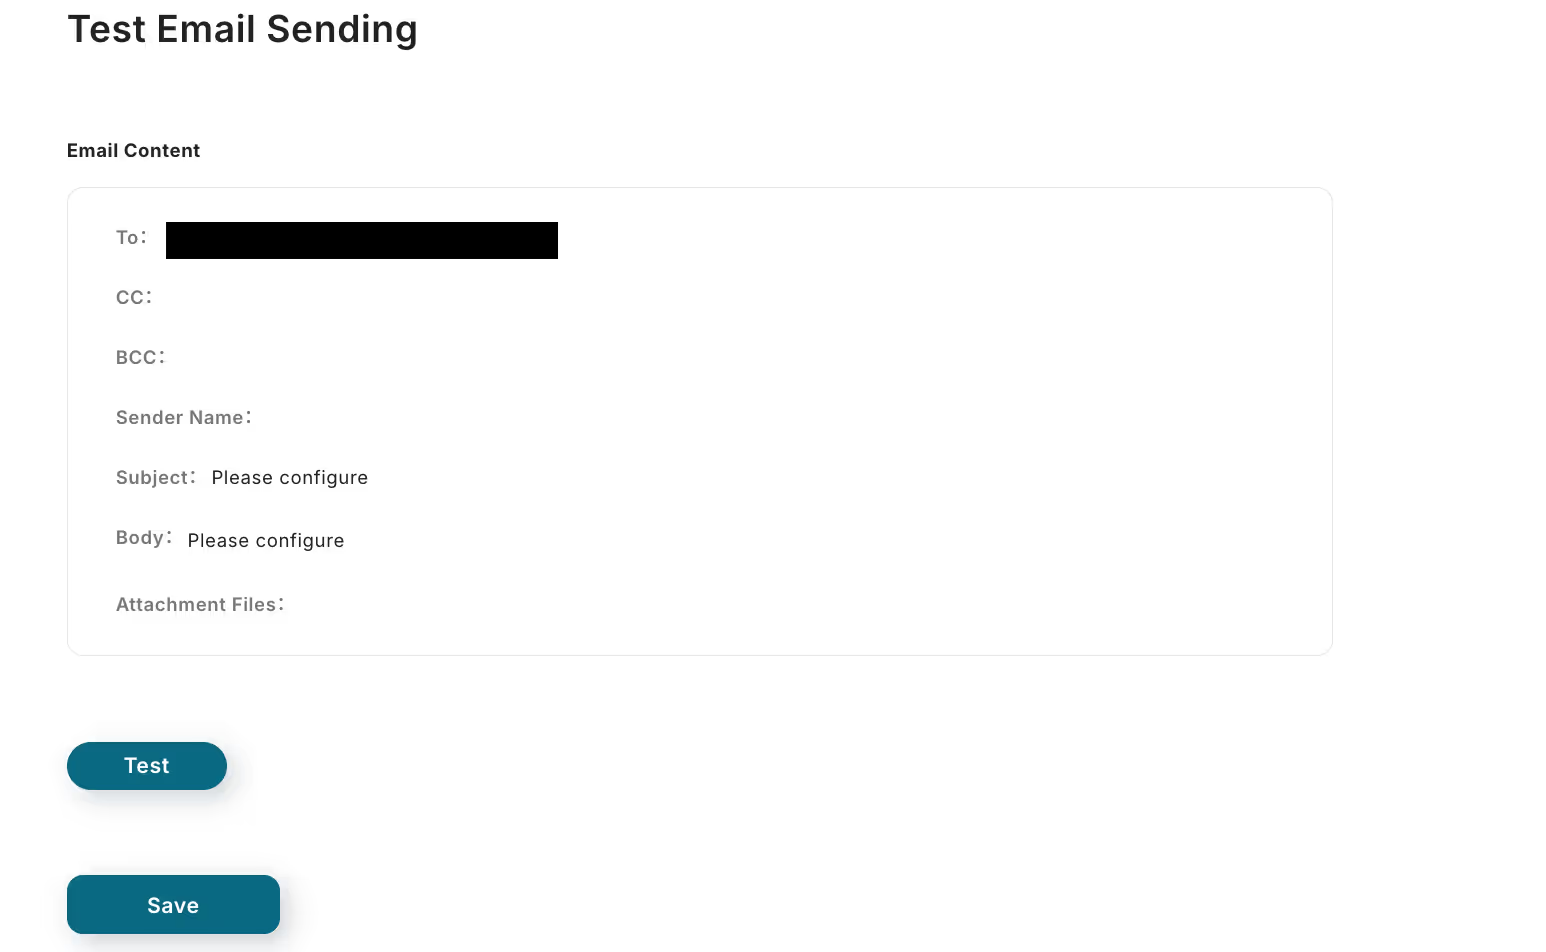
7) Enter each item.
In this process, by setting "Send Email" from Yoom, emails will be sent from 'no-reply@yoom.fun'.
You can quote the output information from the previously linked Notion, so please quote and enter from the options as needed.
Once the input is complete, click "Next".
8) Click "Test", and if the test is successful, click "Save".
For the method of setting "Send Email", please also check this page.
9) With this, the flow of [Automatically Sending Emails Using Notion Database Information] is complete.
Step 4: Testing and Confirmation
10) Once everything is set up, the following display will appear, so click "Turn on the trigger". Start the flow bot and check if it operates correctly once.

Here is the template used this time


.avif)


