How to Send Contracts from Notion to freee Sign by Integrating Notion with freee Sign
How to Integrate Applications
・
2024/10/11
How to Send Contracts from Notion to freee Sign by Integrating Notion with freee Sign
t.aizawa
For those looking to streamline contract operations, the integration of Notion and freee Sign can be beneficial for daily tasks. With this integration, you can automate the sending of contracts via freee Sign based on contract information registered in Notion. This reduces manual errors and wasted time, improving overall operational efficiency. This article provides a detailed introduction on how to send contracts from Notion using freee Sign and the benefits of this integration. Utilize this integration to smoothly advance your contract process!
Benefits of Integrating Notion and freee Sign
Benefit 1: Visualization of Contract Status and Thorough Follow-up
By integrating Notion and freee Sign, you can send contracts via freee Sign based on contract information registered in Notion. By centrally managing contract progress, you can quickly understand who is reviewing and approving each contract. This prevents approval delays and missed responses, enabling a smooth contract process. Additionally, follow-ups based on progress become easier, allowing accurate handling of each case, which is expected to improve the productivity of the entire team.
Benefit 2: Smoothing Contract Processing by Reducing Manual Work
By automatically sending contracts via freee Sign based on contract information registered in Notion, you can expect to reduce manual work. This facilitates smoother contract procedures and is expected to improve operational efficiency. It also prevents errors due to duplicate data entry, ensuring that processing proceeds while maintaining the accuracy of contract details. Sales representatives can focus on contract-related tasks, which will also help speed up contract finalization.
[About Yoom]
How to Create a Notion and freee Sign Integration Flow
Now, let's create a flow together to "send contracts from Notion using freee Sign" using a template!
The template used this time can be copied by clicking "Try it" on the banner below.
Before Getting Started
If you do not have a Yoom account, please create one from the "Yoom Account Issuance Page" below. For basic operations of Yoom, please check "First Time with Yoom".
Step 1: Integrate Notion and freee Sign with My Apps
(1) After logging into Yoom, select "My Apps" from the left column and click "+ New Connection".
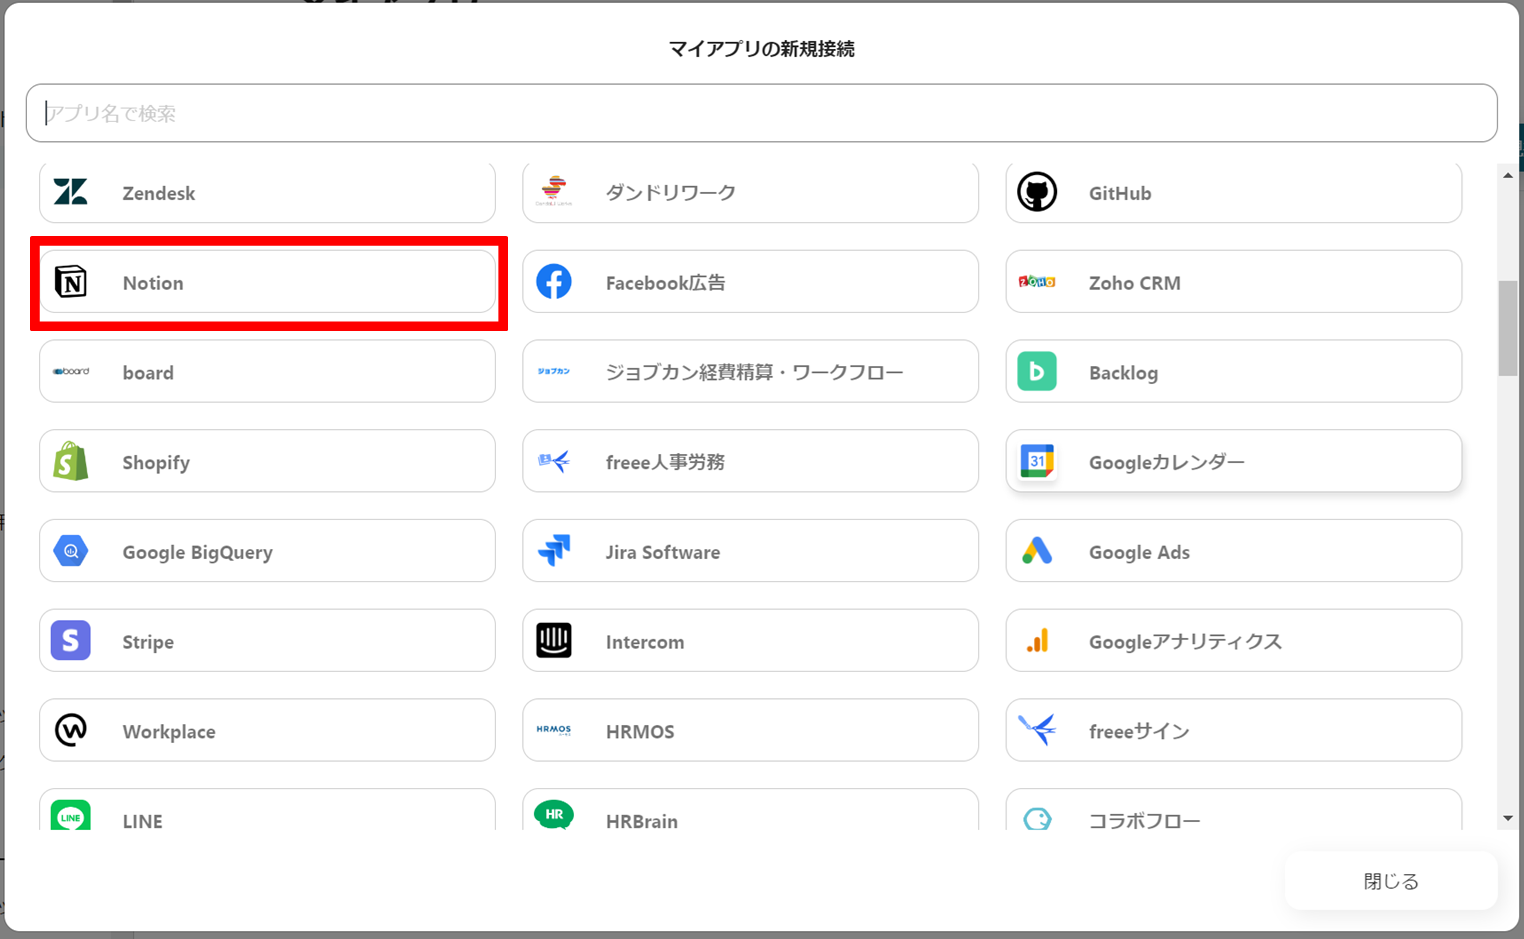
(2) From the list of new connections in My Apps, click on Notion.
(3) The following content will appear, click "Select Page".
(4) Check the pages you want to allow and click "Allow Access".
(5) Next, register freee Sign with My Apps. Similarly, click on freee Sign from the list of new connections in Yoom. (6) The freee Sign login screen will appear, please log in with your account.
(7) When the start screen for app integration appears, click "Allow".
Once the integration is complete, Notion and freee Sign will be registered in Yoom's My Apps.
This completes the registration of My Apps. Next, let's set up triggers using templates!
Step 2: Setting Up Chrome Extension Triggers
(1) We will use the template introduced earlier. Click "Try it" on the banner below.
Click on "Select and launch a page on the database" in the app trigger.
(2) From the "Select the integration account and action for the app launched by the extension" screen in Notion, check if there are any errors in the account information linked with Notion, and keep the action as "Select and launch a page on the database" when launching from the extension, then click "Next". ※ Please refer to the link below for instructions on setting up triggers using the Chrome extension.
(3) From the "API connection settings for the app launched by the extension" screen, check the red frame and enter the URL sample of the launch page.
Once the input is complete, click "Test", and if no errors occur, click "Save" at the bottom.
Step 3: Retrieve Notion Page Information
(1) Next, retrieve the page information by linking with Notion. Click "Retrieve Page Information".
(2) From the "Select the integration account and action" screen in Notion, check if there are any errors in the account information linked with Notion, and keep the action as "Retrieve Page Information", then click "Next".
(3) From the "API connection settings" screen, select the page ID from the output.
Once the selection is complete, click "Test" at the bottom, and if no errors occur, click "Save".
Step 4: Create a Contract in freee Sign from a Template
(1) Next, retrieve the page information by linking with freee Sign. Click "Create a Contract from a Template (Input fields set to Signer 1)".
(2) From the "Select the integration account and action" screen in freee Sign, check if there are any errors in the account information linked with freee Sign, and keep the action as "Create a Contract from a Template (Input fields set to Signer 1)", then click "Next".
(3) From the "API connection settings" screen, enter the contract title, ID of the contract template to be used, ID of the user who will be the creator of the contract, and ID of the folder where the created contract will be saved. ・Contract Title: Select from output (It is possible to set it as "Company Name + Date + Fixed Text" as in this case) ・ID of the Contract Template to be Used: Select from candidates ・ID of the User Who Will Be the Creator of the Contract: Select from candidates ・ID of the Folder Where the Created Contract Will Be Saved: Select from candidates
Scroll down and select the input field ID from the candidates. Other fields are not mandatory. Fill in the necessary sections.
Once the input is complete, click "Test", and if no errors occur, click "Save".
Step 5: Contract Sending Settings
(1) Next, set up the sending settings for the contract created in freee Sign. Click "Send Contract".
(2) From the "Select the integration account and action" screen in freee Sign, check if there are any errors in the account information linked with freee Sign, and keep the action as "Send Contract", then click "Next".
(3) From the "API connection settings" screen, enter the contract ID, ID of the user who will be the sender of the contract, and the recipient's email address. ・Contract ID: Select from output ・ID of the User Who Will Be the Sender of the Contract: Select from candidates ・Recipient's Email Address: Select from output
Other fields are not mandatory. Select the necessary sections from the dropdown. Once the input is complete, click "Test" at the bottom, and if no errors occur, click "Save". (4) Finally, click "Turn on Trigger".
This completes the flowbot for "Sending Contracts from Notion via freee Sign".
Other Automation Examples Using Notion and freee Sign
At Yoom, we have many other examples of automation using Notion and freee Sign, so let us introduce a few.
1. Update Notion Information When a Contract is Completed in freee Sign
The flow introduced earlier was "Send a contract from Notion using freee Sign," but in this flow, information is automatically updated in Notion when a contract is completed in freee Sign. By using this, it is expected to save the effort of manually entering information into Notion.
2. Create a quotation in Microsoft Excel using Notion database information and send an email with Gmail
By integrating Microsoft Excel and Gmail, you can automate the entire process from creating to sending quotations. You can freely customize the email content, which is expected to save manual effort and time.
3. Upload the contract file to Google Drive when the document status is changed in freee Sign
When a document created in freee Sign is modified, the contract file can be automatically uploaded to Google Drive. By automating this process, you can use the data stored in Google Drive in its most up-to-date state. This flow will be beneficial for those who want to streamline file management.
Additionally, if you want to check out templates using Notion and freee Sign, please visit the following site.
The integration of Notion and freee Sign seems to enable the automation and streamlining of contract operations! By smoothly handling the entire process from sending contracts to progress management and task integration, the workload is reduced, and the speed of operations is expected to improve. Additionally, centralized information management reduces errors and allows for speedy follow-ups, enhancing the productivity of the entire team. To further improve operational efficiency, make use of this integration and proceed with contract operations more smartly!
The person who wrote this article
t.aizawa
I hope everyone's everyday work will be much easier!
We will continue to send out information on improving work efficiency using Yoom!
Conventional RPA can only automate simple repetitive tasks, and the setup process was very complicated. With “hyperautomation,” which combines various technologies such as AI, API, RPA, and OCR, it is possible to automate many tasks that could not be realized until now more easily than before.
Most tools simply connect one app to another, leaving the complex tasks to you. Yoom goes much further: From document creation and browser automation to OCR and generative AI, Yoom handles it all seamlessly in one platform.
Why settle for basic integrations? Streamline your entire workflow with Yoom’s powerful hyperautomation.


.avif)
.avif)
.avif)


