


1. Click "View Details" on the top banner
2. Click "Try this template" at the bottom of the transitioned screen
3. If you haven't registered with Yoom yet, please register
※ If you have already registered, the login screen will be displayed, so please log in.

When the Flowbot template is copied to "My Projects", the above display will appear.
You will transition to a page like the image, so let's proceed with detailed settings.
Step 3: Notion Launch Settings
1. Open My Projects
Open "My Projects" from the menu on the left side of the screen.
2. Open the copied template
Click "【Copy】Summarize the contents of internal meetings added to NotionDB using Gemini".
3. Select an app trigger

Click "When a page in a specific database is created or updated" on the Notion icon.
Since the title and other settings are complete, press Next.
4. Set trigger activation interval

Set the activation interval.
Triggers can be set to activate at intervals of 5 minutes, 10 minutes, 15 minutes, 30 minutes, or 60 minutes.
Please note that the shortest activation interval varies depending on the plan.
5. Enter ID
Follow the supplement at the bottom of the box to set it up.
6. Run the test
Once the setup is complete, add test minutes to Notion and press the test button.
Once "Test Successful" is displayed, retrieve the minutes data.
7. Retrieve the output

Click "Add value to retrieve" at the bottom of the screen.
Find the data you want to summarize and click the + mark.

Once the data is retrieved, it will be displayed on the right side of the screen. Press Add.


Next, change the name of the data. Hover over and click the pen mark.
Name the item as desired and press Save.
8. Save
Once the setup is complete, save it.
Step 4: Set up to summarize with Gemini and add summary results to Notion
1. Connect with the app
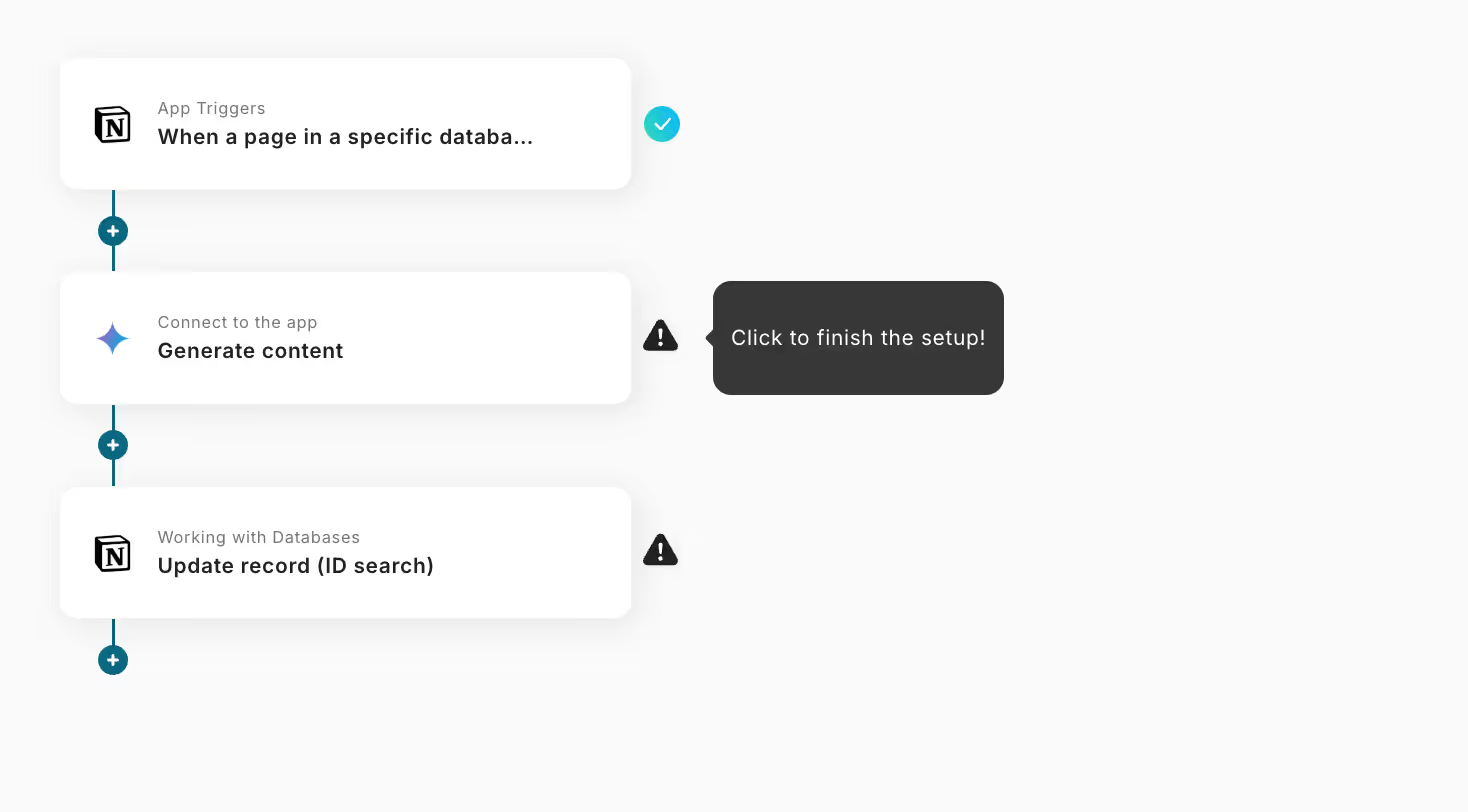
Click "Generate Content" on the Gemini icon.
Since the title and other settings are complete, press Next.
2. Model settings
First, enter the Gemini model type to use.
You can check the model by clicking the top left of the Gemini page.
In the case of the image, 1.5 flash is used, so set the same one as the model.

Return to the Yoom screen.
Click the box, and a list of Gemini models will be displayed.
Scroll and click the same model you confirmed to insert it.
3. Set prompts and roles
Set prompts and roles. First, click the prompt button.
Click the red frame.

Click to insert the minutes data you added earlier.
Set roles as desired.
4. Run the test

Once the setup is complete, press the test button.
Once "Test Successful" is displayed, it's complete. Click Save.
Next, set up to add the summary results to Notion.
1. Operate the database

Click "Update Record (ID Search)" on the Notion icon.
Scroll down.
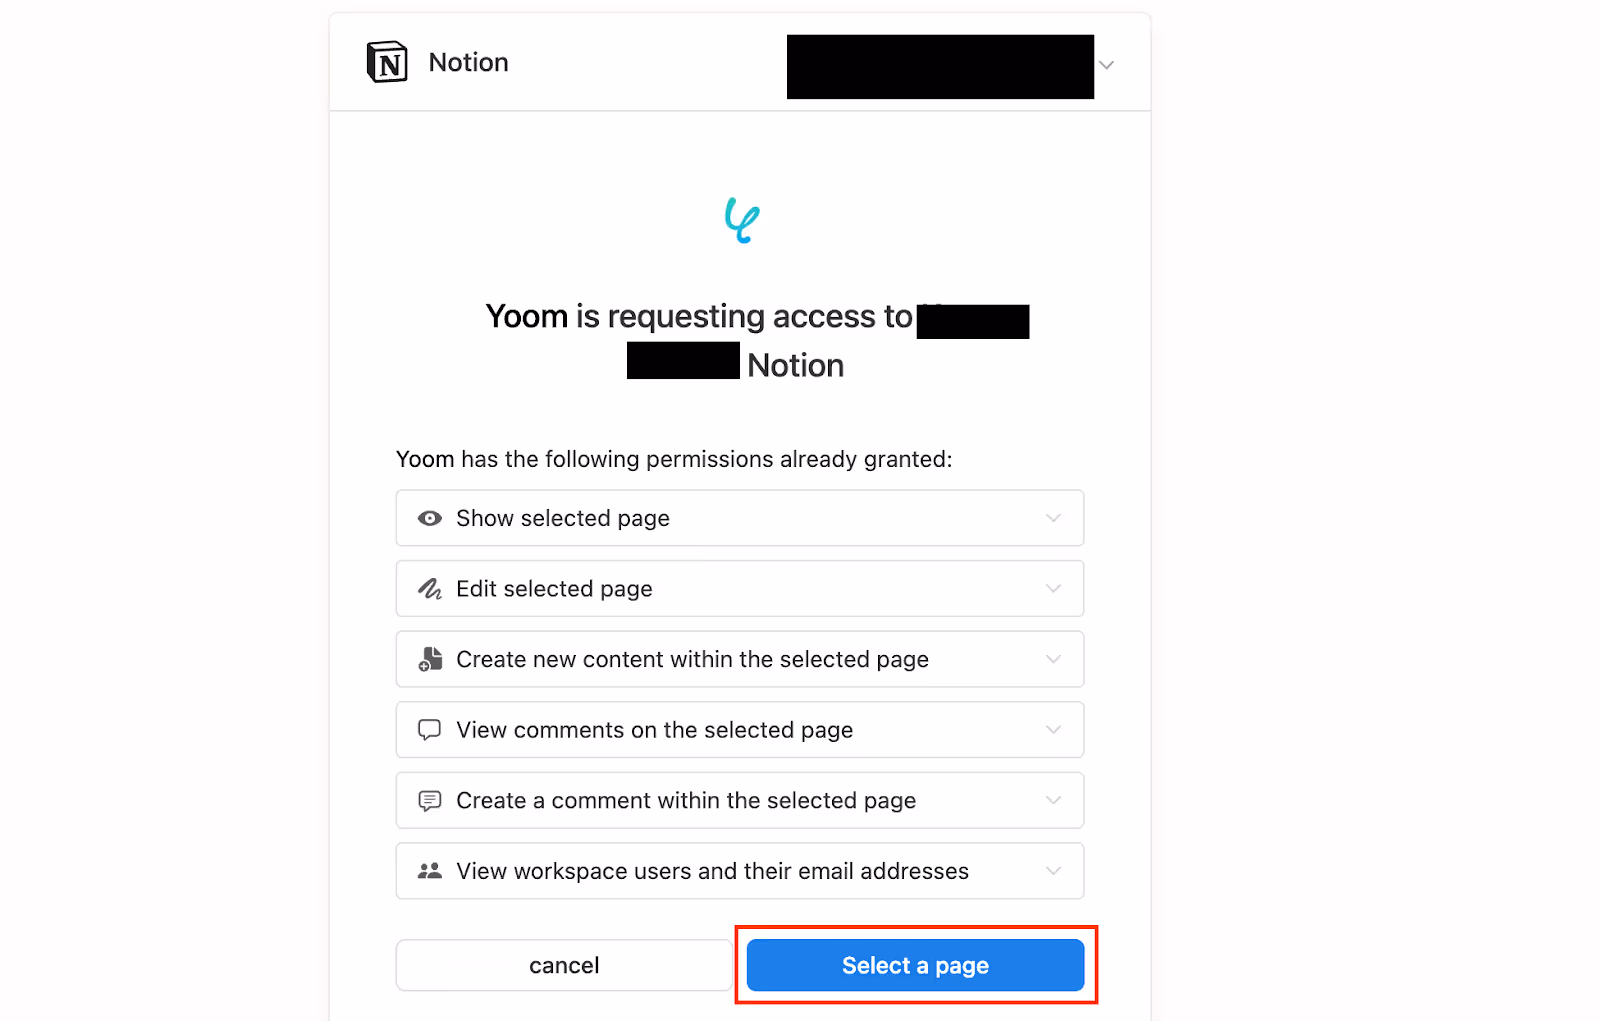
2. Set the database ID

Enter the Notion database ID and press Next.
3. Conditions for the record to be updated
Set the conditions for the record you want to update. Click the box on the right.

Select the Notion icon.Click and enter the object ID.
4. Values of the record after update

Next, add the summarized data to the summary column of Notion.
First, click the box and select the Gemini icon.
Click "Generated Content".
5. Run the test
Once the data insertion is complete, press the test button.
Once "Test Successful" is displayed, the setup is complete. Press Save.
6. Turn on the trigger

Once the creation of the Flowbot is complete, the above display will appear. The trigger is initially set to OFF, so turn it ON.
This completes the app integration.
Flowbot template used this time
Summarize the contents of internal meetings added to NotionDB using Gemini


.avif)


