


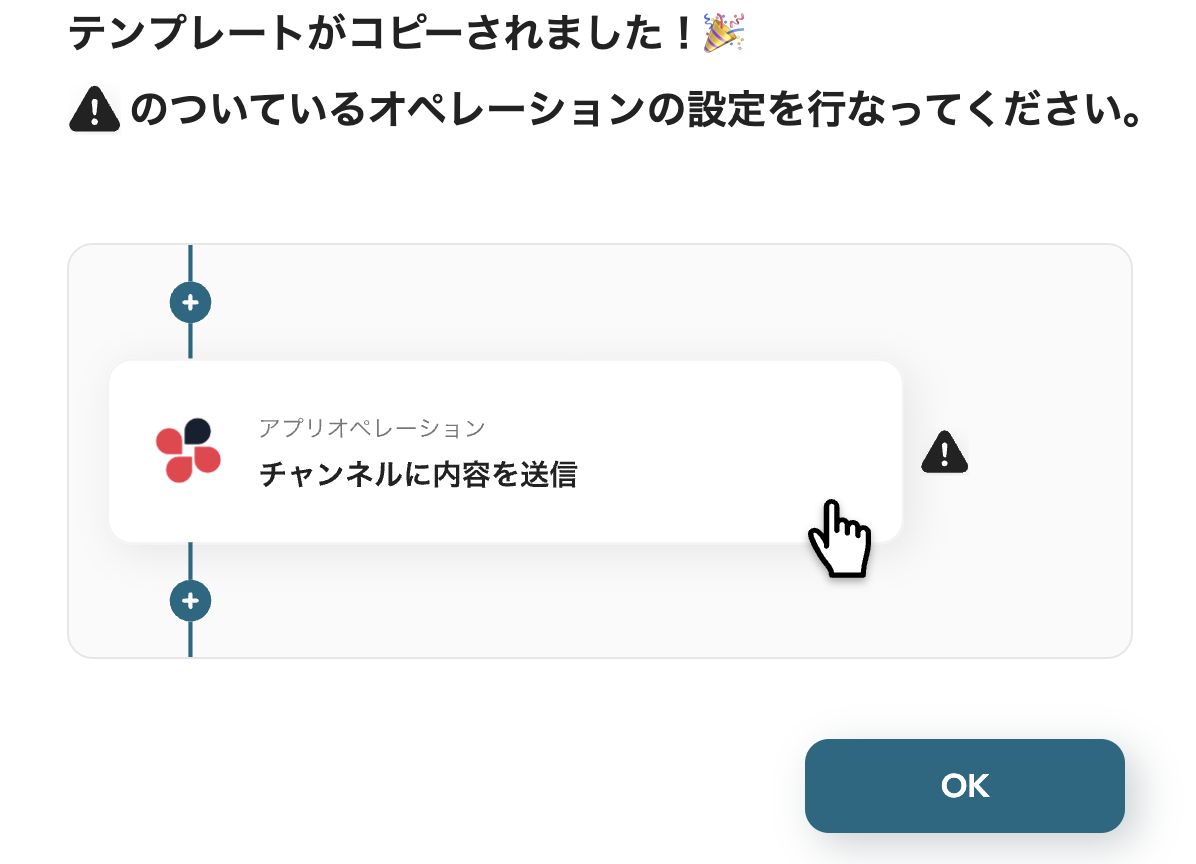
Click the "OK" button to copy the template.
You will be redirected to the "My Projects" screen in your Yoom account, so please check the template content.

There are four settings this time.
First, let's establish a new connection for the two apps to be integrated.
Step 1: Integrate Notion and GMO Sign with My Apps
(1) First, connect Notion to My Apps.
After logging into your Yoom account, click "My Apps" on the left and search for Notion from "New Connection".

(2) Click on the Notion app icon that appears.
Click [Select Page] on the next screen.

Select the page you want to link with your Yoom account and click [Allow Access] to complete the connection.

(3) Next, let's connect GMO Sign.
Search for and click on the GMO Sign app icon in the same way as before.

(4) Enter the account name for GMO Sign to connect to Yoom, and enter 'GMO' for the access token, then click add.
This completes the connection for GMO Sign.
Step 2: Set Notion Trigger
(1) Next, set the app trigger for Notion.

Click "【Copy】Create and send a contract using Notion database information with GMO Sign" from My Projects on the left side of the Yoom account screen.
The copied template will be displayed, press the "Select and Launch on Database" icon of the Chrome extension for the first action.

(2) The red part in the above image states "Install Chrome Extension from here".
To use the Chrome extension trigger, please check this page.
If you haven't installed the Chrome extension, please install it from here.

(3) After completing the Chrome extension settings, enter the account information to be linked with Notion and click [Next].

(4) Obtain and enter the URL of the launch page.
For how to check the sample URL when using Notion, please refer to this page.
After entering, press [Test] and if there are no issues, click [Save].
This setting can also be done from the top right of the template.

(5) Next, set the action to retrieve record information in Notion.
Click "Retrieve Record (ID Search)".


Enter the account information you want to link and keep the "Execute Action" as 'Retrieve Record (ID Search)'.
For the database ID to be set in "Database Integration", check the supplementary information and enter the relevant information.
After completing the input, click [Next].
(6) On the next screen, set the "Conditions for the Record You Want to Retrieve".

Use the output of the Chrome extension trigger to set the "Conditions for the Record You Want to Retrieve".
Click the arrow in the red frame to expand the output, and select 'Record ID'.
After entering, press [Test] and if there are no issues, click [Save].
Step 3: Set GMO Trigger
(1) Next, set up to generate an access token on the GMO Sign side.
Click the third action "Generate Access Token".

Enter the GMO account information you want to link and click [Next].

(2) For the information to be entered on the next screen, "Secret Key" and "Customer ID", please contact GMO Sign to obtain the information.

After entering the information, press [Test] and if there are no issues, click [Save].
(3) Finally, set the action to request a signature for the template.
Click the fourth action "Template Signature Request (Recipient Signature Only)".

Confirm that the account information is registered and click [Next].

(4) On the next screen, enter the "Secret Key" and "Customer ID" obtained by contacting GMO Sign.

(5) For "Access Token", you can quote the output obtained from the third step "Generate Access Token". Click to add it.

(6) For "Template ID", set the template ID using the "Template Management" feature of GMO Sign and enter the information.
Enter any information for "Template Name".

(7) Scroll down and enter other relevant information.
After completing the input, press [Test] and if there are no issues, click [Save].
After that, a display will appear indicating that all settings are complete, so click "Turn on Trigger".
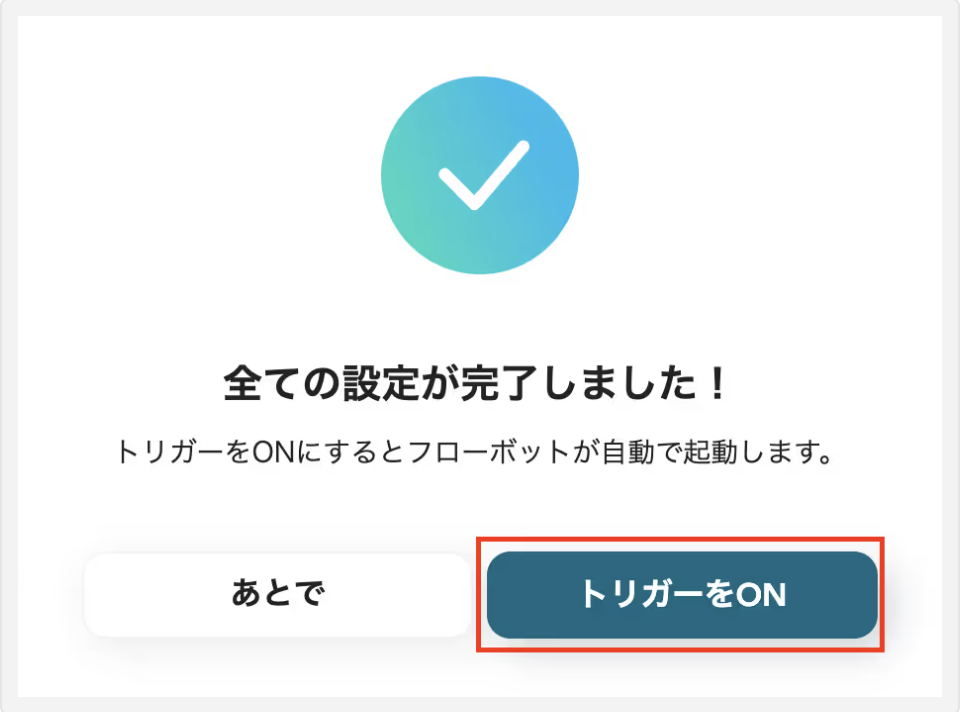
This completes the flowbot setup.
In the future, by utilizing this flowbot, the operation of creating and sending contracts using the Notion database with GMO Sign will become smoother.
Template used this time▼


.avif)

.avif)
.avif)


