How to Register Notion Tasks as Events in Google Calendar
How to Integrate Applications
・
2025-06-17
How to Register Notion Tasks as Events in Google Calendar
n.watanabe
Are you managing tasks with Notion but sometimes forget deadlines or find it tedious to manually transfer them to Google Calendar?
The solution to these problems is the automatic integration of Notion and Google Calendar.
<span class="mark-yellow">By setting up this integration, tasks registered in Notion are automatically added to Google Calendar, helping you avoid missing deadlines and making schedule management more efficient.</span> Eliminating manual input allows you to proceed with daily tasks more smoothly.
In this article, we will explain the specific method in detail, so please follow the steps and use it to improve your work efficiency!
Recommended for
Those who use both Notion and Google Calendar but find dual management of tasks and manual input cumbersome
Those who manage project progress with Google Calendar and want to integrate it with Notion's task management
Those who want to facilitate task sharing within the team and unify schedule management
Those who manage tasks in Notion but are considering automatic integration with Google Calendar to prevent missing deadlines
Those who prioritize task deadline awareness and want to visualize Notion's task data in Google Calendar
For those who want to try it immediately
In this article, we introduce the integration method using the no-code tool "Yoom".
No complicated settings or operations are required, and even non-engineers can easily achieve it.
You can start right away with the template below, so please give it a try!
[About Yoom]
How to Automatically Add Tasks Added to Notion to Google Calendar as Events
It is possible to achieve this by using Notion's API to receive new tasks registered in Notion's task management database and using Google Calendar's API to register the corresponding tasks as all-day events in Google Calendar. Generally, programming knowledge is required to achieve this, but with the no-code tool Yoom, it can be easily accomplished without programming knowledge.
The general flow of setting up the process is as follows:
Integrate Yoom with Notion and Google Calendar as My Apps
Copy the template
Configure the flow details
Turn on the trigger
If you are not using Yoom, please register for free here. If you are already using Yoom, please log in.
Step 1: Connect Notion and Google Calendar with My Apps
First, connect Notion and Google Calendar with Yoom.
After logging into Yoom, click "New Connection" from the "My Apps" menu on the left.
When the search window appears, enter the app name and search.
Connect Notion with My Apps
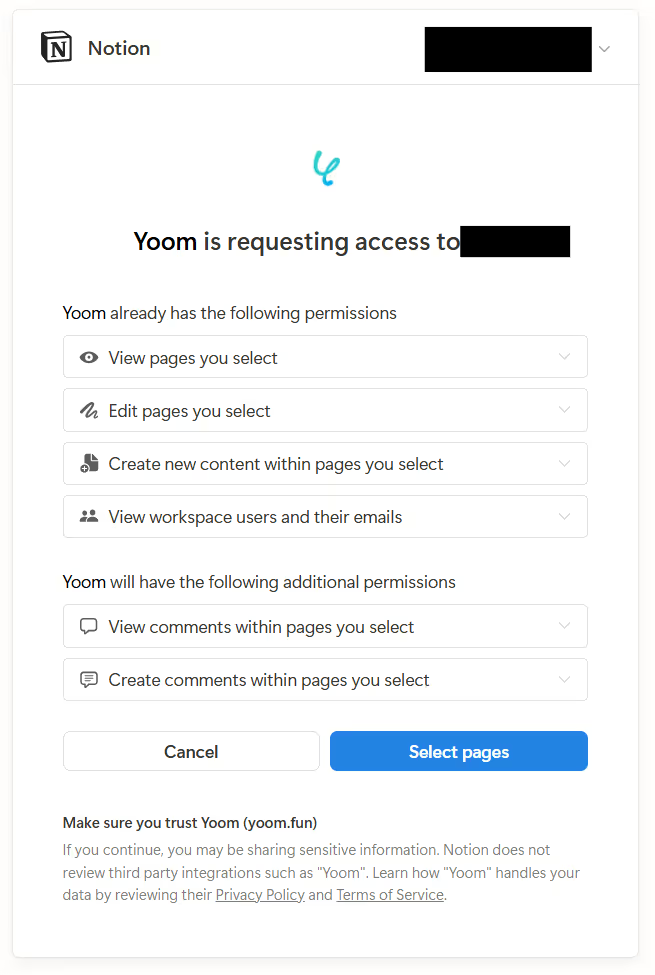
※ Before connecting with My Apps, create the data page to be used in the flow. Enter your Notion login information and click "Select Page".
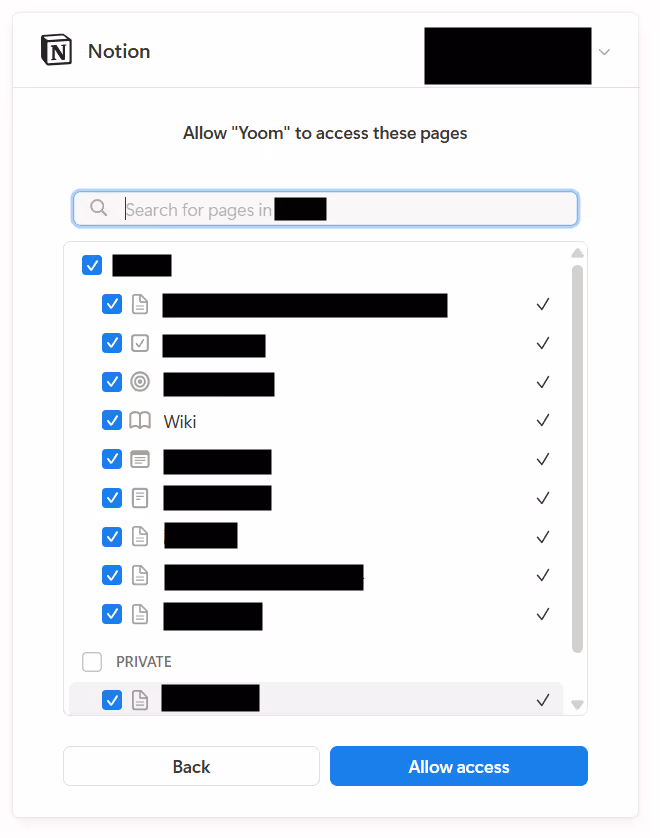
Proceed to the next step to display a list of pages created in Notion.
The pages checked here will be linked with Yoom. If you create a page to be used in the flow after connecting with My Apps, you need to reconnect and check it.
Click "Allow Access" to complete the connection between Yoom and Notion with My Apps.
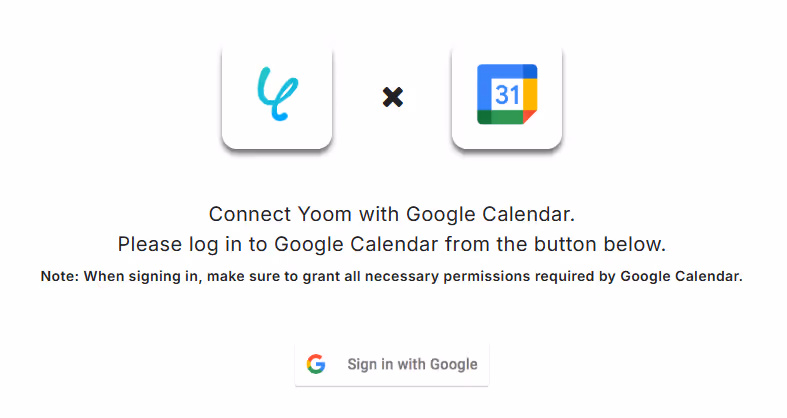
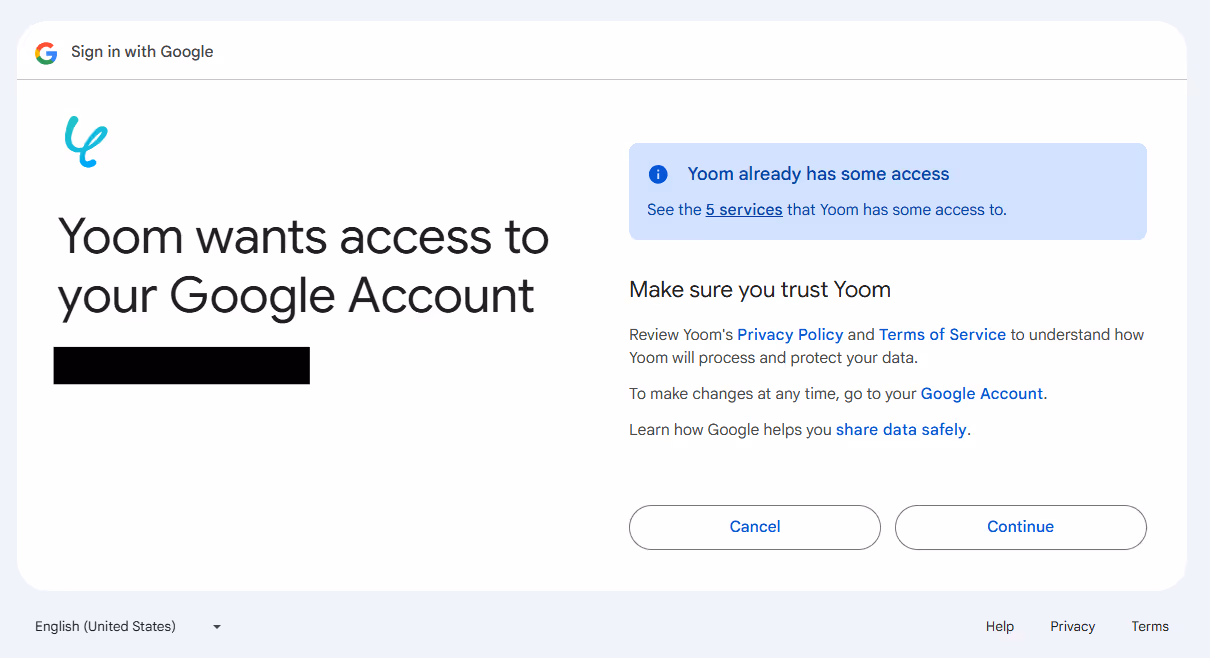
Connect Google Calendar with My Apps
First, sign in to your Google account.
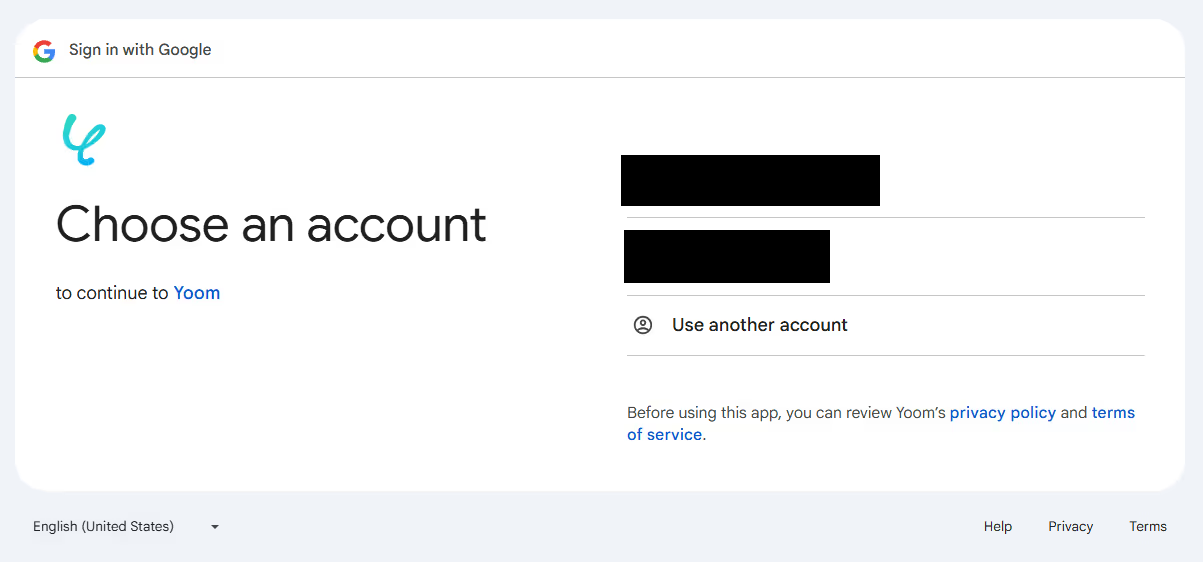
Next, select the account to connect with Yoom.
If you have multiple accounts, select the one you want to use for this setting.
Next, click "Continue" to allow Yoom access, and you will be automatically linked and returned to the Yoom screen. This completes the app connection.
You can confirm that it has been added to the My Apps list. Next, proceed to the detailed settings of the flow. Click "Try it" from the banner below to copy the template.
Step 2: Set the Trigger
The initial setting is "When a new task is added or updated". The first page reflects the account information of the Notion linked with My Apps.
Please check the account information, modify the title to something easy to understand, and then proceed.
Next, set the trigger interval.
The trigger interval can be set from 5 to 60 minutes, but please note that it may not be selectable depending on the Yoom subscription plan.
Enter the database ID on the Notion side, input the information into the specified database, and press the "Test" button. If the test is successful, the information will be reflected in the output.
If an error occurs, make corrections and finally press the "Save" button to complete the trigger setting. Common error causes and solutions in Notion can be checked here.
Step 3: Set the Branch
Next, set the branch. Please note that branching is a feature available in the Mini Plan or higher. If you are on the Free Plan, the flow bot you set will result in an error, so please be careful.
Paid plans offer a two-week free trial during which you can use the branching feature.
You can specify branching conditions for both operations and outputs. Set the conditions under which the flow will be divided. In this case, only new tasks will be registered in Google Calendar, and updated tasks will be branched and excluded from the flow.
Once you have confirmed the settings, click "Save" to complete the branch setting.
Step 4: Set to Retrieve Property Information
Next is the setting to "Retrieve property information using the object ID". Let's prepare to register information in the calendar.
On the first page, as before, modify the title and check the account information.
Set the same database ID as in the previous setting. Enter the ID, press the "Next" button, and proceed if no error occurs.
Next, set the record conditions you want to retrieve from the database.
As a search condition of "Record ID equals", select the "Object ID" obtained by the trigger from the output. Embed the output as {{Object ID}}, test it, and if no error occurs, save it as is.
Step 5: Set for Calculation Processing
Next, set the calculation processing for calendar registration.
If you are using the flow as is, it is set to "Due date obtained +1 day".
If you want to set conditions other than +1 day, please change them as appropriate.
Step 6: Set to Register an Event in Google Calendar
The final setting is for registering in Google Calendar. On the first page, as before, modify the title and check the account information.
Next, fill in each item for registration in the calendar.
For the event title, select Notion's "Task Name" from the output, and for the event start date, select Notion's "Deadline" from the output.
This time, I manually entered "TODO Details▼" as a fixed text and embedded {{TODO}} by selecting "TODO" from the output as a variable text.
Once you have entered everything, click "Test", and if no error occurs, click "Save" to complete all settings. Check that the event has been registered in Google Calendar!
Finally, turn on the trigger to activate the flow.
Now, Notion tasks are automatically registered as events in Google Calendar. The flow you set is as follows.
How to Automate Further?
Once you get used to operating Yoom, try arranging the flow to make it even more user-friendly. You can receive notifications when calendar events are registered or automatically send meeting URLs.
Refer to the following to achieve "It would be great if it could do just a little more."
Receive Notifications for Smooth Sharing
For example, if you manage project tasks in Notion and register them in Google Calendar, you can automatically notify Slack or Microsoft Teams when a new task is added. Adding this flow eliminates the need for manual reporting and smoothens task progress sharing.
Administrators can quickly grasp the situation, making follow-ups easier, which is expected to improve the overall efficiency of the team.
Automatic Sending of Meeting URLs
When you register an event in Google Calendar, you can obtain the "Google Meet URL" as an output. You can automatically send this information to clients and others.
Calendars are often shared within the company, but you may need to send separate emails to external parties. In such cases, it is necessary to enter the email address of the meeting partner when registering tasks in Notion in advance and obtain it as an output.
Other Automation Examples Using Notion and Google Calendar
Besides the integrations introduced today, various automations can be achieved by utilizing the APIs of Notion and Google Calendar.
If there's anything you're interested in, please give it a try!
Automation Examples Integrating Notion and Google Calendar
It is possible to automatically register information from Notion into Google Calendar or automatically register events from Google Calendar into Notion.
Examples of Automation Using Notion
Integrate Notion Data with Various Databases
Automatically integrate data within Notion with various databases such as HubSpot and Salesforce.
Create documents based on Notion data
It is possible to automatically generate various documents such as quotes and invoices based on the data within Notion.
Example of Automation Using Google Calendar
Add Events to Google Calendar Based on Information Registered in the Database
Automatically register events in Google Calendar according to the information registered in databases such as Google Sheets or Salesforce.
Update the database based on events registered in Google Calendar
Automatically update databases such as Google Sheets and Salesforce based on events registered in Google Calendar
Benefits of Integrating Notion with Google Calendar
Benefit 1: Automate tedious manual tasks and prevent registration errors
By integrating Notion with Google Calendar, you can eliminate the hassle of manual registration tasks. Additionally, when manually registering tasks or schedules, there is a risk of input errors or omissions. However, with automatic integration, such risks are minimized, preventing any oversights in tasks or schedules.
Benefit 2: Easier task sharing and smoother information sharing within the team
By linking task information managed in Notion with Google Calendar, tasks become easier to share, facilitating smoother information sharing across the team. Moreover, as tasks are visually organized on the calendar, it becomes easier to visualize the workload among members, clarify who is responsible for specific tasks, and thus simplify task allocation and progress management.
Conclusion
Integrating Notion with Google Calendar streamlines task management and eliminates the hassle of manual transcription. By simply registering in Notion, schedules are automatically added to Google Calendar, preventing task omissions and improving scheduling efficiency.
Furthermore, with Yoom, you don't need to worry about programming knowledge! It allows for easy integration with simple settings and can be customized to fit your business needs.
Why not start by registering for free with Yoom and try integrating Notion with Google Calendar? Take the first step towards smooth task management today.
The person who wrote this article
n.watanabe
With five years of experience as an SEO writer, I continue to write with the motto of being "easy to read" and "easy to understand." I want to convey the convenience of Yoom, which allows app integration without programming knowledge, to as many people as possible!
Conventional RPA can only automate simple repetitive tasks, and the setup process was very complicated. With “hyperautomation,” which combines various technologies such as AI, API, RPA, and OCR, it is possible to automate many tasks that could not be realized until now more easily than before.
Most tools simply connect one app to another, leaving the complex tasks to you. Yoom goes much further: From document creation and browser automation to OCR and generative AI, Yoom handles it all seamlessly in one platform.
Why settle for basic integrations? Streamline your entire workflow with Yoom’s powerful hyperautomation.


.avif)


.avif)


