

.avif)
Click to proceed to the Yoom template site.
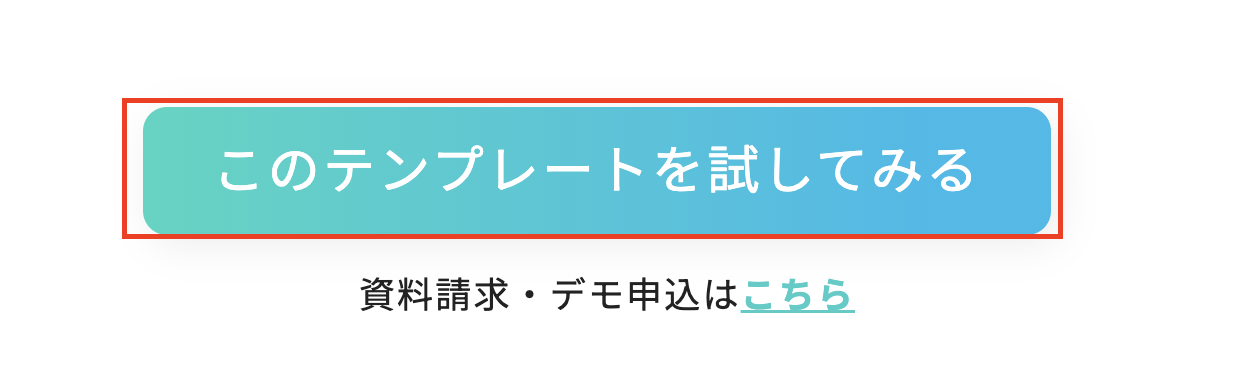
Scroll down the screen and select "Try this template".
Then, a popup of the attached image will be displayed, so click "OK".
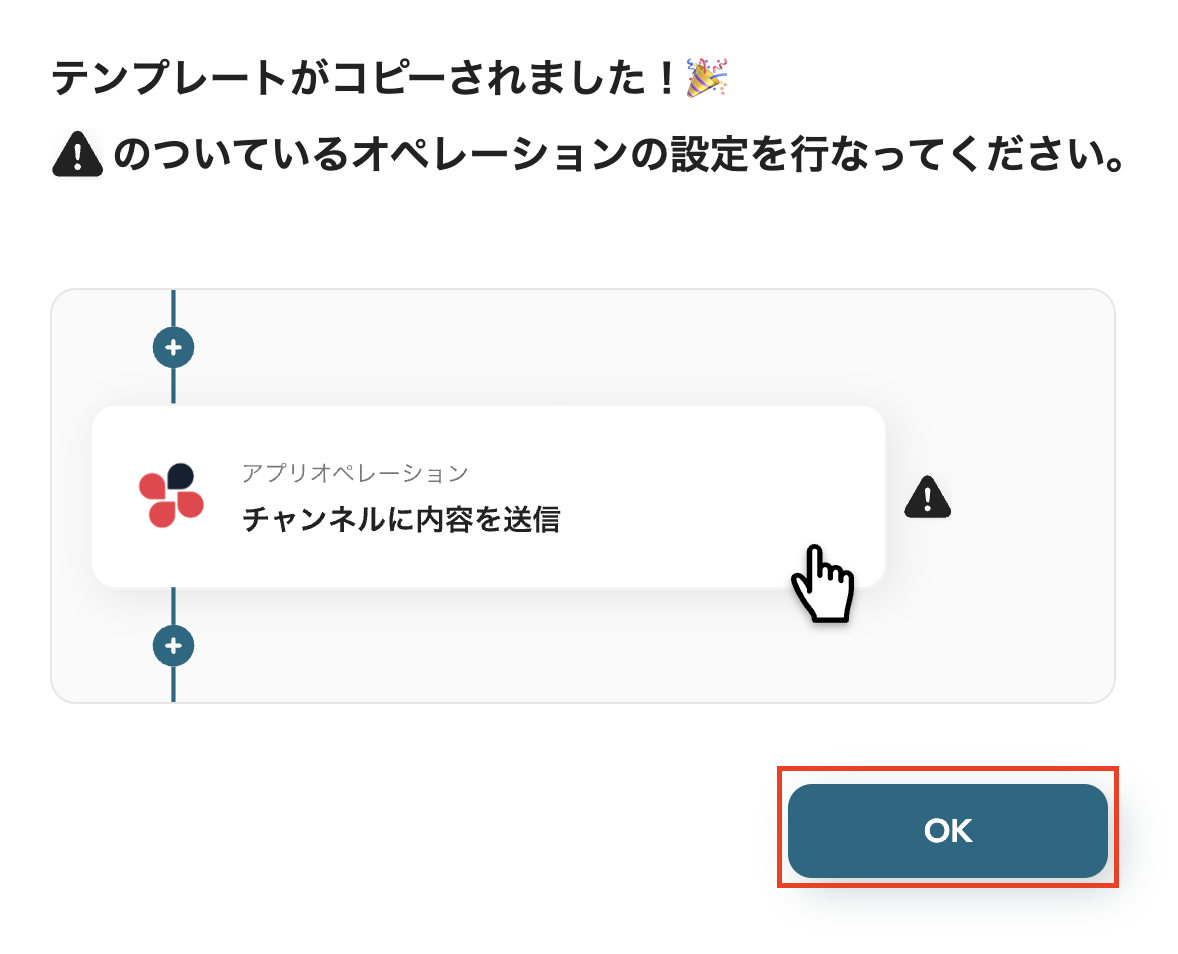
This completes the template copy.
Step 1: Register My App
Next, link Yoom with the app.
This connection allows you to freely create flow bots.
1. Link SPIRAL with Yoom
Let's start by linking from SPIRAL.
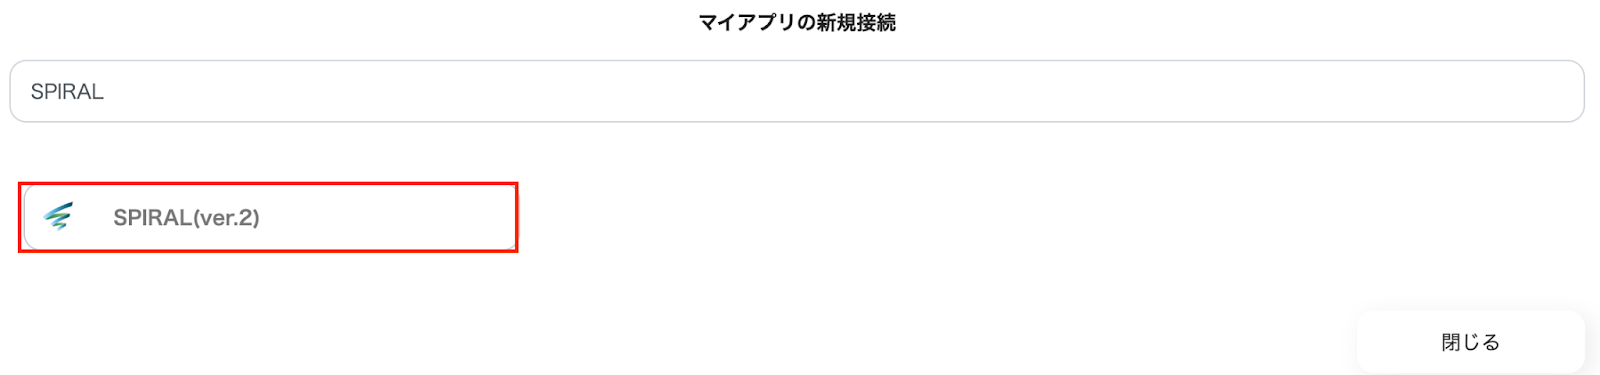
Click My App displayed at the top left of Yoom's workspace and select New Connection.

On the new connection screen for My App, search for SPIRAL and select the app.
Enter the account name and access token.
For information on how to create an API agent, please check here.
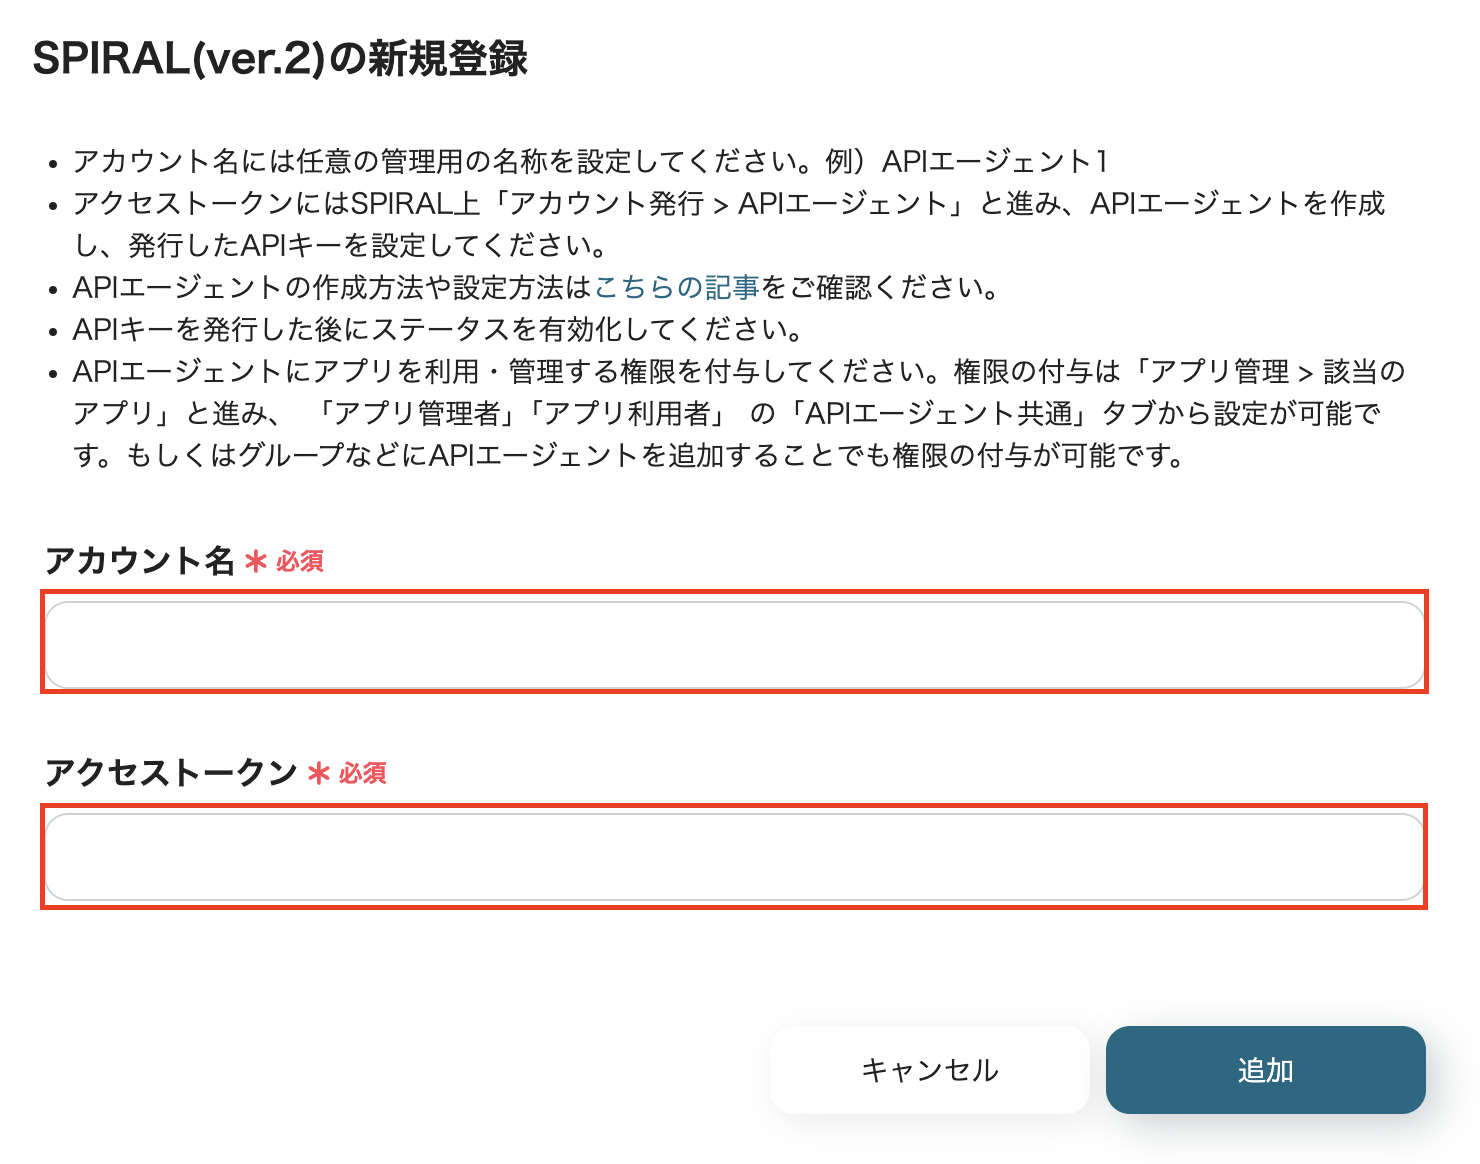
This completes the registration of SPIRAL's My App.
2. Link AKASHI with Yoom
Next, let's link AKASHI.
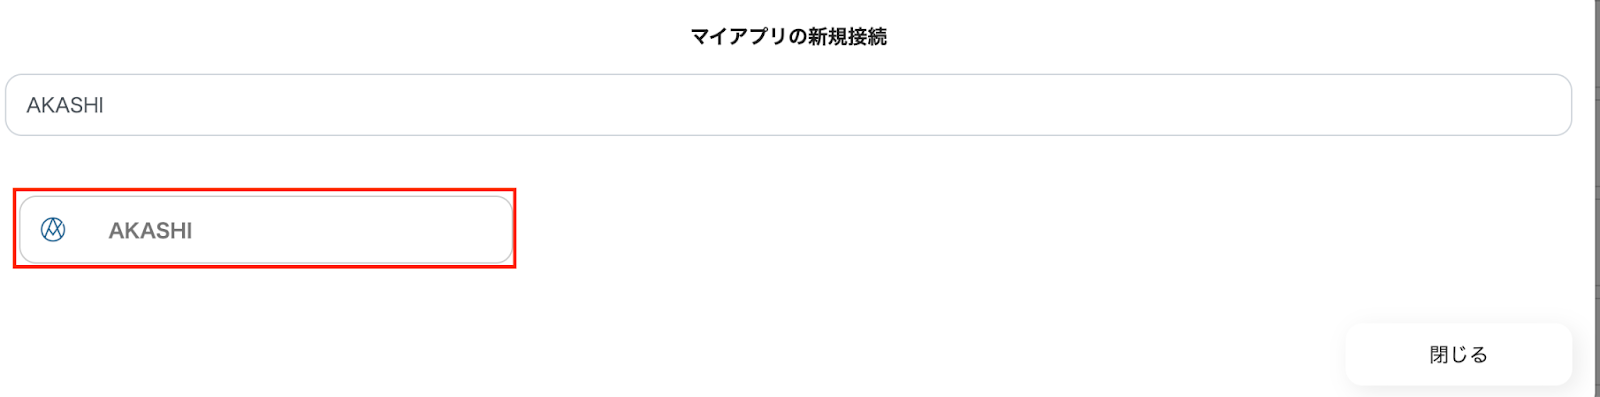
Click My App → New Connection in the same way as before.
On the new connection screen for My App, search for AKASHI and click the app name.
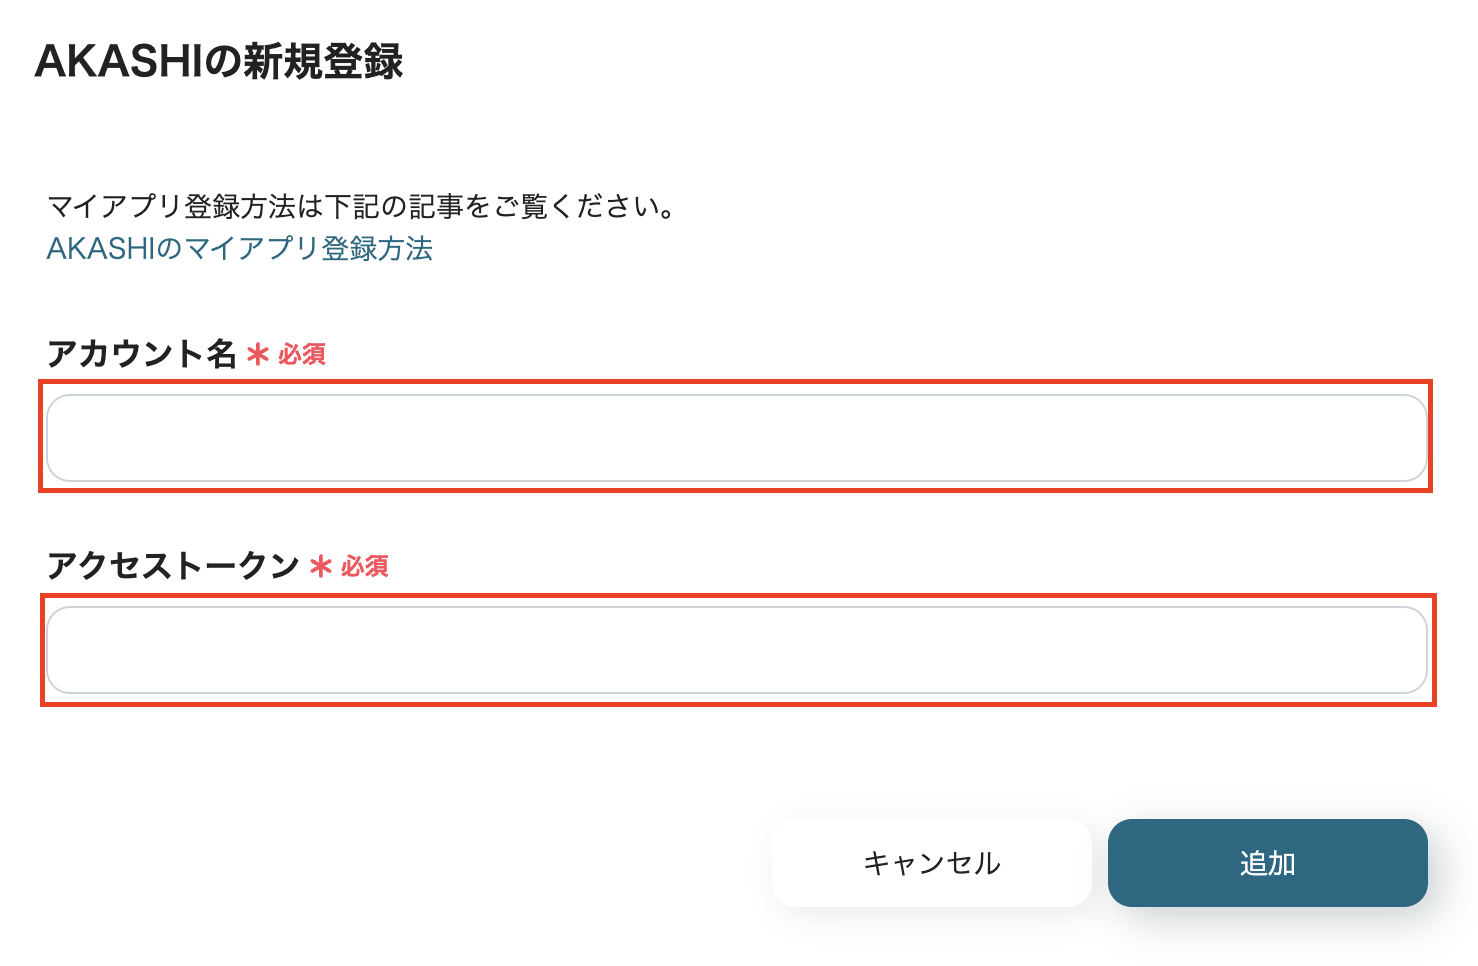
Enter the account name and access token.
For detailed instructions on registering My App with AKASHI, please check here.
Now you have registered two apps as My Apps in Yoom.
Step 2: Set SPIRAL Trigger
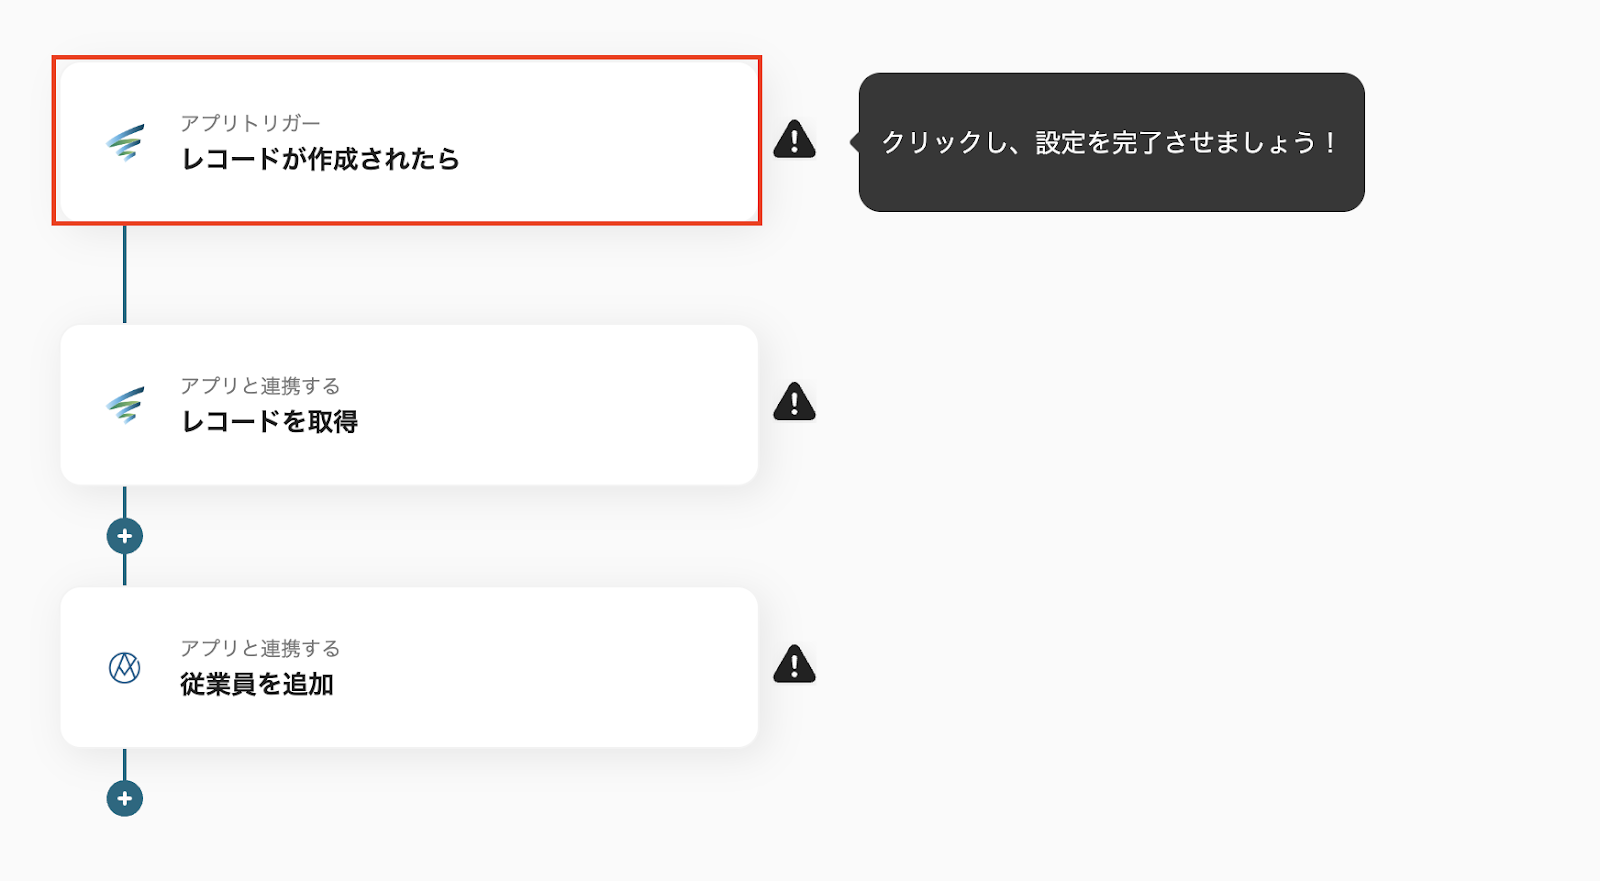
Let's proceed with the flow bot settings!
Click on the item "When a record is created".
1. Select Linked Account and Action
・The title can be changed.
・Check the account information linked with SPIRAL.
・Once done, click "Next".

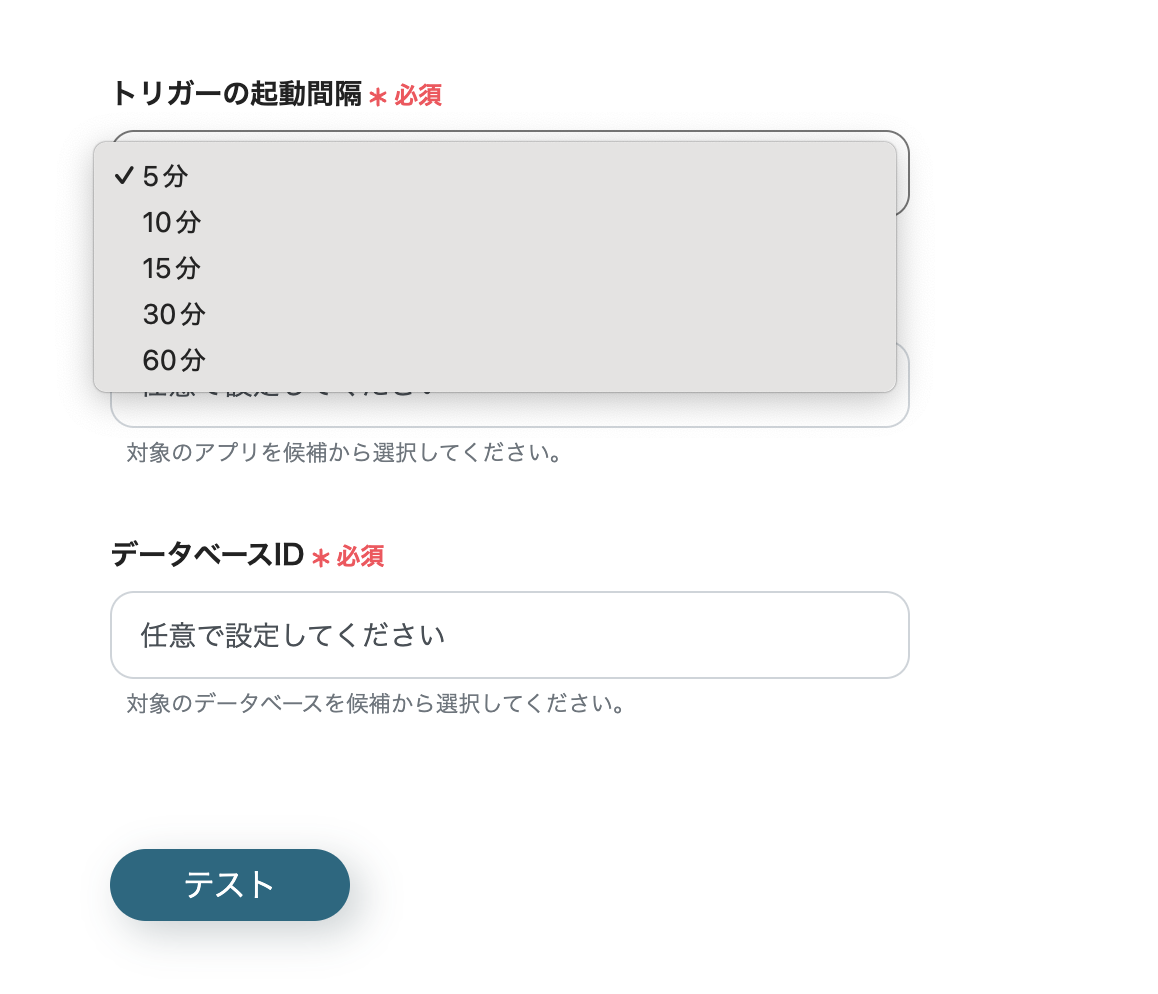
2. API Connection Settings for App Trigger
・Enter the trigger activation interval, app ID, and database ID.
・Select the trigger activation interval from the dropdown.
・
・Once entered, update the SPIRAL record and run the test.
・If the test is successful and SPIRAL information is obtained as output, save it.
Step 3: Set SPIRAL Action
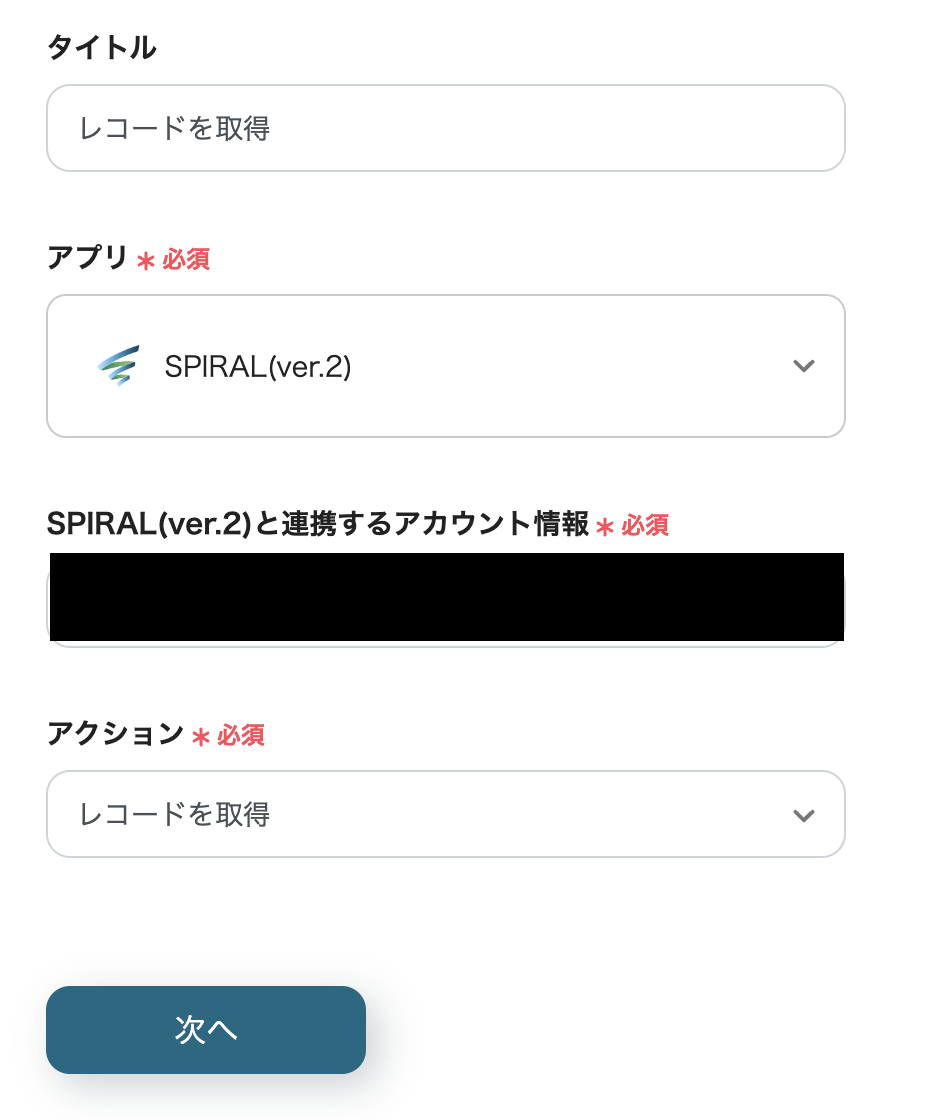
Next, click "Retrieve Record" to proceed with the settings.

1.Select Linked Account and Action
・The title can be changed.
・Check the account information linked with SPIRAL and click "Next".
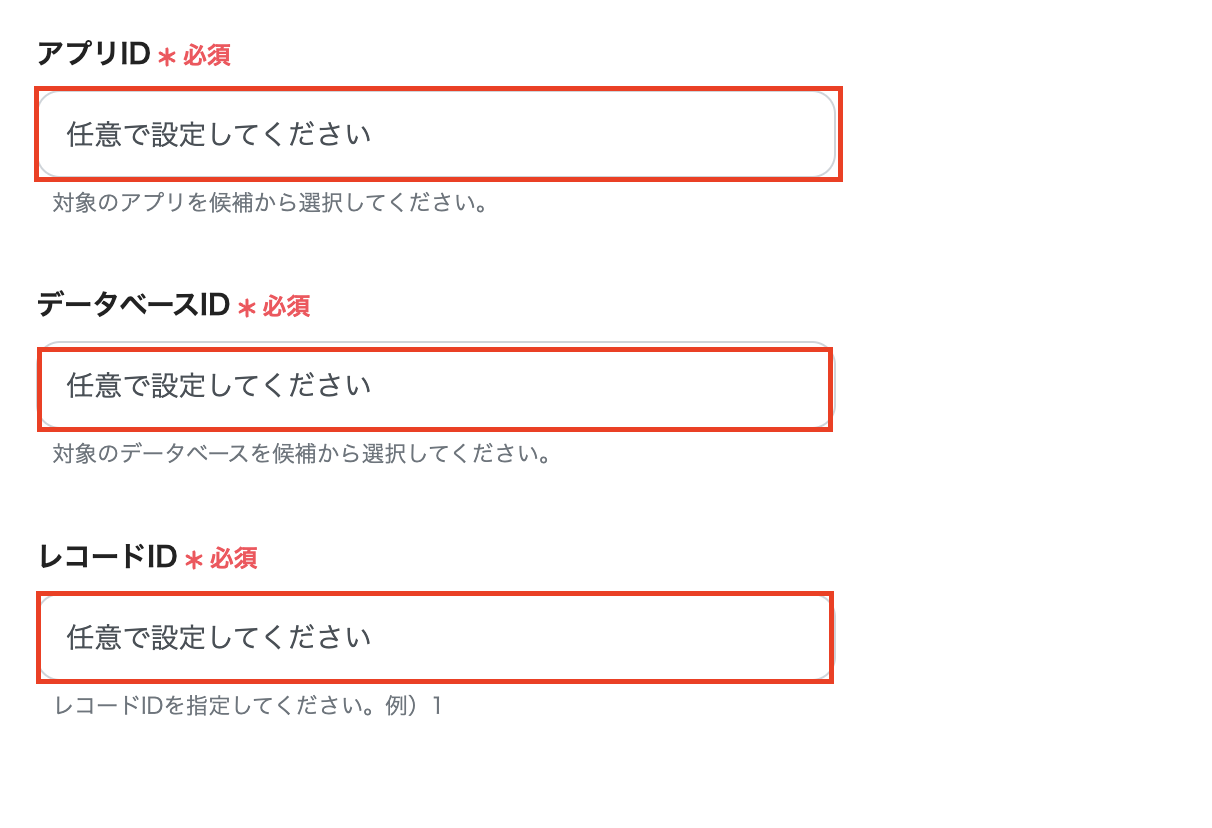
2. API Connection Settings
・Enter the app ID, database ID, and record ID and run the test.
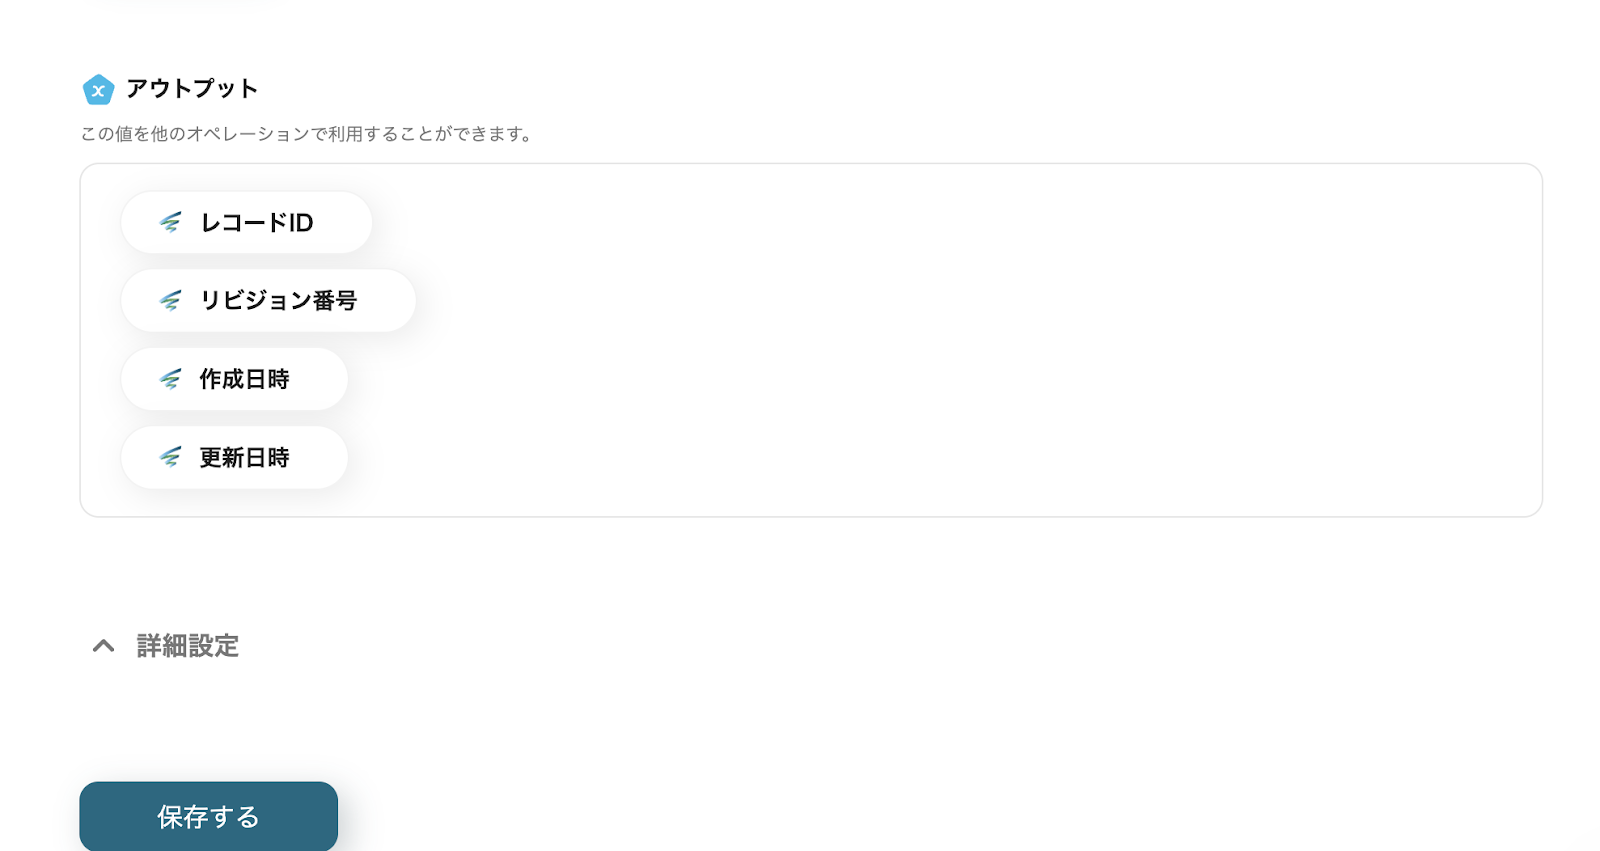
・If the test is successful, SPIRAL record information can be obtained as output.
・Manual operation is required when adding record information values as output.
・For instructions on how to add values to be retrieved, please check here.
・Once the settings are complete, save them.

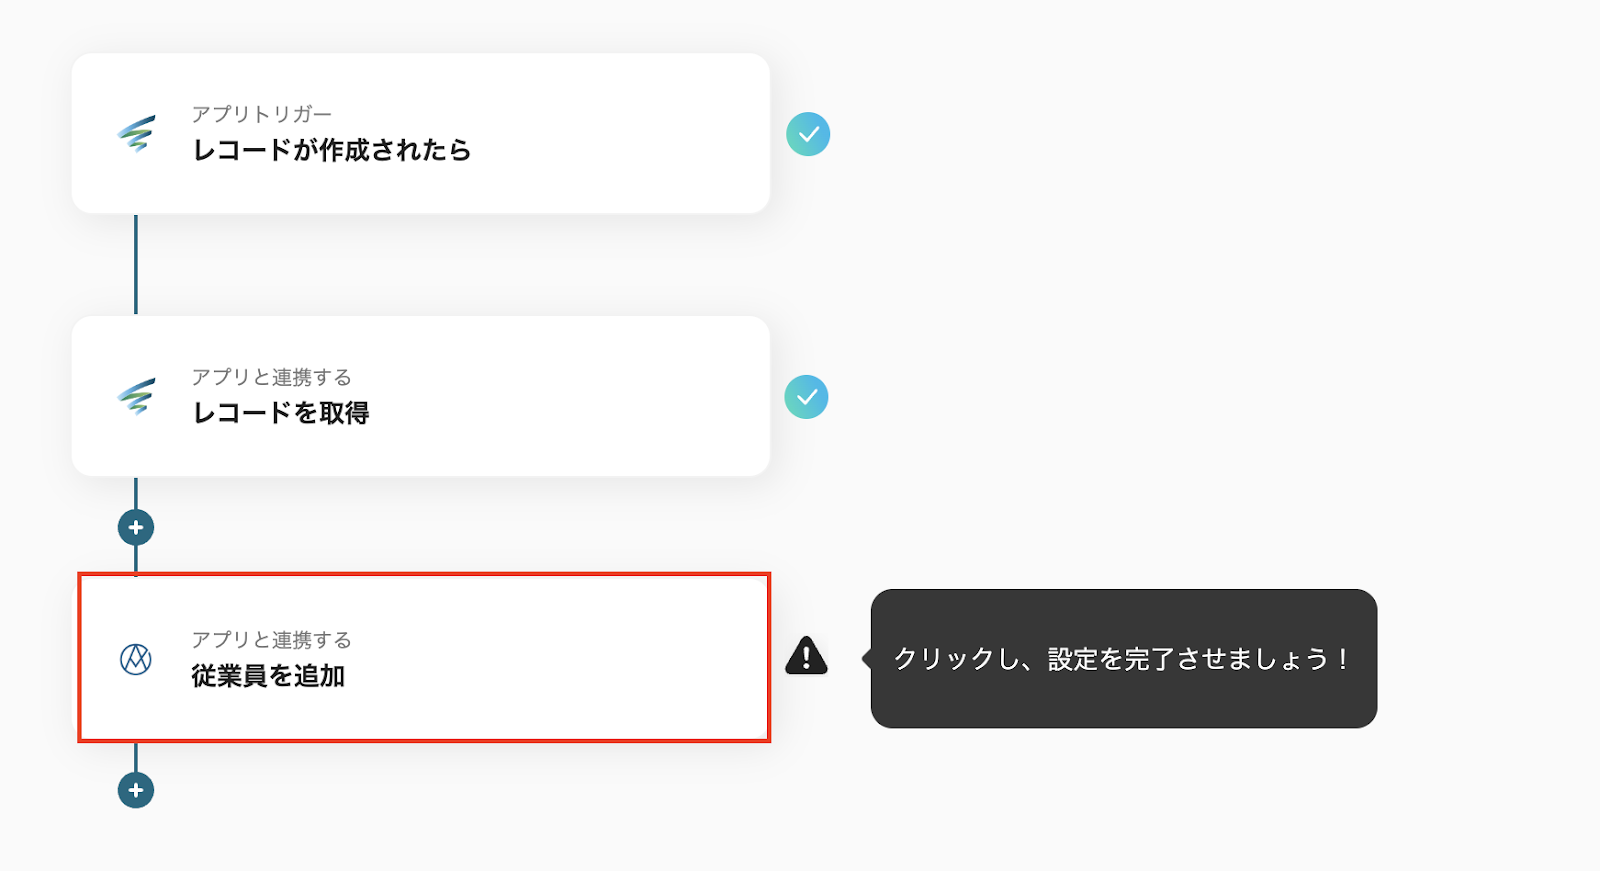
Step 4: Set AKASHI Action
This is the final setting!
Click "Add Employee" to set it up.
1.Select Linked Account and Action
・The title can be changed.
・Check the account information linked with AKASHI and click "Next".

2.API Connection Settings
・Enter the required fields for API token, company ID, last name, first name, and organization.
・Set the items that can be selected from the output as shown in the attached image.

Once this is done, run the test and if the information is added to AKASHI, save it.
Once the settings are complete, a popup will be displayed, so click "Turn on Trigger".
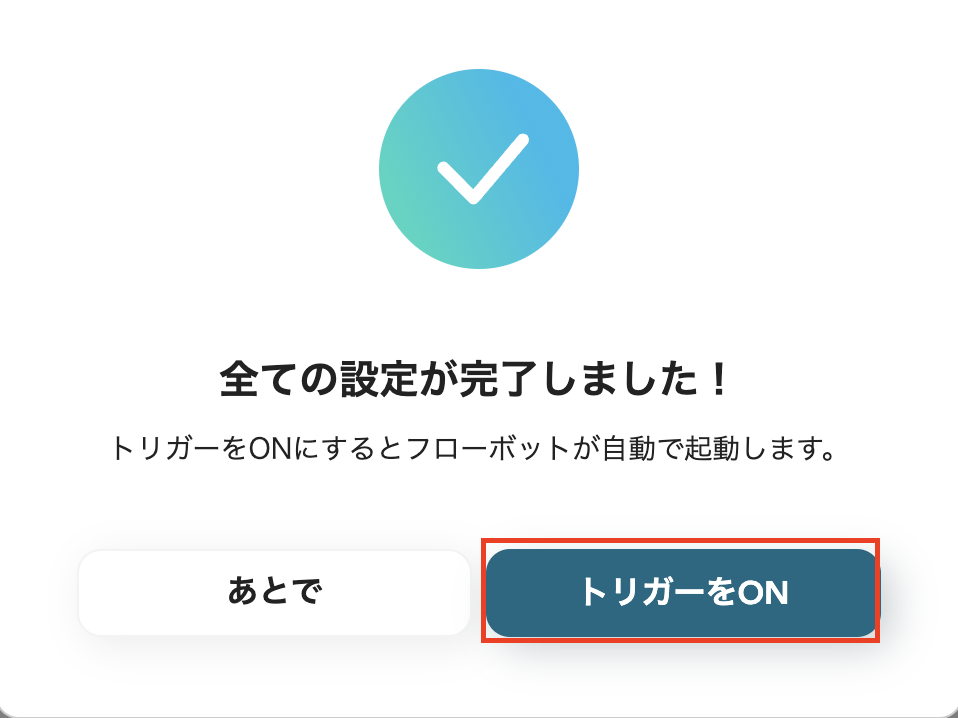
This completes all the flow bot settings.


.avif)


