[Easy Setup] How to Automatically Sync Toggl Data with Google Calendar
How to Integrate Applications
・
2025-05-09
[Easy Setup] How to Automatically Sync Toggl Data with Google Calendar
Do you ever struggle with double management of data when managing schedules and tasks with Toggl and Google Calendar? Double management not only consumes your time but also increases the likelihood of transcription errors...
The solution to this problem is automation of tasks through data integration between Toggl and Google Calendar!
<span class="mark-yellow">By utilizing this integration, data between Toggl and Google Calendar is automatically synchronized.</span> This makes it easier to avoid situations where you forget to transcribe your schedule!
This time, we will introduce in detail, with images, how to integrate data between Toggl and Google Calendar to simplify task and schedule management. If you are considering improving the efficiency of your task and schedule management, be sure to check it out!
For those who want to try it quickly
By using Yoom, you can easily integrate Toggl and Google Calendar without any coding. Yoom provides a template for integrating Toggl and Google Calendar, so you can achieve integration immediately by simply registering, even without API knowledge.
What You Can Do by Integrating Toggl with Google Calendar
By integrating the APIs of Toggl and Google Calendar, you can automatically sync Toggl data with Google Calendar!
You can experience the integration of Toggl and Google Calendar immediately by simply clicking "Try it out" on the automation example you're interested in and registering an account. Registration takes just 30 seconds, so feel free to give it a try!
Create an Event in Google Calendar When a Time Entry is Created in Toggl
This flow creates an event in Google Calendar based on the information from the Time Entry created in Toggl. It can enhance efficiency in schedule management and help prevent mistakes!
Let's Create a Flow to Integrate Toggl with Google Calendar
Let's get started by creating a flow to integrate Toggl with Google Calendar! This time, we'll use Yoom to proceed with the integration of Toggl and Google Calendar without any coding. If you don't have a Yoom account yet, please issue a free account from the registration form here.
[What is Yoom]
This time, we will create a flow that integrates data into Google Calendar when an event is created in Toggl! The creation process is broadly divided into the following steps.
Integrate Toggl and Google Calendar with My Apps
Copy the template
Set up the Toggl trigger and Google Calendar action
Turn on the trigger and check the operation
Step 1: Integrate Toggl and Google Calendar with My Apps
First, let's integrate Toggl and Google Calendar with My Apps. Once logged into Yoom, click on "+ Add" from "My Apps" in the left menu.
[For Toggl]
1. Search for "Toggl" and select Toggl from the list of apps.
2. Set the account name to something easy to manage, like "Admin Account". Enter the API token of the Toggl account you want to integrate with Yoom in the "API Token" field.
You can check the API token by following these steps:
1. Log in to the Toggl account you want to integrate 2. Open your profile 3. Click "Click to reveal" under "API Token" at the bottom of the page 4. Copy the alphanumeric code that appears
This completes the integration of Toggl with My Apps.
[For Google Calendar]
1. Search for "Google Calendar" and select Google Calendar from the list of apps.
2. On the next screen, click "Sign in with Google".
3. Enter the Google account information you want to integrate with Yoom and click "Next" on the [Log in to Yoom] screen.
4. Check all the options under "Select the information Yoom can access" and click "Continue".
This completes the integration of Google Calendar with My Apps.
Step 2: Copy the Template
Once the integration with My Apps is complete, let's set up the template right away. Click "Try it" on the banner below to copy the template.
When a template is copied to Yoom, the following screen will be displayed, so press "OK".
Step 3: Setting the Toggl Trigger
(1) Click on "New Time Entry" at the top of the template.
(2) Select the Toggl account information you want to link in "Account information to link with Toggl" and click "Next".
(3) Enter the ID of the Workspace to be operated in "Workspace ID". When you click on the input box, a list of Workspaces in the linked Toggl will be displayed from the "Candidates". Selecting the name of the Workspace to be operated will automatically input the ID.
(4) Enter any value in "Description" and click "Test" to run the test. If the test is successful, click "Next".
(5) Run the test on the next screen. If the test is successful and information is added to the "Output", click "Save" to complete the setup.
Step 4: Setting the Google Calendar Action
(1) Click on "Create Event" in the template.
(2) Select the Google Calendar account information you want to link in "Account information to link with Google Calendar" and click "Next".
(3) Enter the ID of the Google Calendar where you want to create the schedule. When you click on the input box, a list of Google Calendar IDs in the linked account will be displayed from the "Candidates". Select the calendar ID that suits your operation.
(4) Set the "Schedule Title" as desired. By selecting "Description" in "New Time Entry" in "Output", you can quote information extracted from Toggl set in the trigger.
(5) Enter the "Event Start DateTime". By selecting "Created At" in "New Time Entry" in "Output", you can quote the scheduled date of Toggl.
(6) Set the "Event End DateTime" as desired. To set an all-day schedule, select the date from the "Tomorrow" tab in "Date".
(7) Set "Event Description", "Participant Email Address", "Can participants other than the organizer modify the event?","Time Zone" and "Location" as desired.
(8) Once the settings are complete, run the test.
If the test is successful and the schedule is actually created in Google Calendar, click "Save" to complete the setup.
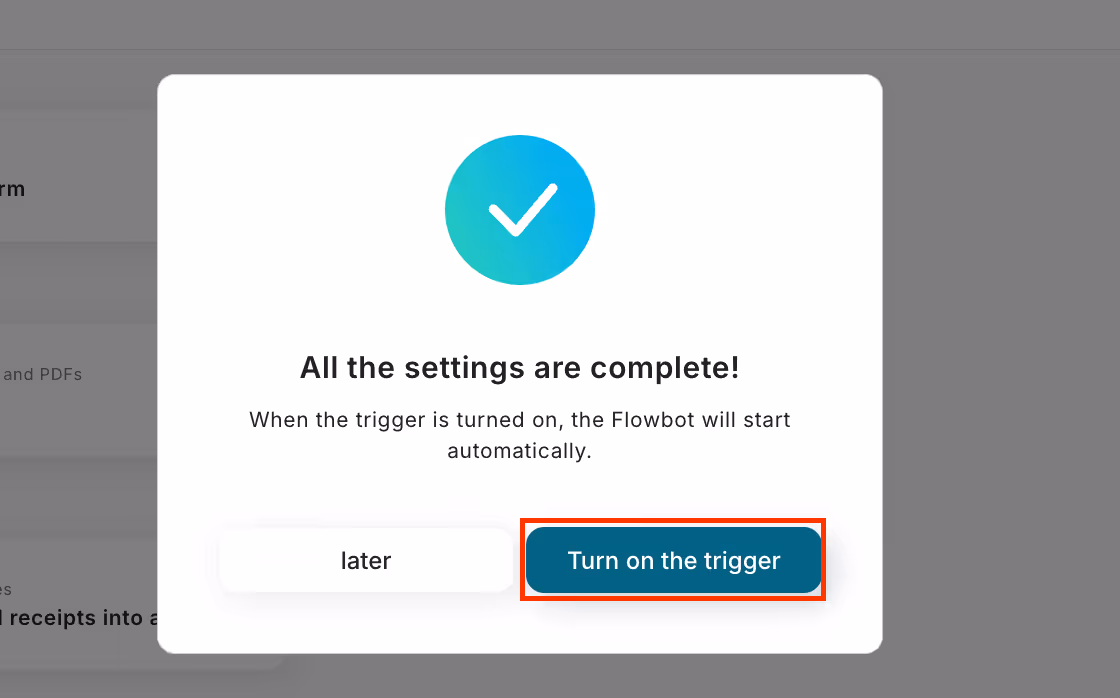
Step 5: Turn on the Trigger and Check Operation
This completes all the settings. After completing the settings, a pop-up like the one below will be displayed, so turn on the trigger. Check to see if the flow is working properly!
If you want to link Google Calendar data to Toggl
This time, we introduced how to link data from Toggl to Google Calendar, but if you want to link data from Google Calendar to Toggl, please also use the following template.
Create a task in Toggl when a schedule is created in Google Calendar
This flow is recommended for those who use Google Calendar as a schedule management tool and want to manage tasks in Toggl as well.
Get the day's schedule from Google Calendar every day and create tasks in Toggl
This flow is recommended for those who manage their schedule with Google Calendar and create tasks in Toggl based on their daily schedule.
Other Automation Examples Using Toggl and Google Calendar APIs
By leveraging the APIs of Toggl and Google Calendar, various automations can be achieved! How about the following automations, for example?
Automation Examples Using Toggl
You can automatically notify your email app of the content of tasks created or updated in Toggl, or automatically update tasks in Toggl based on updates made in task management tools!
Automation Example Using Google Calendar
You can automatically notify events from Google Calendar or automatically sync tasks created in another app with Google Calendar!
Conclusion
By integrating Toggl with Google Calendar, you can see how creating and managing schedules becomes easier than ever before! This integration also helps you avoid situations like "I forgot to create an event in Google Calendar!"
<span class="mark-yellow">Additionally, the data integration method introduced here is easy to execute even for beginners!</span> Yoom is designed to be simple and user-friendly, allowing those without programming knowledge to perform data integration. This makes it easier for those who have previously given up on automation to give it a try!
Conventional RPA can only automate simple repetitive tasks, and the setup process was very complicated. With “hyperautomation,” which combines various technologies such as AI, API, RPA, and OCR, it is possible to automate many tasks that could not be realized until now more easily than before.
Most tools simply connect one app to another, leaving the complex tasks to you. Yoom goes much further: From document creation and browser automation to OCR and generative AI, Yoom handles it all seamlessly in one platform.
Why settle for basic integrations? Streamline your entire workflow with Yoom’s powerful hyperautomation.


.png)


.avif)


