


The process consists of only 4 steps, so you can set it up in 10-15 minutes.
- Register Webflow and Airtable as My Apps
- Set a trigger to activate when a collection item is created in Webflow
- Set an action to create a record in Airtable
- Verify the automation between Webflow and Airtable
If you are not using Yoom, please register for free here.
If you are already using Yoom, please log in.
Step 1: Register Webflow and Airtable as My Apps
Register Webflow and Airtable as My Apps in Yoom.
Registering as My Apps first will make the automation setup smoother.
First, let's register Webflow as My App.
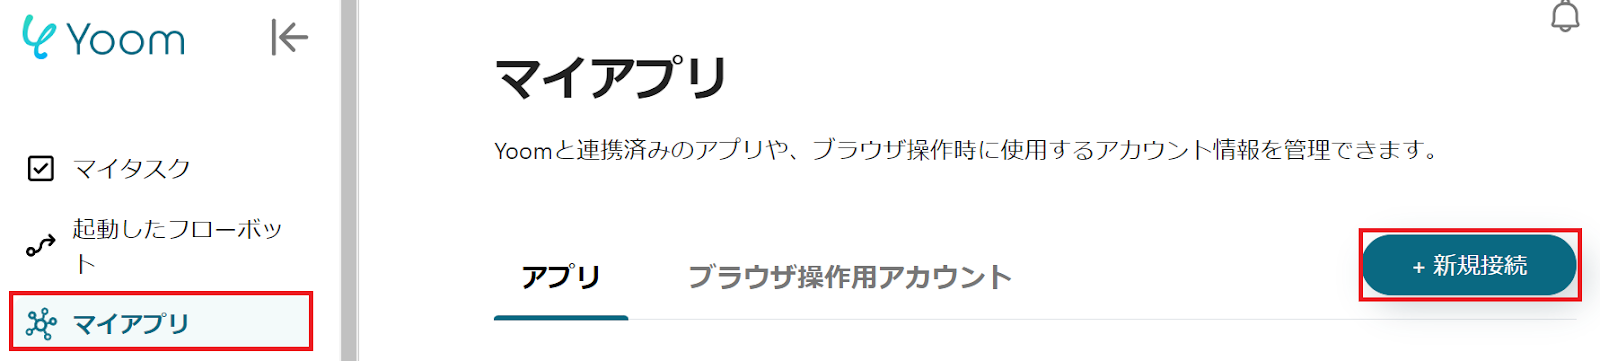
Click "My Apps" → "New Connection" on the left side of the Yoom screen.
Search for Webflow from "Search by App Name" or find it from the app list.
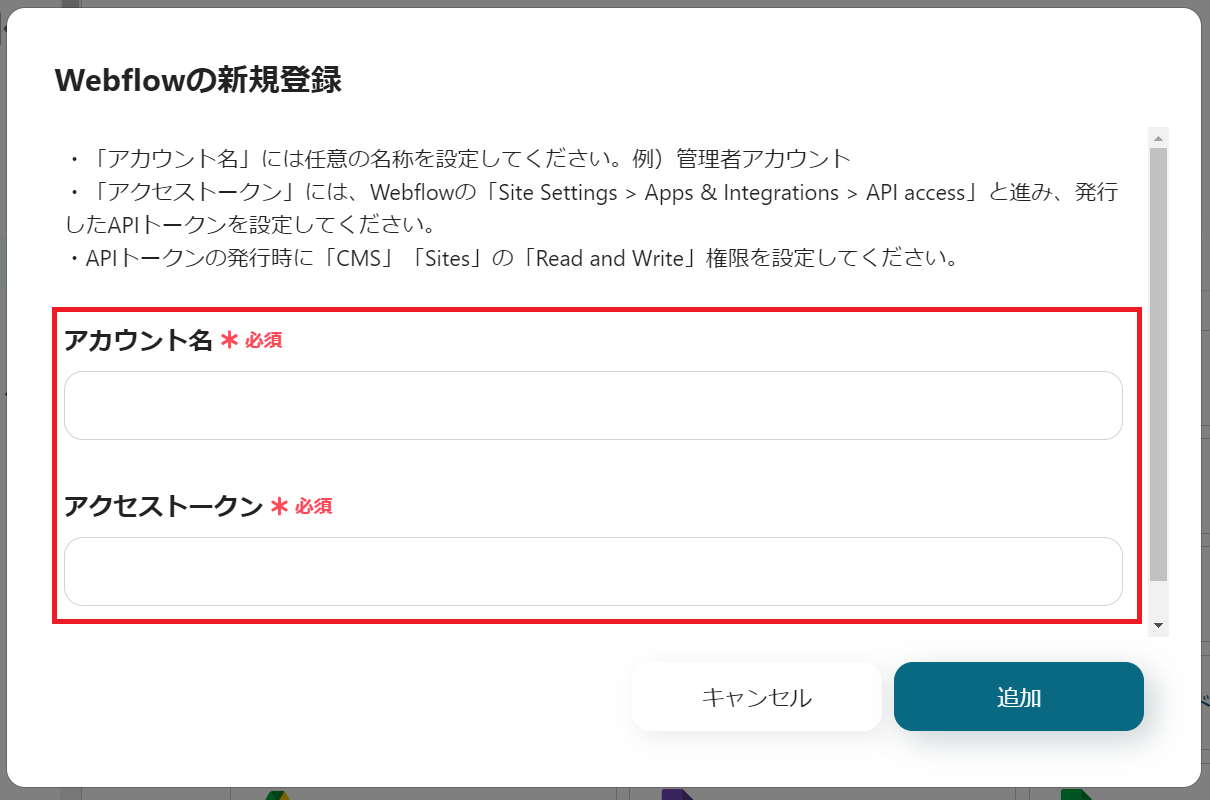
The following screen will be displayed, so check the explanation and set the "Account Name" and "Access Token".
Next, register Airtable as My App.
Refer to the registration method described here and register.
Once both My App registrations are complete, Webflow and Airtable will be displayed.
Step 2: Set a trigger to activate when a collection item is created in Webflow
To set up automation, click "Try it" on the banner below.


.avif)
.avif)

.png)


