The template will be copied to my project. Click on the title within the red frame to navigate to the Flowbot settings screen.

Step 3: App Trigger "When a message is received in the inbox"
Click on the first process of the template.

Retrieve the information to be extracted from Wix.
(1/2) Select the Linked Account and Action
The items displayed here are pre-configured.
- App Trigger Title
- App
- Account information linked with Wix
- Trigger Action
→ Click Next
(2/2) Select the Linked Account and Action

Log in to the Wix dashboard.
- Click on Automation in the side menu, then click + New Automation in the top right corner.
- Create a new automated workflow and select "When a message is received" as the trigger. This trigger automatically executes an action when a message is sent.
- Next, select "Send via Webhook" under "Choose Action".
- Copy and enter the Webhook URL provided by Yoom into the displayed screen.
- After entering the Webhook URL, click "Apply" to complete the setup. This will automatically execute the Webhook and send data to Yoom when a message is sent.
Let's return to the Yoom settings screen.
→ Click Test → Success, you can retrieve message items from the output.

→ Click Save
Step 4: Integrate with the App "Send a message to the channel"
Click on the second process of the template.

In this process, set up the notification content for Slack.
(1/2) Select the Linked Account and Action
These items are pre-configured.
- App Trigger Title
- App
- Account information linked with Slack
- Trigger Action
→ Please click Next.
(2/2) API Connection Settings

- Channel ID for posting
- Click the edit field to open a dropdown displaying channel candidates from the Slack workspace. Select the channel to notify, and the ID will be automatically quoted.

- Message
- Create a template for the notification. Click the edit field to display the extracted output in a dropdown. Selecting the output will embed a reference code in the edit field. It becomes easier to understand if you enter an item before the reference code.

→ Click Test. → Success
→ Click Save Let's click Save. This concludes the settings for this flow.
Step 5: Turn ON the App Trigger
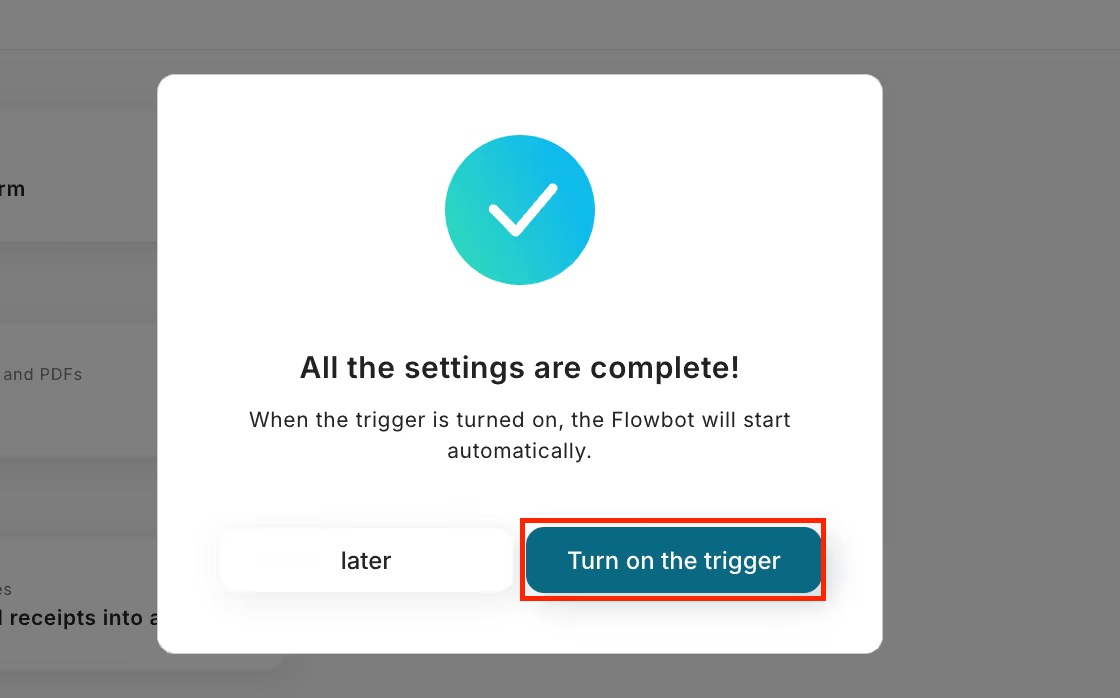
Once all processes are set, a completion screen will pop up.

Turn ON the Trigger to activate the Flowbot. You can switch it using the toggle at the top left of the template.
<span class="mark-yellow">Automation was achieved in a short time without using programming!</span> Here is the template used this time.


.avif)
.avif)
.avif)


