

.avif)

1) Open the banner above and click "Try this template" to copy it to My Projects.
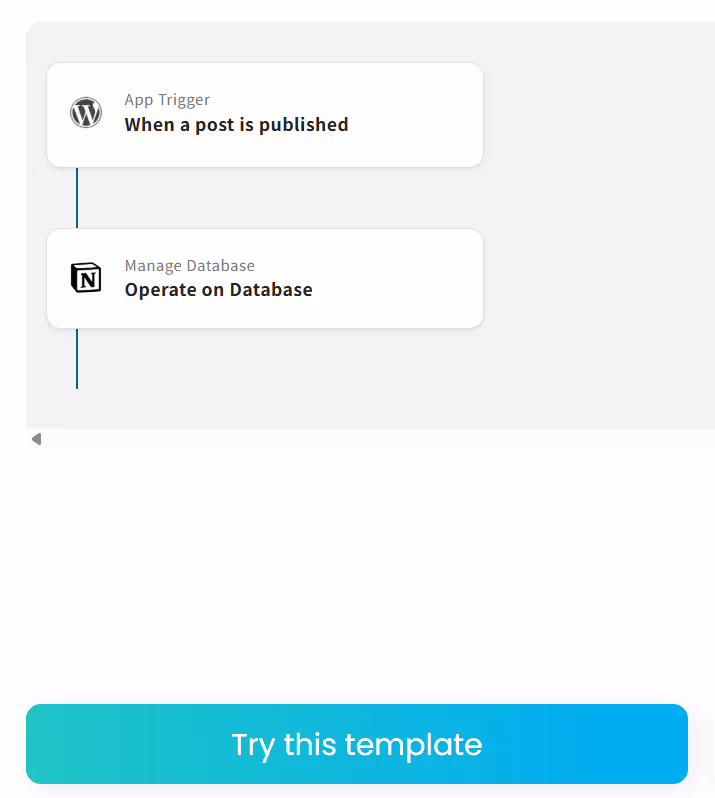
2) The following display will appear.
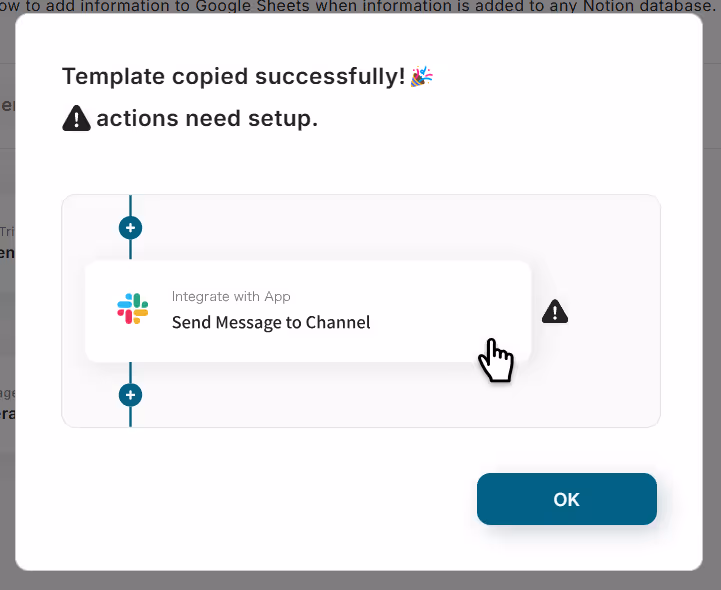
Follow the instructions and click the flow icons with "!" on the right in order to edit them.
Titles and details can be changed by clicking on them.
Please modify them for ease of use.
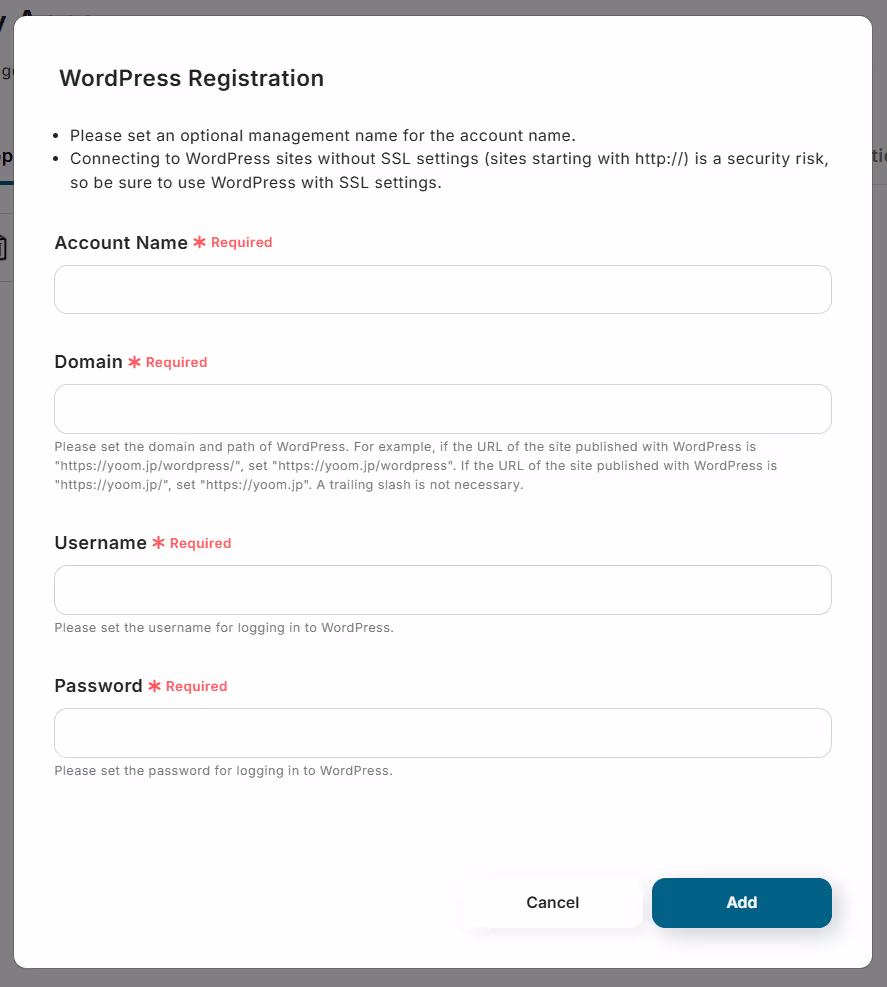
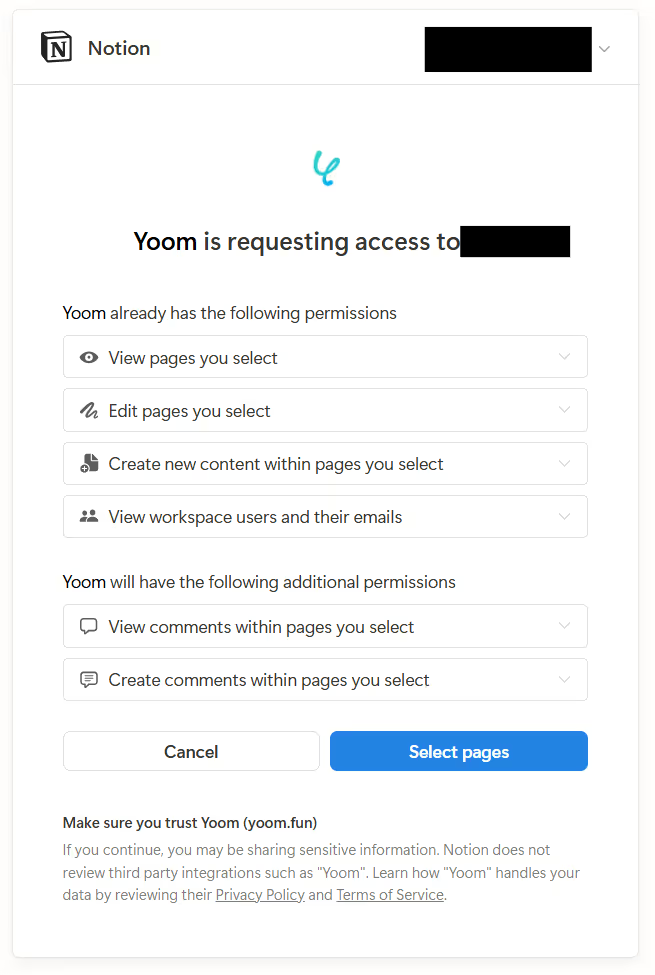
Step 3: Setting Up Integration Between WordPress and Notion
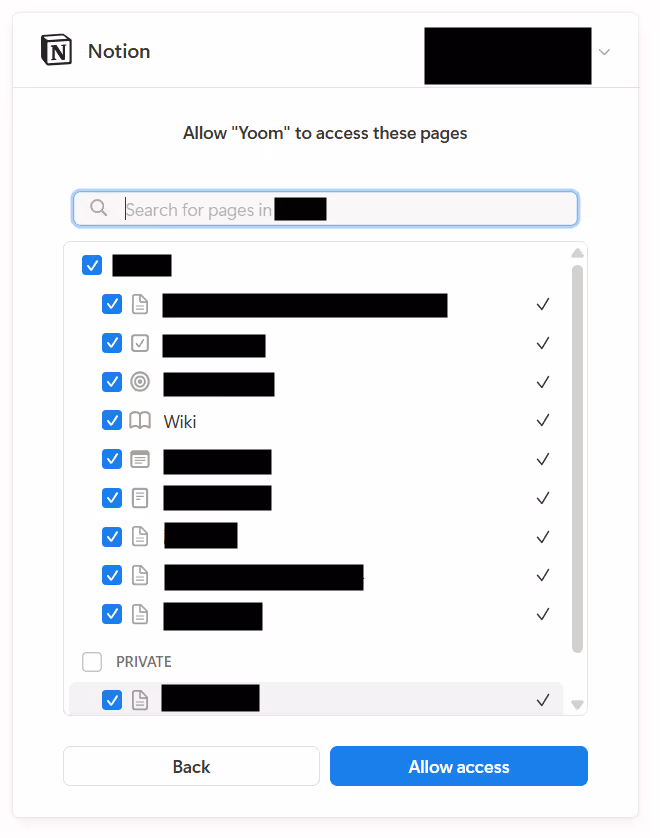
1) This flow is to add WordPress information to Notion, so you need to create a Notion database corresponding to the WordPress information in advance.
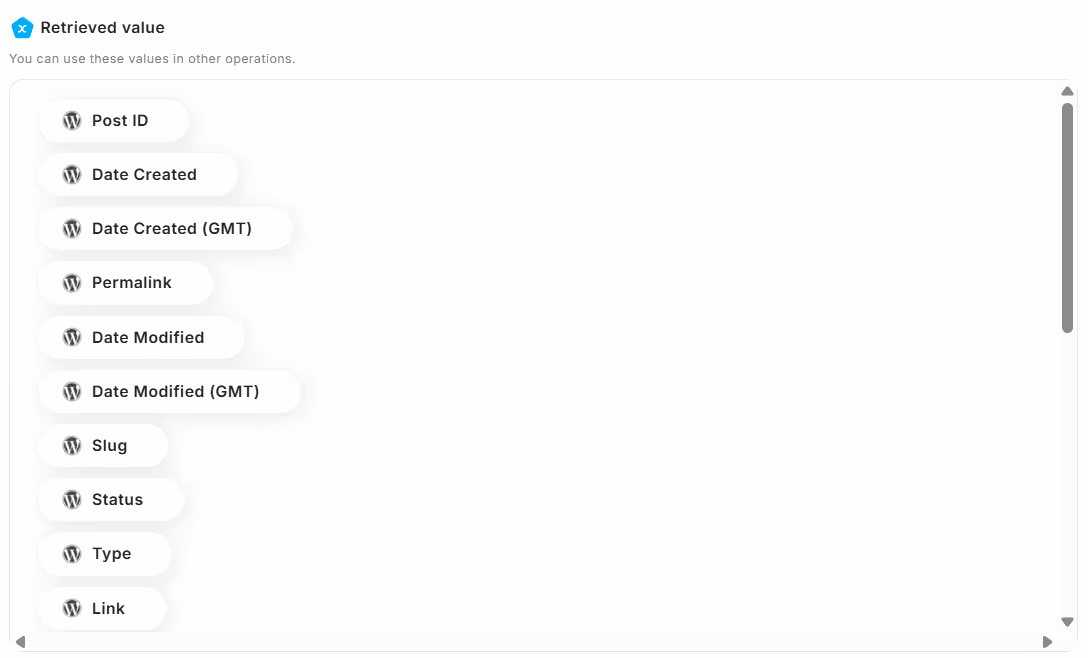
The output information that can be obtained from WordPress is as follows.
Please prepare the database by creating the necessary items with reference to the image.


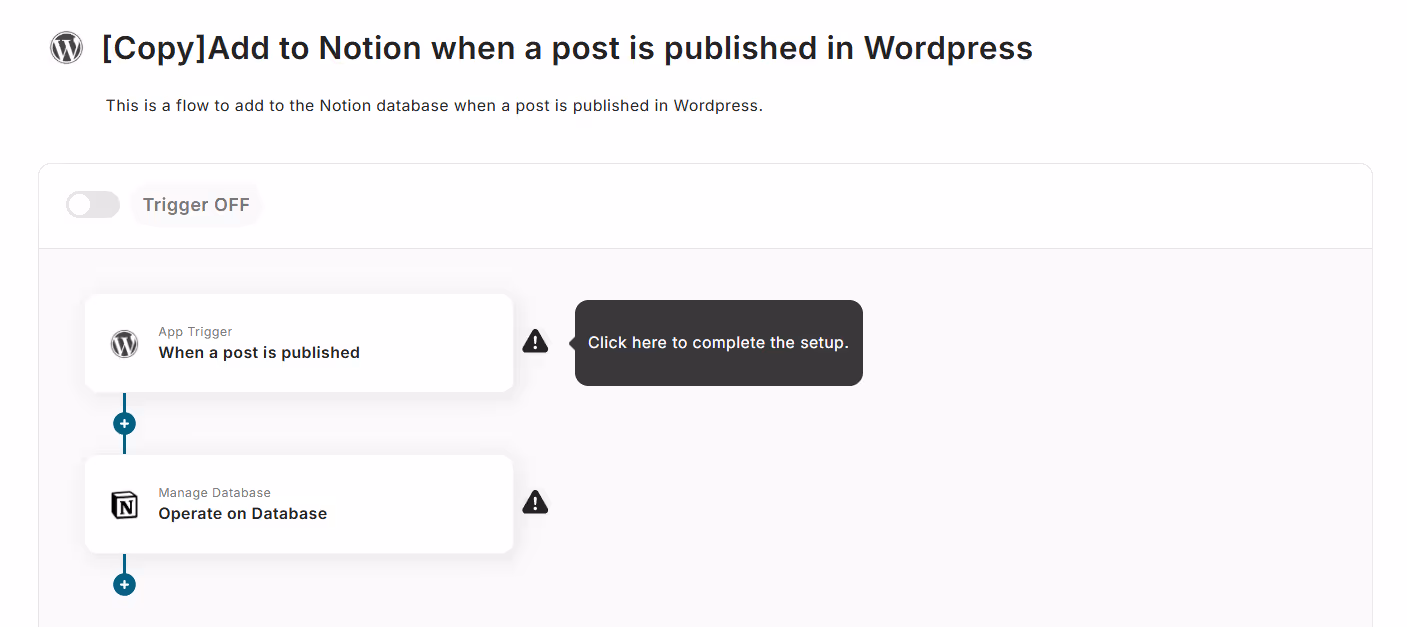
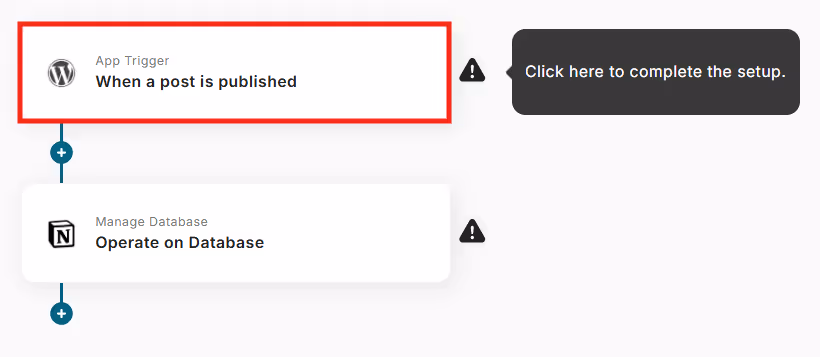
2) Click "App Trigger When Post is Published".
3) Select the trigger action "When Post is Published" and click "Next".
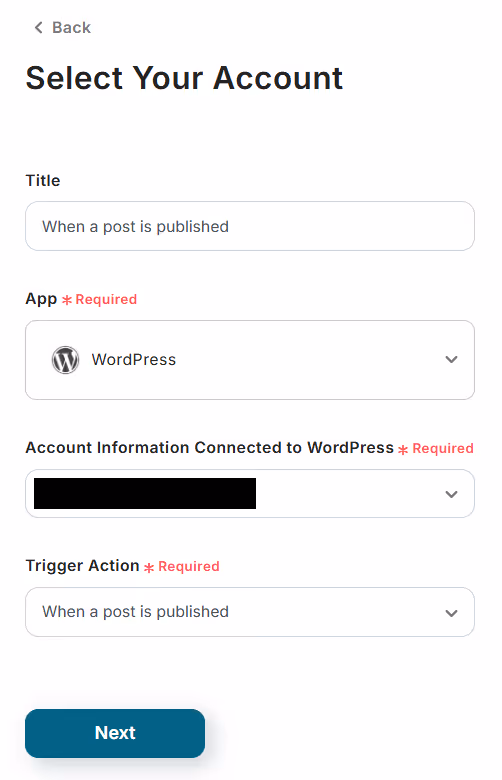
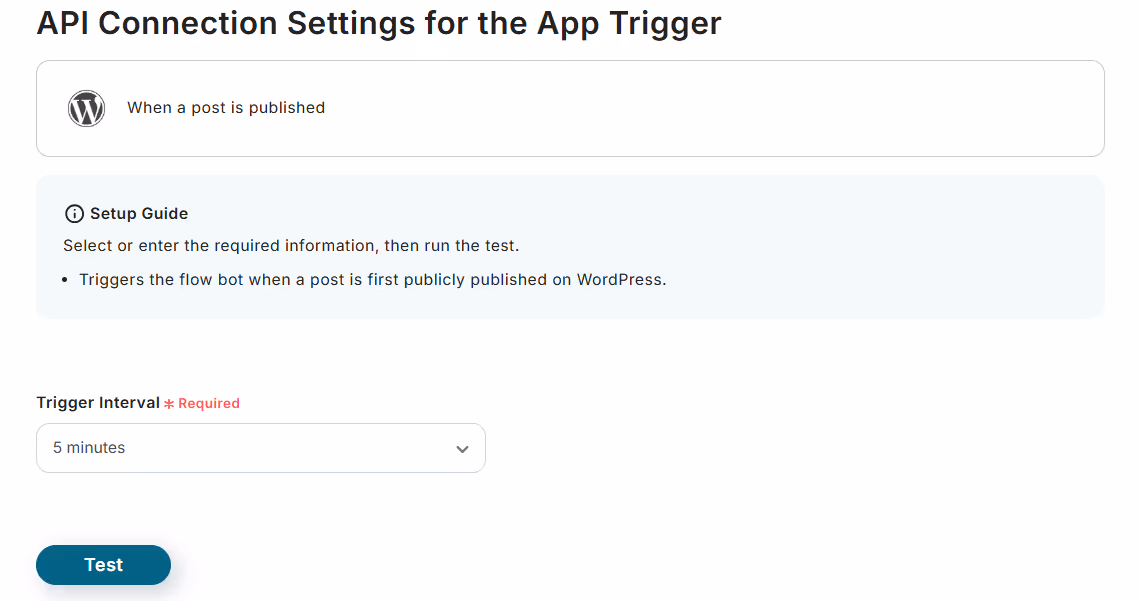
4) Select the trigger interval and click "Test".
If the test is successful, click "Save".
* The trigger interval can be set to 5 minutes, 10 minutes, 15 minutes, 30 minutes, or 60 minutes. Depending on the plan you are using, the shortest interval you can set for the trigger may vary. Generally, the shortest interval for your plan is recommended.
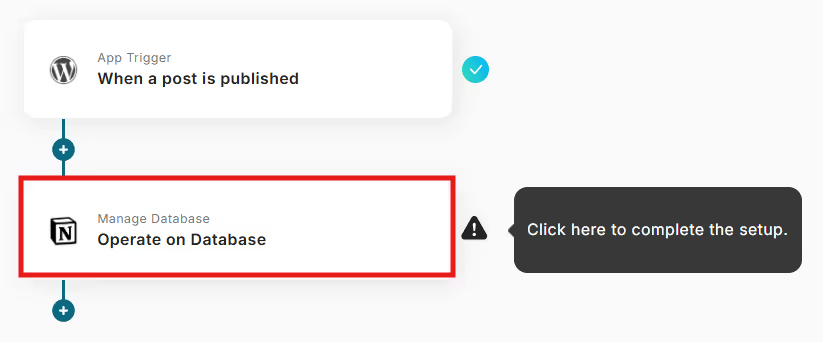
5) Once back in the flow, click the icon "Operate Database Add Record".
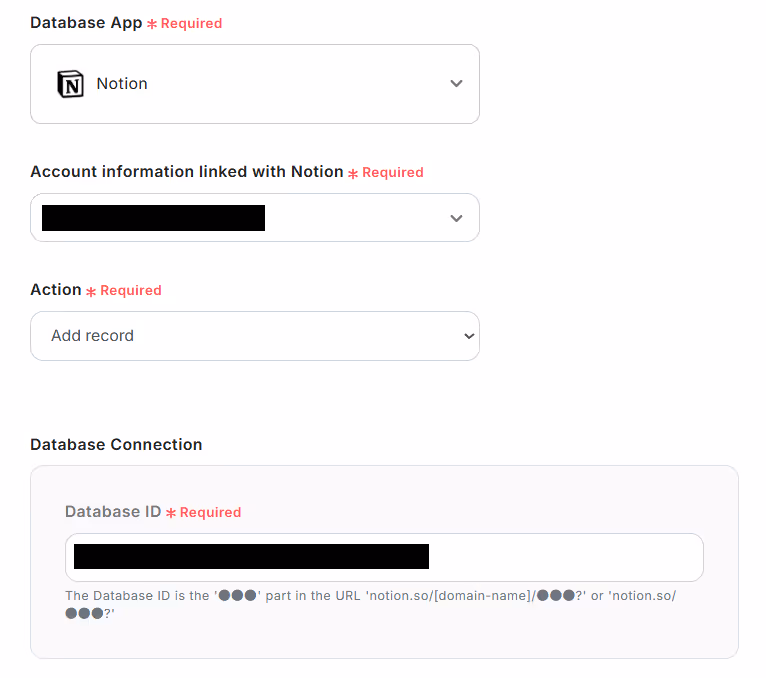
6) Select the execution action "Add Record", enter the database ID, and click "Next".
If the app registration is complete, you can select the database ID from the options.
Please select the database you created in advance.
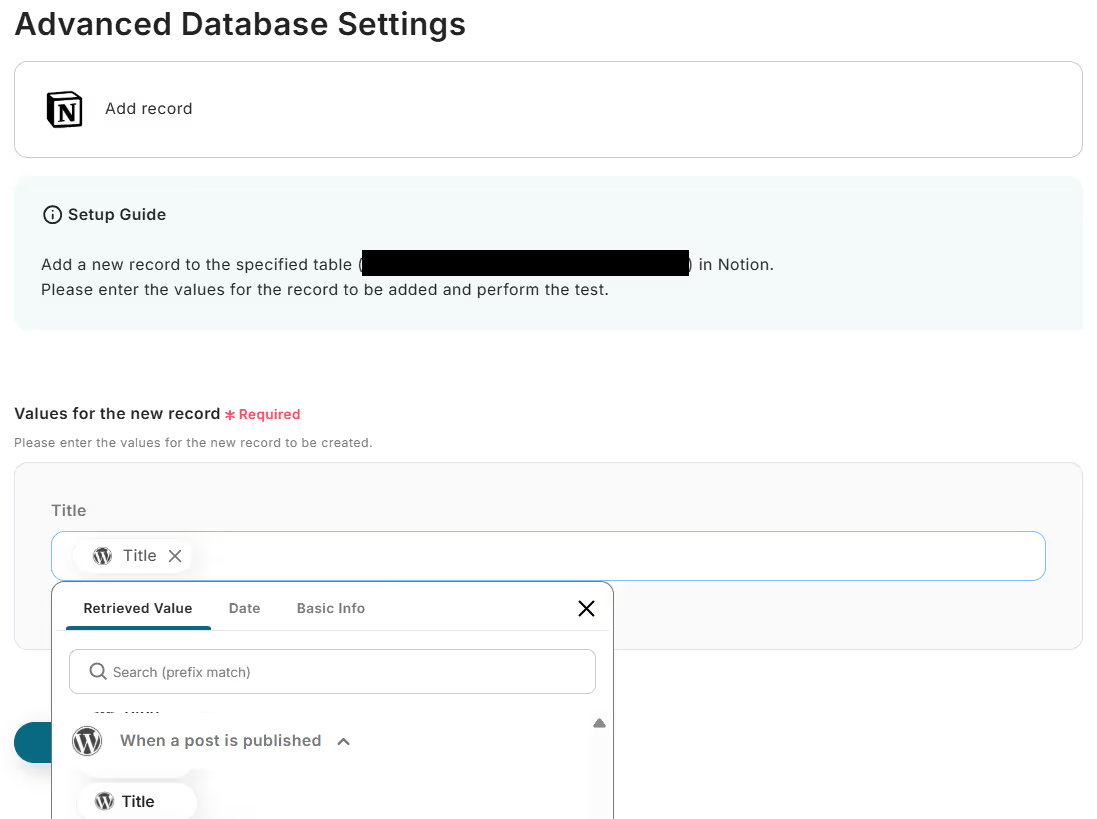
7) Enter the "Values of the Record to be Added".
You can quote the output information from WordPress that you linked earlier, so please quote it as needed when entering items.
Once you have entered the information, click "Test", and if the test is successful, click "Save".
8) This completes the flow of "Add to Notion when a post is published on WordPress".
Step 4: Testing and Verification
1) After completing the setup, the following display will appear, so click "Turn on Trigger". Start the flow bot and check if it works correctly once.

Here is the template used this time


.avif)


