

.avif)

1. Hover over the banner and press "View Details"
2. Press "Try this template" on the page you moved to
3. Register for Yoom
* If you have already completed registration, the login screen will be displayed, so please log in.
How to Create an Integration Flow for Wrike and Zendesk
Step 1: My App Integration
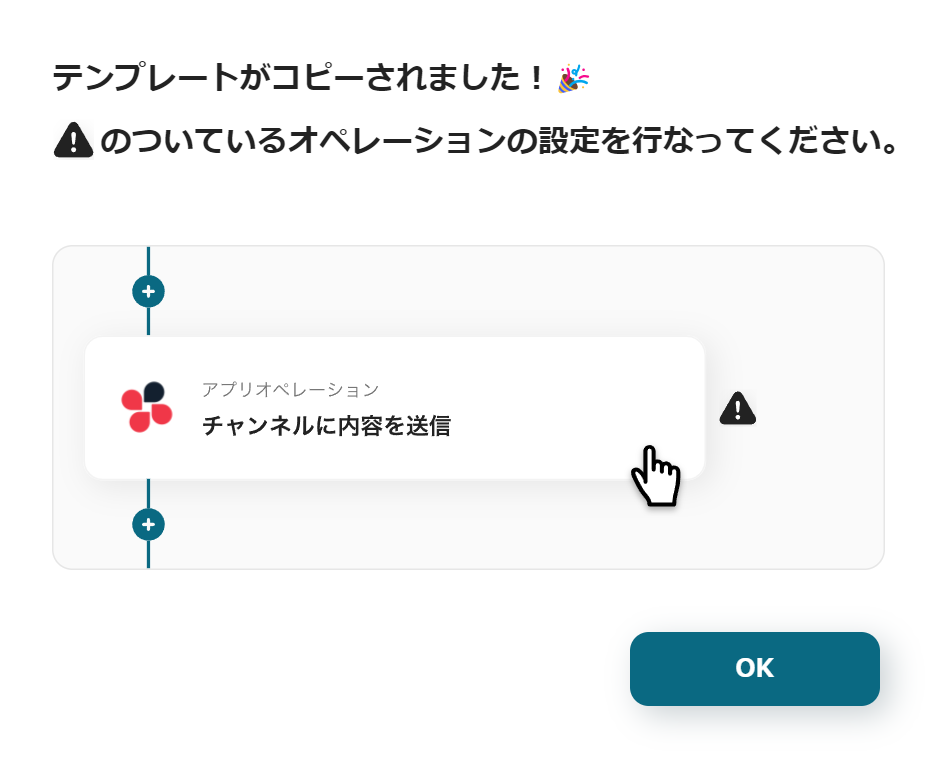
Once you complete the registration for Yoom, the Flowbot template will be copied to "My Projects".
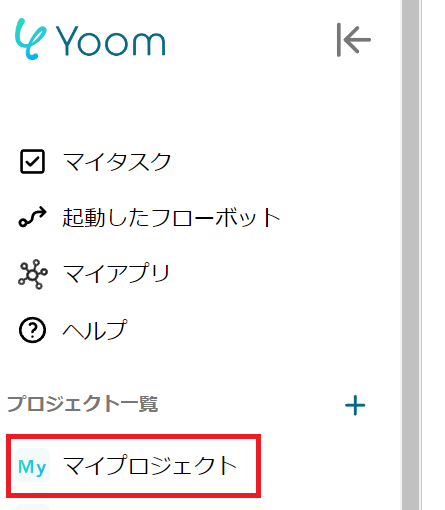
If the display appears as shown in the image, please select "My Apps" from the menu on the left.
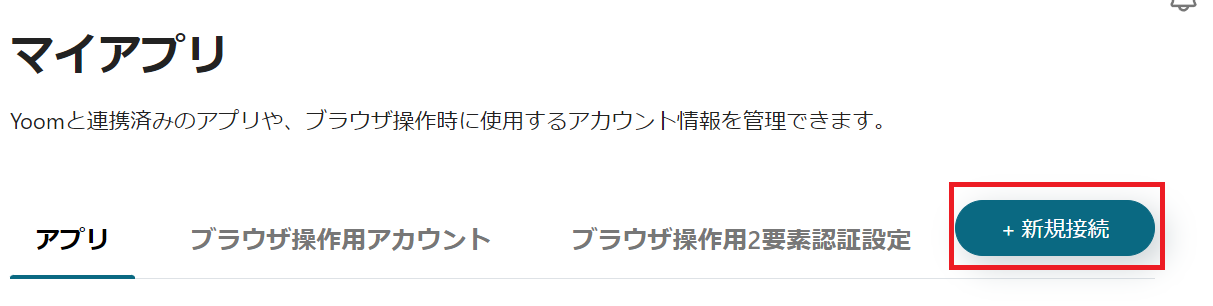
Click the new connection button in the upper right corner and integrate Yoom with each app.
Integration of Wrike and Yoom
1. Log in
Log in to Wrike from another tab.
Logging in will allow you to quickly complete the My App integration.
2. Search
Return to Yoom, enter "Wrike" in the search box, and click the Wrike icon.
3. Authorization

You will be asked for authorization by Wrike, so please click the authorize button.

If the above display appears, the integration is complete.
Integration of Zendesk and Yoom
1. Search
Enter "Zendesk" in the search box and click the Zendesk icon.
2. Enter Required Fields

Enter the required fields using Base64 encoding.
Log in to Zendesk with administrator privileges.
For more details, please check How to Register My Apps in Zendesk.
Also, please check About Base64 Encoding.
3. Add
Once the required fields are entered, click Add at the bottom right.
If the above display appears, the integration is complete.
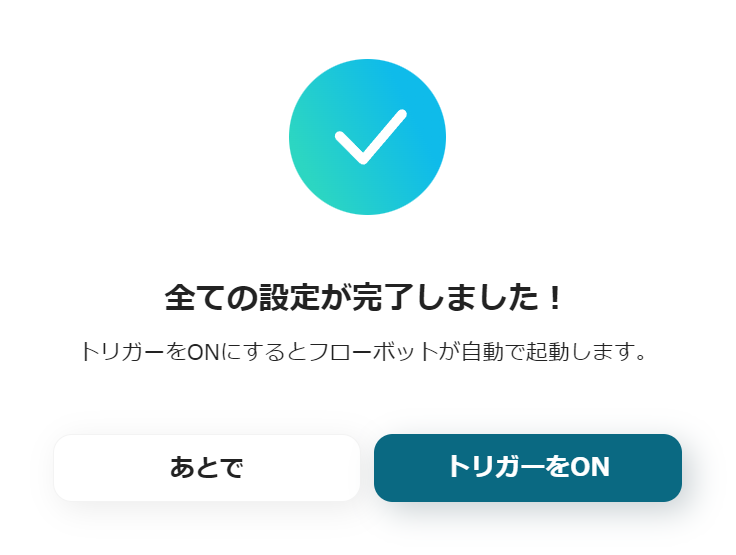
This completes the My App integration for Wrike and Zendesk.
Next, we will create a Flowbot using the template copied to My Projects.
If it has not been copied yet, please copy the Flowbot template from below.


.avif)
.avif)
.avif)


