1. Click "Try it" on the transitioned page
2. Register for Yoom
* If you have already completed registration, the login screen will be displayed, so please log in.
[Jira Software Settings]
First, you will need to send a test during the stage of creating the flow bot.
Therefore, let's create an appropriate issue in Jira Software.
Now, let's proceed with the Jira Software settings. Return to My Projects on the left side of the screen.
Enter the page with the Jira Software icon "Notify Microsoft Teams when an issue is registered in [Copy] Jira Software" and click edit in the top right corner!
↓
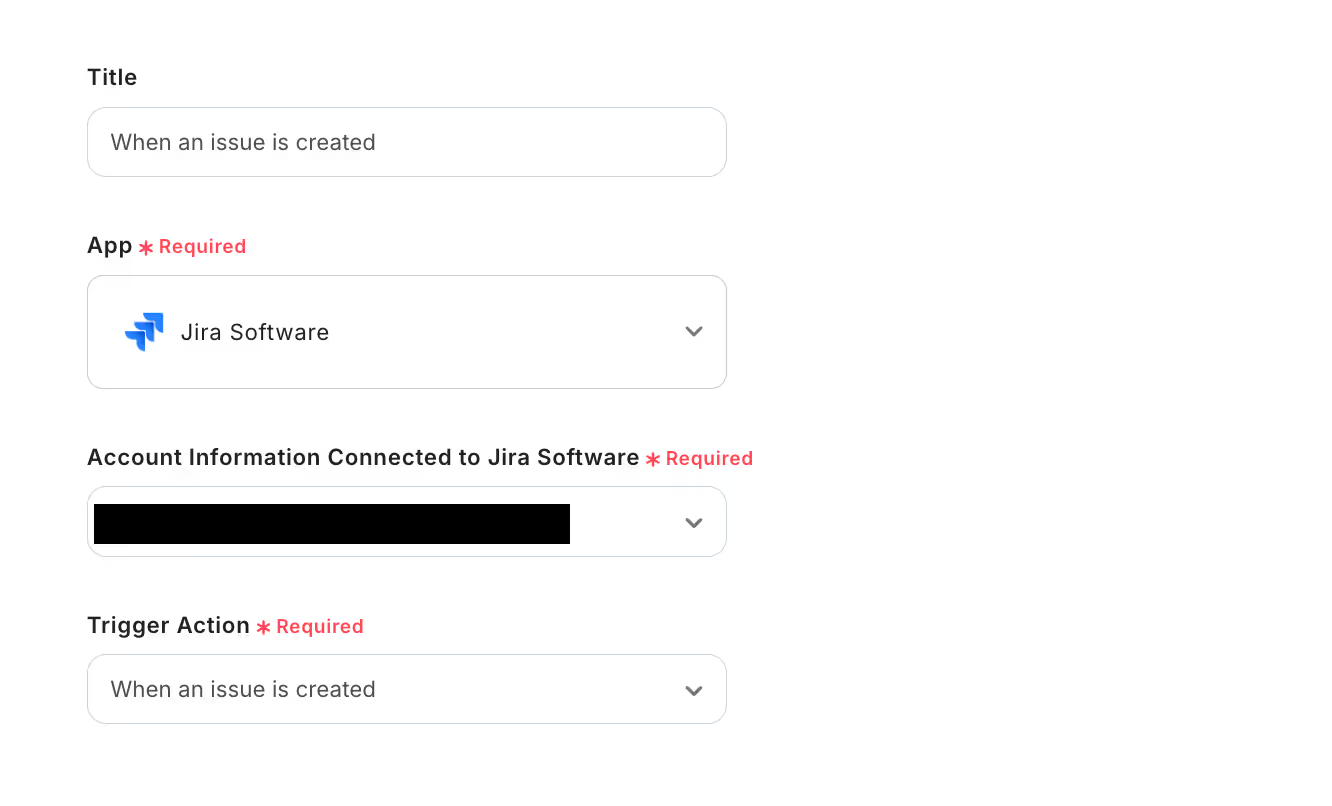
Click "When an issue is created"!
↓
Trigger Action is changed to "When an issue is created or updated".
This way, you will be notified on Microsoft Teams not only when an issue is created but also every time it is updated!

App Trigger Title is also set to be the same as Trigger Action.
It might be easier to understand if you make it look like the image.
↓
Press Next and enter the subdomain.
There is a subdomain in the Jira Software URL, so you can just copy and paste it!

Enter the project key for Jira Software.
The project key differs for each project created, so let's create the project you want to notify Microsoft Teams about!
Checking the project key for Jira Software is easy!
Press the "project" at the top of the Jira Software page and click show all projects!
↓
The key is next to the project name, so copy and paste it.
If there are other projects you want to reflect in Microsoft Teams, it will be easier if you keep track of the keys!
Once you have entered the subdomain and project key, press the test button just below.
It will be displayed in blue as "Test Successful", so save it!
[Microsoft Teams Settings]
Next, let's move on to the Microsoft Teams settings.
Click the Microsoft Teams icon "Send a message to the channel"!
Action is "Send a message to the channel", so it is easier to understand if you keep the title the same.
Press Next and decide which channel in Microsoft Teams to notify and the content of the message. The settings will be completed in the next step!
↓
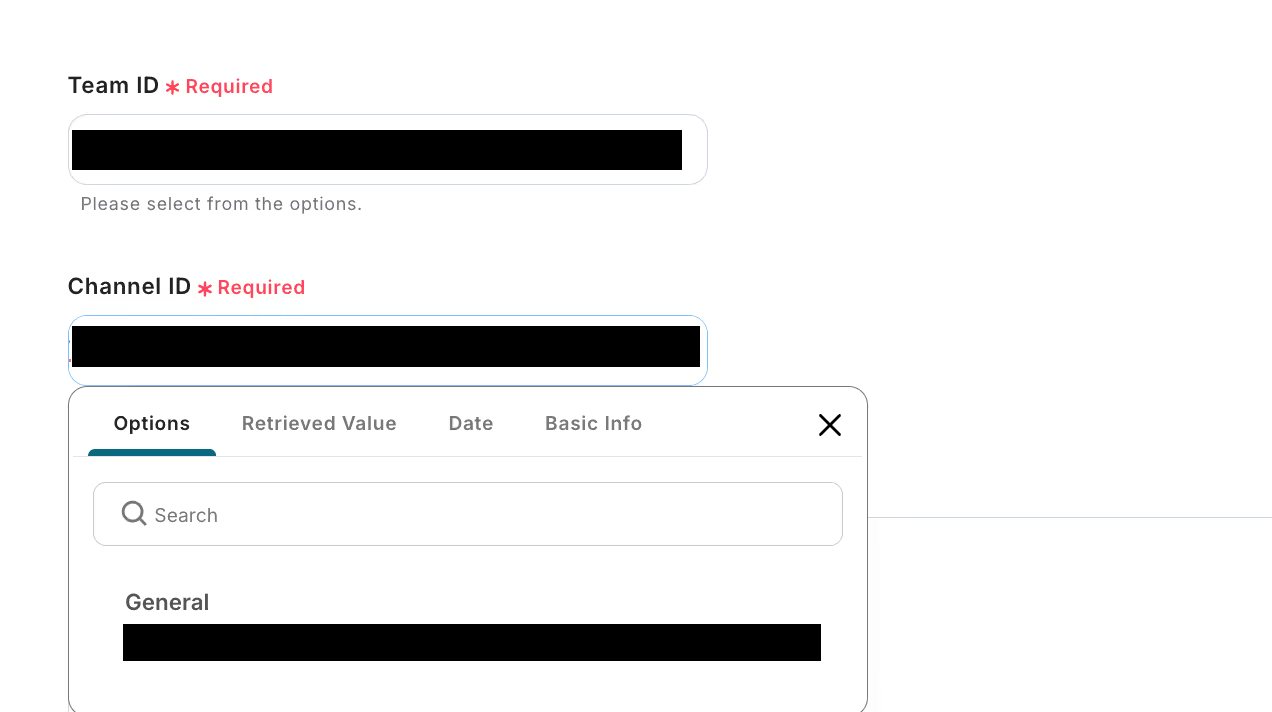
The screen will look like the following, so click inside the box!
Then, the team ID and channels will be displayed in a list, so choose the one you want.

↓

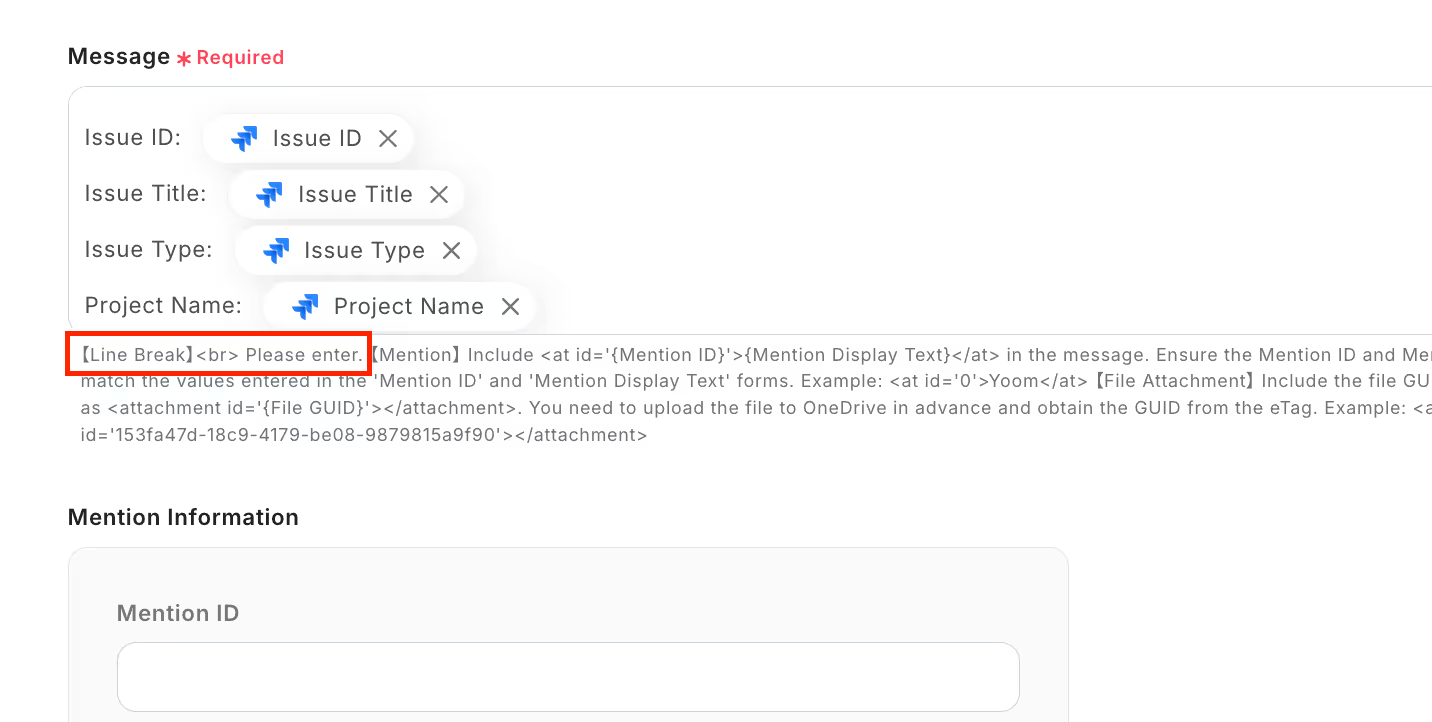
There is a box called message below, and various inputs are made there. Let's use it as it is!
However, since there is no line break as shown in the red frame, inserting HTML tags is essential.
Refer to the image and insert line breaks at the desired locations, then press the test button just below!
This concludes the setup. Thank you for your hard work!


.avif)
.avif)
.avif)
.avif)


