

.avif)

The integration flow is broadly created through the following processes.
・Registering Calendly and Google Chat as My Apps
・Setting a trigger to activate when an event is scheduled in Calendly
・Configuring to send a message to Google Chat
・Testing and verification
Step 1: Integrating My Apps with Calendly and Google Chat
First, log in to your Yoom account.
If you do not have an account, please create one on the Yoom account creation page.
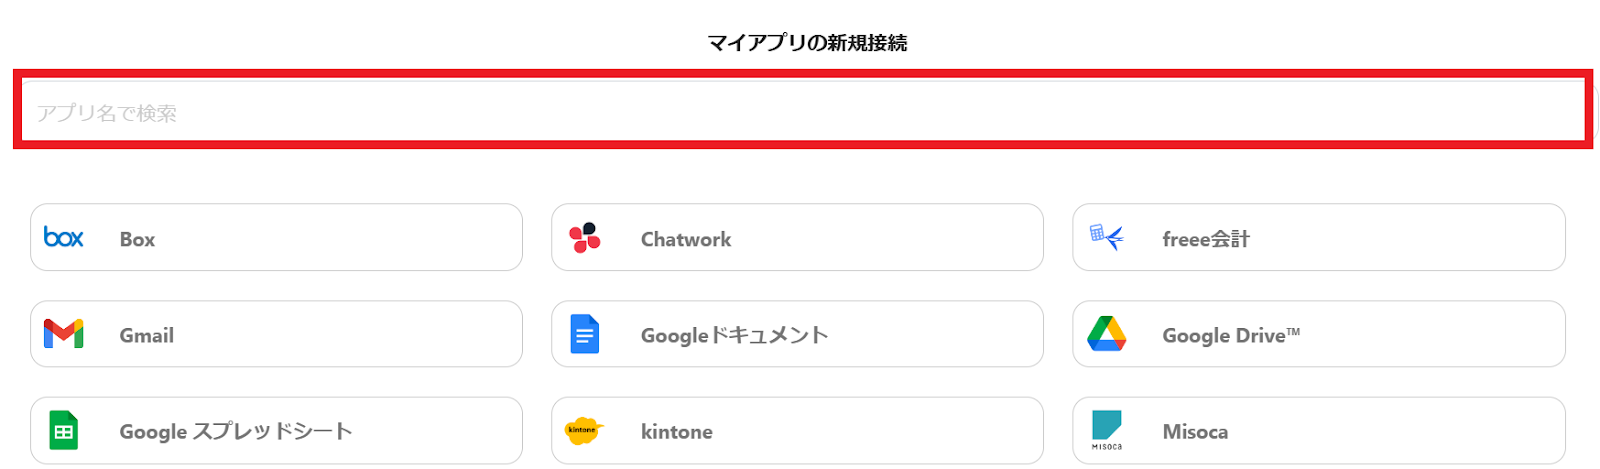
1. Click on My Apps and then click on New Connection.

2. You can search by app name in the input field.
Search for Calendly and Google Chat respectively and register them.
Registering Calendly as My App
Let's start by registering Calendly. Enter "Calendly" in the input field, and when the Calendly icon appears, click on it.
1. The following screen will appear.
Please enter the Application ID and Secret.
Click "Add" to complete the registration of Calendly as My App.

Registering Google Chat as My App
Integration with Google Chat is only possible with Google Workspace.
For details, please refer to here.
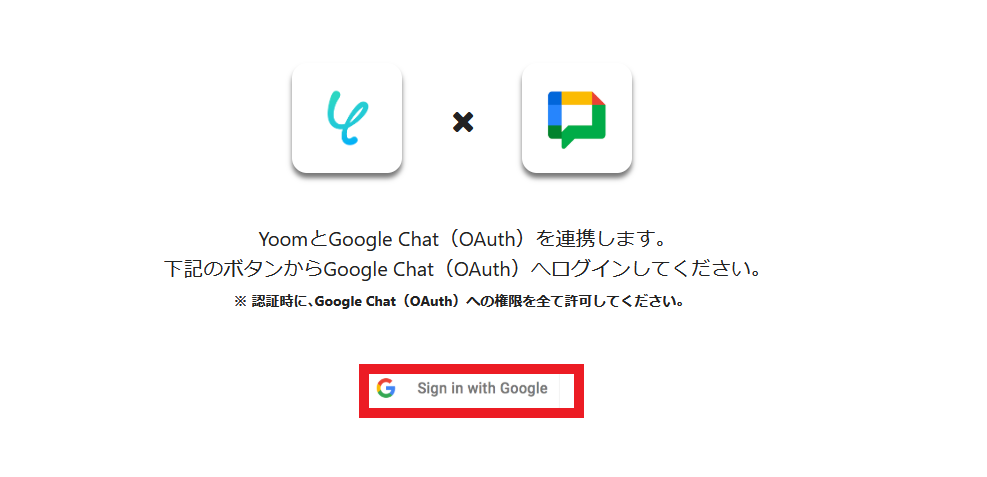
Search for Google Chat in the same way and click on the icon.
1. The following screen will appear.
Click "Sign in with Google".
2. Enter the Client ID and Client Secret.
For detailed instructions on registering Google Chat as My App, please refer to here.
Once you have finished entering, click "Register".

This concludes the registration of Calendly and Google Chat as My Apps.
Once the registration is successful, the following screen will appear.
Check if the icons for Calendly and Google Chat are displayed on the My Apps screen.

For more detailed information about Yoom, please check the Yoom Help Center.
Selecting a Template and Preparing the Storage Location
Click "Try it" from the link below.


.avif)
.png)

.png)


