


How to Create an Integration Flow between Calendly and Microsoft Teams
The integration flow this time is broadly divided into the following processes.
・Integrate Calendly and Microsoft Teams with My Apps
・Launch Calendly and set it to retrieve information in real-time
・Set up to send messages to Microsoft Teams
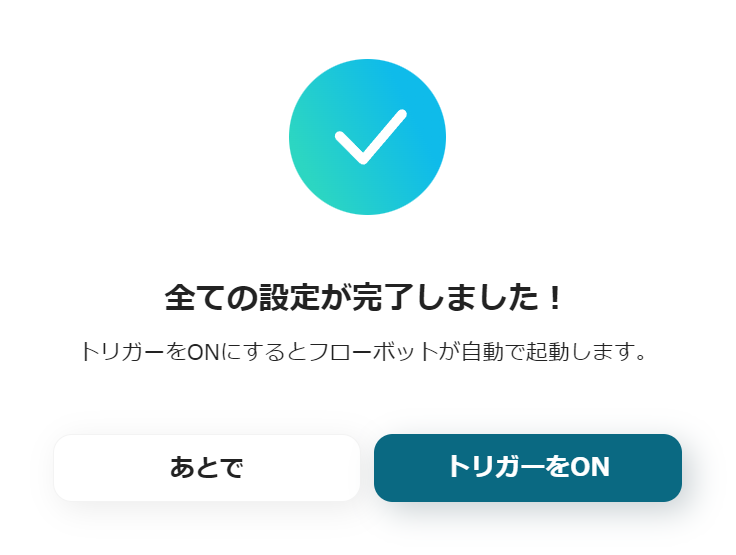
・Turn on the trigger button and verify the integration operation between Calendly and Microsoft Teams
Step 1: Integrate Calendly and Microsoft Teams with My Apps

After completing the registration with Yoom, please select "My Apps" from the menu on the left.

Next, click the new connection button at the top right.
Integration of Calendly with Yoom
1. Search

Click the Calendly icon.
2. Log in

The login screen will be displayed, so please log in.
3. Connect to Calendly

The screen will transition. Click the red frame.
4. Integration Complete

If the above display appears, the integration is complete.
Integration of Microsoft Teams with Yoom
1. Log in
Log in to Microsoft365. By logging into Microsoft365, the My Apps integration will be completed quickly.
*Regarding Microsoft365 (formerly Office365), if you are not subscribed to the general corporate plan (Microsoft365 Business), authentication may fail.
2. Search
Click the Microsoft Teams icon.
3. Integration Complete
The screen will switch immediately. If the above display appears, the integration is complete.
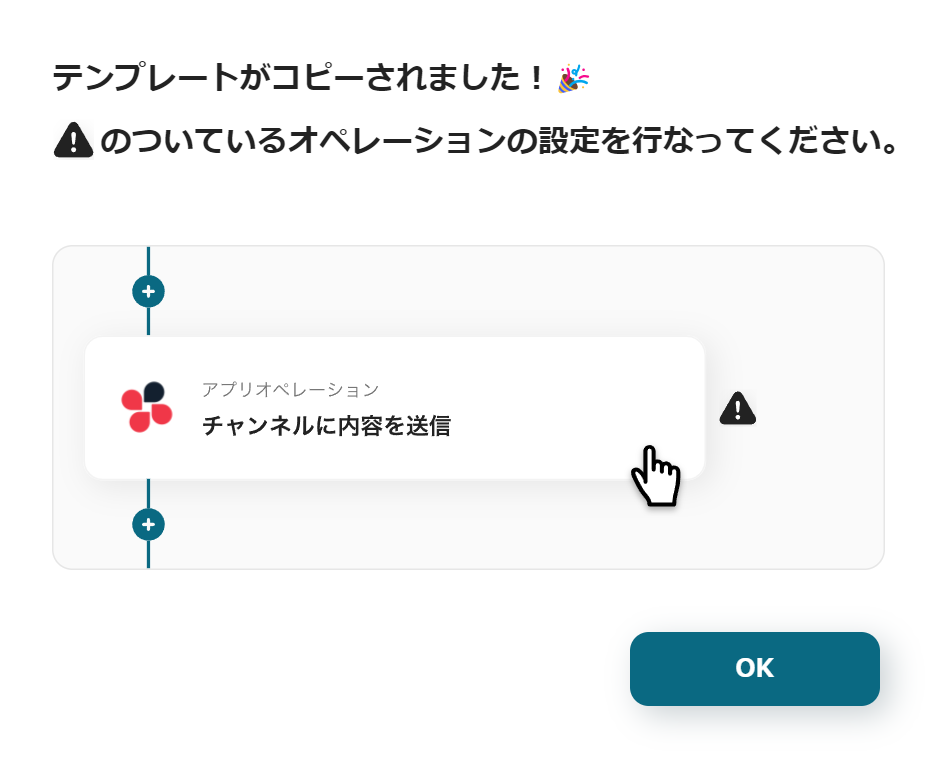
Step 2: Copy the Template
Next, please copy the template to be used this time.


.avif)
.avif)
.avif)


