


The template will be copied to My Project. You can access My Project from the left menu bar.
Step 3: App Trigger "When a New Ticket is Created"
Select and click the first step of the template.
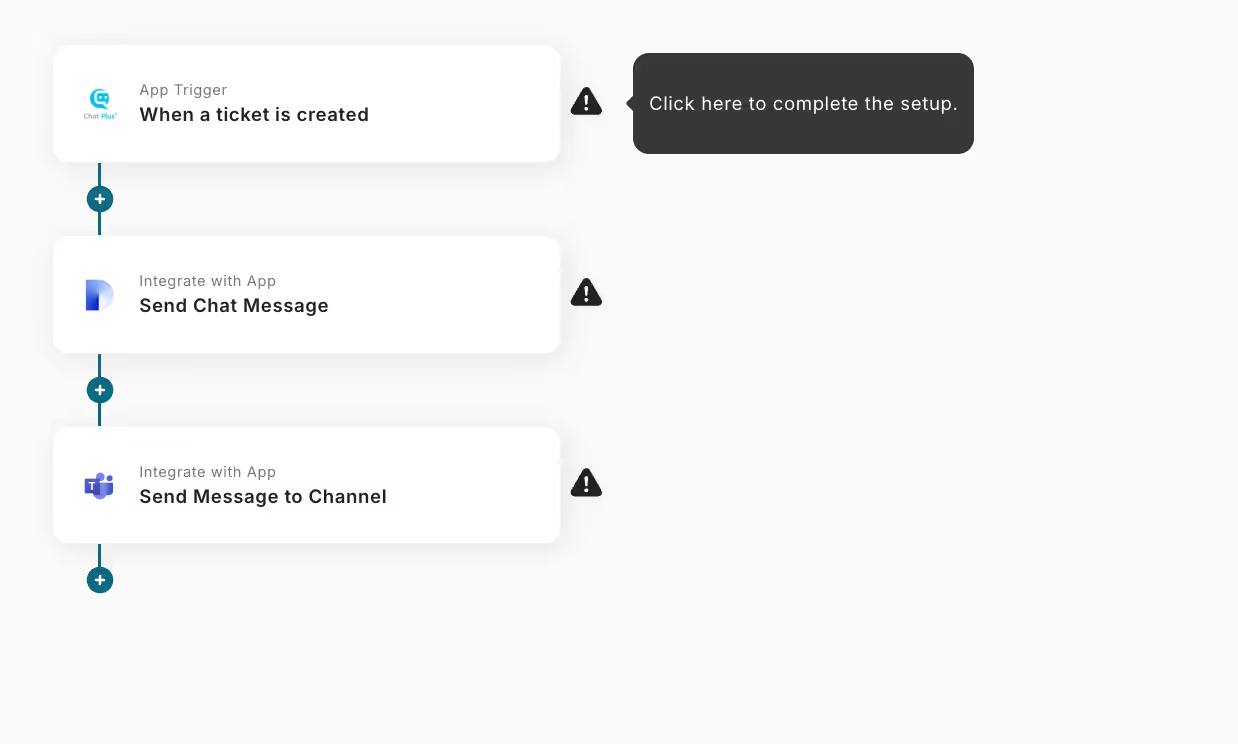
Here, you will set up to obtain ticket information issued by Chat Plus.
(1/2) Select Integration Account and Action
This item is already preset.
- App Trigger Title
- App
- Account Information Integrated with Chat Plus
- Trigger Action
→ Click Next.
(2/2) App Trigger Webhook Event Reception Settings
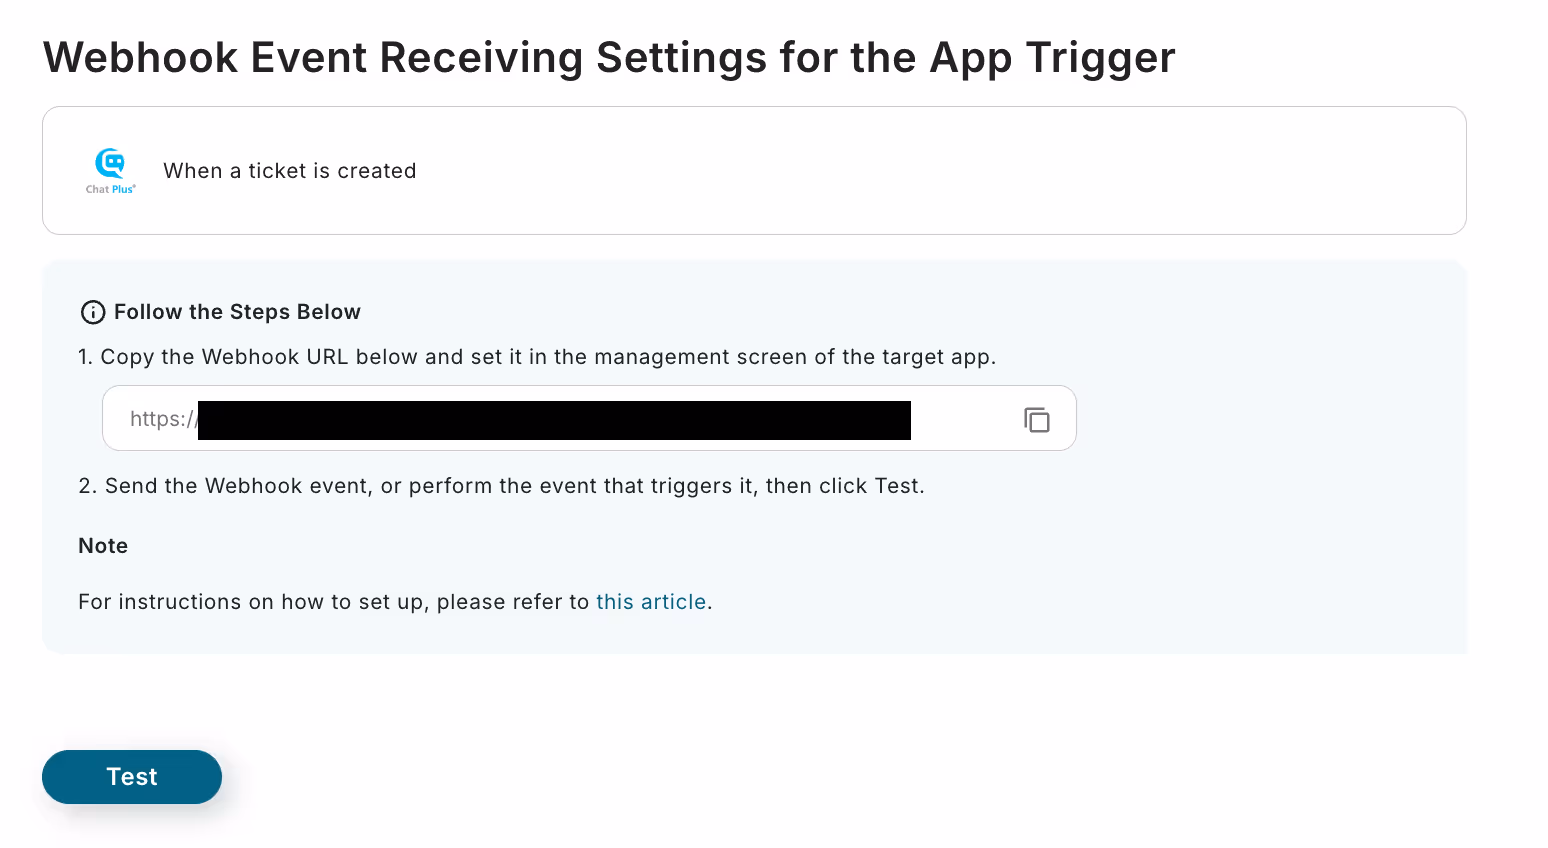
- Enter the displayed URL in the Chat Plus settings screen.
- Click the settings icon at the top right of Chat Plus to display the menu bar on the left. From the "External Connection" tab, select "API Output". Click "+Add API Connection" on the right screen.
- Enter a value in the summary as desired. Enter the Webhook URL copied from the Yoom screen in the target. Select the event as chat start. Click "Register" at the bottom of the screen to add it.
- To check the event at the start of the chat, run a test chat.
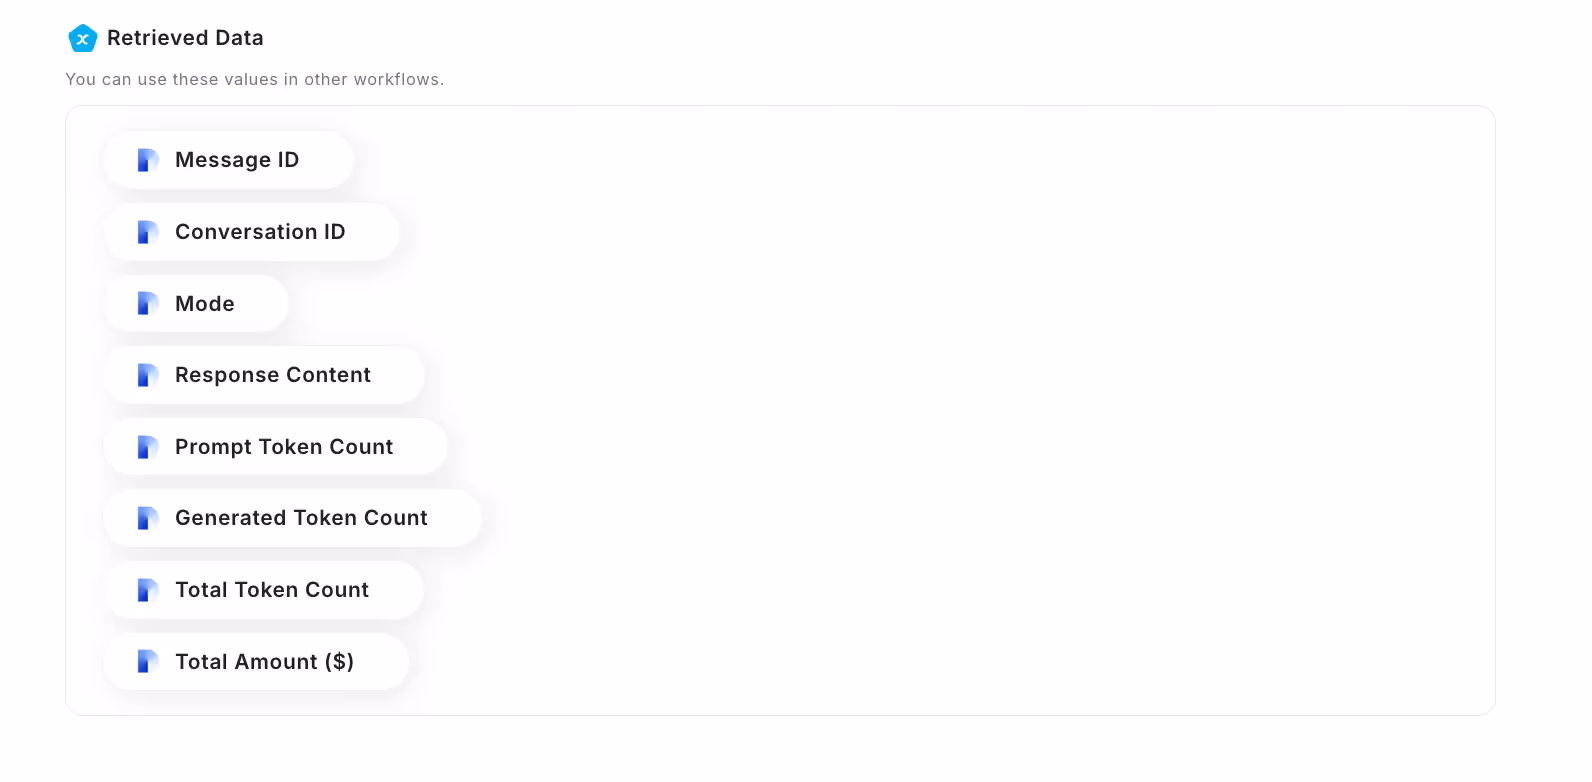
→ Click Test. → Success. The following items can be obtained. These values will be used in later steps.
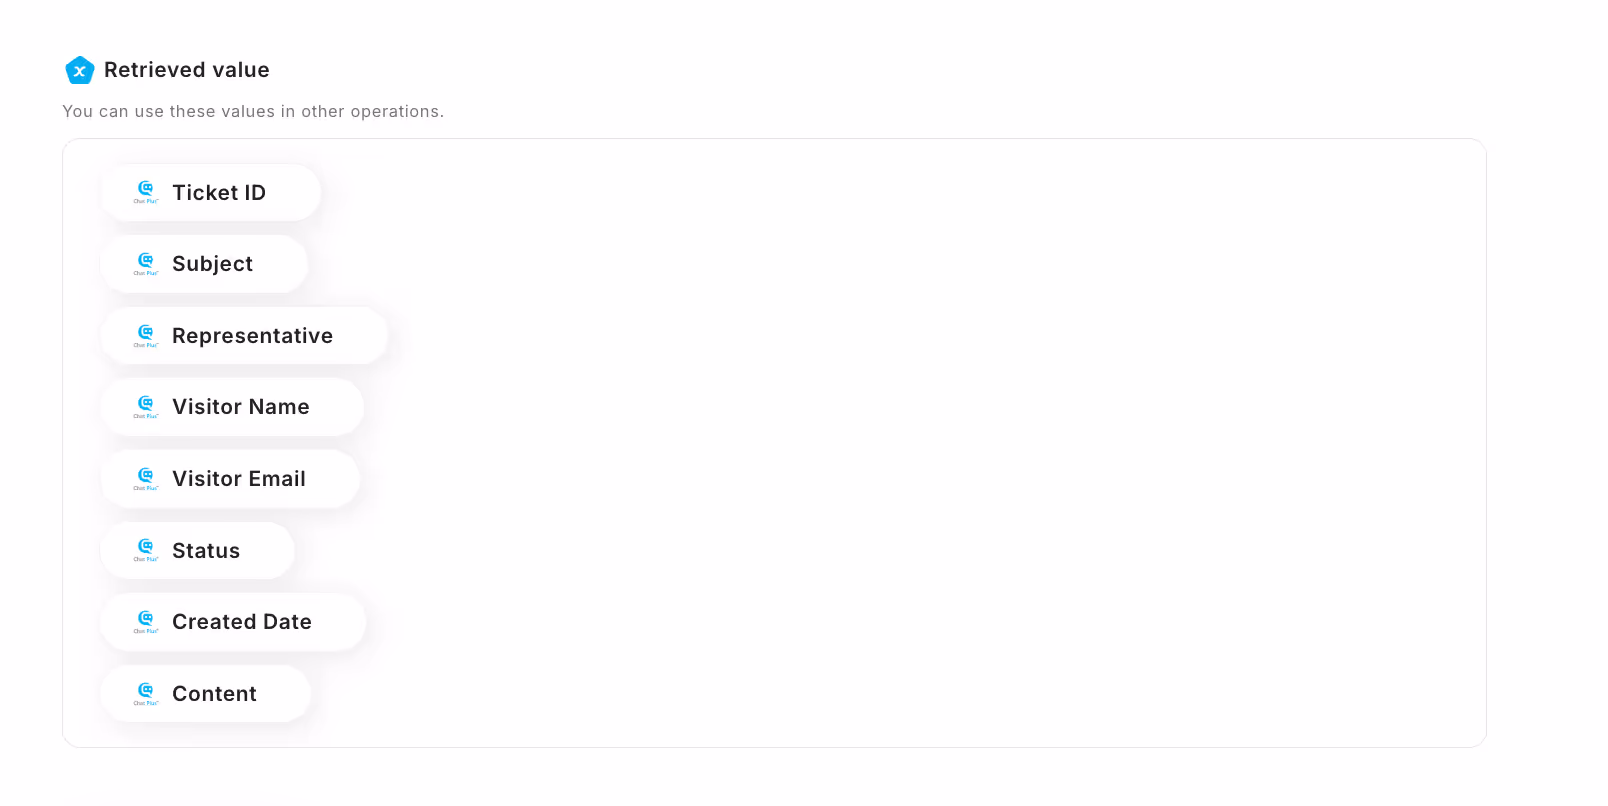
→ Click Save.
Step 4: Integrate with App "Send Chat Message"
Click the second step of the template.
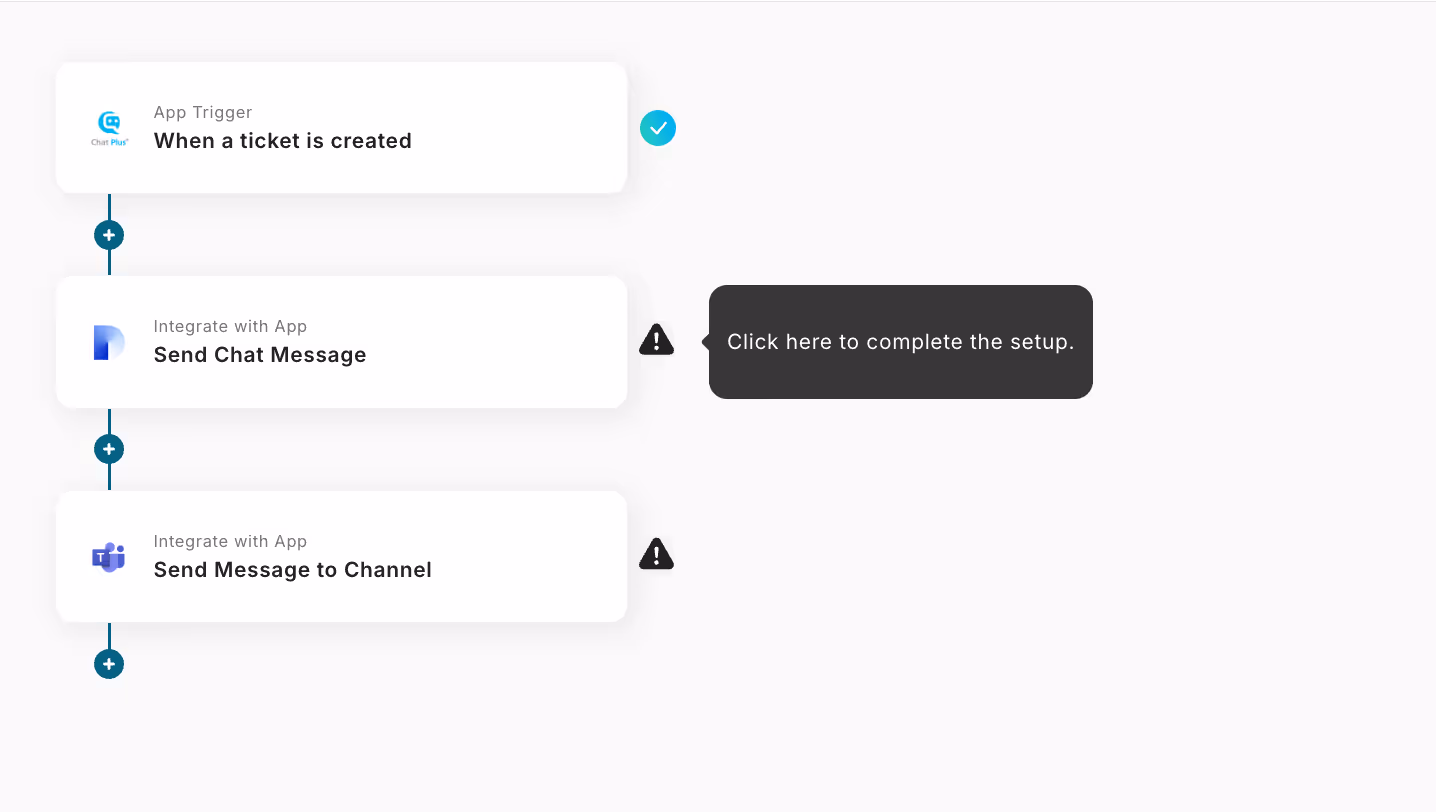
Set up the prompt (instruction) to send to Dify.
(1/2) Select Integration Account and Action
Preset.
- App Trigger Title
- App
- Account Information Integrated with Dify
- Trigger Action
→ Click Next.
(2/2) API Connection Settings
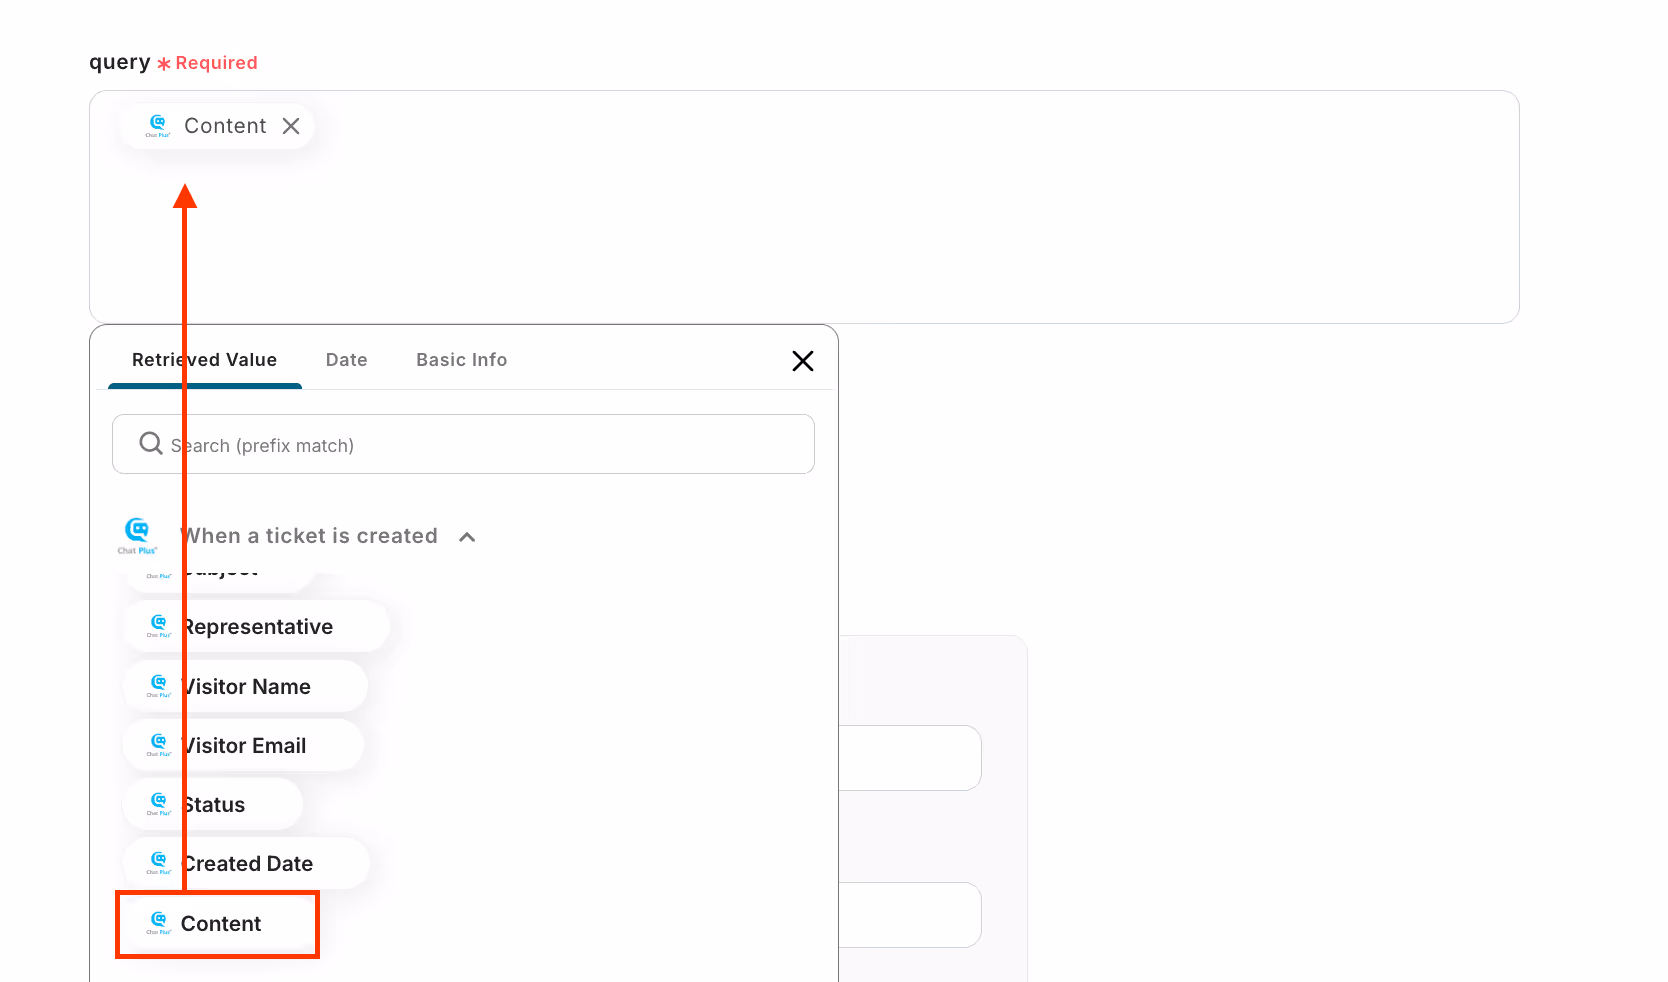
- query
- Quote the inquiry content from the customer.
- Click the edit field to display the output obtained from Chat Plus. The code {{details}} is embedded in the preset, but customization by quoting other codes is possible.
- user
- Set an arbitrary identifier in alphanumeric characters.
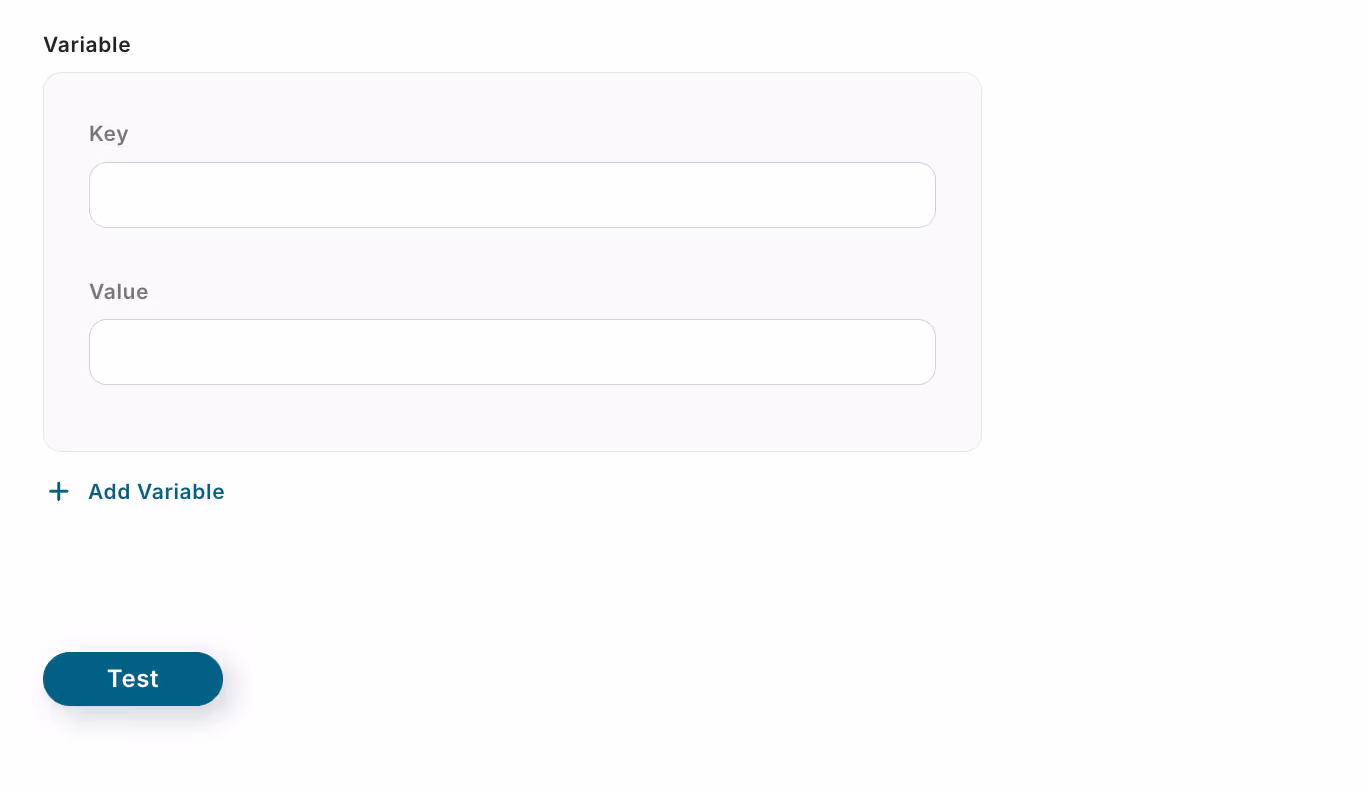
- Variables
- Not mandatory, but utilizing them allows for more flexible and efficient prompt and notification settings. For example, dynamic information such as "name" or "date" can be automatically reflected in the prompt, reducing setup effort while enabling tailored responses for users.
→ Click Test. → Success. A response proposal (reply content) can be obtained from Dify.
→ Click Save.
Step 5: Integrate with App "Send Message"
Click the third step of the template.
Here, set up the template message to notify Microsoft Teams.
(1/2) Select Integration Account and Action
This is preset.
- App Trigger Title
- App
- Account Information Integrated with Microsoft Teams
- Trigger Action
→ Click Next.
(2/2) API Connection Settings

- Team ID
- Click the edit field to open a dropdown showing the space names of the integrated Microsoft Teams. Selecting the space to send the message to will obtain the ID.
- Channel ID
- Click the edit field to open a dropdown. Selecting from the channel candidates will automatically quote the ID.
- Message Content
- Create a template message for sending. Click the edit field to open a dropdown displaying the output obtained in the previous step.
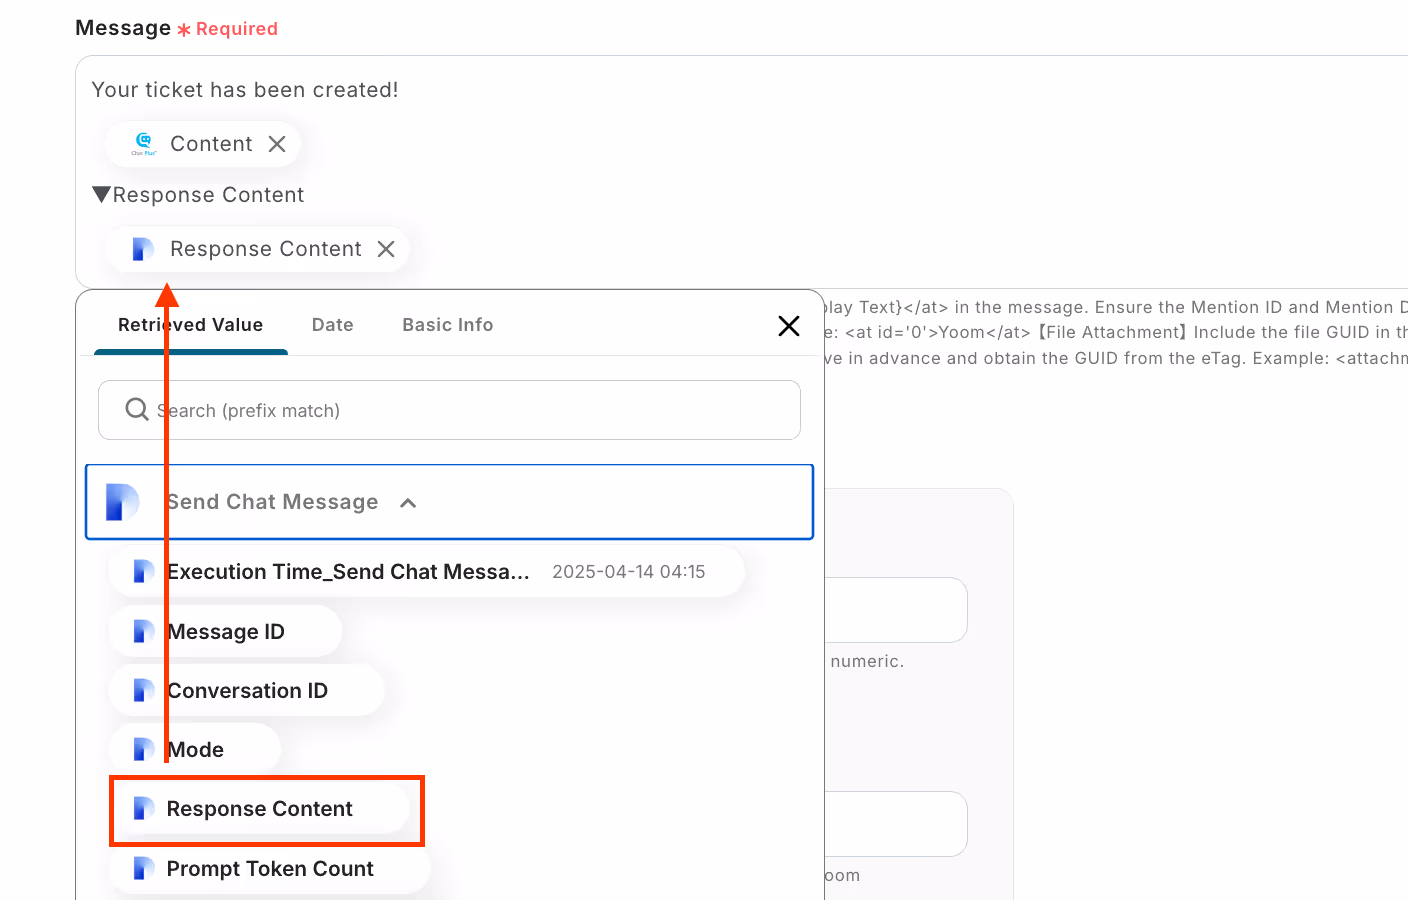
- Selecting an item to send to the channel will automatically quote the embedded code. Entering the item name before the quoted code makes it easier to understand when viewing.
- This time, it is set to notify the chat text from the user and the response proposal from Dify.
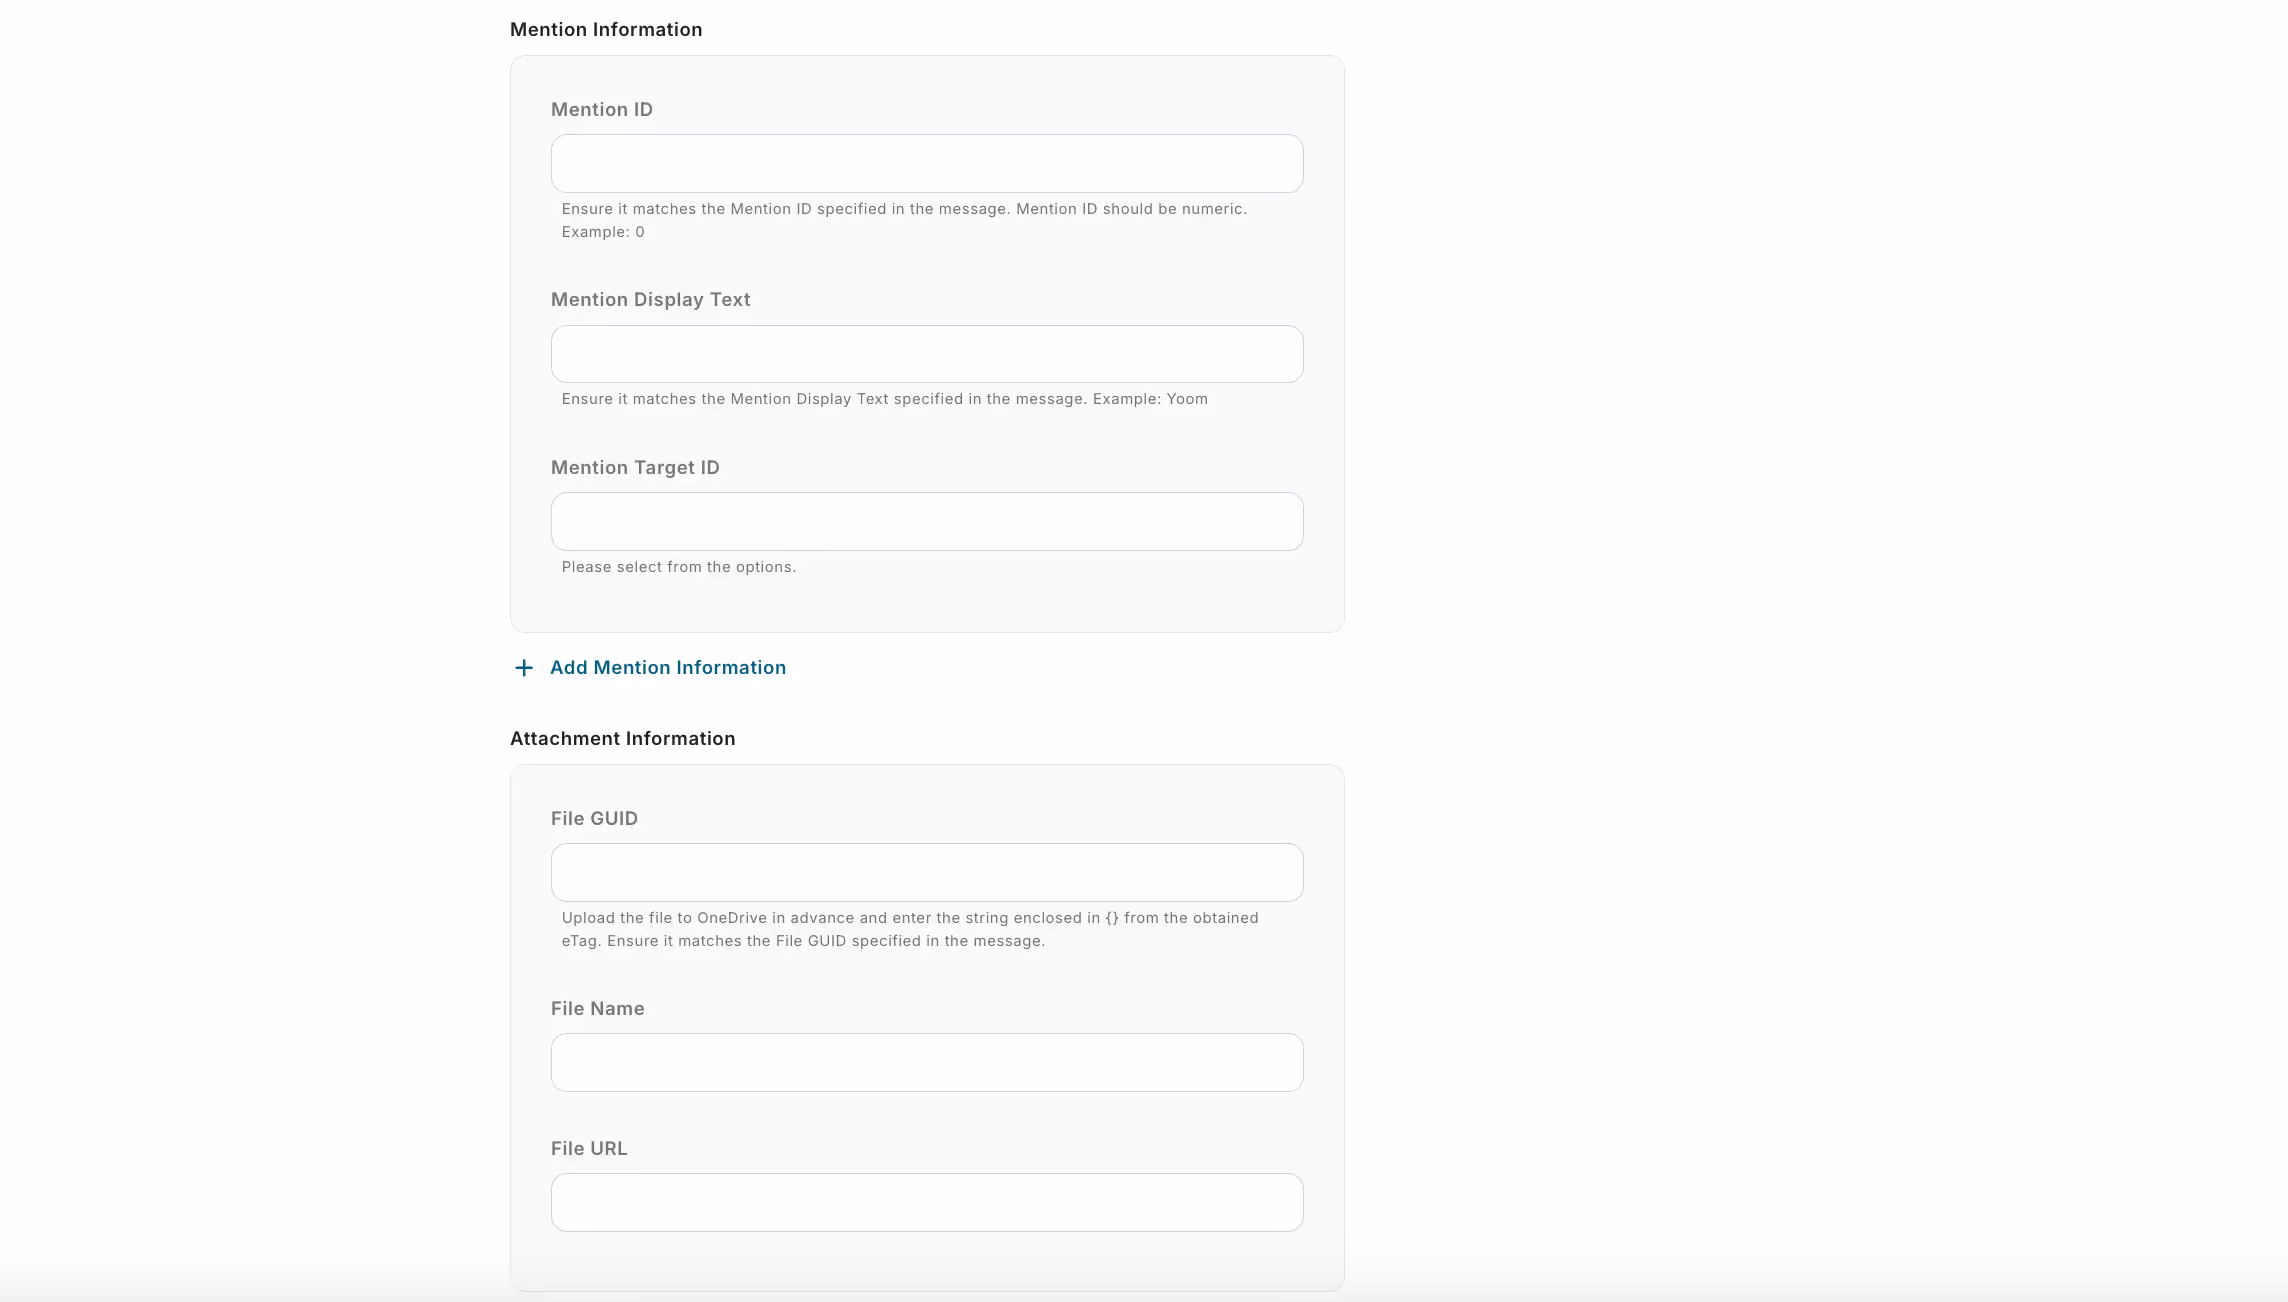
- In Microsoft Teams, HTML tags are supported to display notification messages in a rich and structured form. Therefore, line breaks need to be inserted with the tag <br/>.
- To set a mention, enter a value in the box to link the mention value below the message edit area. Insert values for attachment information in the same way.
→ Click Test. → Success
→ Click Save.
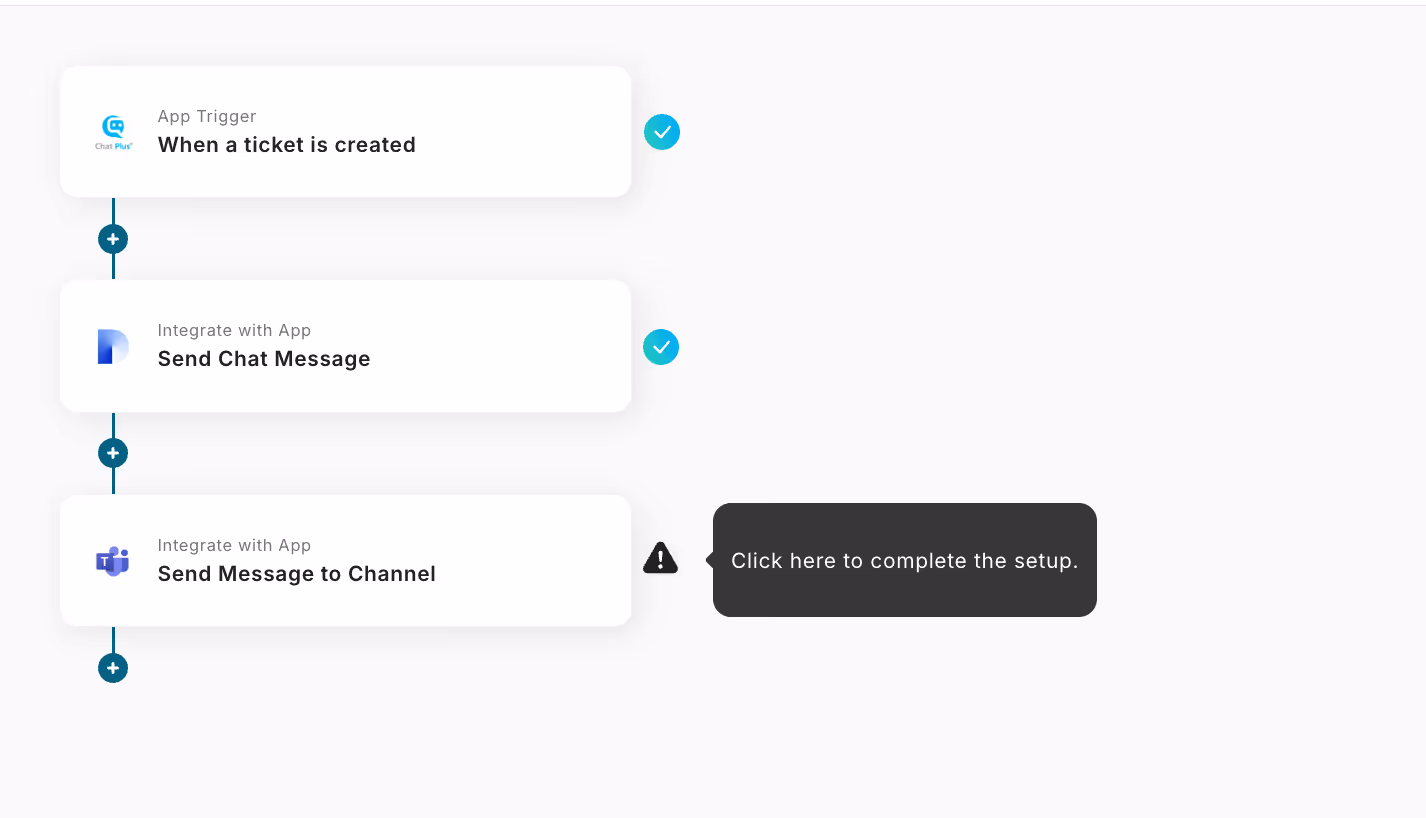
Step 6: Turn ON the App Trigger
Once all steps are set, a complete screen indicating the setup is complete will be displayed!

Turning ON the trigger will activate the flow bot. It can be toggled with the switch at the top left of the template.
<span class="mark-yellow">The flow bot setup was easily completed without programming!</span> The template used this time is here.


.avif)
.avif)
.avif)
.avif)


