


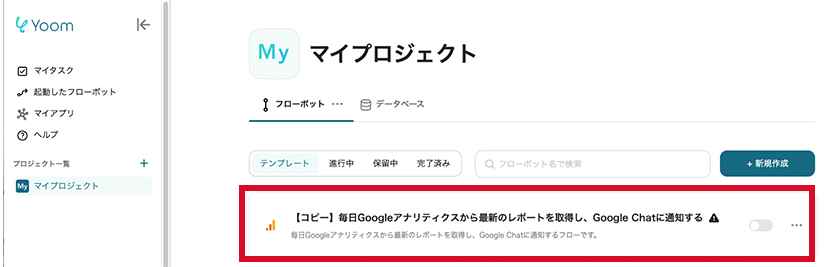
The template will be copied to my project. Click on the title within the red frame to navigate to the settings screen.
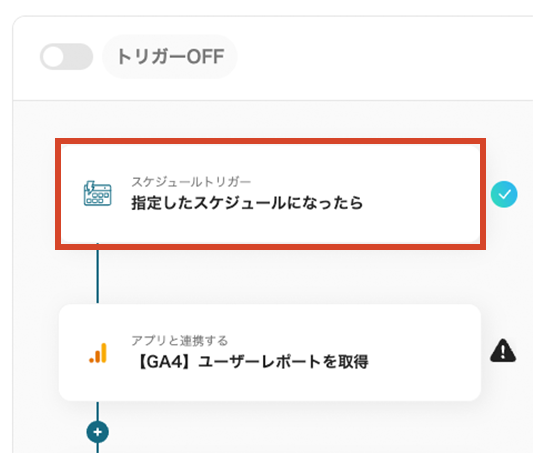
Step 3: Schedule Trigger "When the specified schedule is reached"
Click on the first process of the template. It is pre-configured, but let's check the contents.
(1/1) Specify Execution Time
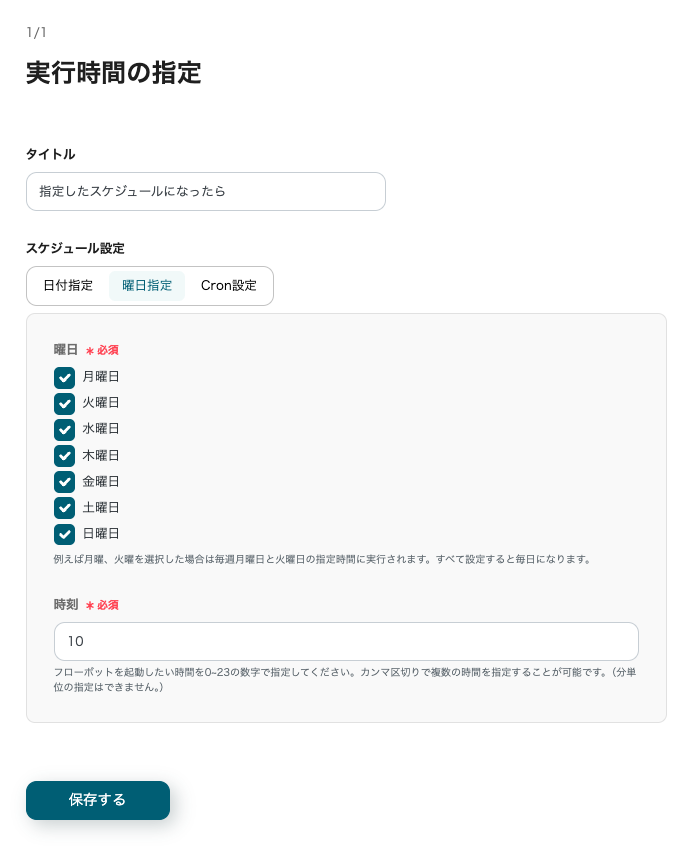
The following items are pre-configured.
- Schedule Trigger Title
- Schedule Settings
This time, it is set to start every day at 10 AM. You can change it to any timing you prefer. By using Cron settings, you can set more detailed times.
>Learn more: How to Set Cron Settings
→ Click Save
Step 4: Integrate with Apps 【GA4】 Retrieve User Report
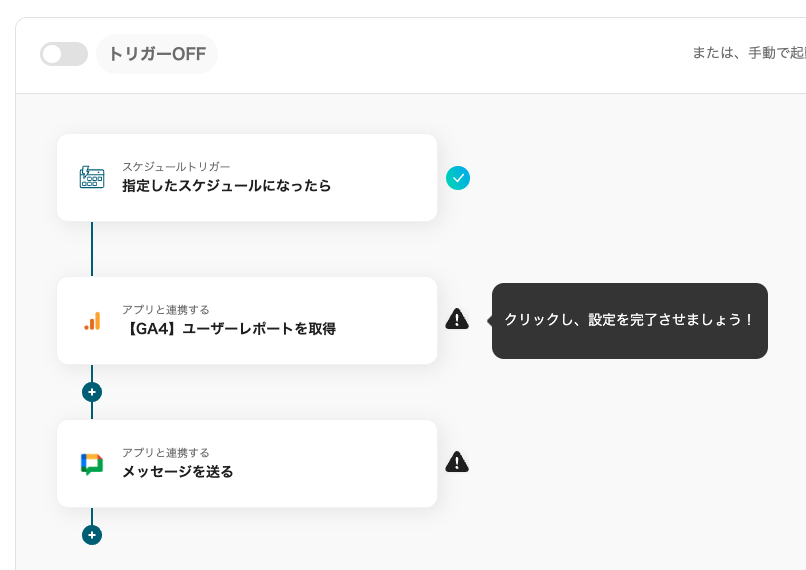
Click on the second process of the template! Here, we will set up the information to be extracted from Google Analytics.
(1/2) Select Linked Account and Action
The items displayed here are pre-configured.
- App Trigger Title
- App
- Account Information Linked with Google Analytics
- Trigger Action
→ Click Next
(2/2) Select Linked Account and Action
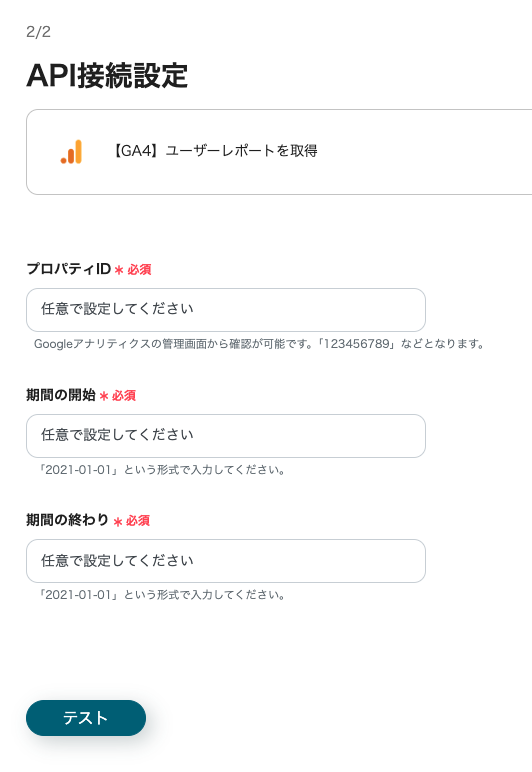
- Property ID
- Log in to Google Analytics and select the account with the property.
- Click the "Admin" button (gear icon) at the bottom left.
- Select the relevant property from the property column.
- Click "Property Settings" to display the "Property ID".
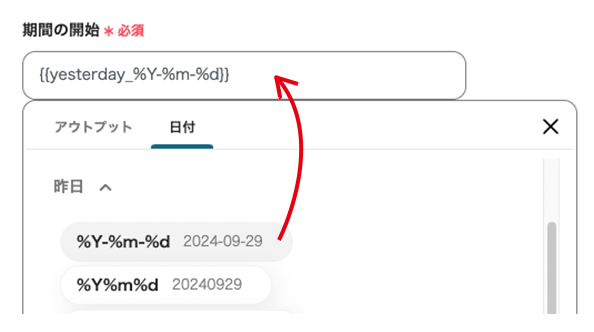
- Start of Period
- Set the start of the measurement period. The format is "YYYY-MM-DD".
- Click the edit field to open a dropdown. Embed the date reference code from the date tab. This time, we set it to extract data from yesterday to today as we want to check daily reports.
- End of Period
- This time, we set today as the last day. Similarly to the start of the period, specify the date from the dropdown and embed today's reference code.
→ Click Test → Success The output correctly extracted yesterday's data.
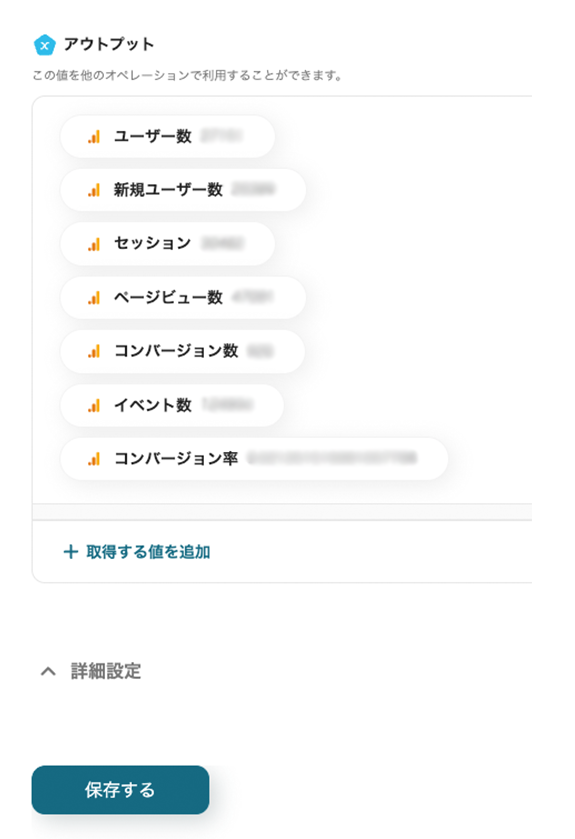
→ Click Save
Step 5: Integrate with Apps "Send Message"
Click on the third template! In this process, we will set up the content to be automatically sent to Google Chat.
(1/2) Select Linked Account and Action
These items are pre-configured.
- App Trigger Title
- App
- Account Information Linked with Google Chat
- Trigger Action
→ Click Next.
(2/2) API Connection Settings
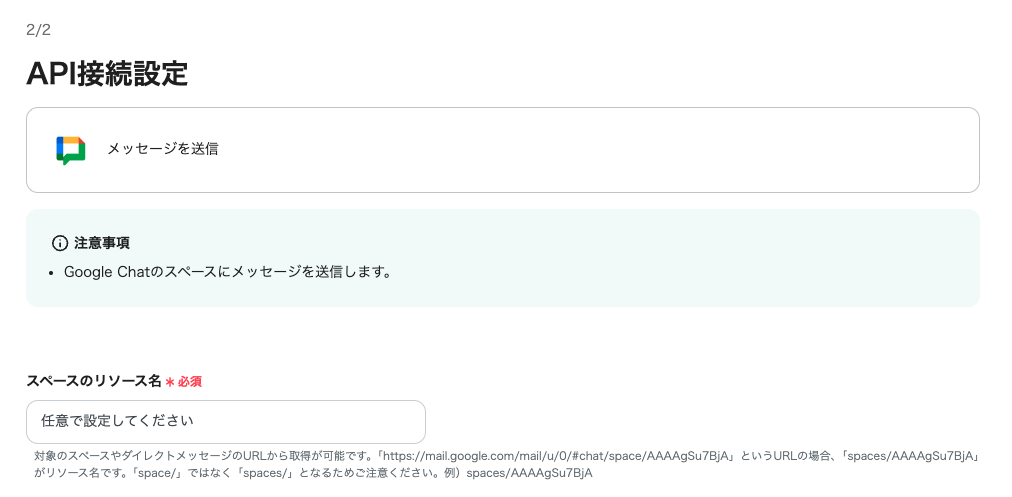
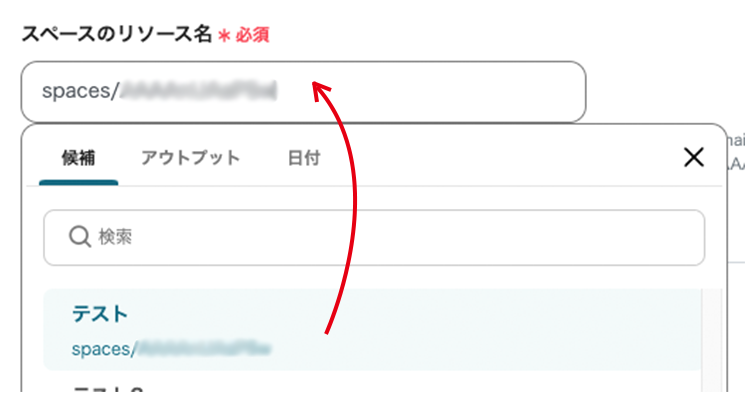
- Resource Name of the Space
- Click the edit field to open a dropdown, and the space name of the linked Google Chat will be displayed. When you select the space to send the message, the ID will be referenced.
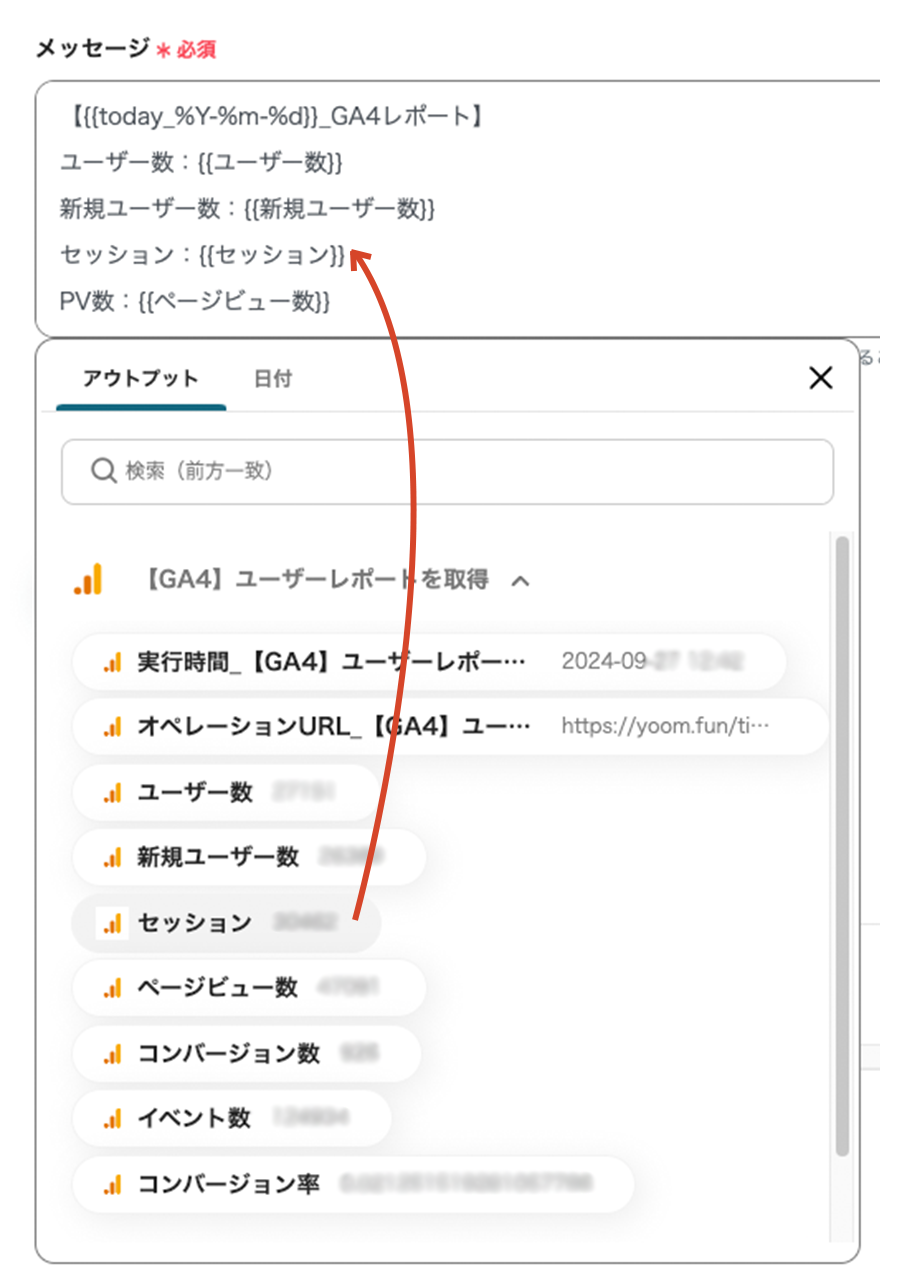
- Message Content
- Click the edit field to open a dropdown, and the output extracted in the previous process will be displayed.
- When you select the content to send to Google Chat, the embedding code will be automatically referenced.
→ Click Test. → Success
→ Click Save This concludes the settings for this flow.
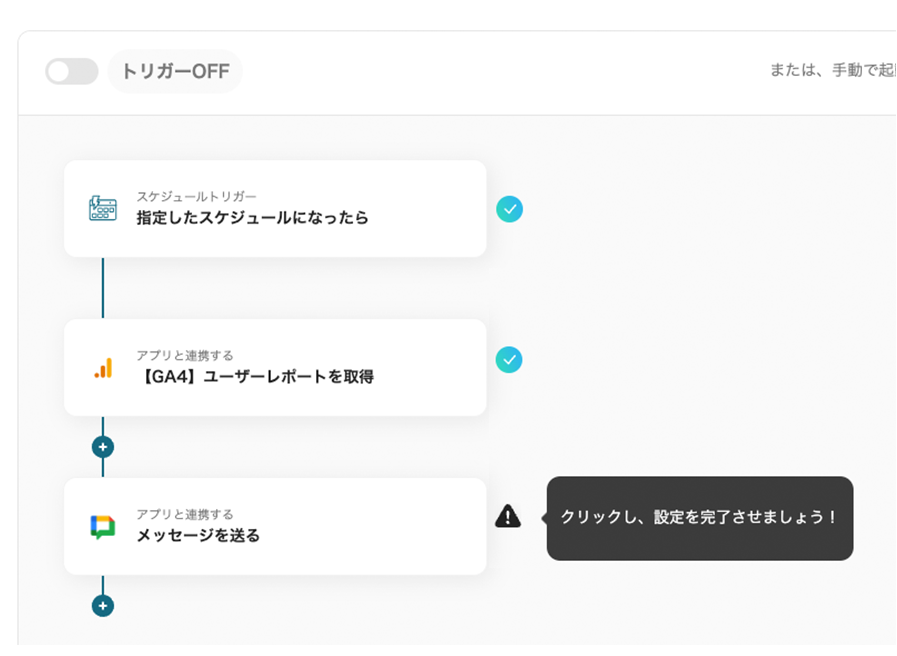
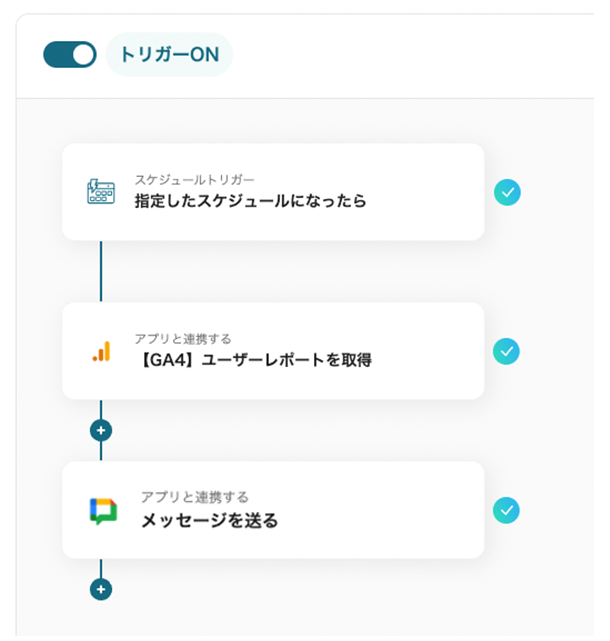
Step 6: Turn the App Trigger 【ON】
Once all processes are configured, a complete screen will pop up.
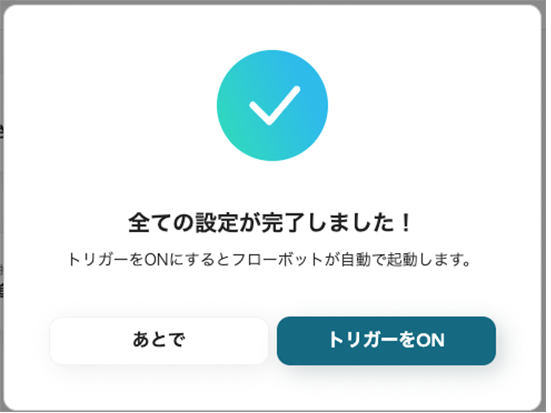
Turn the Trigger 【ON】 to activate the flow bot.
<span class="mark-yellow">Automation was achieved in a short time without using programming.</span>
Here is the template for this time.


.avif)


.png)


