

.avif)
How to Create a Google Drive, Gemini, and Google Chat Integration Flow
The integration flow for this time is broadly divided into the following processes.
・Integrate Google Drive, Gemini, and Google Chat with My Apps
・Set up to launch Google Drive
・Configure to analyze with Gemini and send messages to Google Chat
・Turn on the trigger button and verify the integration operation of B-Cart with Google Drive, Gemini, and Google Chat
Step 1: Integrate Google Drive, Gemini, and Google Chat with My Apps

After completing the registration with Yoom, please select "My Apps" from the menu on the left side.

Next, click the new connection button at the top right.
Integration of Google Drive and Yoom
1. Search

Click the Google Drive icon.
2. Sign In
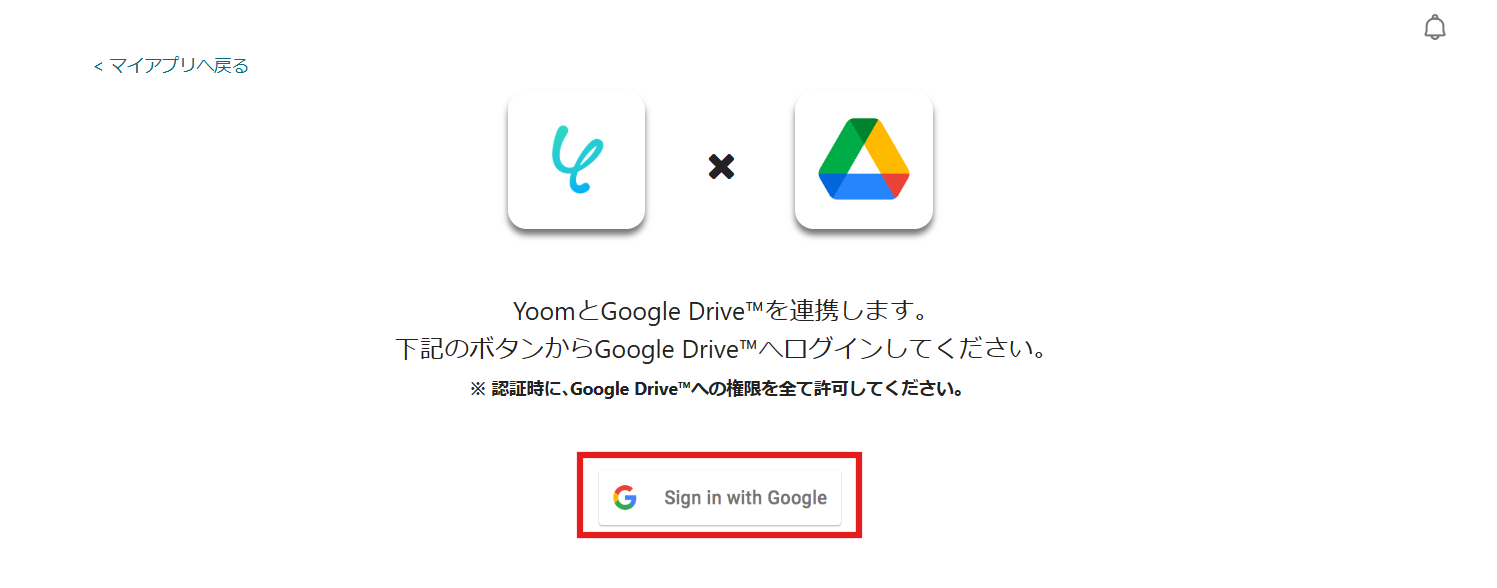
Click the red frame.
3. Select Account
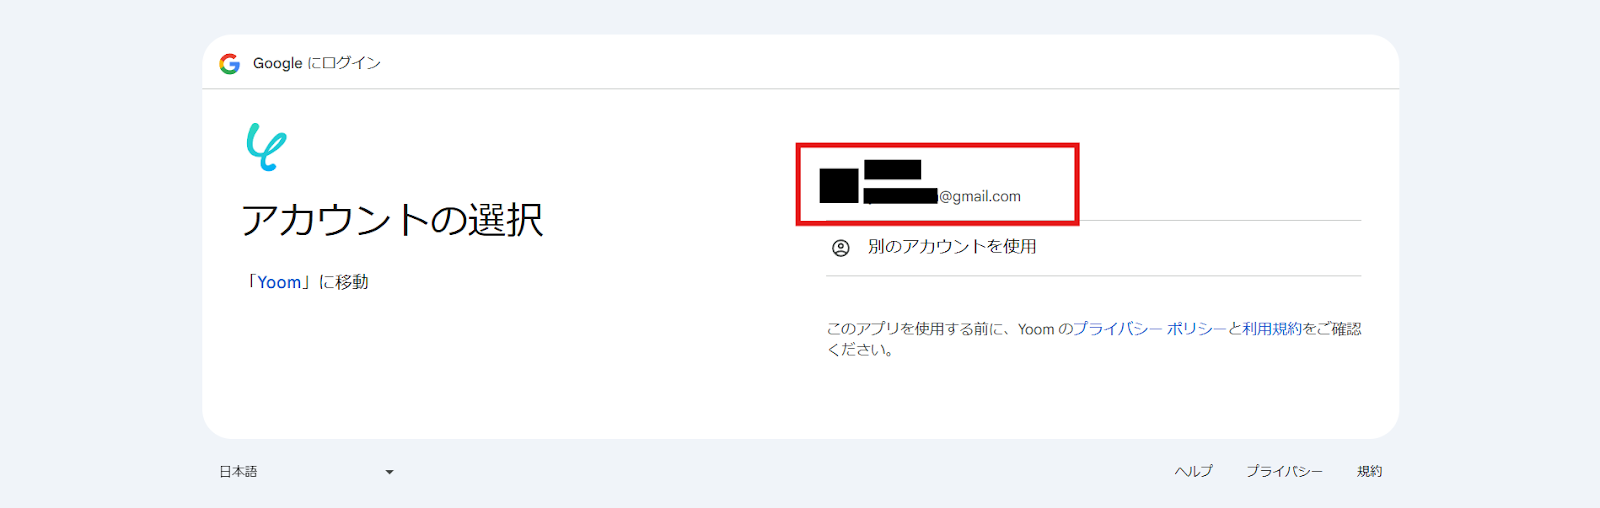
Select the account to integrate.
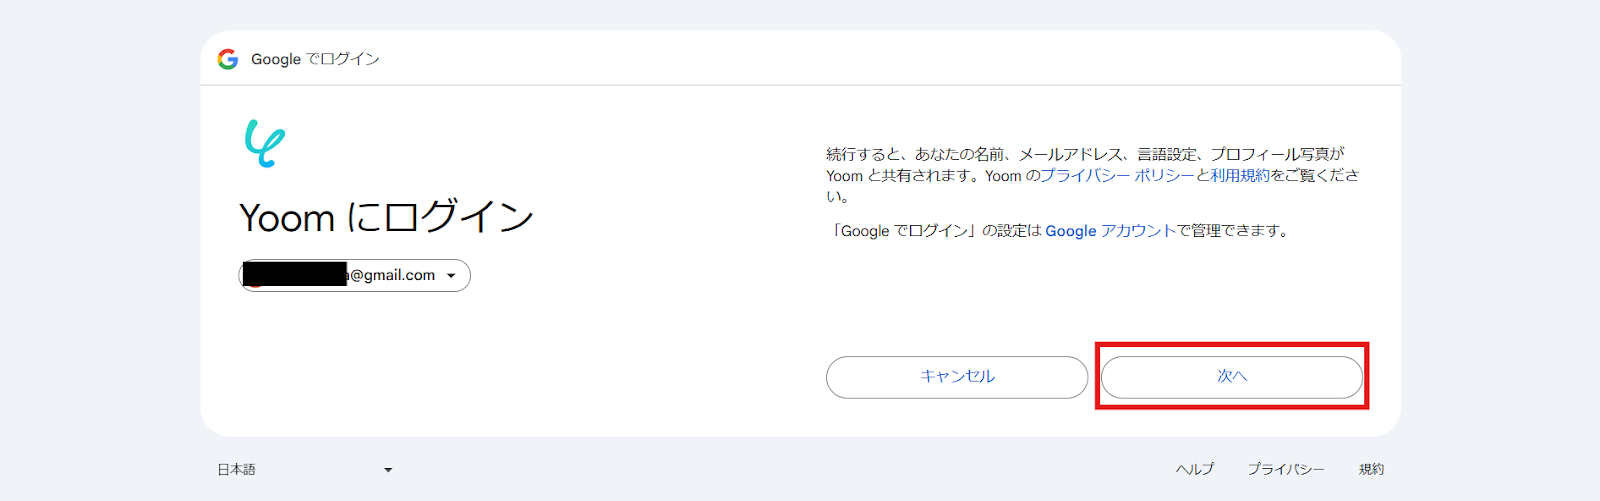
After confirming and agreeing, press Next.
4. Integration Complete

The screen will switch, and if the above display appears, the integration is complete.
Integration of Gemini and Yoom
1. Search
Enter Gemini in the search box and click the Gemini icon.
2. Enter Account Name

Enter the account name and access token.
First, enter the account name. It is recommended to use an easy-to-understand name such as the company name or the person in charge.
3. Obtain API Key
The access token can be obtained from the Gemini API acquisition page.
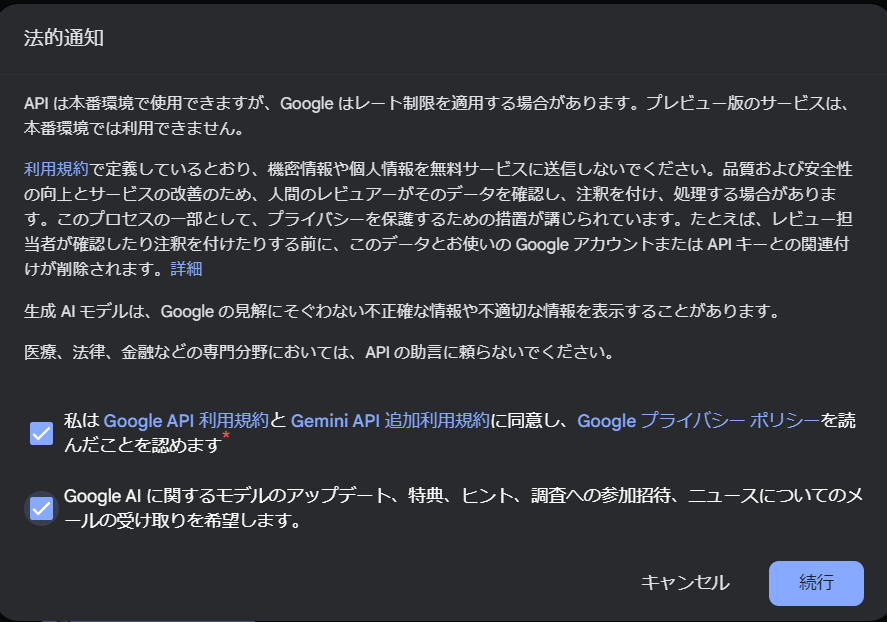
After confirming the content and agreeing, check the box and press the "Continue" button at the bottom right.

Press the "Create API Key" button at the bottom of the screen.

Then press "Create API Key with New Project".

The API key has been created. It is displayed in the red frame, so please copy it.
4. Enter

Return to the Yoom screen and enter the copied API key as the access token.
Once the required fields are entered, press Add at the bottom right.
5. Integration Complete
The screen will switch, and if the above display appears, the integration is complete.
Integration of Google Chat and Yoom
1. Search
Click the Google Chat (OAuth) icon.
2. Sign In

Click the red frame.
3. Set Required Fields

Enter the required fields.
For details, please refer to this article.
4. Integration Complete
The screen will switch, and if the above display appears, the integration is complete.
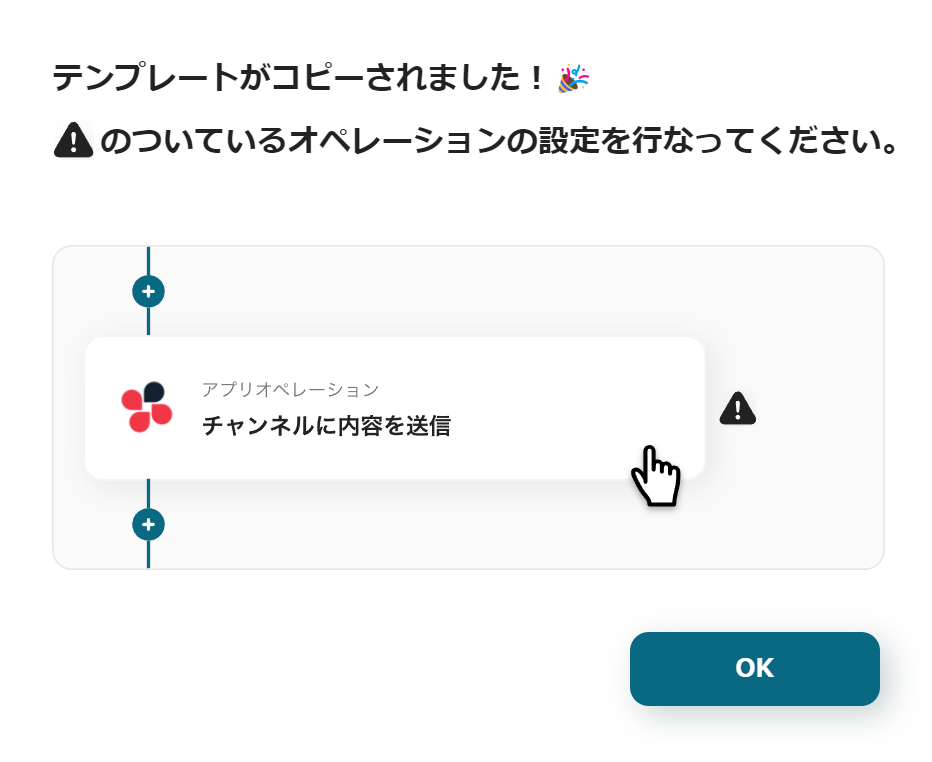
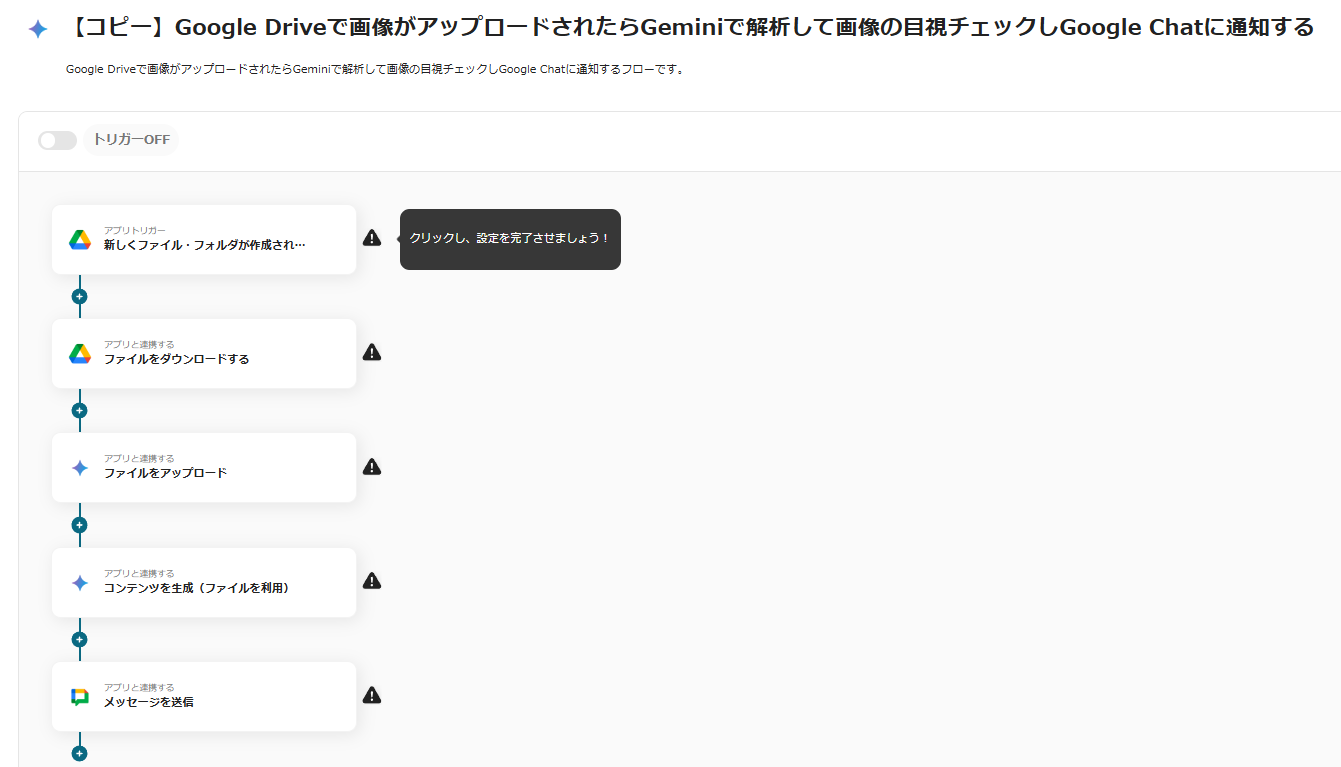
Step 2: Copy the Template
Next, please copy the template to be used this time.


.avif)

.avif)
.avif)


