


・Click "Try this template" to complete the copy.

Step 2: Setting up the Triggering Google Form
Set up the trigger action that initiates the flow.
This flow is triggered when a response is submitted to the Google Form.
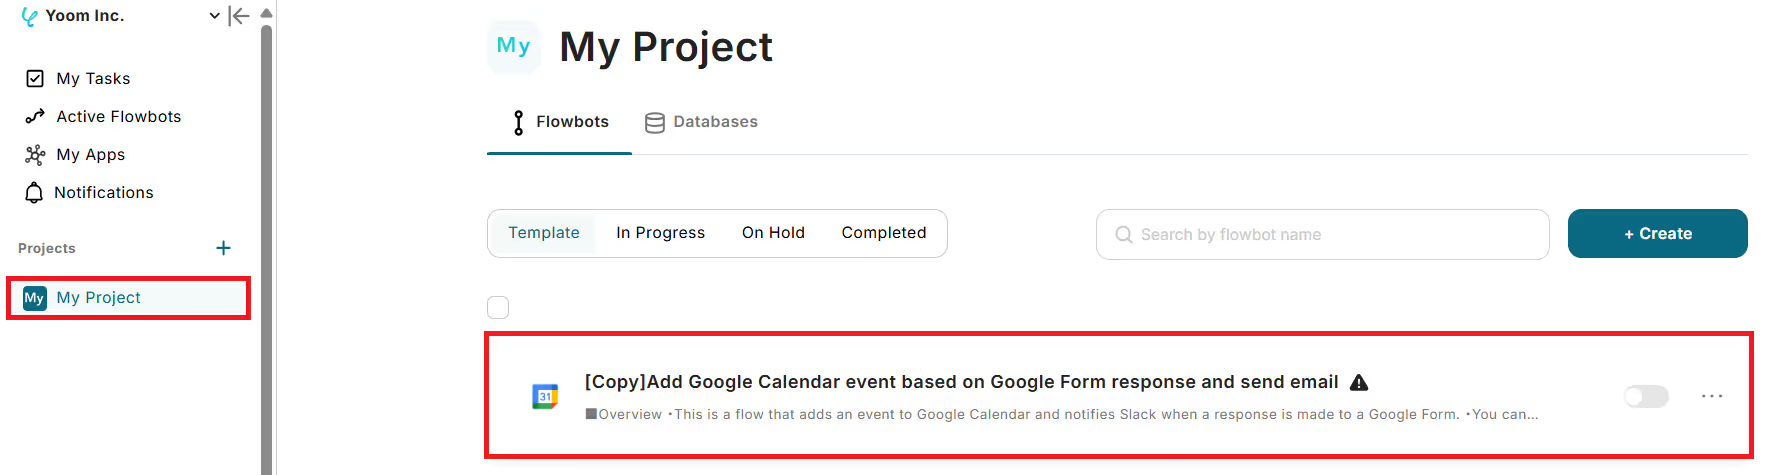
1. Select "My Projects" in the Yoom management screen and click "【Copy】Add Google Calendar event based on Google Form reservation form response and send email".
※You can change the template title on the next screen.
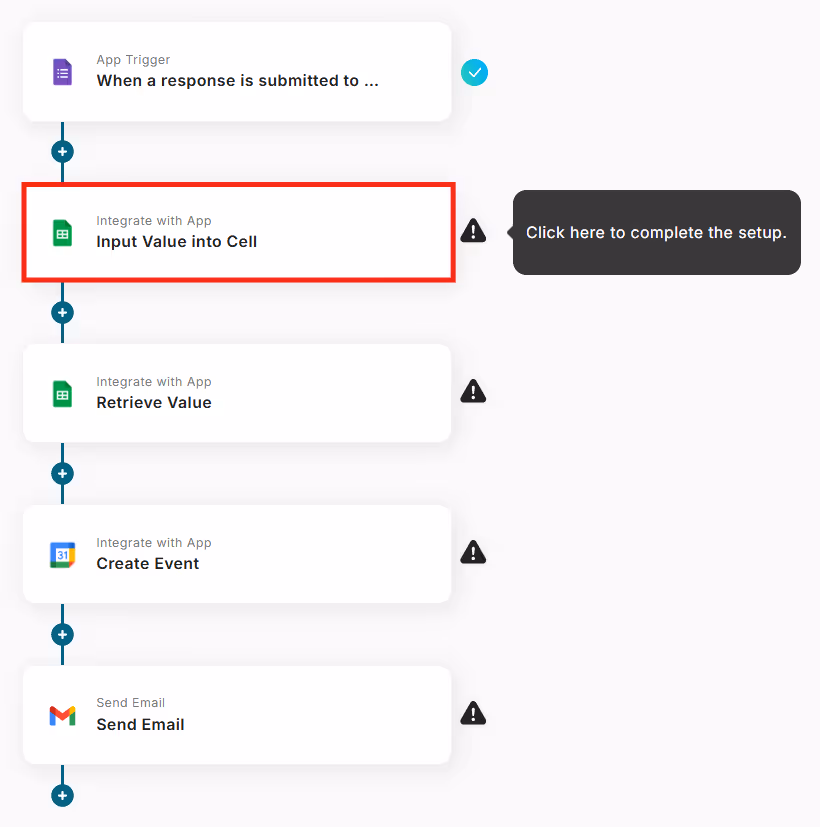
2. Click "App Trigger When a response is submitted to the form".

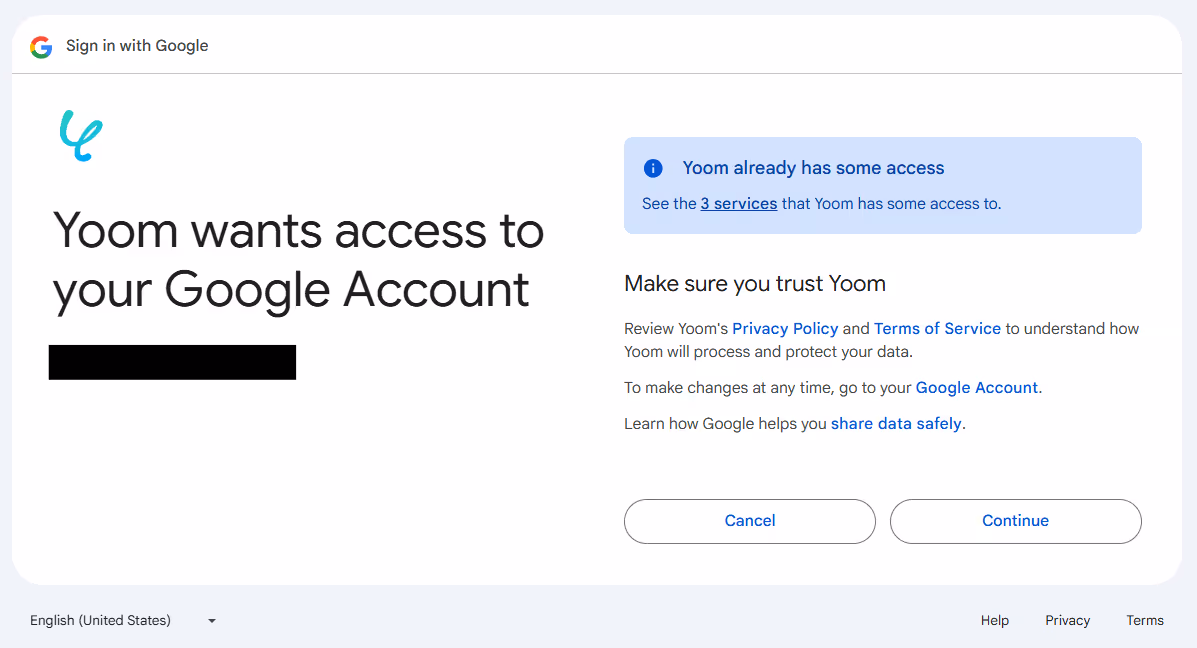
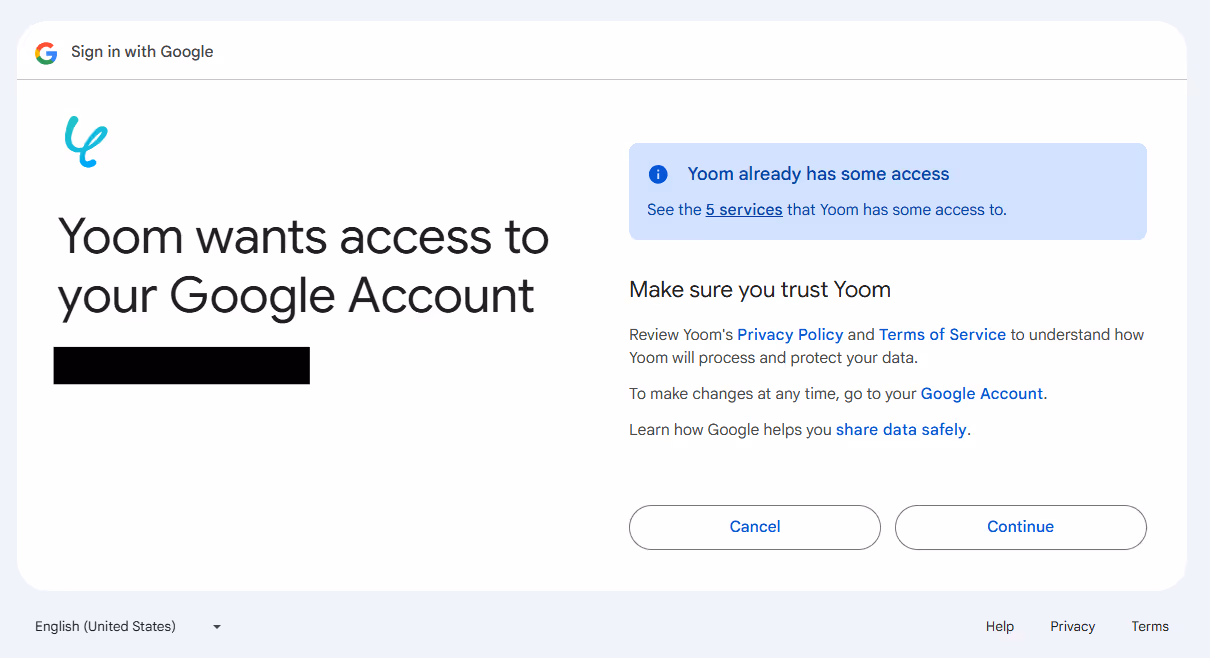
3. Verify the account linked with Google Form and click "Next".
※Other items are set by default.

4. Set the trigger activation interval and form ID, then click "Test".
※Trigger activation intervals of 5 minutes, 10 minutes, 15 minutes, 30 minutes, and 60 minutes are available, and the selectable time varies depending on the plan.
※The flow bot is activated once per selected interval when the trigger action is confirmed and executed. A short interval setting is generally recommended.

5. If the test is successful, the information obtained from the Google Form will be displayed in the output.
Add meeting-related content from "+Add value to obtain" in the output and save.
※By default, the obtainable outputs (values) are limited to "Response ID", "Last response date", and "Response creation date". To obtain response content, you need to add outputs using JSONPATH. The method for adding is explained on this help page.
※The meeting date must be in the format "2021-12-12" and the time in the format "13:00".

Step 3: Setting up Registration in Google Calendar
Next, set up registration in Google Calendar based on the responses submitted to the Google Form.
※Since Google Calendar requires setting an end time for meetings, if only the start time is obtained from the Google Form, you need to calculate and obtain the end time 30 minutes or 1 hour later via Google Sheets.
※In this case, a Google Sheet is created with the function set as follows to obtain the time 1 hour after the start. Depending on the function settings, it is also possible to set 30 minutes or more than 1 hour.

1. Click "Enter value in cell to link with app".
2. Verify the account linked with Google Sheets and click "Next".
※Other items are set by default.

3. Specify the cell to input the start time of the meeting responded in the form and conduct a test.
※Select the spreadsheet ID and sheet name from the "Candidates" displayed when clicking the frame. (Select the Google Sheet that calculates the meeting end time)
※Specify the cell to input the meeting start time.
※Set the value to the item obtained from the Google Form output (in the following, the meeting start time). (Values are displayed in double brackets)

4. Save if the test is successful.

5. Click "Get value to link with app".

6. Verify the account linked with Google Sheets and click "Next".
※Other items are set by default.

7. Set up to obtain the information of the cell where the meeting end time is input using a function and conduct a test.
※Select the spreadsheet ID and sheet name from the "Candidates" displayed when clicking the frame. (Select the Google Sheet that calculates the meeting end time)
※Specify the cell where the meeting end time is input.
※Set the direction to column.

8. Save if the test is successful.

9. Click "Create schedule to link with app".

10. Verify the account linked with Google Calendar and click "Next".
※Other items are set by default.

11. Set each item to register the schedule in Google Calendar.
※The calendar ID can be selected from the "Candidates" displayed when clicking the frame.
※Information about the meeting schedule can be selected from the output displayed when clicking the frame, such as "When a response is submitted to the form" or "Get value". This allows dynamic reflection of values that change for each form.

12. If the test is successful, the schedule will be registered in Google Calendar.
Save if there are no issues.

Step 4: Setting up Gmail Sending
Finally, set up to communicate details via Gmail.
1. Click "Send email Send email".

2. Verify the account linked with Gmail.
※Other items are set by default.

3. Set up the message to be sent and proceed to the next step.
※Select the recipient from the output displayed when clicking the frame, such as "When a response is submitted to the form".
※You can directly input a template in the body. You can also dynamically reflect values that change for each customer by selecting values from the output displayed when clicking the frame.

4. Conduct a test, and if successful, the message will be sent to the displayed recipient.
Save if there are no issues.

5. When the trigger is turned ON, the schedule will be automatically registered in Google Calendar and an email will be sent to the customer when a response is submitted to the Google Form.

If you have any questions about the introduced flow, please check this help page.


.avif)


.avif)


