Google スプレッドシートとHarvestの連携イメージ
How to Integrate Applications

2024/12/20

How to integrate Google Sheets with Harvest to create a task in Harvest when a row is added in Google Sheets

a.ohta

When carrying out a project, checking the type of work, the time spent on it, and other factors is very important. Task management is essential for this, but do you ever find yourself putting it off?
<span class="mark-yellow">This time, we introduce an app integration that might make task management easier.</span> The apps to be integrated are Google Sheets and Harvest.
Tasks can be created without hassle, and the project may proceed smoothly. Consider introducing automation for business improvement.

Recommended for

  • Those managing projects with Google Sheets
  • Those manually creating tasks in Harvest based on data from Google Sheets
  • Those who want to automate task creation to save time

Benefits and Examples of Integrating Google Sheets and Harvest

Benefit 1: Improved Task Creation Efficiency

By integrating these two apps, when a new row is added to Google Sheets, a task is automatically created in Harvest. This is expected to improve efficiency.
For example, if you were creating tasks manually, you could say that a "task to create tasks" itself is occurring. This might make the necessary task creation for smooth work feel cumbersome and not very efficient.
However, by integrating apps and introducing automation, task creation is simplified, leading to improved task creation efficiency.

Benefit 2: Avoiding Task Creation Omissions

Since tasks are automatically created in Harvest based on newly added data in Google Sheets, it may prevent task creation omissions.
For example, have you ever postponed task creation because other work was piling up? In some cases, you might forget to create the task altogether.
By integrating apps and introducing automation, tasks can be added just by adding a row in Google Sheets, increasing the likelihood of avoiding omissions.

Benefit 3: Reducing Redundant Work

Task creation can be considered a regular routine task. However, if there are many tasks to create, it might become quite burdensome. Therefore, reducing redundant work through app integration is recommended.
For example, previously, after adding a row in Google Sheets, you had to repeatedly create tasks with the same content in Harvest.
By automating task creation, you should be able to reduce such repetitive work, helping to eliminate redundant work.

Now, let's explain how to use the no-code tool Yoom to "create a task in Harvest when a row is added in Google Sheets."

[What is Yoom]

How to Register Task Creation in Harvest When a Row is Added in Google Sheets

First, obtain the data of newly added rows in Google Sheets using the Google Sheets API.
Then, using the Harvest API, you can receive this data and register it as a new task.

Furthermore, the task ID issued when a new task is registered is received by the Google Sheets API and automatically stored in Google Sheets.
Generally, programming knowledge is required to achieve such integration, but with the no-code tool Yoom, it can be easily achieved without programming knowledge.

The integration flow this time is broadly divided into the following processes.

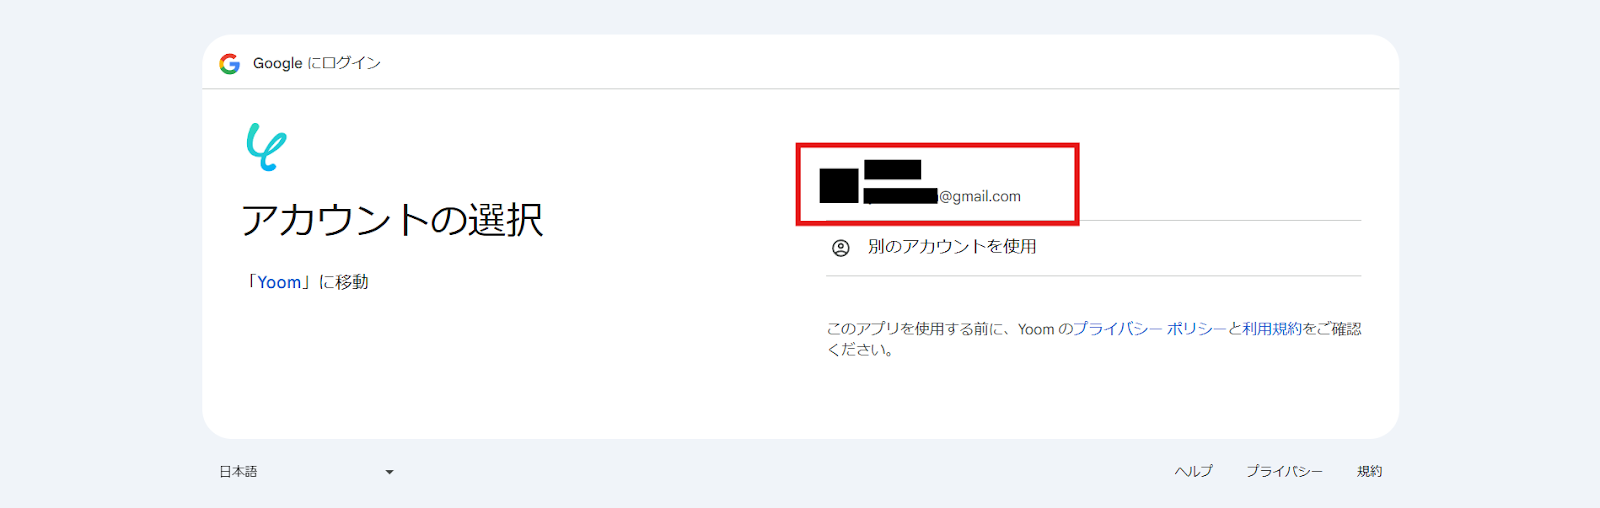
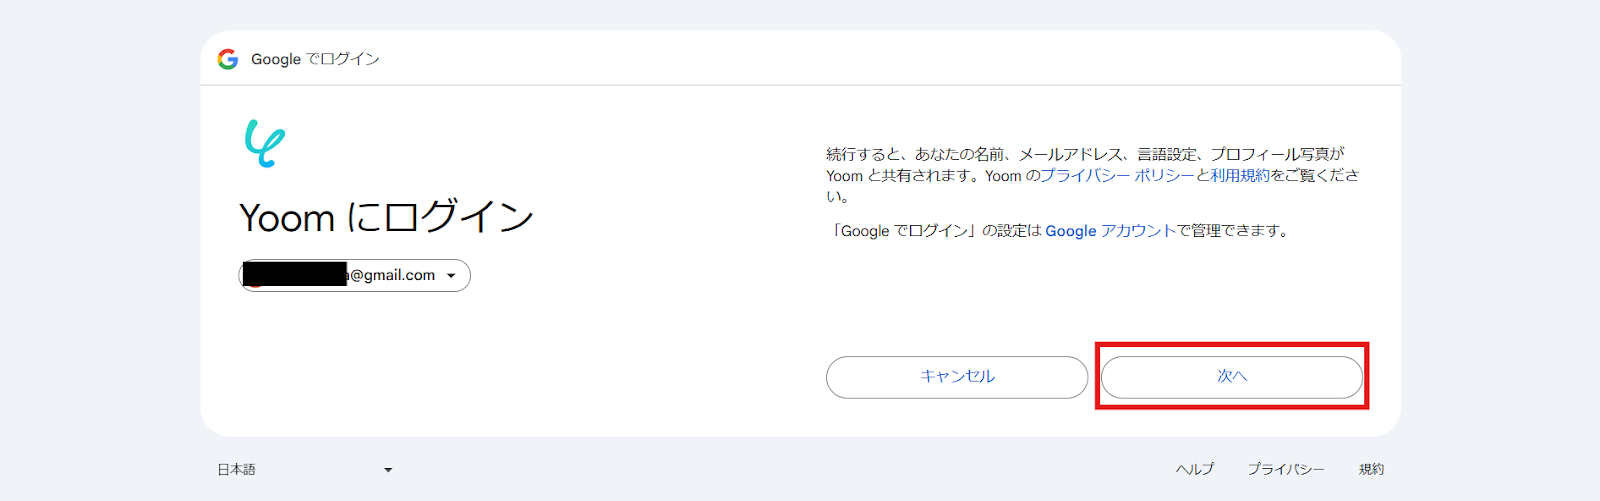
  • Integrate Google Sheets and Harvest with My Apps
  • Set up to launch Google Sheets
  • Set up to register tasks in Harvest and add task IDs to Google Sheets
  • Turn on the trigger button and check the integration operation of Google Sheets and Harvest

First, register with Yoom.
Yoom offers a 2-week trial. You can actually operate it and check the usability.

Step 1: Connect Google Sheets and Harvest with My Apps

After completing the registration with Yoom, please select "My Apps" from the menu on the left.

Next, click the new connection button at the top right.

Connect Google Sheets and Yoom

1. Search

Click the Google Sheets icon.

2. Sign In

Click the red frame.

3. Select Account

Select the account to connect.

After confirming and agreeing, press Next.

4. Connection Complete

The screen will switch, and if the above display appears, the connection is complete.

5. Prepare Google Sheets

Prepare the Google Sheets to be connected with Harvest.

At this time, be sure to create the items "Task Name", "Task Number", and "Task ID".

Set any number for the task number.


The Task ID will be added after registering the task in Harvest using the data from Google Sheets.
Therefore, it can be left blank at this time.

Connect Harvest and Yoom

1. Search

Click the Harvest icon.

2. Sign In

Sign in to Harvest.

You will be taken to the Yoom connection approval screen. After confirming the content, if you can approve, click the green button.

3. Connection Complete

The screen will switch, and if the above display appears, the connection is complete.

Step 2: Copy the Template

Next, please copy the template to be used this time.

1. Click "View Details" on the top banner
2. Click "Try this template" at the bottom of the transitioned screen
3. If you haven't registered with Yoom yet, please register
※ If you have already completed registration, the login screen will be displayed, so please log in. When the Flowbot template is copied to "My Projects", the above display will appear. Since it transitions to a page like the image, let's proceed with detailed settings. Step 3: Launch Settings for Google Sheets 1. Open My Projects Open "My Projects" from the menu on the left side of the screen. 2. Open the copied template Click "【Copy】Create a task in Harvest when a row is added in Google Sheets". 3. Select the app trigger Click "When a row is added" on the Google Sheets icon. Since the title and other settings are complete, press Next. 4. Set the trigger launch interval Set the launch interval. Triggers can be set to launch at intervals of 5 minutes, 10 minutes, 15 minutes, 30 minutes, or 60 minutes. Please note that the shortest launch interval varies depending on the plan. 5. Enter the ID Follow the supplement at the bottom of the box and set it from the candidates. Click the box. Since the data in Google Sheets will be displayed in a list, click and insert the one you want to link with Harvest. Similarly, set the sheet ID. 6. Enter the table range, etc. Specify the table range, etc. This time, the table range of the prepared Google Sheets will be from A to E. The column that does not overlap with others is set as Task NO in D. Therefore, the settings will be as shown in the image. 7. Run the test Once the settings are complete, press the test button. If "Test Successful" is displayed, it is complete. Click Save. Step 4: Register tasks in Harvest and set up adding task IDs to Google Sheets 1. Integrate with the app Click "Create Task" on the Harvest icon. Since the title and other settings are complete, press Next. 2. Set the required fields Set the required fields. Click inside the Account ID box. Since Account IDs will be displayed in a list, select and insert the account for which you want to automatically update client information. Next is the Name setting. Click the box. Select "When a row is added" in the red frame. The data already registered in the linked Google Sheets will be displayed in a list. Click and insert the data equal to the task name from among them. If you can insert it, it will look like the image. If there is other data you want to register, insert it in the same way. 3. Run the test Once the settings are complete, press the test button. If "Test Successful" is displayed, it is complete. Click Save. Next, set up to add the task ID created when a task is added to Harvest to Google Sheets. 1. Operate the database Click "Update Record" on the Google Sheets icon. Scroll down. 2. Set the required fields Enter the required fields. Click the box for the spreadsheet ID. When you click inside the box, the created sheets will be displayed in a list as shown in the image, so select the Google Sheets that you linked with Streak earlier. Similarly, set the tab name. Regarding the table range, it depends on the prepared Google Sheets, so enter it according to the contents of Google Sheets. This time, since we are using from A to E, we set it as shown in the image. Once you have entered it, press Next. 3. Conditions for the record you want to update Set the conditions for the record you want to update. From the dropdown on the left box, select the task number set as data that does not overlap with others. Next, click the right box. Select the Google Sheets icon. From the data in Google Sheets, obtain the unique value set as data that does not overlap with others. This time, since the unique value was set as Task NO, Task NO was inserted. By doing this setting, the unique value set in Google Sheets will be linked with the information in Harvest, allowing the task ID issued when a task is added to Harvest to be added to Google Sheets. This makes it easier to confirm the newly created task ID in Google Sheets and understand which row was added as a task in Harvest. 4. Values of the record after updating Next, set it so that data is added to the Task NO column in Google Sheets. First, click the box. Select the Harvest icon. Harvest data will be displayed in a list. Select the data equal to the box's item name. In the image, since the box's item name is "Task ID", "Task ID" was selected from Harvest data. 4. Run the test Once the data insertion is complete, press the test button. If "Test Successful" is displayed, the setting is complete. Press Save. 5. Turn on the trigger When the creation of the Flowbot is complete, the display will be as shown above. The trigger is initially set to OFF, so turn it ON. This completes the app integration. The Flowbot template used this time Create a task in Harvest when a row is added in Google Sheets

Other Automation Examples Using Google Sheets and Harvest

Here are some other examples of automation using Google Sheets and Harvest.

1. Update Harvest Client Information When a Row is Updated in Google Sheets

It is recommended to implement automation to keep important client data always up-to-date.

2. Create a user in Harvest when a row is added in Google Sheets

Let's automate user registration as well. If you are managing detailed data in Google Sheets, you can automatically transfer the data.

3. Notify Microsoft Teams when a row is updated in Google Sheets

This is useful for quickly understanding updates. Yoom can also integrate with various communication tools.

Summary

Task management is essential for smoothly progressing with work, isn't it? Therefore, by simplifying task creation through the integration of Google Sheets and Harvest, it is likely that you will be able to handle daily tasks more efficiently. Additionally, it might become easier to prevent missing task creation. Besides the template introduced this time, Yoom has many flowbots. If you have tools that you regularly use, take this opportunity to try automation.

The person who wrote this article
a.ohta
After working as a general store manager, I started working from home as an SEO writer. Later, an outsourcing agreement was signed with a marketing startup for about 5 years. Surrounded by students at the University of Tokyo, I held a computer and spent my days studying various business terms and how to use SaaS tools. When I was a general store manager, time was taken over and over again by office work such as sales and inventory management, human resource management, and ordering, etc., and I was unable to serve customers and often missed sales times. Even when outsourcing, there are many detailed tasks such as input, etc., and “can't such monotonous tasks be automated?” I thought so, and I really sympathize with Yoom's vision!
Tags
Google Sheets
Automation
Integration
Automatic
Harvest
App integration
No items found.
What is Yoom hyperautomation?
Conventional RPA can only automate simple repetitive tasks, and the setup process was very complicated.
With “hyperautomation,” which combines various technologies such as AI, API, RPA, and OCR, it is possible to automate many tasks that could not be realized until now more easily than before.
Don't Just Connect Apps—Automate Everything
Most tools simply connect one app to another, leaving the complex tasks to you. Yoom goes much further: From document creation and browser automation to OCR and generative AI, Yoom handles it all seamlessly in one platform.

Why settle for basic integrations? Streamline your entire workflow with Yoom’s powerful hyperautomation.
Learn more about Yoom
Helpful Materials
I understand Yoom! 3-piece set of materials
Download materials
Understand in 3 minutes! Yoom service introduction materials
Download materials
Find out by Before After! Yoom Case Study Collection
Download materials
See a list of useful materials