ZoomとGoogle スプレッドシートの連携イメージ
How to Integrate Applications

2024/11/22

How to create a meeting in Zoom and send meeting information via Outlook after registering a lead in Google Sheets

k.ueno

Organizing data based on registered company information and creating Zoom meetings is a simple yet time-consuming process. Additionally, it is necessary to send the Zoom meeting URL to the other party. By integrating Google Sheets, Zoom, and Outlook as introduced in this article, you can automate the meeting information sharing process, which is expected to improve work efficiency and quality. Let's explore ways to enhance business productivity by reducing manual effort and minimizing errors.

Recommended for

・Those who use Google Sheets, Zoom, and Outlook in their daily work
・Team leaders who feel challenged by manual lead management and meeting setup
・Sales departments aiming for faster lead response and consistent process management
・IT personnel considering business efficiency improvements through IT tool integration using APIs
・Those who prioritize data accuracy and error prevention

Benefits and Examples of Integrating Google Sheets, Zoom, and Outlook

Benefit 1: Resource Optimization through Work Efficiency

Manually checking lead information, creating Zoom meetings, and sending meeting information via Outlook requires a lot of time and effort. By automating this process, you may be able to reduce human resources and focus on other important tasks. For example, if a sales support representative handles many leads daily, reducing the response time per lead can improve overall work efficiency. Additionally, reducing errors such as incorrect meeting links or schedule confusion can also alleviate the burden on the person in charge.

Benefit 2: Accurate Data Management

Utilizing this flow allows for the automation of lead information, meeting setup, and sending content via Outlook, enabling each process to be handled with accurate data. For instance, when managing data across spreadsheets, Zoom, and Outlook, any input errors or omissions in any of these applications can make schedule management difficult. By incorporating automation, you can minimize information deficiencies between applications and reduce management errors.

Benefit 3: Consistent Process Management

When tasks such as data registration are performed manually, there may be variations in response depending on the person in charge. However, by automating the process, you can unify and manage the information. Responding to all leads with the same flow can standardize overall operations and minimize confusion among stakeholders. For example, when multiple sales representatives register data, variations in information and operations may occur, but automation ensures consistent work regardless of who handles it, reducing differences among representatives.

[What is Yoom]

Now, let's create a flowbot using the template "Create a Zoom meeting and send meeting information via Outlook when a lead is registered in Google Sheets".

How to Create a Workflow Integrating Google Sheets, Zoom, and Outlook

The process to complete the workflow will proceed as follows.

・Integrate Google Sheets, Zoom, and Outlook with My Apps
・Copy the template
・Set triggers in Google Sheets and configure various operations for Zoom and Outlook
・Turn on the trigger and confirm actual activation

Let's start by making a new connection for the apps to be integrated.

・Integrate Google Sheets and Zoom with My Apps

(1) First, connect Google Sheets to My Apps.
After logging into your Yoom account, click "My Apps" on the left panel and search for Google Sheets from "New Connection".

Search for and click the Google Sheets app icon.

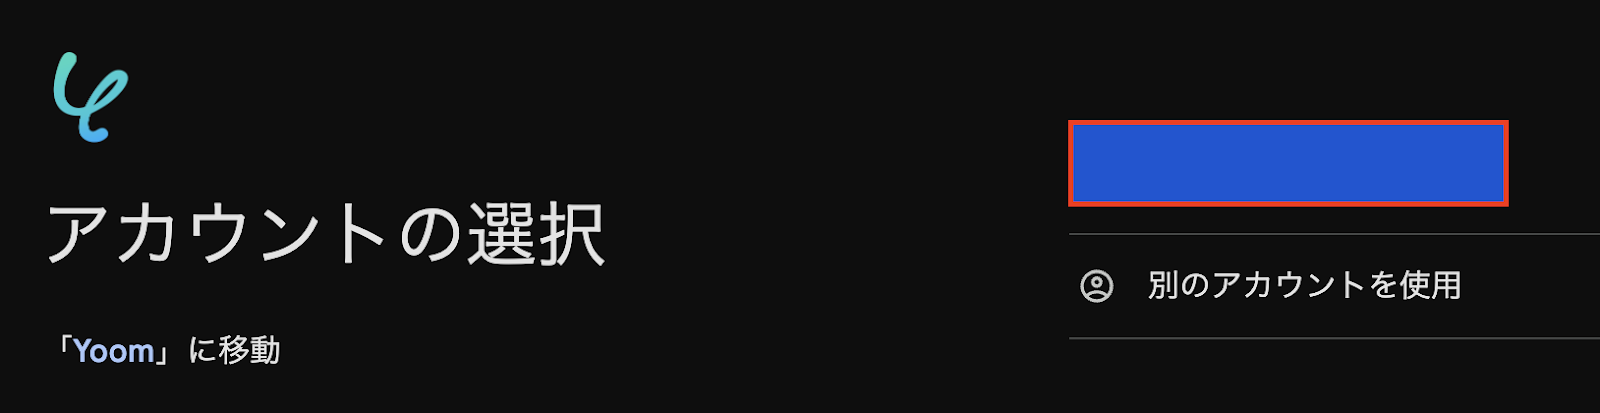
(2) Click "Sign in with Google" to move to the account selection screen, and choose the account you want to integrate from the right management account.
After selection, proceed to the sign-in screen and complete the authentication.
The first Google Sheets connection is now complete.

(3) Next, integrate the Zoom app.
Select Zoom in the same way as registering Google Sheets with My Apps.

(4) Enter the "Client ID" and "Client secret" for the Zoom you want to integrate.
Detailed steps for registering Zoom (OAuth) with My Apps are described on this page.
After entering the information, click [Add].

(5) The Zoom app connection is complete, so proceed to connect the third app, Outlook.
Search for and click the Outlook app icon in the same manner.

(6) Clicking the Outlook app icon will take you to the sign-in screen, but no operation is needed, and the connection completes instantly.
・Microsoft365 (formerly Office365) has a home plan and a general business plan (Microsoft365 Business), and if you are not subscribed to the general business plan, authentication may fail.

If the settings are done correctly, you will move to the My Apps screen of your Yoom account with the three apps added.
Now, the three apps are connected to your Yoom account.

After confirming that the new connection of the target apps to the Yoom account is complete, click the "Try this template" icon on the template below.

Click the "OK" button to copy the template. You will be redirected to the "My Projects" screen in your Yoom account, where you can review the template content. There are four setup flows. ・Set up Google Sheets Trigger (1) First, set up the app trigger for Google Sheets. Click on "【Copy】Create a meeting in Zoom when a lead is registered in Google Sheets and send the meeting information to the other party via Outlook" from My Projects on the left side of your Yoom account screen. After clicking, the template content will be displayed as shown in the screen below. (2) First, click on the trigger "When a record is registered." (3) Enter the account information to be linked and click [Next]. On the next screen, enter information such as "Trigger Interval" and "Spreadsheet ID." Select any of the following for "Trigger Interval": 5 minutes, 10 minutes, 15 minutes, 30 minutes, or 60 minutes. Note that the trigger interval varies depending on the plan. (4) For the "Spreadsheet ID" and "Sheet ID" fields, click the input bar to expand the information obtained from the account as "candidates," as shown in the screen below. Utilize this information as well. (5) After entering the information, click [Test] and if there are no issues, click [Save]. ・Set up Zoom (1) Next, click on the second action "Create Meeting." (2) Enter the information for the Zoom account you want to link and click [Next]. (3) On the next screen, enter the relevant information for the "Email Address" and "Topic" fields. You can also set it by quoting the output obtained from the previous step, as shown in the screen below. (For example, quoting the email address information from the first step "When a record is registered.") (4) After entering the information, click [Test] and if there are no issues, click [Save]. ・Set up Outlook (1) Next, click on the third action "Send Email." (2) Enter the account information you want to link on the next screen. (3) Scroll down to set the email content when sending an email. You can also set it by quoting the output obtained from the previous step, as shown in the screen below. (For example, quoting the email address information from the first step "When a record is registered.") After entering the information, click [Next]. As a customization, there is an item to add "Attachments" at the bottom of the screen, and by clicking the red frame part, you can set it as "Pre-confirmation Setting" to confirm before execution. By setting this, you can check the content before sending the email. (4) On the next screen, review the email content. If there are no issues, click [Test] and if there are no issues, click [Save]. (5) Finally, click on the fourth action "Update Record." (6) Make sure that the Google Sheets account information is entered. Scroll down to the "Database Integration" item and enter the relevant information. You can also expand the information obtained from the previous step as "candidates," so make use of this as well. (7) After entering the information, click [Next]. (8) On the next screen, set the conditions to retrieve records from the specified table in Google Sheets and update the value of the top record in the response result. As an example, specify 'Zoom MTGID' for the record you want to update in "① Condition of the record you want to update," set the condition to 'Equal,' and set the information that matches the condition to 'Zoom MTGID.' You can also quote the information obtained from the previous step as an output. (9) Set "② Value of the record after update." The value set in "① Condition of the record you want to update" will be updated to the value set here. (10) After entering the information, click [Test] and if there are no issues, click [Save]. This completes the setup. ・Turn on the Trigger Click the red frame part "Turn on Trigger" in the screen below to automatically start the flow bot. Here is the template used this time.

Other Automation Examples Using Zoom

Here are some other examples of automation using Zoom available on Yoom.

① Transcribe and summarize meeting minutes when a Zoom meeting ends, and notify Microsoft Teams

This flow automatically transcribes and summarizes the meeting content when a Zoom meeting ends, and notifies Microsoft Teams with the transcription results.
This automation is expected to significantly save manual work time by automatically transcribing and summarizing after the meeting ends.

② Save Meeting Transcription Data from Zoom to Notion After Meeting Ends

This is a recommended flow for those who save and manage meeting content in Notion.
Once a Zoom meeting ends, the meeting content is automatically transcribed, and the data is saved to Notion.

③ After the Zoom meeting ends, transcribe and summarize the meeting, and add it to Jooto

This is recommended for those who are responsible for recording meeting content and compiling data.
Once the Zoom meeting ends, the meeting content is automatically transcribed and summarized, and the transcription results are added as a task in Jooto.

Summary

The automation through the integration of Google Sheets, Zoom, and Outlook enhances work efficiency, data accuracy, and consistent process management.
This allows you to eliminate the hassle of manual tasks, potentially freeing up time for other resources.
Additionally, minimizing input errors can enable team members to prepare thoroughly for meetings with accurate information.
This effect is particularly significant for companies handling a large number of leads or projects involving multiple team members.

Let's utilize this automation flow to aim for more efficient and high-quality business operations.

The person who wrote this article
k.ueno
Until now, as customer support, we have made efforts to resolve users' questions and concerns. I was moved to learn that by using Yoom, tasks that are becoming increasingly complicated on a daily basis will progress quickly! From now on, we will continue to distribute content with easy-to-understand content so that people who aim to improve work efficiency can use the service smoothly.
Tags
Google Sheets
Zoom
Outlook
Automation
Integration
Automatic
Notification
App integration
No items found.
What is Yoom hyperautomation?
Conventional RPA can only automate simple repetitive tasks, and the setup process was very complicated.
With “hyperautomation,” which combines various technologies such as AI, API, RPA, and OCR, it is possible to automate many tasks that could not be realized until now more easily than before.
Don't Just Connect Apps—Automate Everything
Most tools simply connect one app to another, leaving the complex tasks to you. Yoom goes much further: From document creation and browser automation to OCR and generative AI, Yoom handles it all seamlessly in one platform.

Why settle for basic integrations? Streamline your entire workflow with Yoom’s powerful hyperautomation.
Learn more about Yoom
Helpful Materials
I understand Yoom! 3-piece set of materials
Download materials
Understand in 3 minutes! Yoom service introduction materials
Download materials
Find out by Before After! Yoom Case Study Collection
Download materials
See a list of useful materials