


[About Yoom]
How to Create a Ticket Based on ChatGPT's Response When a New Company is Registered in HubSpot
When a new company is registered in HubSpot, information is received from the HubSpot API, a response is created via the ChatGPT API, and a ticket is automatically created in HubSpot based on that content.
By utilizing a no-code tool called Yoom, you can easily automate the integration of HubSpot and ChatGPT without any programming knowledge.
The steps for this integration flow are broadly as follows:
- Integrate HubSpot and ChatGPT with My Apps
- Copy the template
- Set up triggers and actions
- Finally, confirm the trigger activation
Preparation
1) First, access the official Yoom website and create an account.
Yoom Account Creation Page
If you already have an account, please log in.
2) HubSpot allows My App registration with ID/Pass input via Oauth authentication, but you need to add permissions to connect the app in HubSpot.
For more details, please refer to this.
How to Register My App in HubSpot | Yoom Help Center
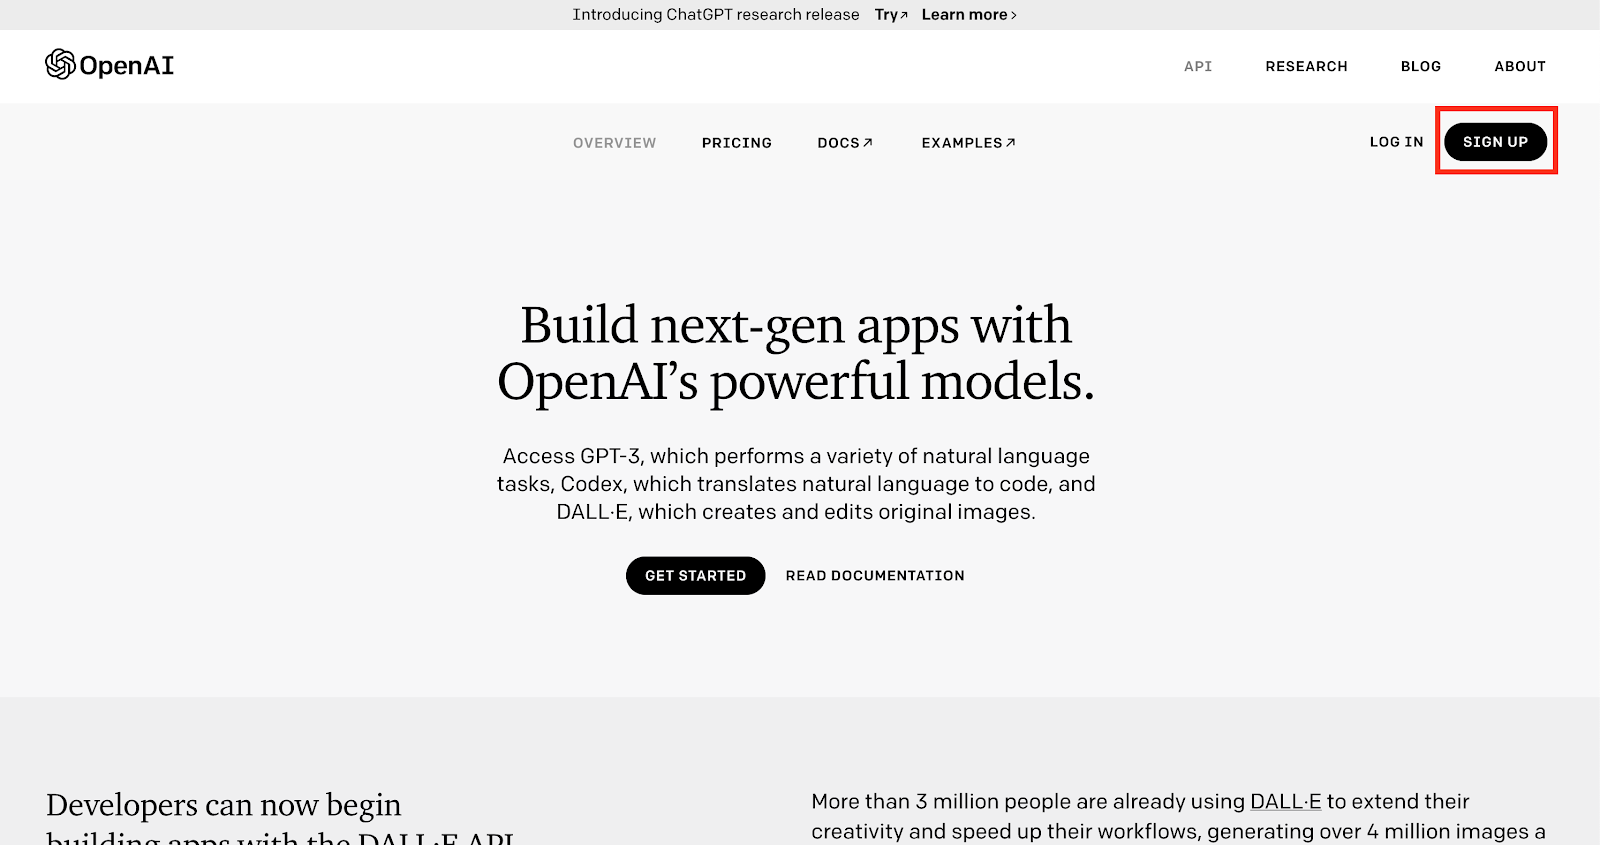
3) You need to obtain an API key for ChatGPT in advance.
Open the OpenAI page and create an account from "SIGN UP".
If you already have an OpenAI account, access the OpenAI login page and obtain the API key.
※ Using ChatGPT or OpenAI's API may incur additional costs to OpenAI.
For details, please check OpenAI's official website.
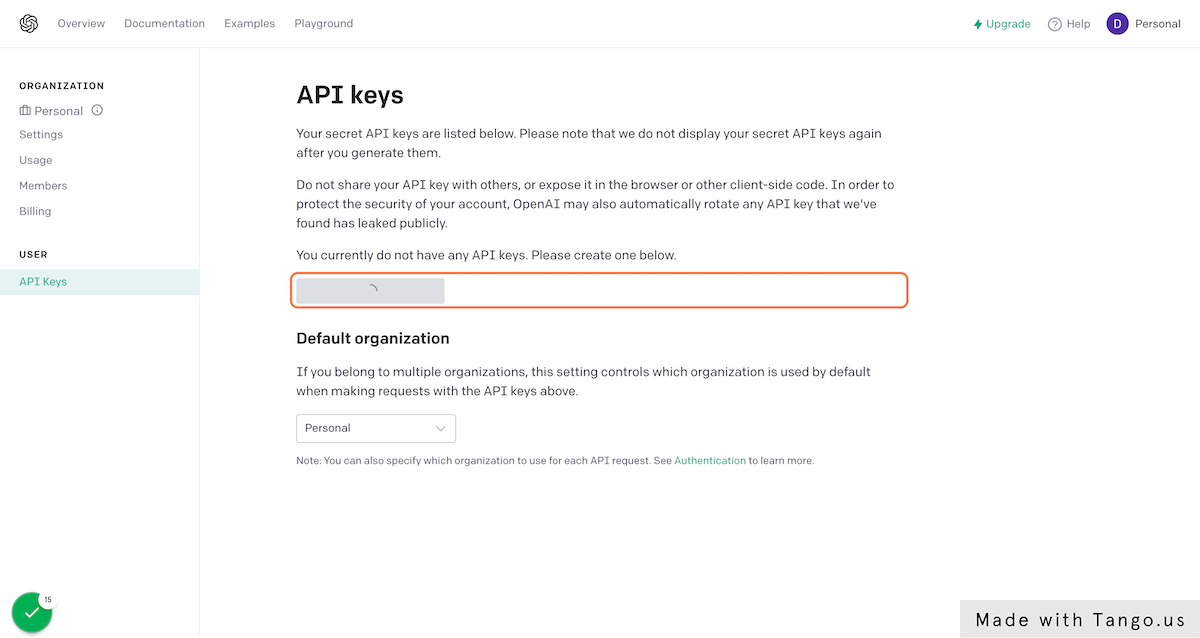
Once sign-up is complete, click "API keys" from the icon in the top left corner.

Generate a new API key, copy the created key, and save it.
For more details, please refer to this.
How to Register My App in ChatGPT | Yoom Help Center
Step 1: Integrate HubSpot and ChatGPT with My Apps
1) Once logged into your Yoom account, register the apps you will use next.
Click "My Apps" and select "New Connection".
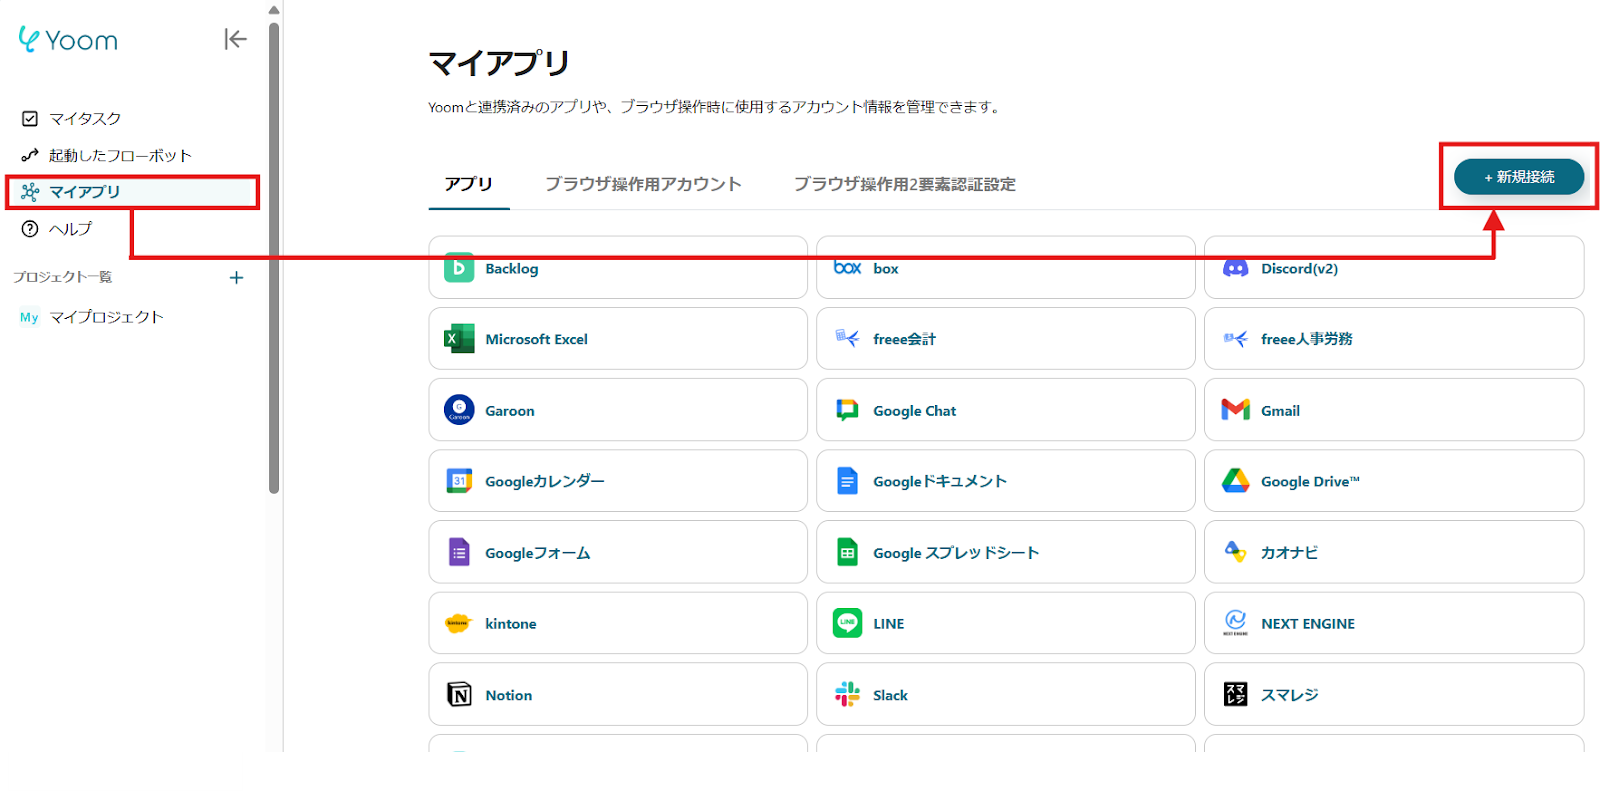
2) A list of apps that can be connected with Yoom will be displayed, and search for the two apps "HubSpot" and "ChatGPT" one by one from the search window at the top.

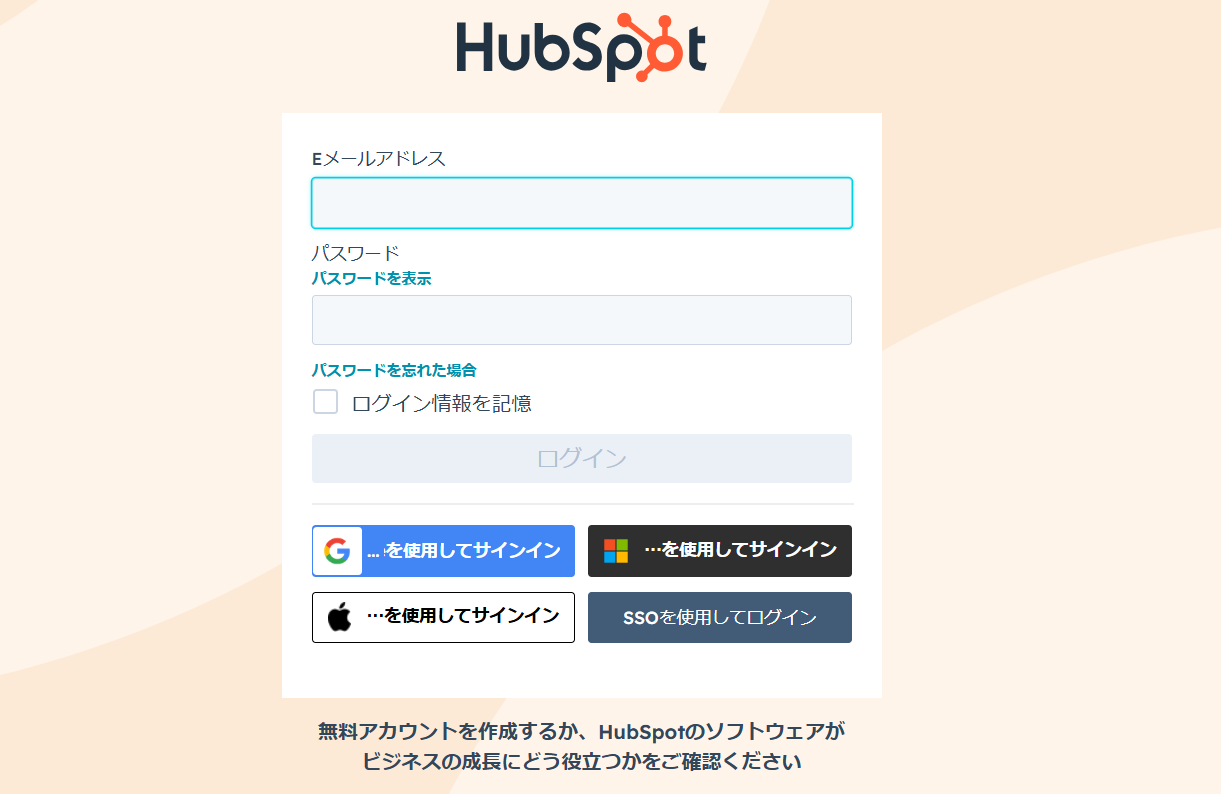
Once you select HubSpot, configure it with the account you will use.
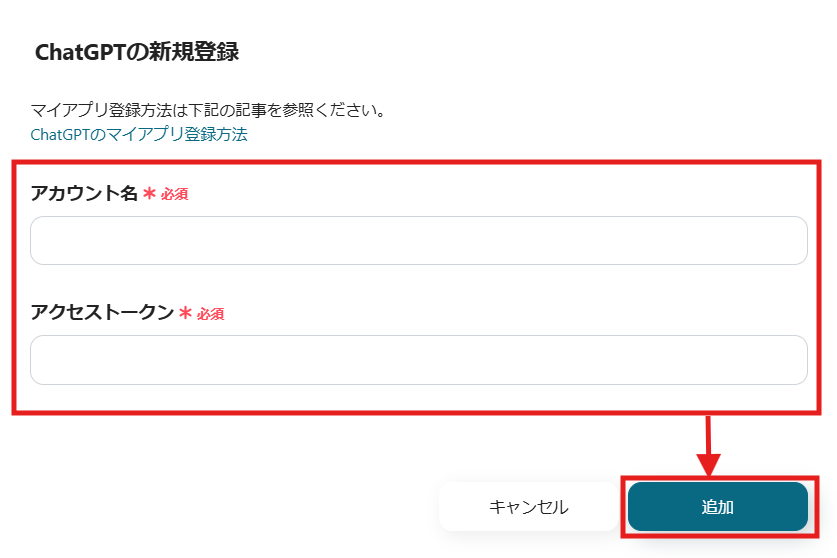
Similarly, select ChatGPT and enter the information obtained during preparation.
Set a management name of your choice in the "Account Name" section, set the obtained API key in the "Access Token", and click add.
3) Once registration is complete, an icon will be displayed in My Apps.
Check if the icon of the registered app is displayed.
Step 2: Copy the Template
Now, let's explain using a template.
First, click this banner.


.avif)

.avif)
.avif)


