


STEP2 Set a Trigger to Activate When a HubSpot Form is Submitted
1. Select "Trigger from an app events".
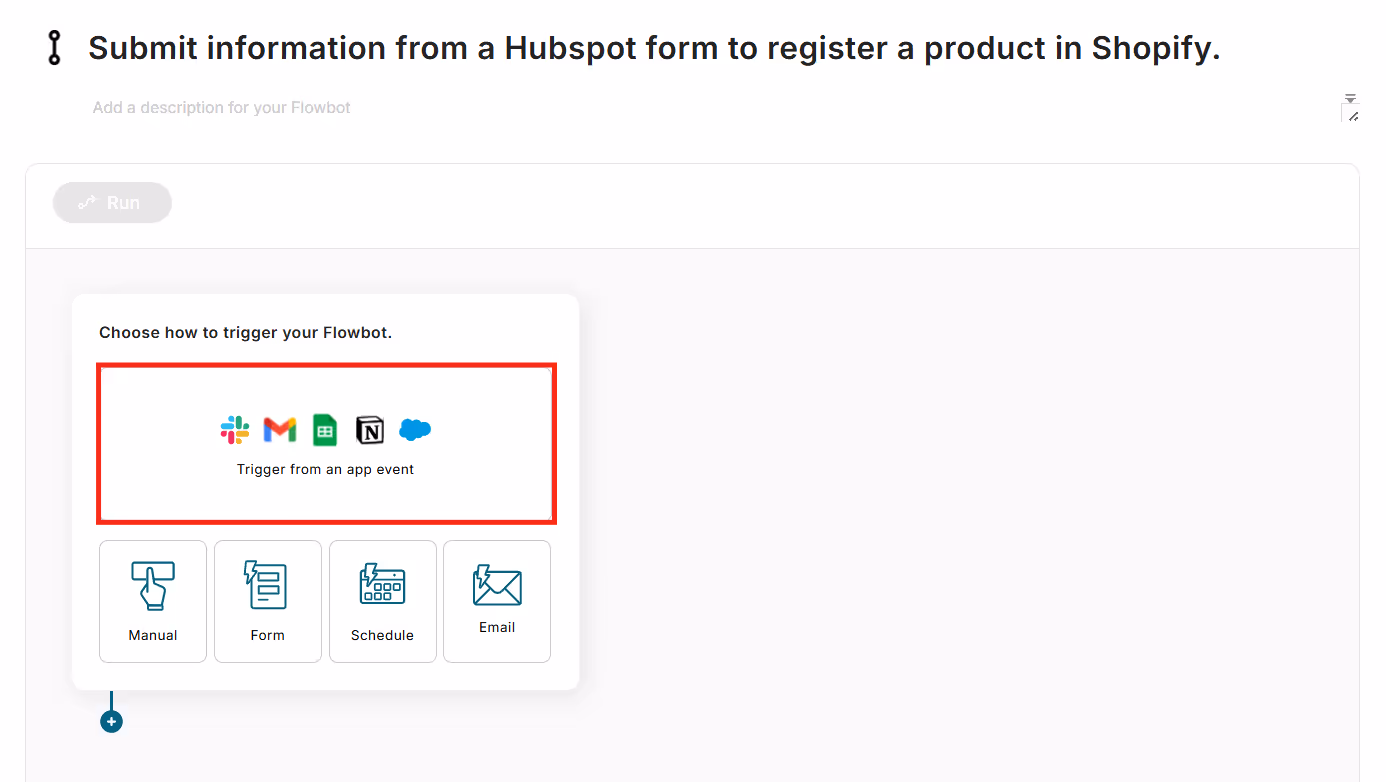
2. Select "HubSpot".

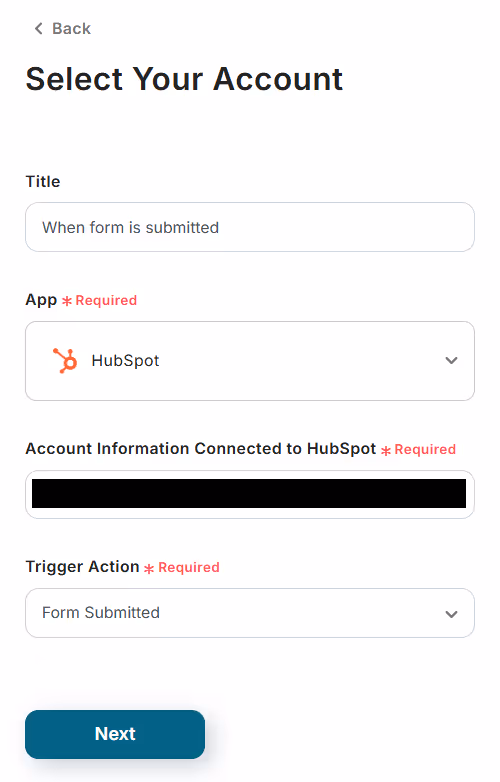
3. Select the account to integrate and choose "When a form is submitted" as the trigger action. Then select "Next".
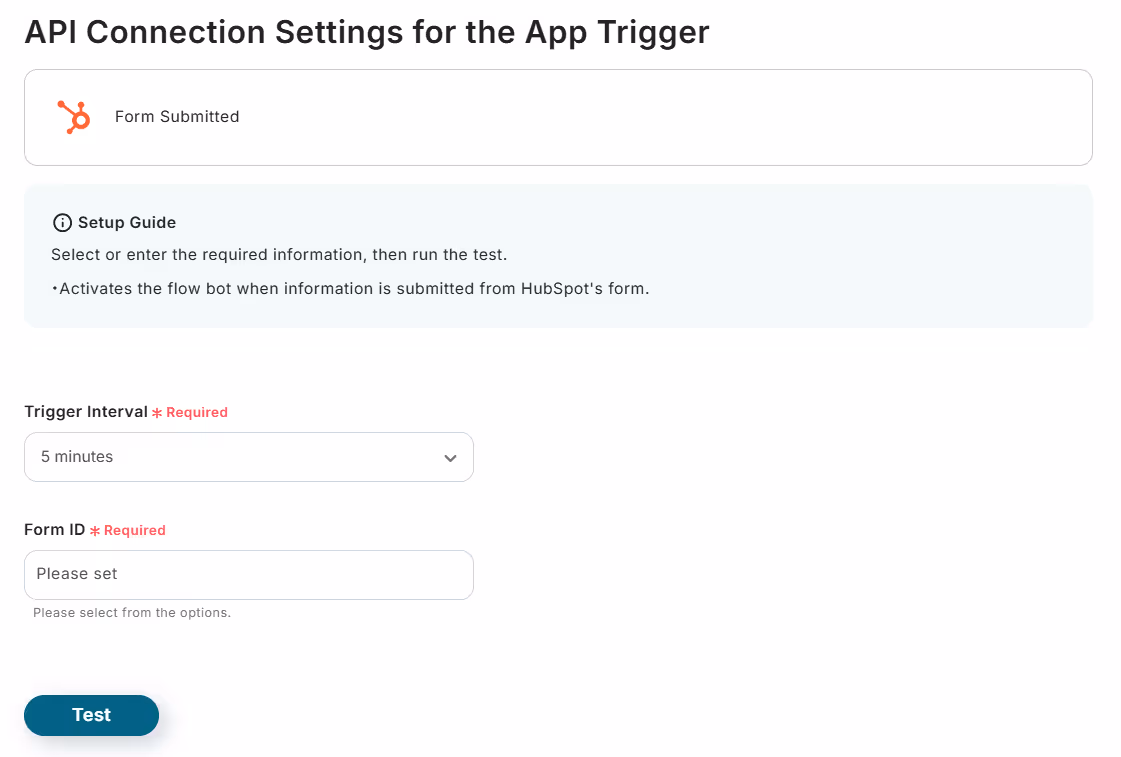
4. Configure the API settings. Set the trigger activation interval and form ID from the options, and select "Test".
If the test is successful, select "Save".
※ The trigger can be set to activate at intervals of 5, 10, 15, 30, or 60 minutes. The shortest activation interval varies depending on the plan, but a shorter setting is generally recommended.
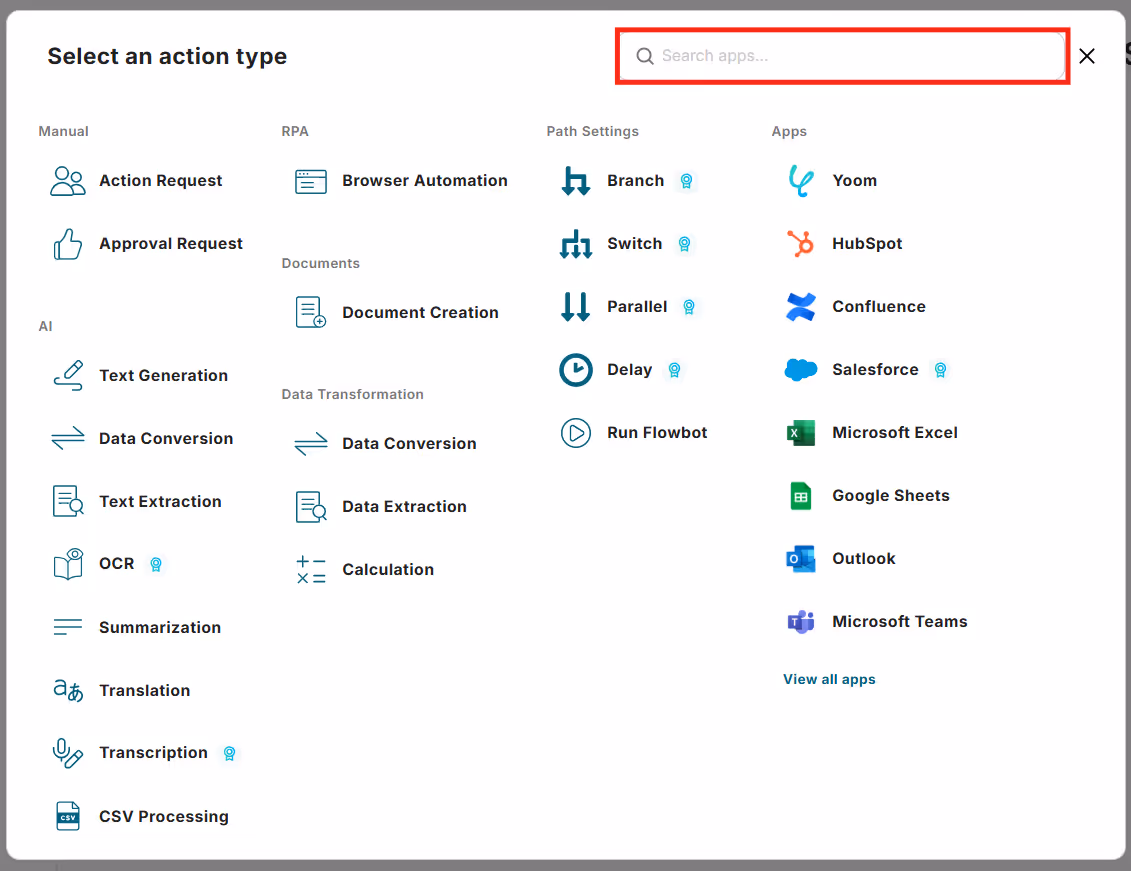
STEP3 Set an Action to Add Products to Shopify
1. Select the "+" mark below the app trigger you added earlier.
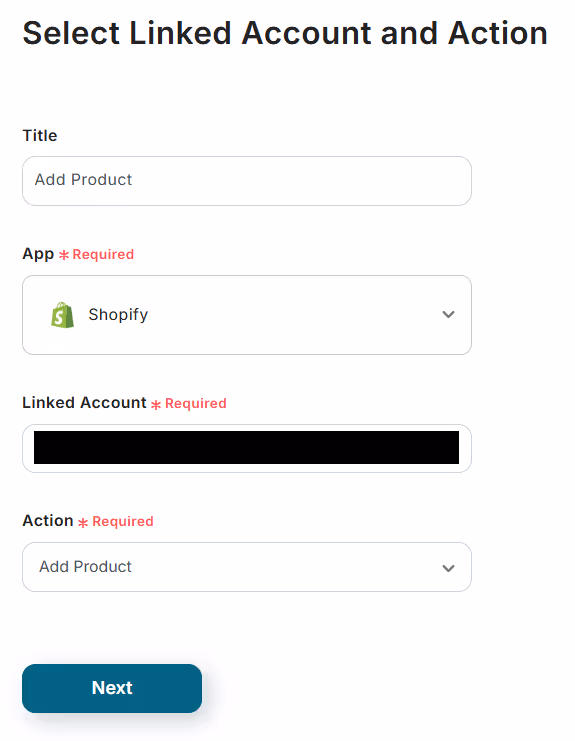
2. For the operation, search for "Shopify".
3. Select the integrated account and choose "Add Product" as the action. After entering, select "Next".
4. Configure the API settings. Enter the subdomain and set the product title and product information.
You can also set outputs obtained from HubSpot in the app trigger. (You can set it from the options displayed by clicking the frame)
After entering, select "Test".
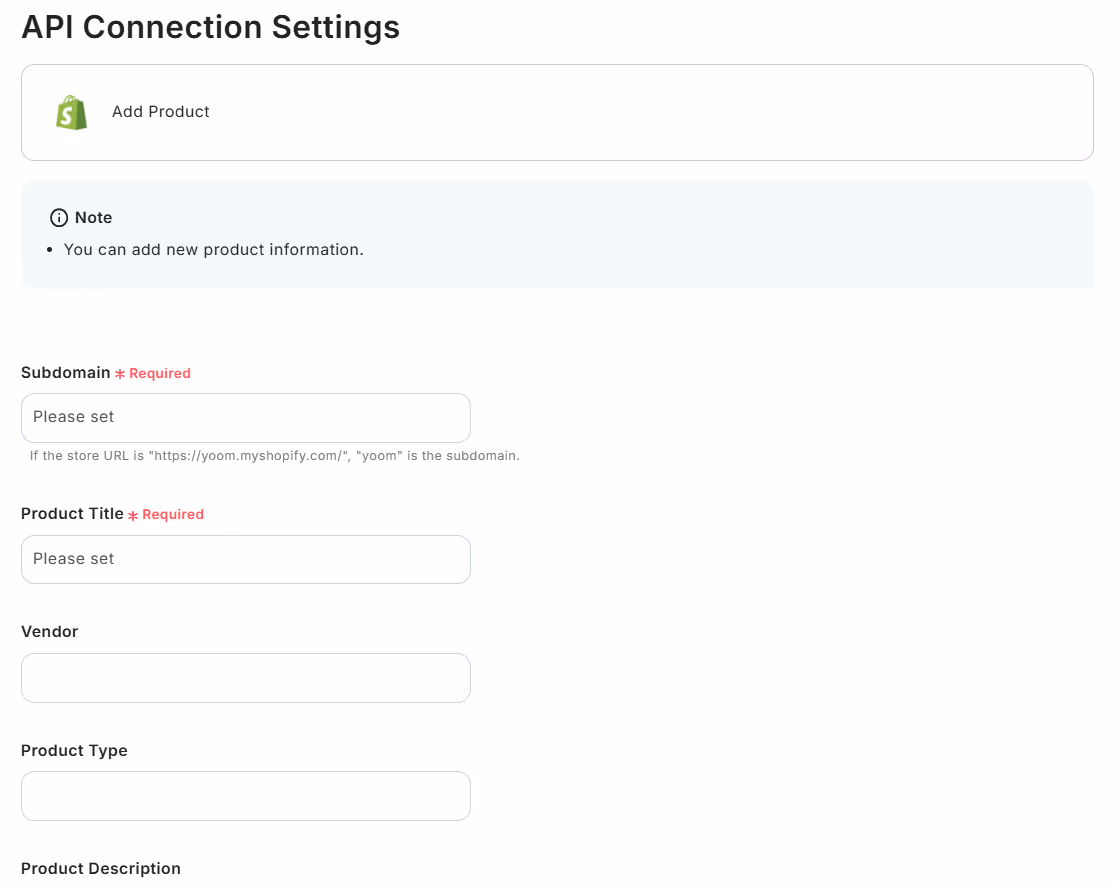
If the test is successful, select "Save".
5. Finally, turn the trigger "ON" to complete.


.avif)

.avif)
.avif)


