NotionとDocuSignの連携イメージ
How to Integrate Applications

2025-04-16

How to integrate Notion with DocuSign to send contracts from DocuSign when a page is created or updated in Notion.

a.ohta

When you receive a lot of emails every day, it can be quite a hassle to save files to Dropbox each time.
Moreover, many people might have experienced the struggle of missing a file save or saving a file in the wrong folder, making it difficult to find later.

In this article, we will introduce a method to automatically save files received in Gmail to Dropbox!

By using no-code tools, you can easily set up automation between Gmail and Dropbox.
You can start using it right away, so be sure to give it a try!

Recommended for

  • Those who want to automatically upload files attached to Gmail to Dropbox
  • Those who want to integrate Gmail and Dropbox to facilitate smooth file sharing within the team
  • Those who want to prevent the loss of attachments and ensure proper document storage

For those who want to try it immediately

In this article, we will introduce the integration method using the no-code tool "Yoom".

No complicated settings or operations are required, and even non-engineers can easily achieve it.

You can start right away using the template below, so please give it a try!

Contracts related to buying and selling goods or hiring employees can be considered repetitive tasks that occur frequently. Additionally, when sending contracts, it is courteous to send documents quickly so as not to keep the other party waiting. This time, we introduce the integration of Notion and DocuSign to enable quick document sending when entering into contracts. Simplifying the contract sending process should also help reduce the burden of administrative tasks. If you frequently use contracts, consider incorporating this. Benefits of Integrating Notion and DocuSign 1. Reduction of Effort and Improvement of Efficiency When entering into contracts with the same content each time, there is no need to create a new contract each time. Therefore, don't you use something that is already prepared? By integrating Notion and DocuSign, when a Notion page is created or updated, contracts prepared in advance in DocuSign can be automatically sent. As a result, the sending of documents for templated contracts is automated, reducing the burden of administrative tasks. 2. Shortening the Period Until Contract Conclusion By integrating Notion and DocuSign, the manual process of sending contracts is reduced, and contracts are quickly delivered to the other party. Therefore, the period until contract conclusion is shortened. Additionally, it is possible to avoid situations where sending is forgotten or postponed. If the contract is completed quickly, the transition to the next phase will also be smooth. Handover to other departments or personnel will be smoother, and efficiency is expected to improve. [About Yoom] Next, we will introduce how to create a "Flowbot" that automates the business flow of "sending a contract with DocuSign when a specific Notion page is created or updated" using Yoom, which allows app integration without programming. After registering with Yoom, please try creating it! The above Flowbot template can be copied from below.

1. Click on "View Details" on the top banner
2. Click on "Try this template" at the bottom of the transitioned screen
3. Register for Yoom

* If you have already completed registration, the login screen will be displayed, so please log in.

How to Create a Notion and DocuSign Integration Flow

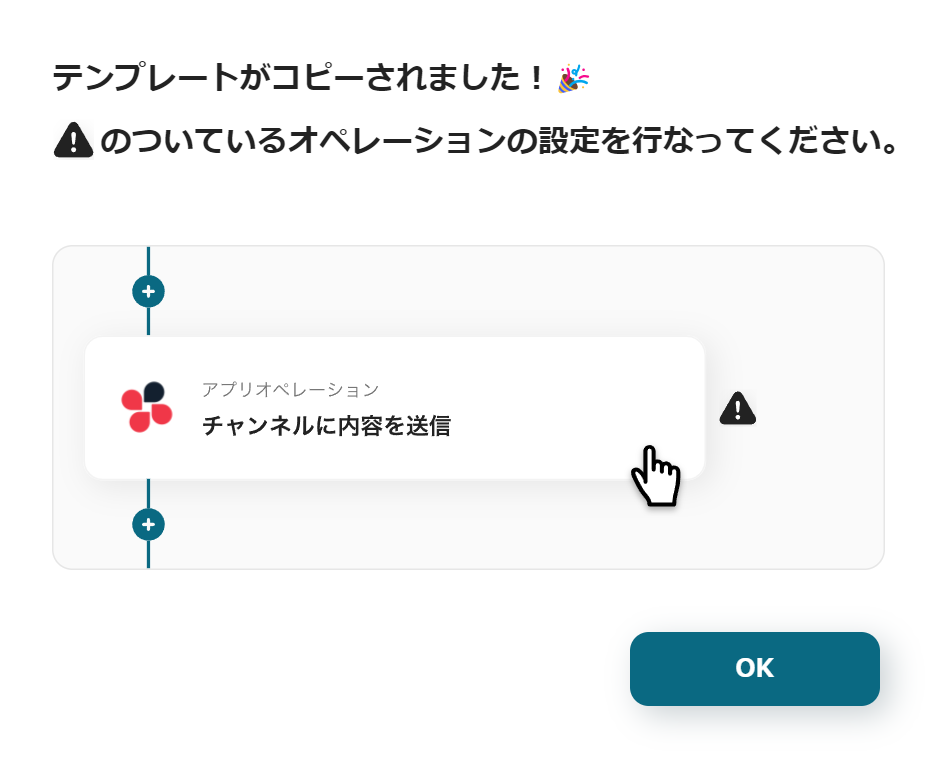
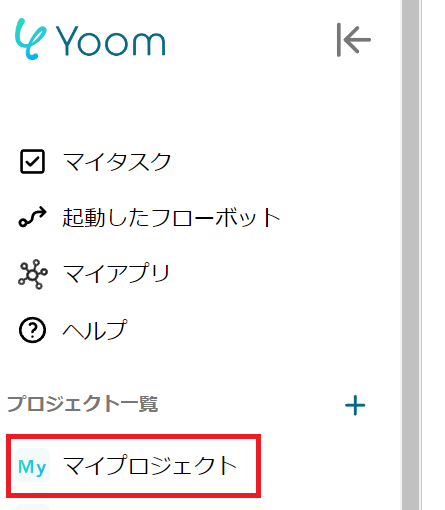
Once Yoom registration is complete, the Flowbot template will be copied to "My Projects".
When the display appears as shown in the image, please select "My Apps" from the menu on the left side of the screen.

Step 1: Integrate Notion and DocuSign with My Apps

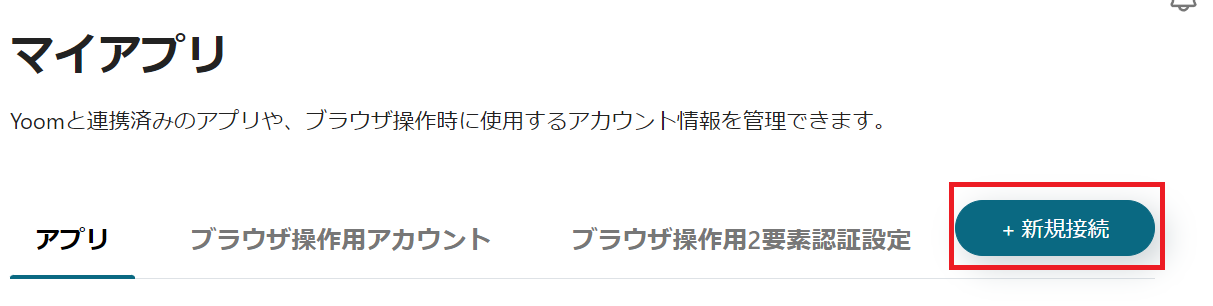
Click the new connection button at the top right and integrate Yoom with each app.

Integrating Notion with Yoom

1. Prepare Notion
In order to integrate Notion with Yoom, you need to prepare Notion at this stage.
For this example, we have created a page assuming an employment contract with an employee.

To send the contract to the "Address" on this Notion page, create an address field.
There is no need for the layout to be exactly as shown in the image. Please set it as you like.

2. Search
Search for Notion and click on the Notion icon.

3. Access Request


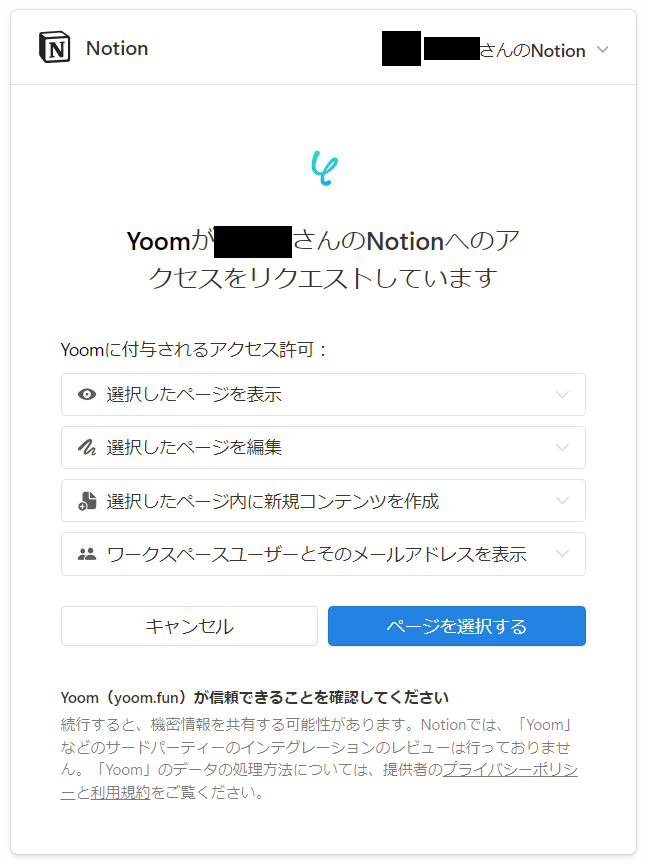
An access request will be displayed as shown in the image.
Check it and click "Select Page".

4. Select Page


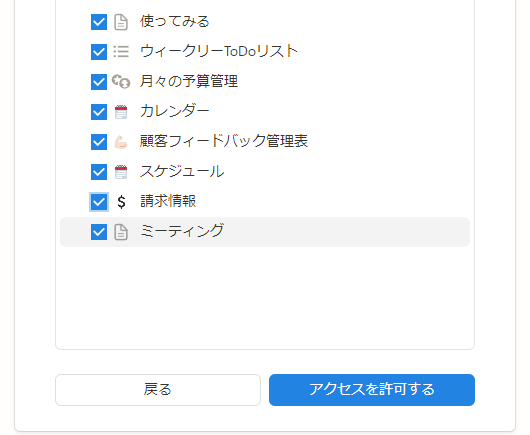
The page you created in Notion will be displayed.
Select the page you prepared earlier and press "Allow Access".

5. Integration Complete

The screen will switch, and if the above display appears, the integration is complete.

Integrating DocuSign with Yoom

1. Search
Search for DocuSign and click on the DocuSign icon.

2. Allow Access


You will be asked to allow access as shown in the image.
Check it and click "Allow Access".

3. Integration Complete

The screen will switch, and if the above display appears, the integration is complete.

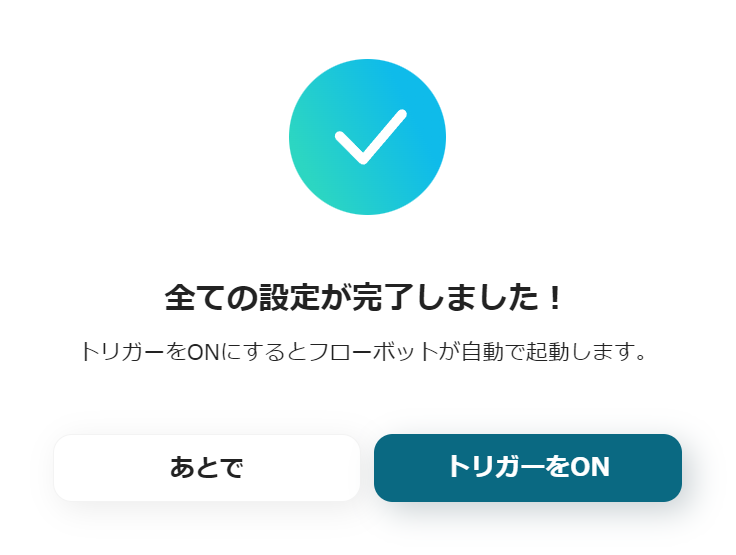
Integration with Yoom and each app is complete.
Next, we will configure the Flowbot.
If you haven't copied it yet, please copy the Flowbot template from below.

Step 2: Setting Up Detection for Adding/Updating Notion Pages

1. Open My Project


Open "My Project" from the menu on the left side of the screen.

2. Select the Copied Template‍
Select "[Copy] Send Contracts from Notion via DocuSign".

3. Select the App Trigger
Select the Notion icon for "When a page in a specific database is created or updated". Set it up so that the trigger activates when a page is created or updated in Notion.
Press Next.

4. Set the Trigger Activation Interval

Set the activation interval.
You can choose the trigger activation interval from 5 minutes, 10 minutes, 15 minutes, 30 minutes, or 60 minutes.
Please note that the shortest activation interval varies depending on the plan.

5. Set the Database ID


Set the Notion database ID.
The ID is listed within the Notion URL.


The red frame in the image is the database ID.
Copy it from the URL of the page linked with DocuSign and paste it into the Yoom settings screen.

7. Execute the Test


Press the test button at the bottom of the screen.
After confirming that "Test Successful" is displayed, press Save.

Step 3: Setting Up to Retrieve Email Addresses from Notion

1. Operate the Database
Select the Notion icon for "Retrieve Records (ID Search)". Scroll down the screen.

2. Database Integration

Enter the Notion database.


By clicking the box, a list of integrated Notion databases will be displayed.
Click the same one you set earlier.
Press Next.

3. Conditions for the Records to Retrieve

To retrieve email addresses from Notion, set the conditions for the records.

Click the empty box on the far right and click the Notion icon.


The Notion page data you test-sent earlier will be displayed.
Select the Object ID from it.

4. Execute the Test


Once the settings are as shown in the image, press Test.
After confirming the test is successful, press Save.

Step 4: Setting Up Automatic Contract Sending from DocuSign

1. Integrate with the App
Select the DocuSign icon for "Create and Send Envelope from Template". Press Next.

2. Enter the ID

Enter each ID. Set according to the notes below the box.


The template ID can be selected from a list by clicking the box.

3. Set the Recipient

Set the recipient.
Click the box for "Recipient's Email Address" at the top.


Click the Notion data in the red frame.


Click the address and insert it.
The data above is linked with the prepared Notion page, so it may not be exactly as shown in the image.
Therefore, when setting, select the one corresponding to the address according to the Notion page you prepared.

Set "Recipient's Name" in the same way.

4. Execute the Test
Once the settings are complete, press Test.
After confirming the test is successful, press Save.

5. Turn ON the Trigger

Once the flowbot creation is complete, the above display will appear.
The trigger is initially set to OFF, so turn it ON.

This completes the creation of the flowbot using Notion and DocuSign.

Flowbot Template Used This Time
Send Contracts from Notion via DocuSign

Other Automation Examples Using Notion and DocuSign

Yoom offers a variety of flowbots that utilize Notion and DocuSign. Let me introduce just a few!

1. Store files in Google Drive once the envelope (completion) is finished in DocuSign
We also provide a flowbot that automatically stores documents after contract completion. It is recommended to use it in conjunction with the app integration introduced this time.

2. When the Salesforce opportunity stage reaches the specified phase, send the contract via Docusign.
Integration with Salesforce is also convenient for sales contracts!

3. Update the Notion Employee Management Ledger when Employee Information is Updated in SmartHR
By connecting with this flow bot, after updating employee information in SmartHR, the data can be transferred to Notion, and the sending of contracts can be automated.

Summary

By integrating Notion and DocuSign, contracts can be sent quickly, potentially reducing the time to finalize agreements. As a result, the processing speed of contracts may increase, allowing tasks to be completed more efficiently. This also helps reduce the burden of administrative tasks, so consider incorporating automation.

The person who wrote this article
a.ohta
After working as a general store manager, I started working from home as an SEO writer. Later, an outsourcing agreement was signed with a marketing startup for about 5 years. Surrounded by students at the University of Tokyo, I held a computer and spent my days studying various business terms and how to use SaaS tools. When I was a general store manager, time was taken over and over again by office work such as sales and inventory management, human resource management, and ordering, etc., and I was unable to serve customers and often missed sales times. Even when outsourcing, there are many detailed tasks such as input, etc., and “can't such monotonous tasks be automated?” I thought so, and I really sympathize with Yoom's vision!
Tags
Notion
DocuSign
Automation
Integration
Related Apps
App integration
No items found.
What is Yoom hyperautomation?
Conventional RPA can only automate simple repetitive tasks, and the setup process was very complicated.
With “hyperautomation,” which combines various technologies such as AI, API, RPA, and OCR, it is possible to automate many tasks that could not be realized until now more easily than before.
Don't Just Connect Apps—Automate Everything
Most tools simply connect one app to another, leaving the complex tasks to you. Yoom goes much further: From document creation and browser automation to OCR and generative AI, Yoom handles it all seamlessly in one platform.

Why settle for basic integrations? Streamline your entire workflow with Yoom’s powerful hyperautomation.
Learn more about Yoom
Helpful Materials
I understand Yoom! 3-piece set of materials
Download materials
Understand in 3 minutes! Yoom service introduction materials
Download materials
Find out by Before After! Yoom Case Study Collection
Download materials
See a list of useful materials