


Read the following screen display and click "OK".
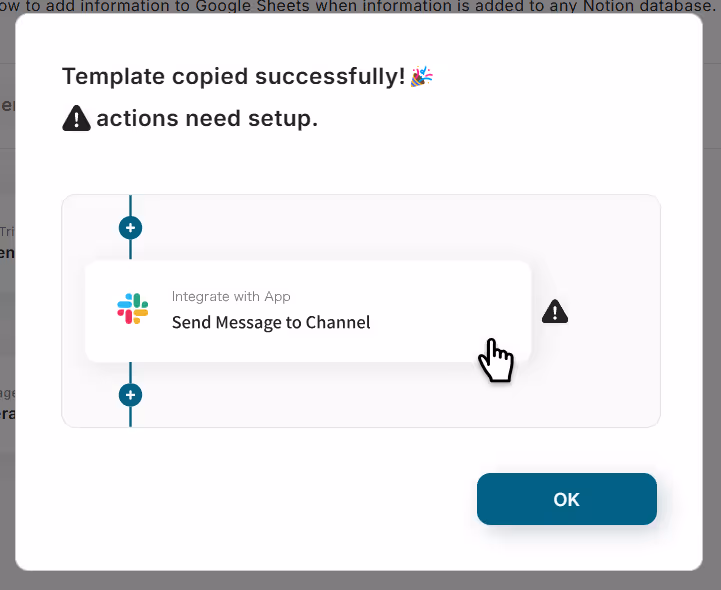
The following screen will be displayed, so check the "Title" and "Description".
If you want to make changes, you can do so by clicking on the relevant section.
Since it is done from Notion settings, click "When a specific database page is created or updated".
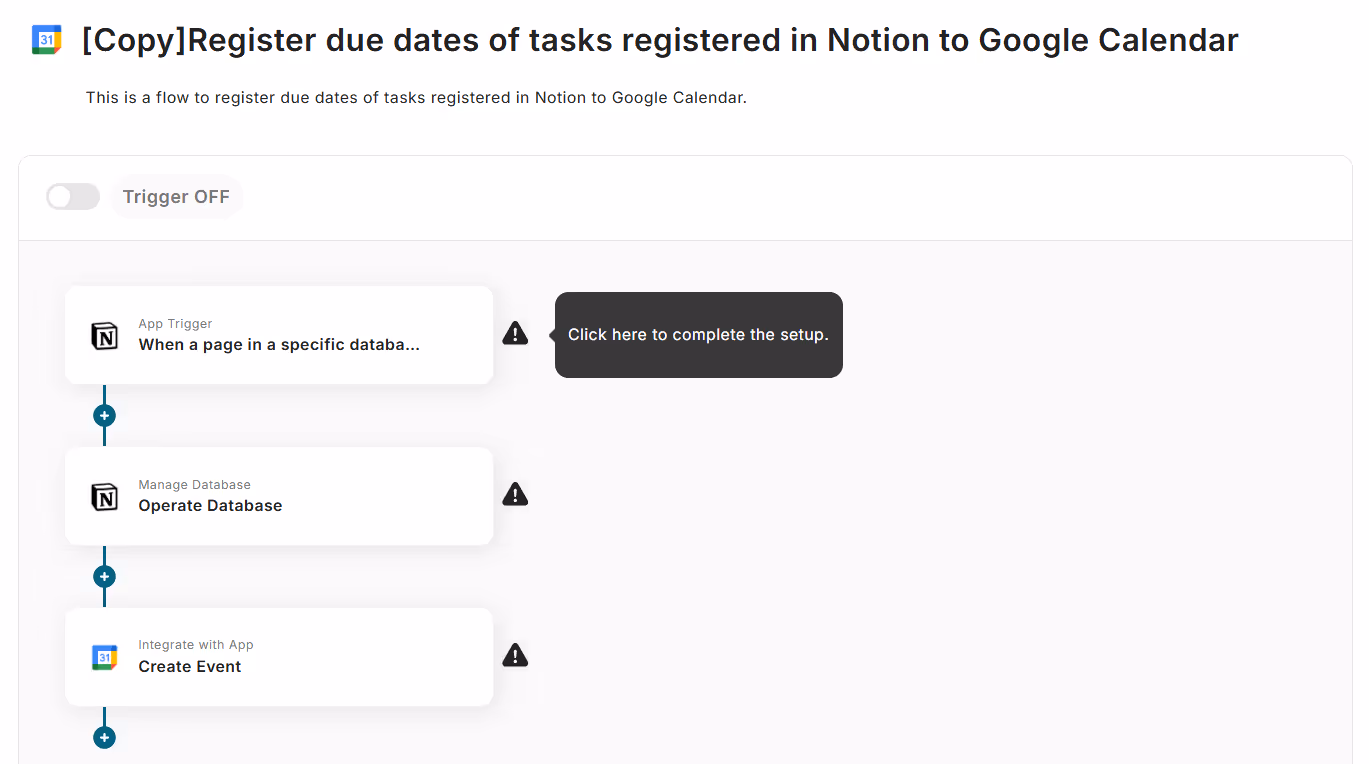
Once the following screen is displayed, check the settings.
- "Title" → Set as desired
- "Account information linked with Notion" → Check for discrepancies
- "Trigger Action" → When a specific database page is created or updated

The following screen will be displayed, so please configure the settings.
- "Trigger Interval" → Choose from 5 minutes, 10 minutes, 15 minutes, 30 minutes, 60 minutes
* Note that the trigger interval varies depending on the plan. - "Database ID" → Set as desired
After setting, click "Test" → "Test Successful" → "Save".

Step 3: Set Action to Retrieve Records in Notion
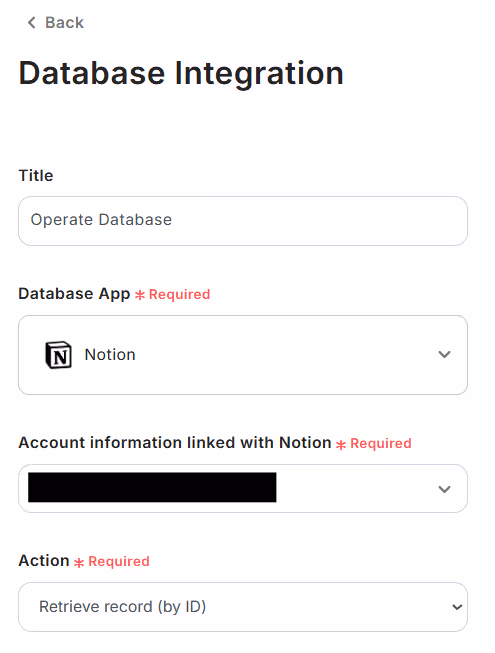
To set up retrieving records in Notion, click "Retrieve Records (ID Search)".
Once the following screen is displayed, check the settings.
- "Title" → Set as desired
- "Account information linked with Notion" → Check for discrepancies
- "Execute Action" → Retrieve Records (ID Search)
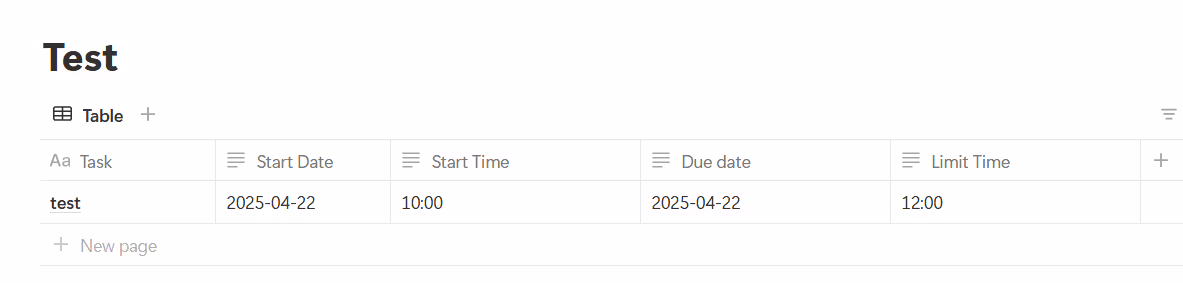
Move to Notion and set up a task for testing.
* Be sure to use the table view.
* When entering a date, be sure to use the format "2025-04-22".
When entering a time, use the format "10:00".
To set an all-day event, set the start time to "00:00" and the end time to "00:00" the next day.
This time, it was set as follows.
Return to the Yoom screen and set the "Database ID".
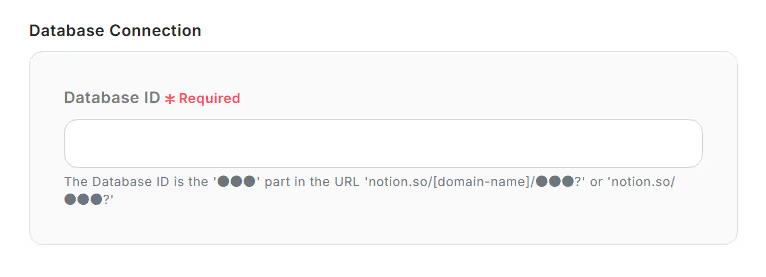
Once the screen is displayed, check the setup method.

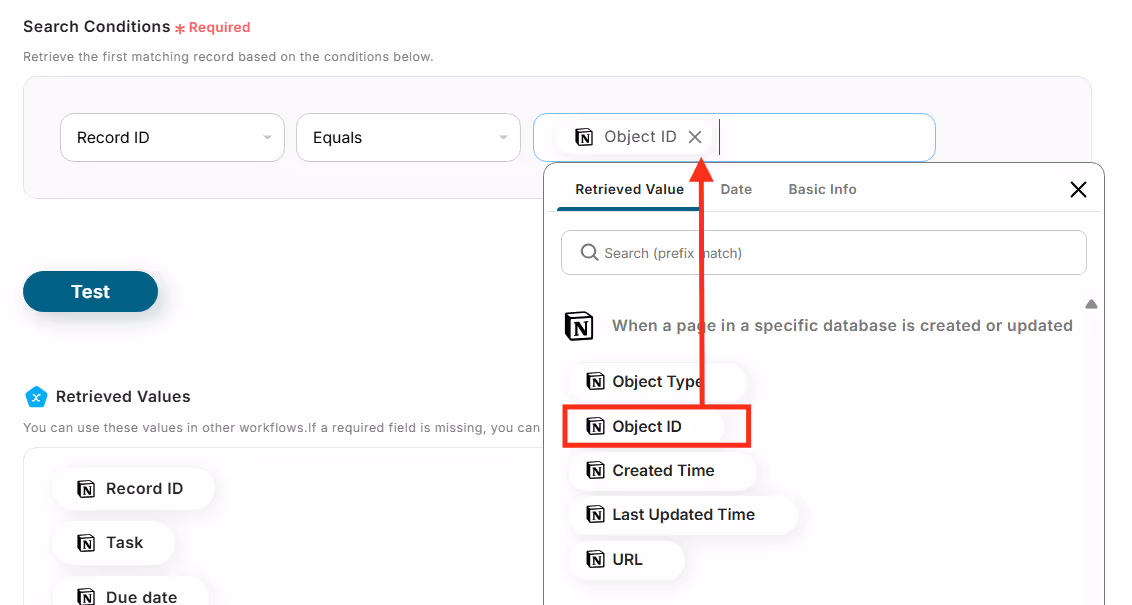
Scroll down and use the output of "When a specific database page is created or updated" to set the "Conditions for the record you want to retrieve".
Click the arrow in the red frame to use the output.
This time, it was set as follows.
Once set, click "Test" → "Test Successful" → "Save".
Step 4: Set Action to Create an Event in Google Calendar
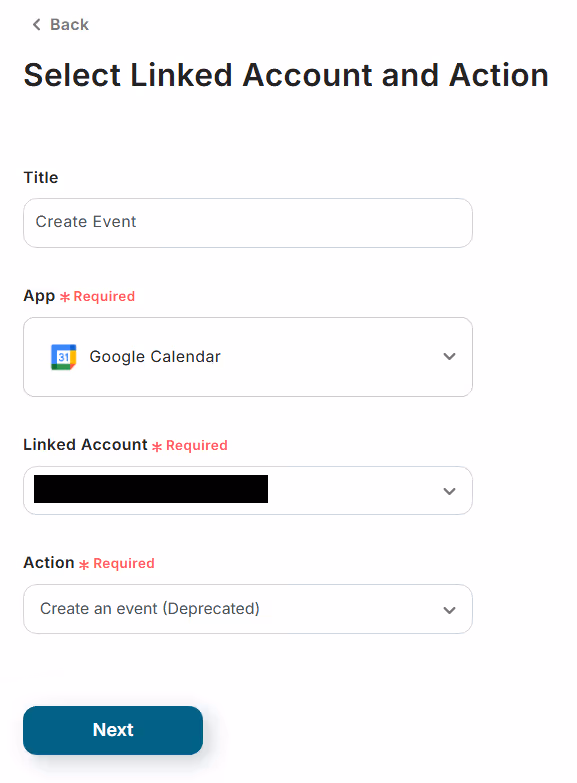
Next, to set up Google Calendar, click "Create Event".
The following screen will be displayed, so check the settings.
- "Title" → Set as desired
- "Account information linked with Google Calendar" → Check for discrepancies
- "Action" → Create Event
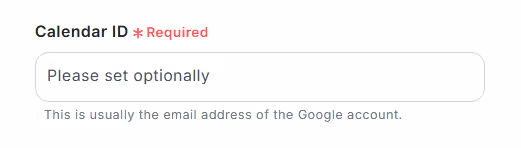
The following screen will be displayed, so check the explanation and set the "Calendar ID".
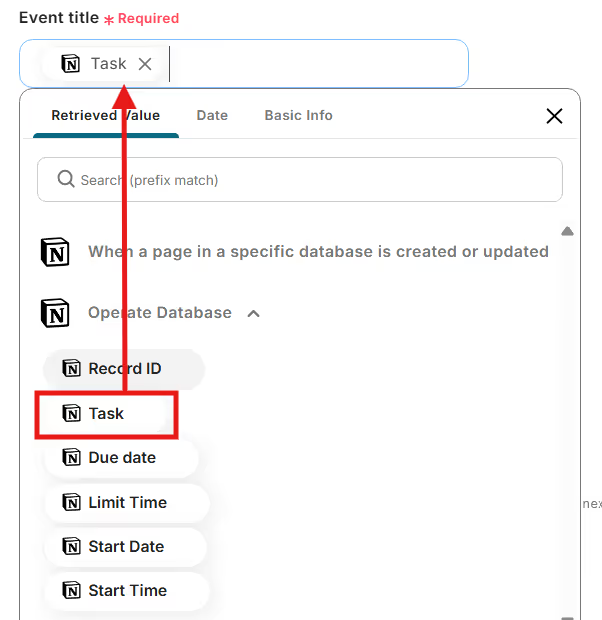
Scroll down and set the "Event Title".
Using the output of "Retrieve Records (ID Search)" will automatically display the title in Google Calendar.
This time, it was set using the "Task" set in Notion as an example.
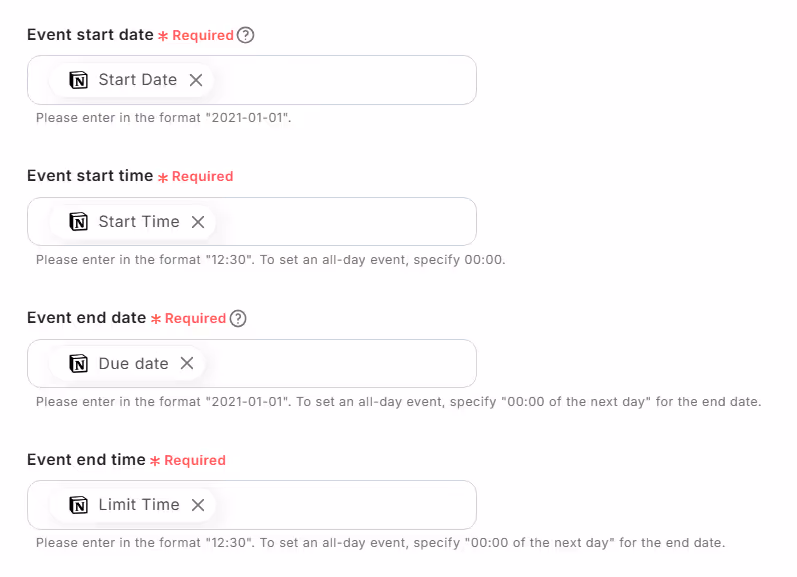
Scroll down and use the output of "Retrieve Records (ID Search)" to set the following required items as before.
Once set, click "Test" → "Test Successful" → "Save".
Step 5: Verify Automation between Notion and Google Calendar
Finally, click "Turn ON Trigger" to complete the automation setup.
Check if the flowbot is operating correctly.

Flowbot template used this time
Register the due date of tasks registered in Notion to Google Calendar


.avif)


