


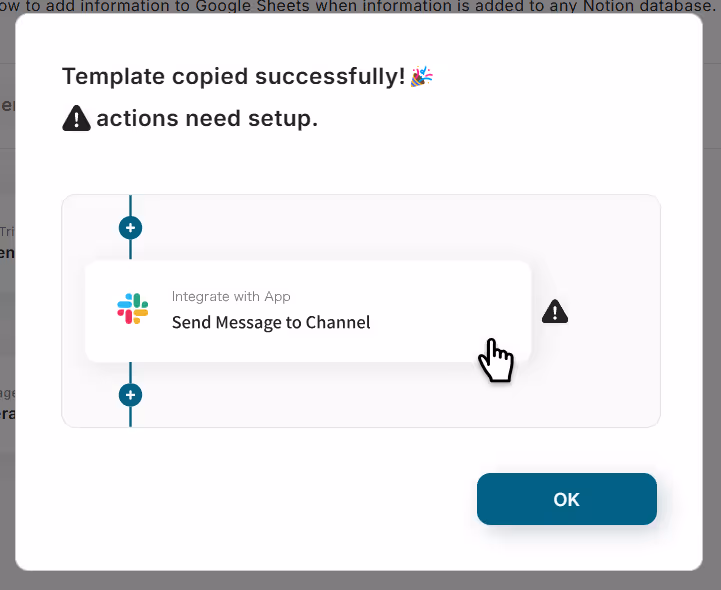
Read the following screen display and click "OK".
The following screen will be displayed, so check the "Title" and "Description".
If you want to make changes, do so on the following page.
First, select and launch the page on the database, so click "Select and launch the page on the database".

Step 3: Set Triggers and Actions
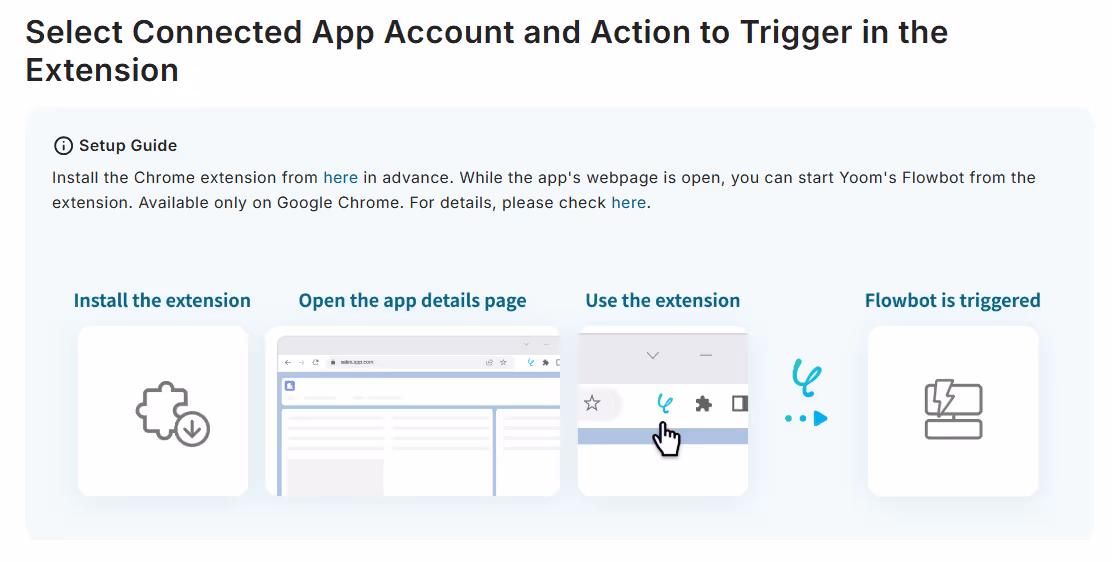
When the following screen is displayed, check the setup method.
To use the Chrome extension trigger, please check here.
If you have not installed the Chrome extension, please install it from here.
* By using triggers with the Chrome extension, you can directly activate triggers from Notion.
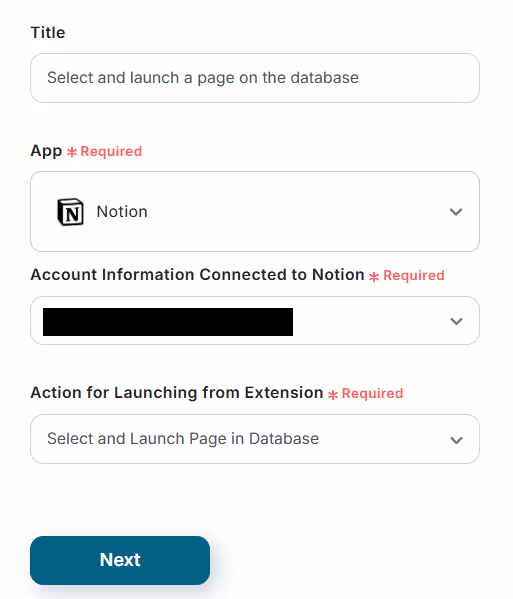
When the following screen is displayed, check the settings.
- "Title" → Set optionally
- "Account information linked with Notion" → Verify if correct
- "Action when launching from the extension" → Select and launch the page on the database
Check the following setup method.
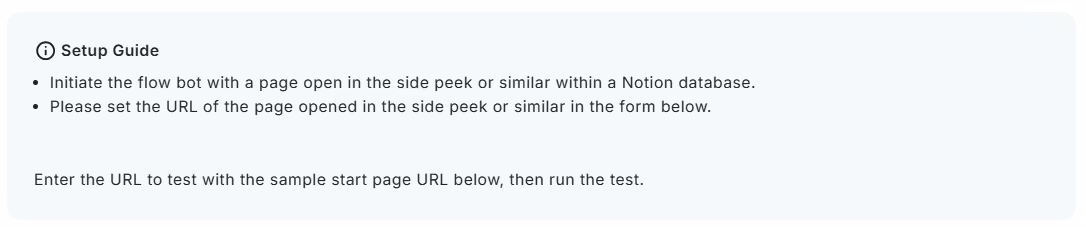
Scroll and set the "Sample URL of the launch page".
After setting, click "Test" → "Test Successful" → "Save".

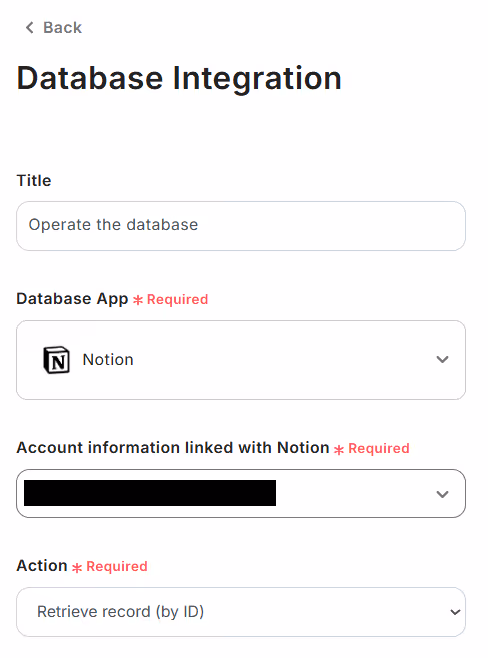
Next, to set up retrieving records in Notion, click "Retrieve Records (ID Search)".
The following screen will be displayed, so check the settings.
- "Title" → Set optionally
- "Account information linked with Notion" → Verify if correct
- "Execute Action" → Retrieve Records (ID Search)
Scroll and set the "Database ID".
For testing purposes, please register billing information in Notion.

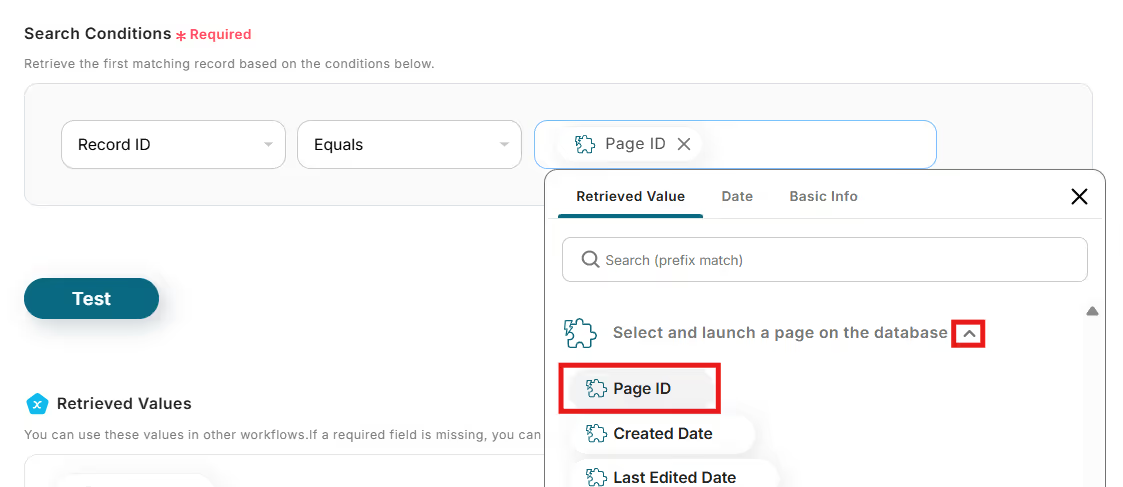
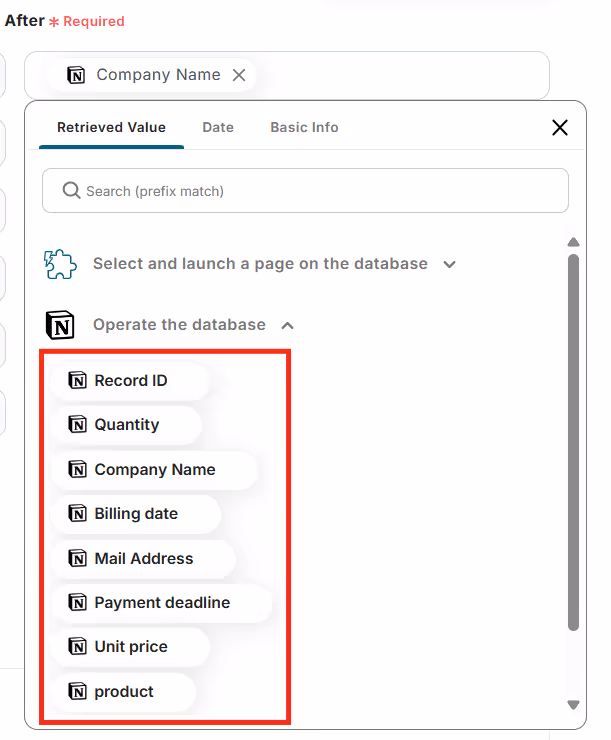
When the following screen is displayed, set the "Conditions for the record you want to retrieve".
Use the output of "Select and launch the page on the database" and set it as follows.
Click the arrow in the red frame to select the output.
After setting, click "Test" → "Test Successful" → "Save".
Next, to set up issuing documents with Google Sheets, click "Issue Document".
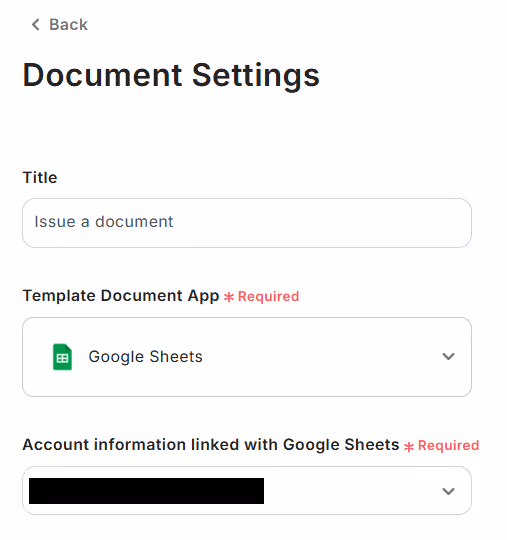
The following screen will be displayed, so check the settings.
- "Title" → Set optionally
- "Account information linked with Google Sheets" → Verify if correct
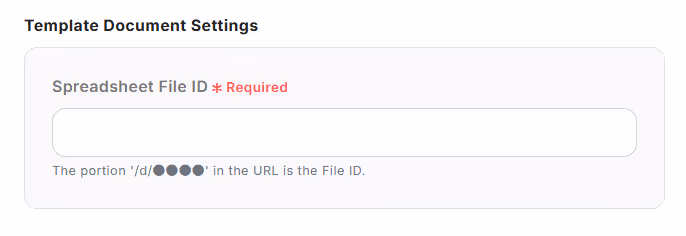
Scroll and set the "Spreadsheet File ID".
Refer to here for the template document setup method.
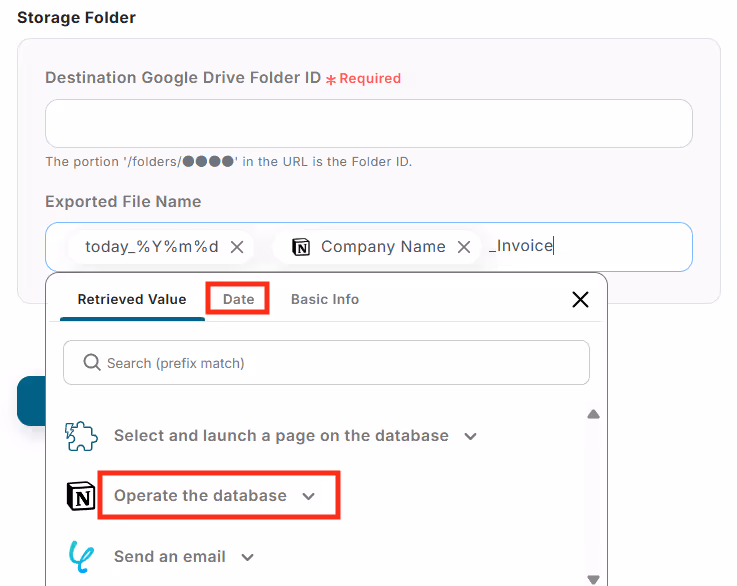
Next, set the "Issued Document".
- "Google Drive Folder ID for Storage" → Set optionally
- "Output File Name" → Set using output
By using the date and Notion's output, you can automatically set the file name.
The content set in Notion will be displayed as output.
When the following screen is displayed, check the setup method.

Scroll to display the "String to be Replaced" and set the "String after Replacement".

Set the "String after Replacement" using Notion's output.
Set the string that matches the item.
After setting, click "Test" → "Test Successful" → "Save".
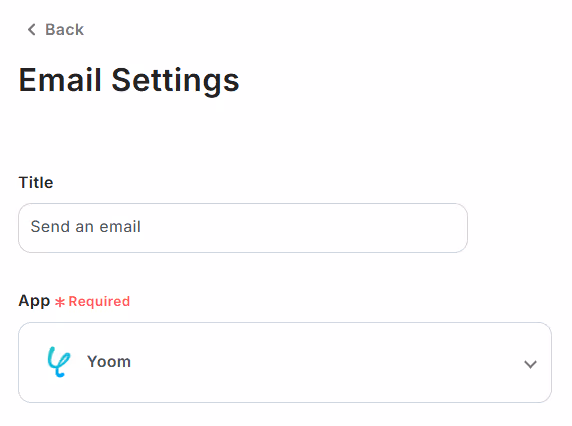
Next, to set up sending emails, click "Send Email".
The following screen will be displayed, so check the "Title" and change it if you want to.
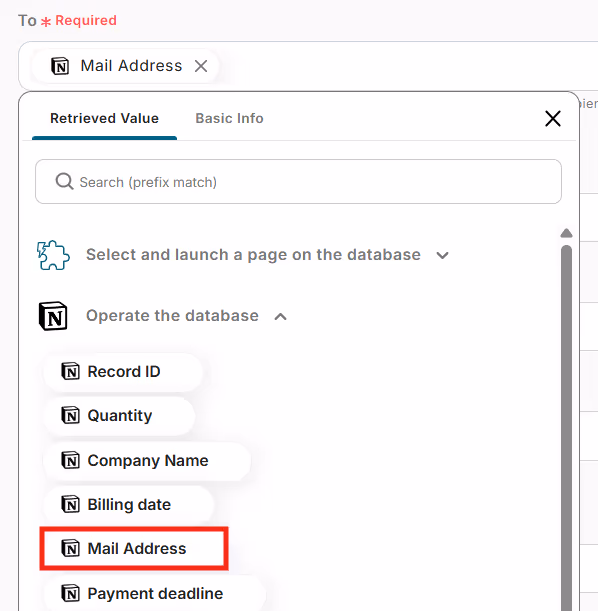
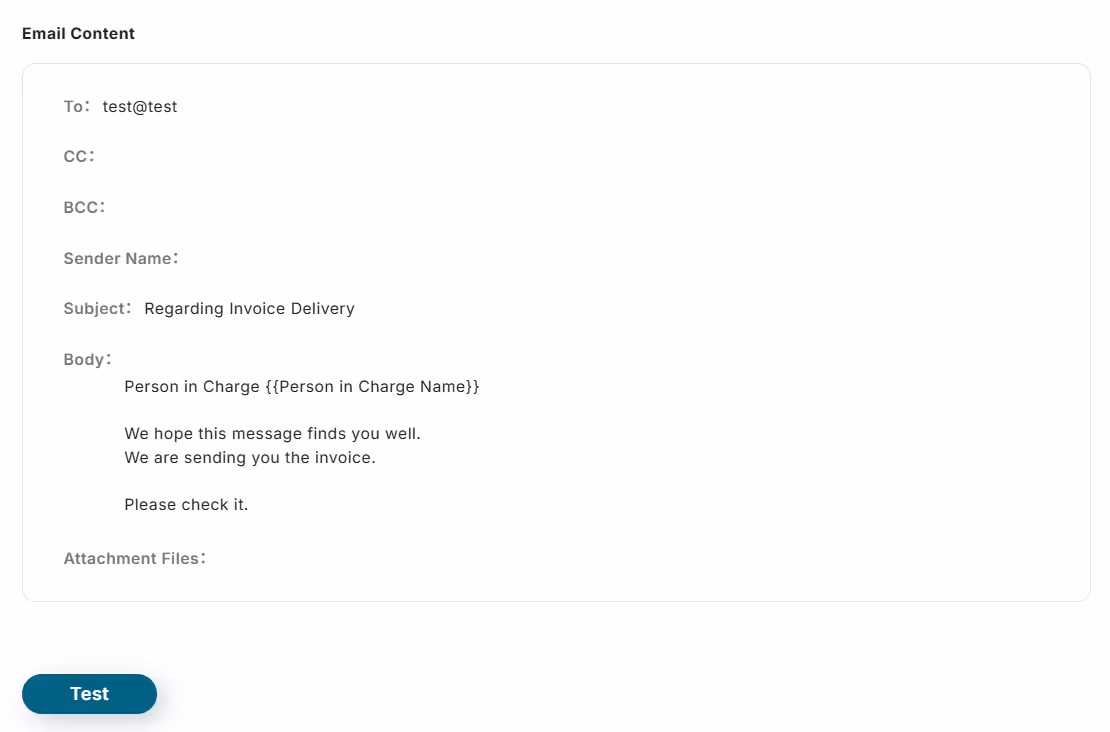
Scroll and set the "Email Content".
"To" → Set optionally
Set using Notion's output.
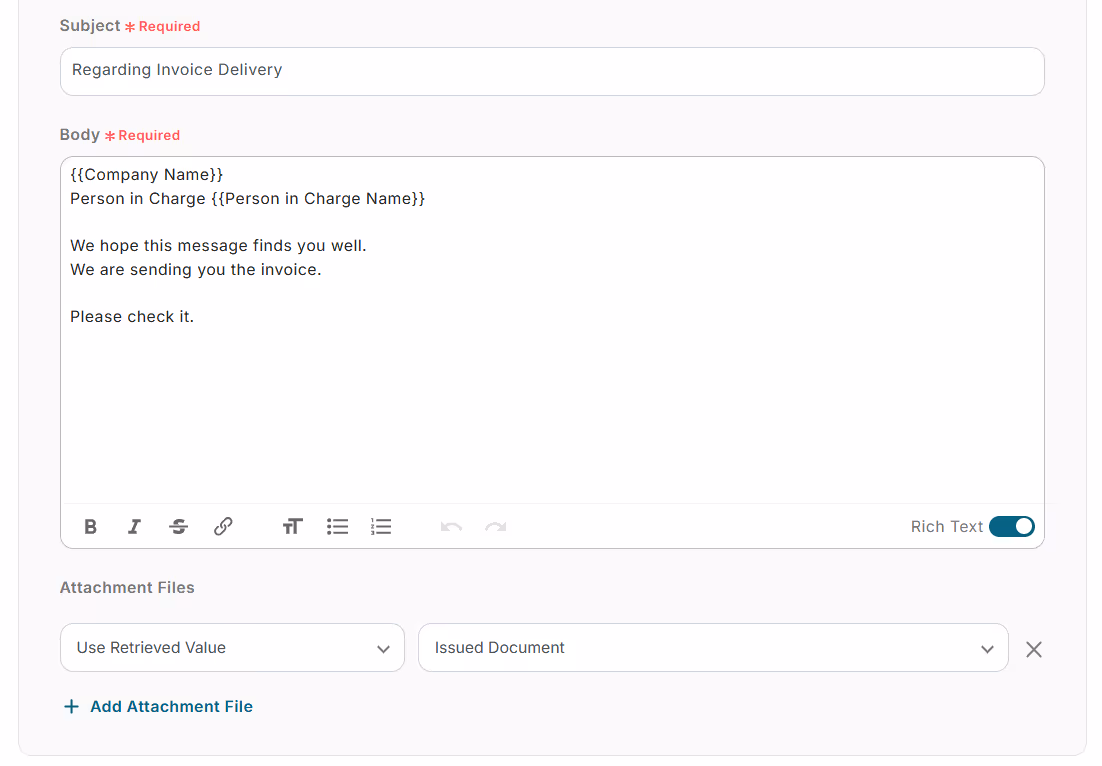
Next, set the "Subject", "Body", and "Attachments".
The body is convenient to set using Notion's output.
When the following screen is displayed, check the "Email Sending Content".
After confirming, click "Test" → "Test Successful" → "Save".
Step 4: Verify Automation Operation
Finally, click "Turn on Trigger" to complete the automation setup.
Check if the flowbot starts correctly.

Here is the template used this time.


.avif)


.avif)


