

.avif)

1. Click on "View Details" on the top banner
2. Click on "Try this template" at the bottom of the transitioned screen
3. Register with Yoom
*If you have already completed registration, the login screen will be displayed, so please log in.
How to Create a Workflow Using Notion and Google Search
Step 1: Integrate Notion and Google Search with My Apps
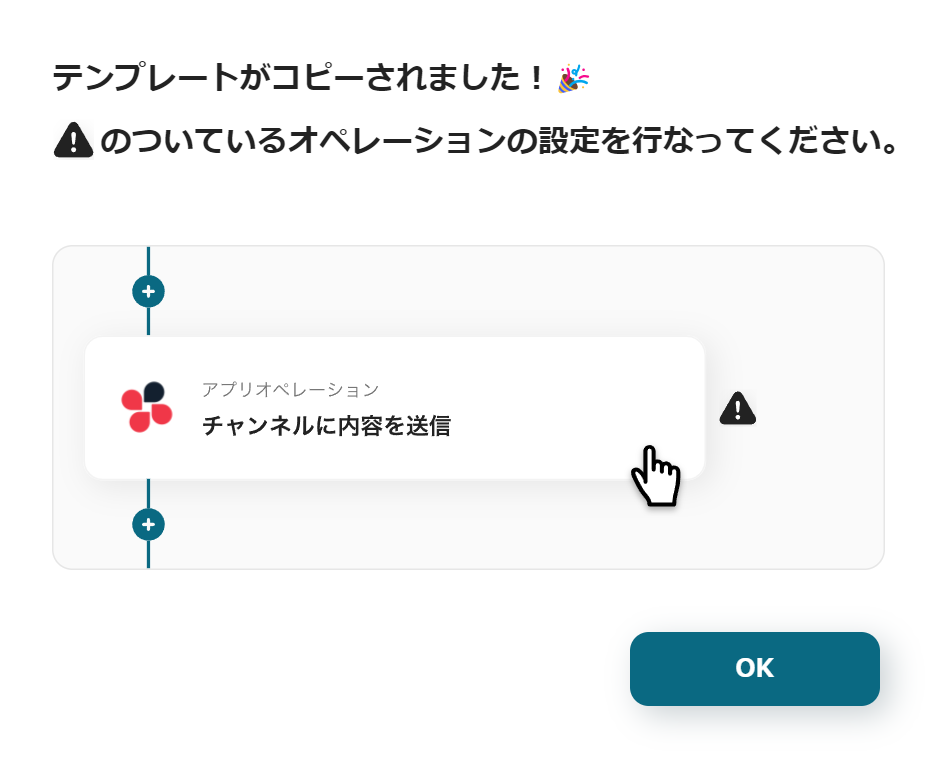
The template will be copied, and the screen will look like the above.
Since you have transitioned to the Yoom page called "My Projects", please select "My Apps" from the menu on the left side of the screen.
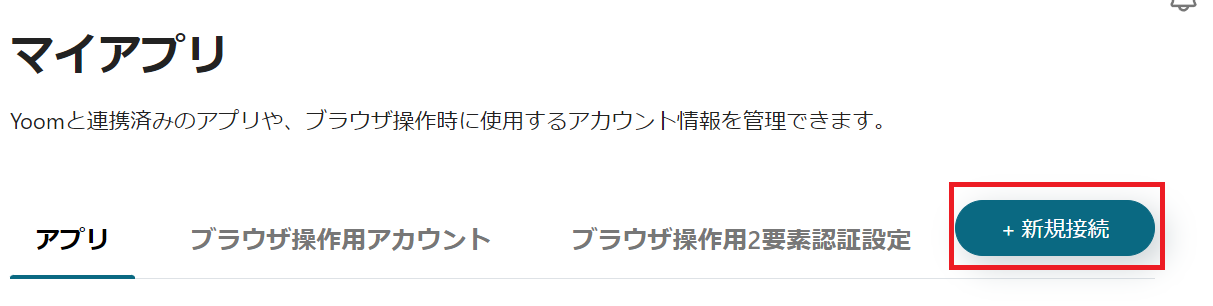
First, integrate Yoom with each tool. Click on "New Connection" at the top right.
Integrating Notion and Yoom
1. Preparing Notion
To integrate Notion with Yoom, you need to prepare Notion at this stage.
This time, we created a page assuming "Collecting Company Information".

Based on the "Keywords" in this Notion page, a search will be conducted, and after automatic summarization, the "Summary Results" will be updated, so please create these two items.
2. Search
Search Notion and click on the Notion icon.
3. Access Request
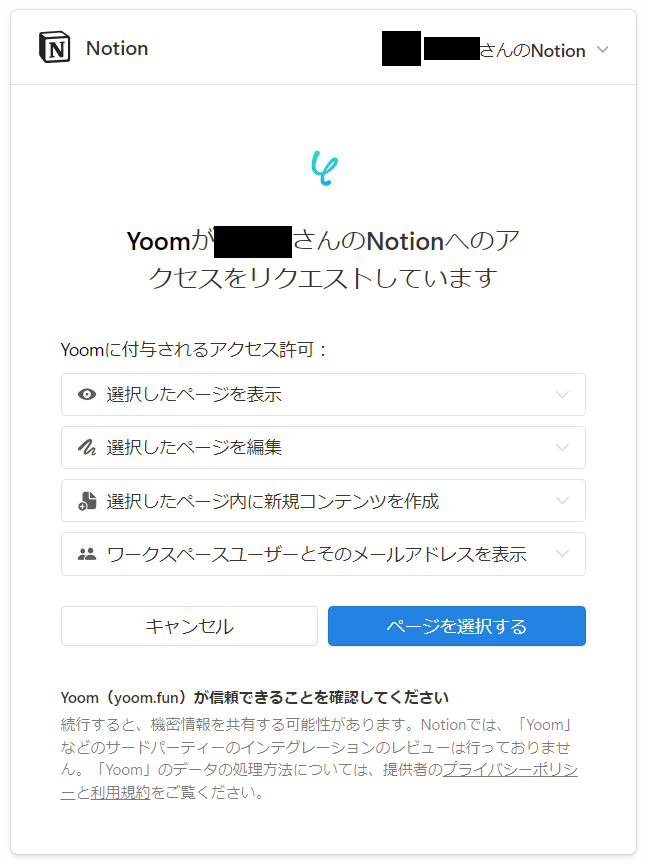
As shown in the image, the access request will be displayed.
Check it and click "Select Page".
4. Select Page
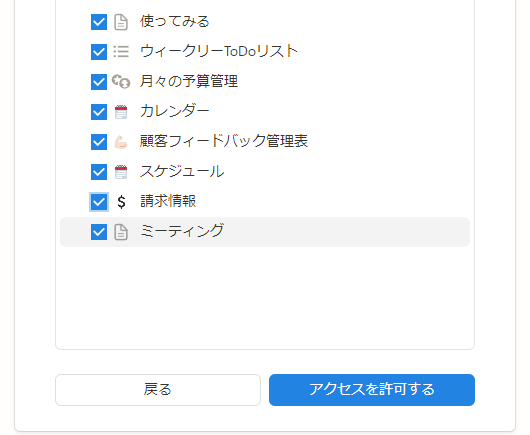
The pages created in Notion will be displayed.
Select the page you prepared earlier and press "Allow Access".
5. Integration Complete

The screen will switch, and if the above display appears, the integration is complete.
Integrating Google Search and Yoom
1. Search
Click on the Google Search icon.
2. Select Account
Press the Google account of the Gmail address to be integrated with Yoom.
3. Log in to Yoom
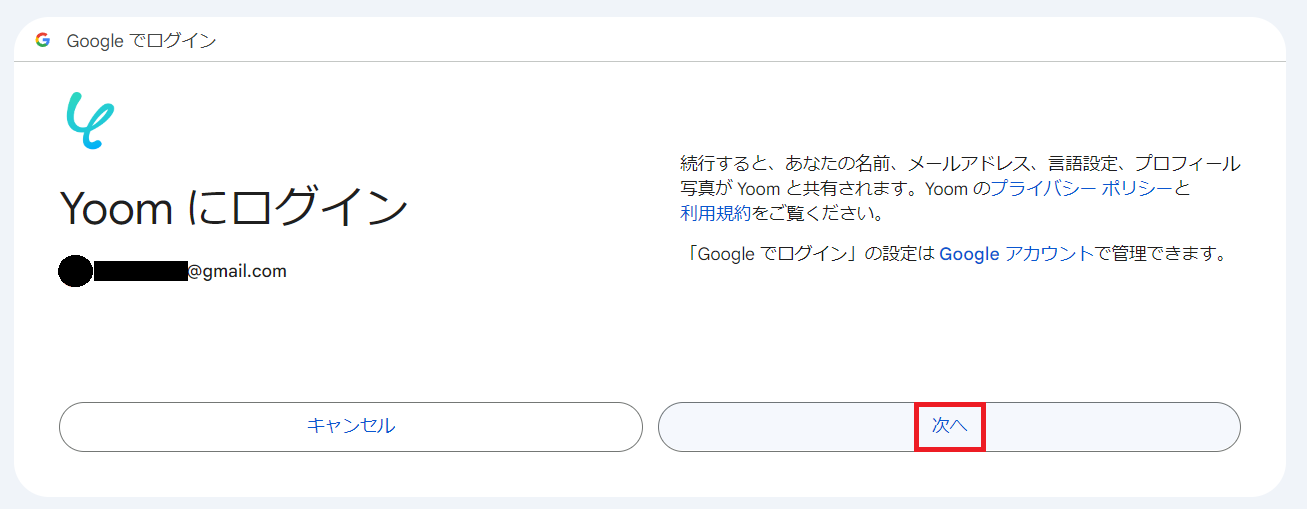
You will transition to the page in the image, so read the terms and click Next.
4. Yoom is requesting additional access to your Google account
Press Continue.
When you transition to the authentication screen, select <span class="mark-yellow">Allow all permissions</span>.
Step 2: Notion Database Settings
1. Open My Projects
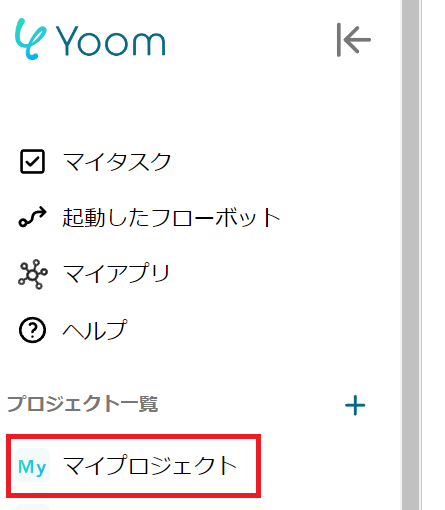
Open "My Projects" from the menu on the left side of the screen.
2. Open the Copied Template
Click on "【Copy】Search for company information on Google with keywords added to Notion, summarize the search results, and update Notion".
3. Select App Trigger
Select "When a page in a specific database is created or updated" for the Notion icon.
Press Next.
4. Set Launch Interval
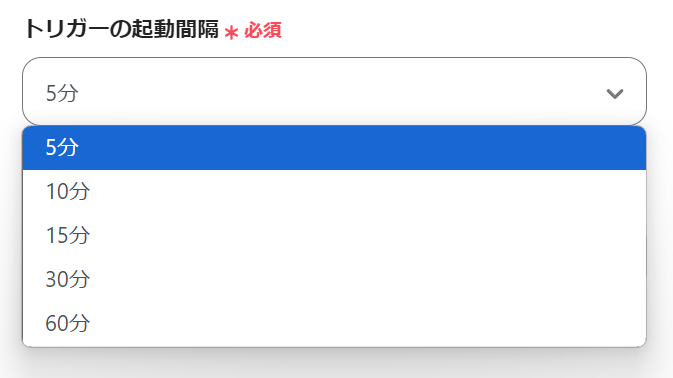
Set the launch interval.
The trigger can be set to launch at intervals of 5 minutes, 10 minutes, 15 minutes, 30 minutes, or 60 minutes.
Please note that the shortest launch interval varies depending on the plan.
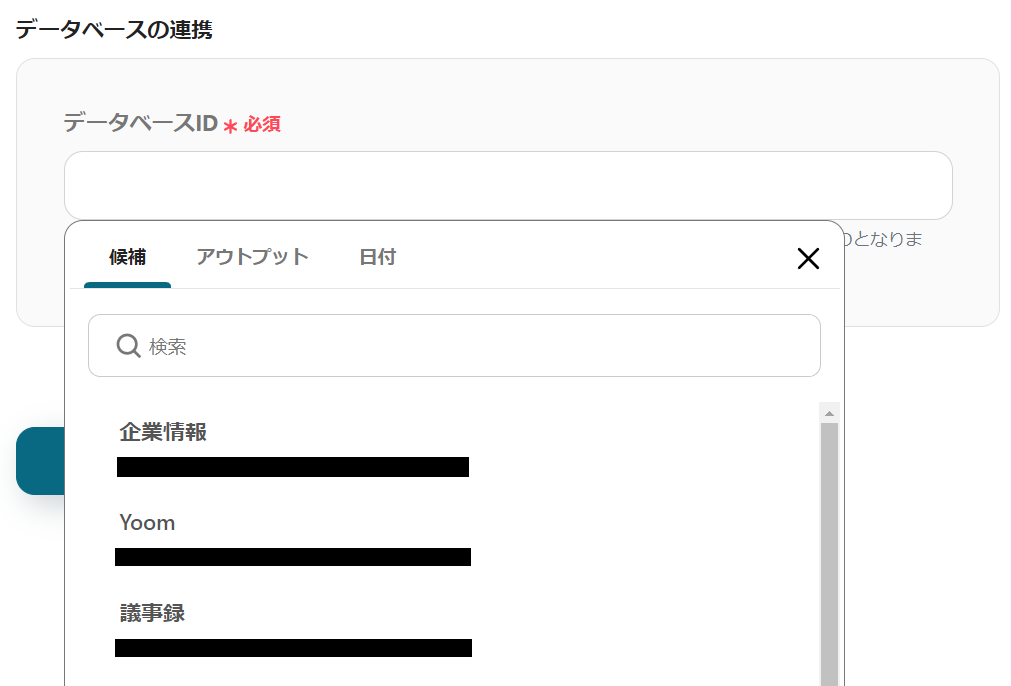
5. Set Database ID
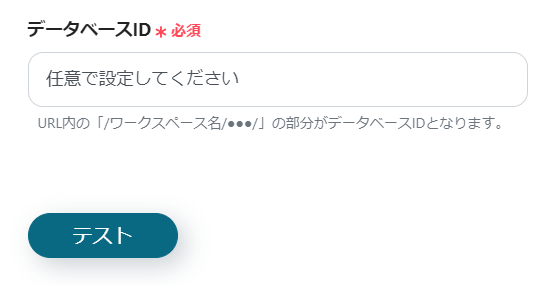
Enter the database ID according to the supplement at the bottom of the box.
When a keyword is added to the database specified here, a Google search will be conducted at the specified launch interval.
6. Run Test
Once the settings are complete, press the test button at the bottom.
If "Test Successful" is displayed in blue, the settings are complete. Press Save.
Step 3: Setting to Retrieve Keywords Added to Notion
1. Operate the Database
Select "Retrieve Record (ID Search)" for the Notion icon.
Scroll down.
2. Database Integration
Integrate the database.
Click the box, and a list of Notion databases will be displayed. When a keyword is added to the database specified here, a Google search will be conducted based on that keyword.
Click and insert into the box.
3. Set Conditions for the Record to be Retrieved

Set the conditions to retrieve the keywords added to the Notion page. Click the empty box on the far right.
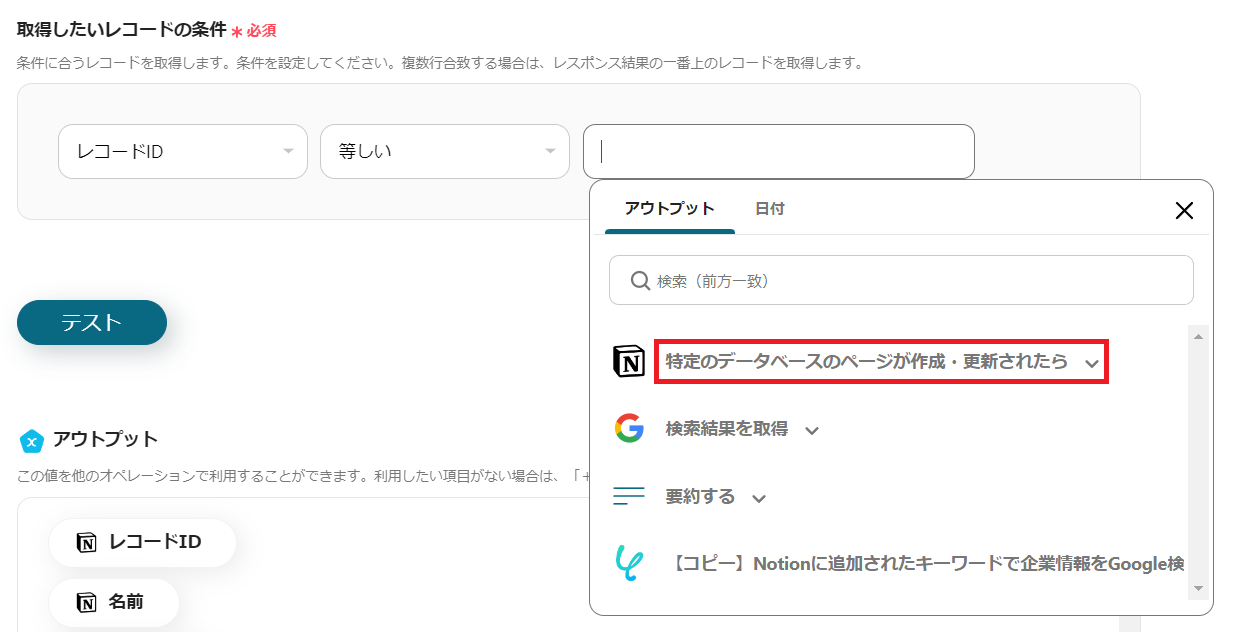
Select the red frame.

Click "Object ID".
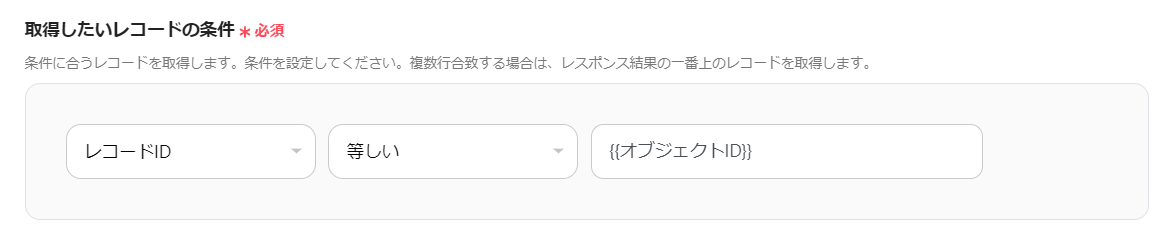
If it looks the same as the image, the setting is complete.
4. Run Test

Press the test button at the bottom.
If "Test Successful" is displayed in blue, the settings are complete. Press Save.
Step 4: Setting to Use Google Search
1. Integrate with App
Select "Retrieve Search Results" for the Google Search icon.
Press Next.
2. Enter Search Engine ID

Obtain the search engine ID from the URL in the supplement at the bottom of the box, and copy & paste it.
3. Set Search Query
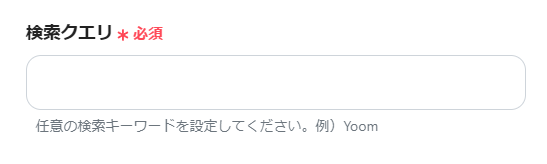
Set the query for what kind of search to perform.
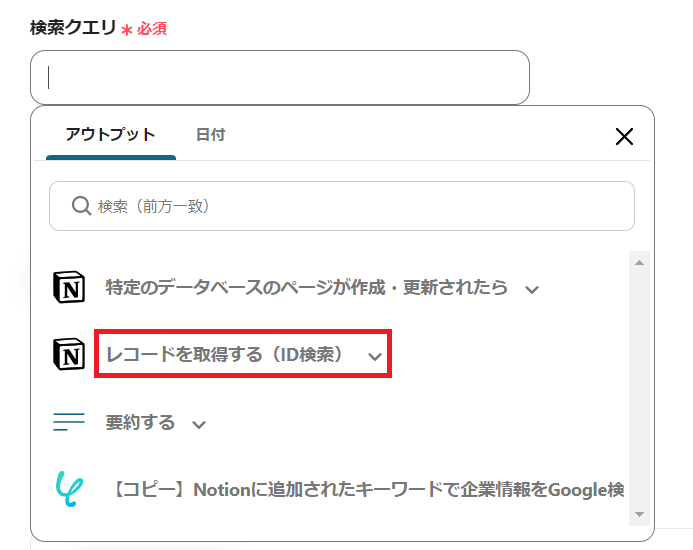
Click the box and select the red frame.
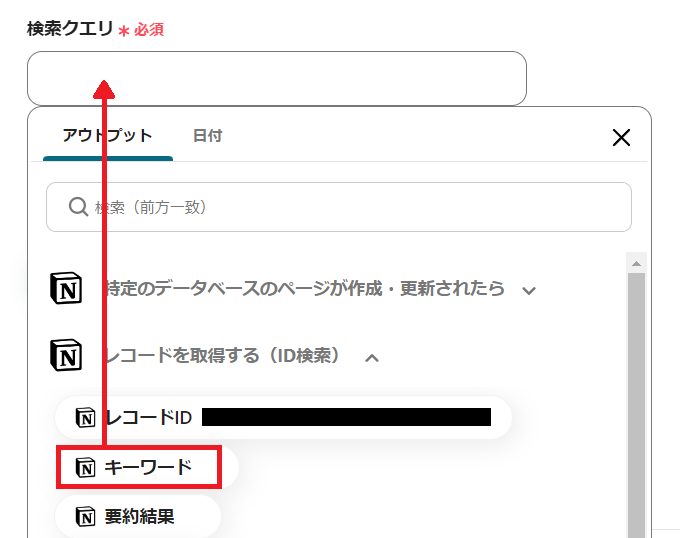
Notion page data will be displayed. Click "Keyword" and insert it into the box.
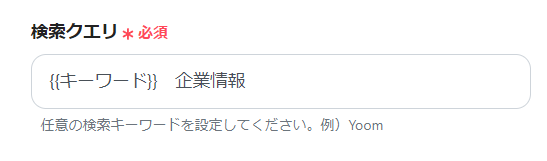
This time, we also added "Company Information" with a space.
By doing this, by adding the company name to the "Keyword" part of the Notion page, a search for "Company Name Company Information" will be automatically conducted.
4. Run Test
Press the test button at the bottom.
If "Test Successful" is displayed in blue, the settings are complete. Press Save.
Step 5: Summary Settings
1. Summarize
Select "Summarize" for the AI icon.
Press Next.
2. Confirm Settings
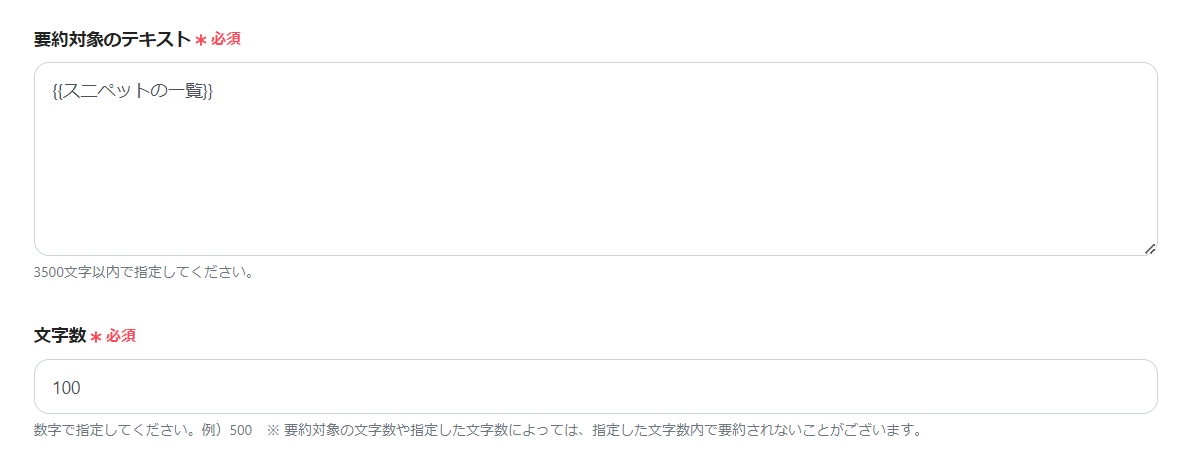
Since we are creating a flow bot using a template, the settings are as shown in the image.
If there are changes to the number of characters after summarization, set them as desired.
3. Summary Conditions
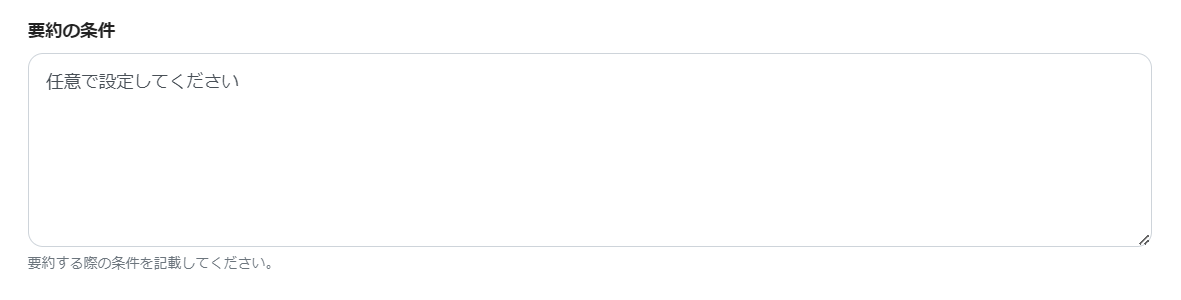
The summary conditions are blank. Therefore, if there are conditions, please set them.
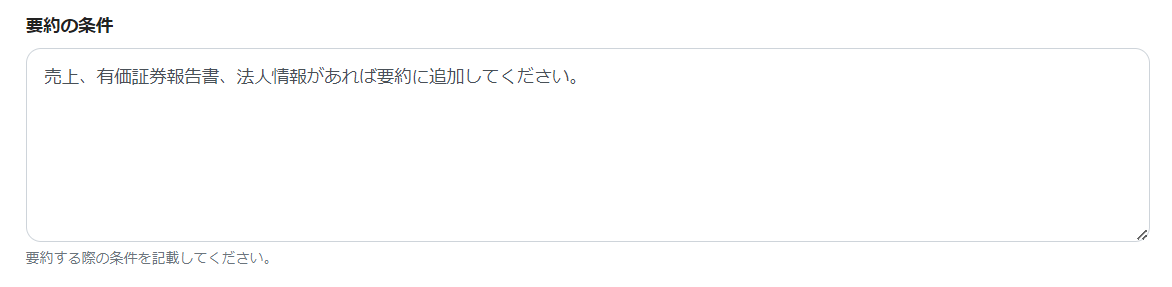
For example, it is possible to set it as shown in the image.
Describe specific content about what kind of information you want to add to Notion.
4. Run Test
Once the settings are complete, press the test button at the bottom.
If "Test Successful" is displayed in blue, the settings are complete. Press Save.
Step 6: Setting to Add to Notion
1. Operate the Database
Select "Update Record (ID Search)" for the Notion icon.
Scroll down.
2. Database Integration
Integrate the database as before.
Click the box, and a list of Notion databases will be displayed. Click the same page as before and insert it into the box.
Press Next.
3. Set Conditions for the Record to be Retrieved
Set to add the summarized search results to the Notion page. The setting method is the same as before.
Click the empty box on the far right.
Select the red frame.
Click "Object ID".
If it looks the same as the image, the setting is complete.
4. Set Values for Updated Record
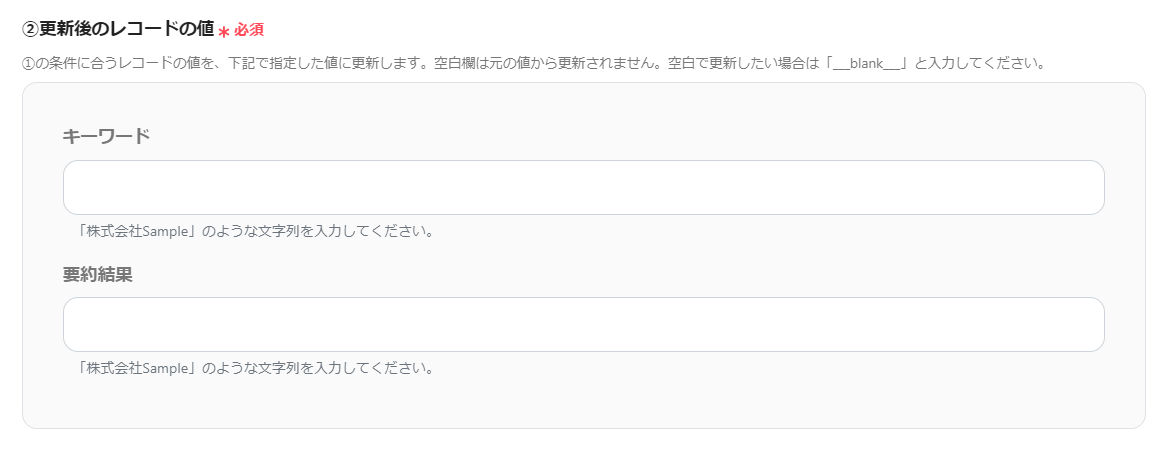
Set where to insert the summarized search results in Notion.
This time, since we have prepared a column called "Summary Results", click the summary results box.
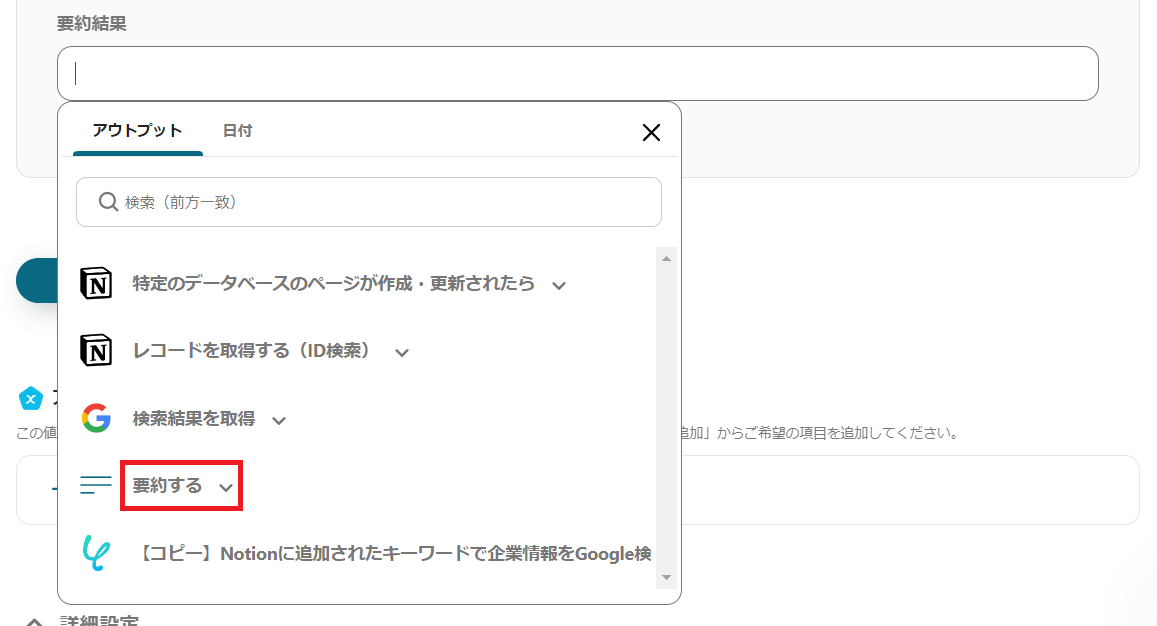
Select "Summarize".
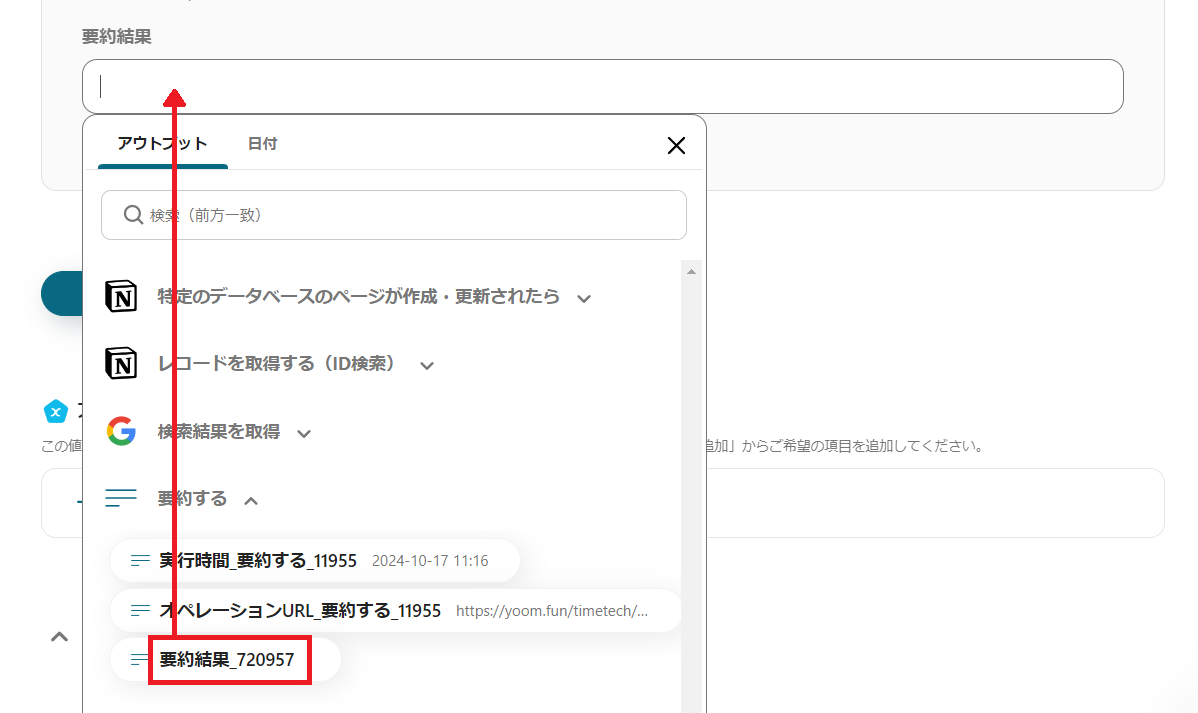
Click and insert the summary result in the red frame.
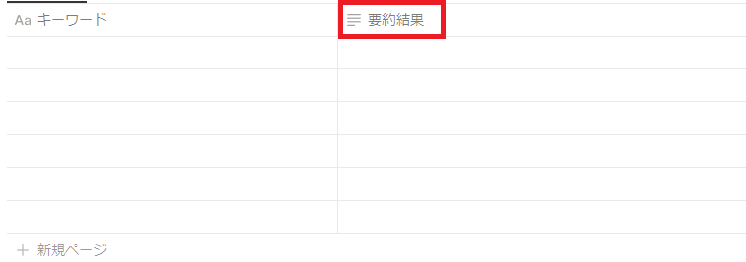
By doing this, the summary result will be added to the part corresponding to the red frame in the image.
5. Run Test
Once the settings are complete, press the test button at the bottom.
If "Test Successful" is displayed in blue, the settings are complete. Press Save.
6. Turn ON the Trigger
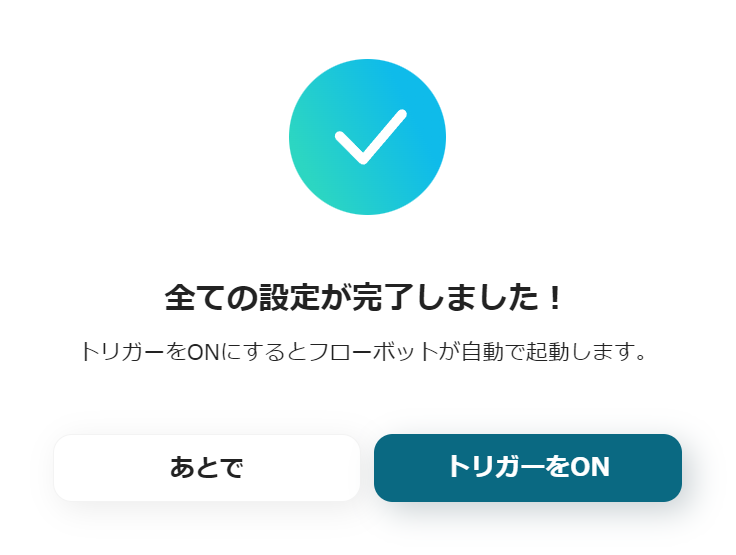
When the creation of the flow bot is complete, the above display will appear. The trigger is initially set to OFF, so turn it ON.
This completes the creation of the flow bot using Notion and Google Search.
Flow Bot Template Used This Time
Search for company information on Google with keywords added to Notion, summarize the search results, and update Notion


.avif)


