

.avif)

1. Hover over the banner and press "View Details"
2. Press "Try this template" on the page you moved to
3. Register for Yoom
* If you have already completed registration, the login screen will be displayed, so please log in.
How to Create a Notion and Outlook Integration Flow
Step 1: Integrate Notion, Outlook, and Google Sheets with My Apps
<span class="mark-yellow">In this integration, we will create an invoice using a template created in Google Sheets.
Therefore, let's integrate the three apps: Notion, Outlook, and Google Sheets.</span>
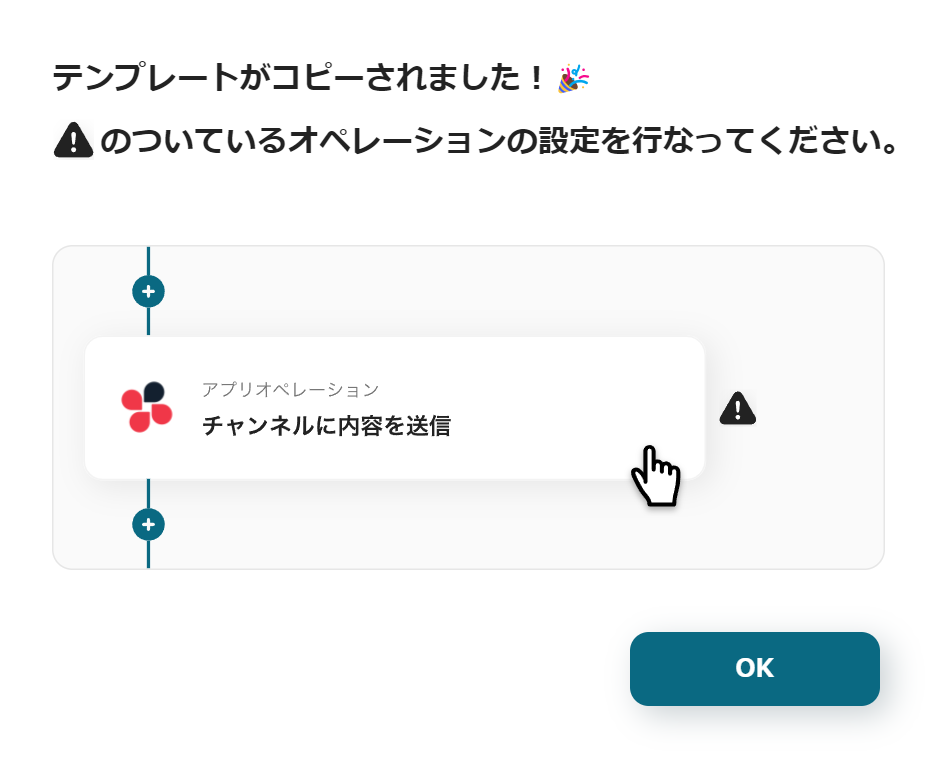
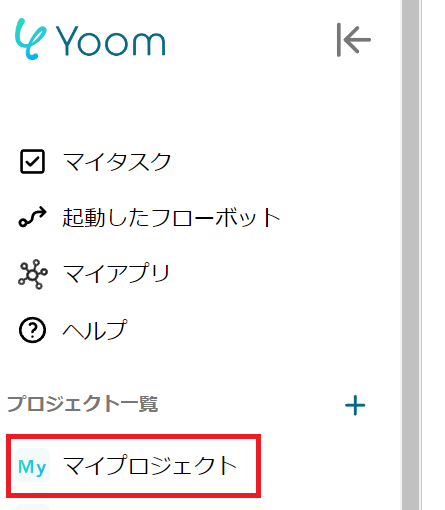
Once Yoom registration is complete, the Flowbot template will be copied to "My Projects".
If the display appears as shown in the image, please select "My Apps" from the menu on the left.
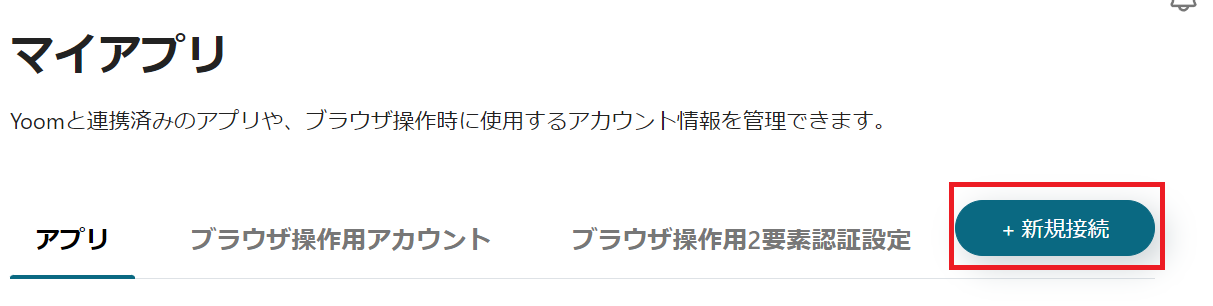
Click the new connection button in the upper right corner.
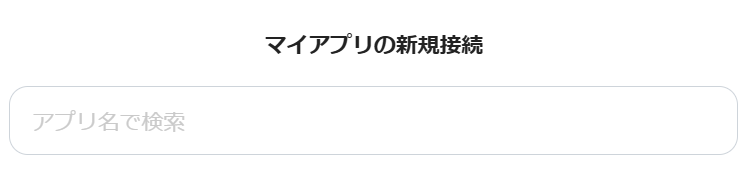
Enter the name of the app to integrate into the box.
Integration of Notion and Yoom
1. Prepare Notion
In order to integrate Notion and Yoom, it is necessary to prepare Notion at this stage.
This time, we created a page assuming the data needed when creating an invoice.

To send an invoice to the "Email Address" on this Notion page, let's create an email address field.
2. Search
Search for Notion and click the Notion icon.
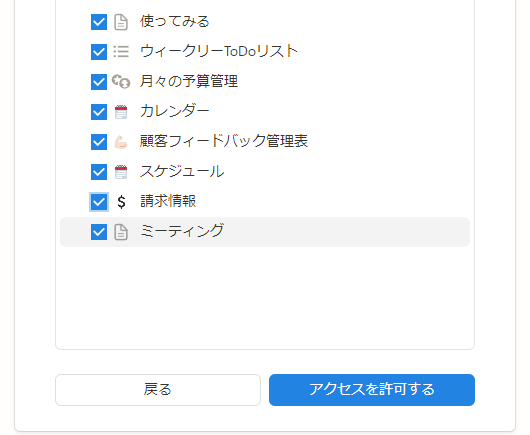
3. Access Request
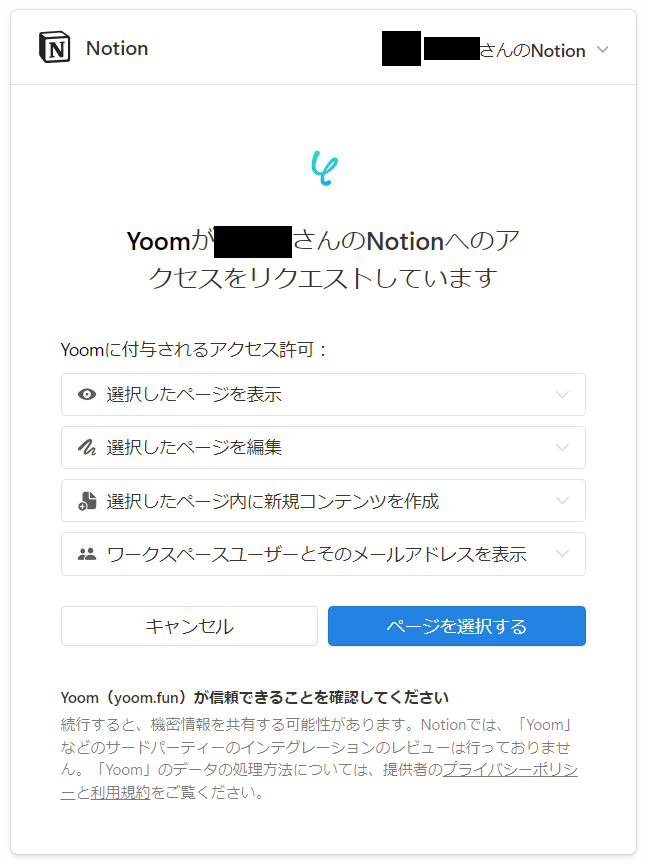
The access request will be displayed as shown in the image.
Check it and click "Select Page".
4. Select Page
The page you created in Notion will be displayed.
Select the page you prepared earlier and press "Allow Access".
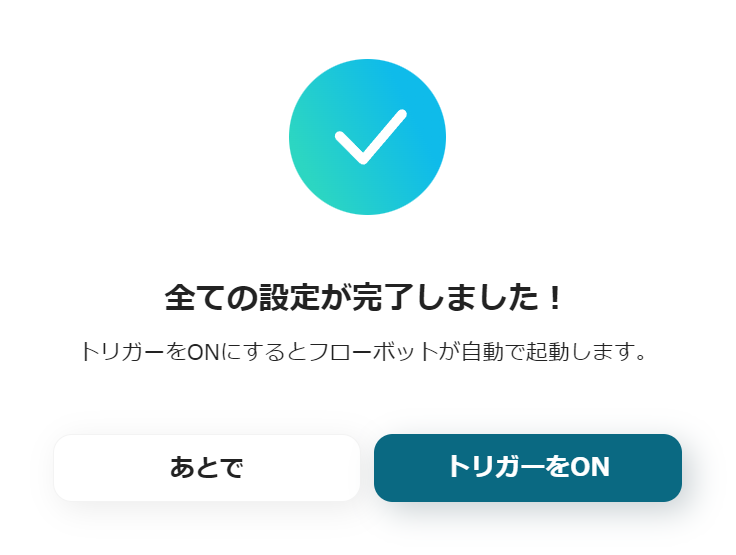
5. Integration Complete

The screen will switch, and if the above display appears, the integration is complete.
Integration of Outlook and Yoom
1. Log In
Log in to Microsoft 365. By logging into Microsoft 365, My Apps integration will be completed quickly.
2. Search
Enter Outlook in the search box and click the Outlook icon.
3. Integration Complete
The screen will switch immediately. If the above display appears, the integration is complete.
Integration of Google Sheets and Yoom
1. Search
Click the Google Sheets icon.
2. Select Account
Press the Google account of the Gmail address to integrate with Yoom.
3. Log in to Yoom
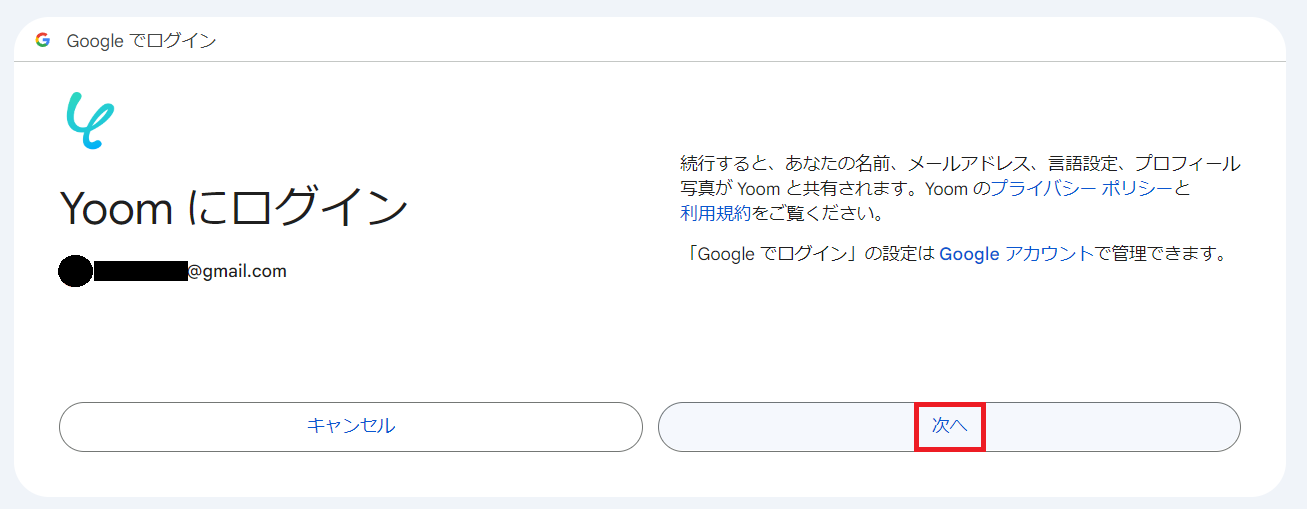
You will move to the page shown in the image, so read the terms and click Next.
4. Yoom is Requesting Additional Access to Your Google Account
Press Continue.
When you move to the authentication screen, select <span class="mark-yellow">Allow all permissions</span>.
5. Integration Complete
The screen will switch, and if the above display appears, the integration is complete.
6. Prepare Google Sheets

If you haven't created an invoice template in Google Sheets yet, please prepare it.
This time, we created it as shown in the image.
For more details, please check the page on "How to Set Up Document Issuance" and "Prepare Template Documents".
With this, the My Apps integration of the three tools is complete.
Next, we will create a Flowbot using the template copied to My Projects.
If it hasn't been copied yet, please copy the Flowbot template from below.


.avif)

.png)


