

.avif)


Step 3: Setting Up Integration Between Notion and Garoon
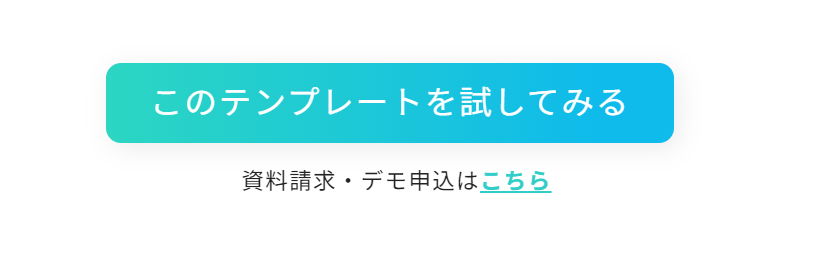
1) Click the "Try this template" icon on the previously introduced template to copy it to your My Projects.
2) The following display will appear.
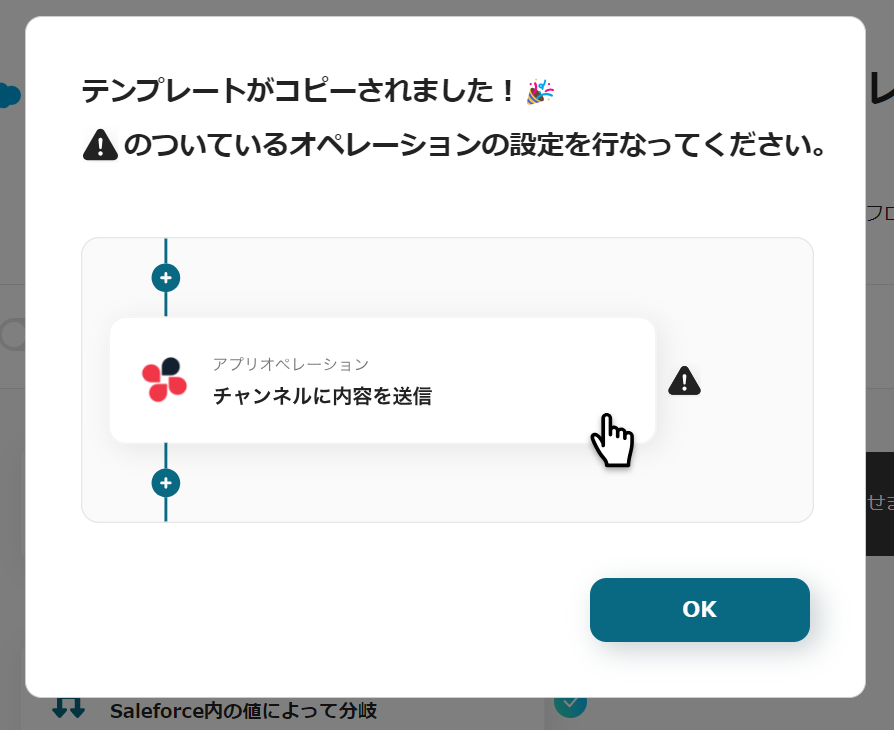
Click the "!" icon displayed on the right in order to edit the flow.
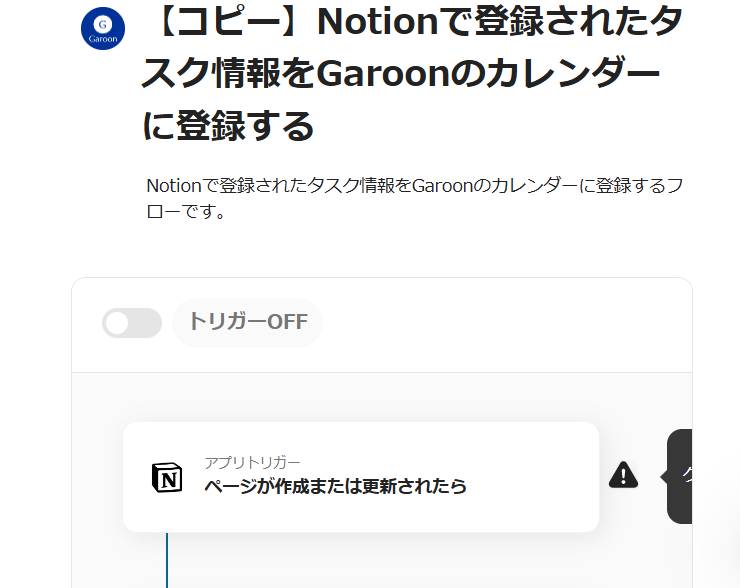
Titles and details can be changed by clicking on them.
Make changes as necessary.
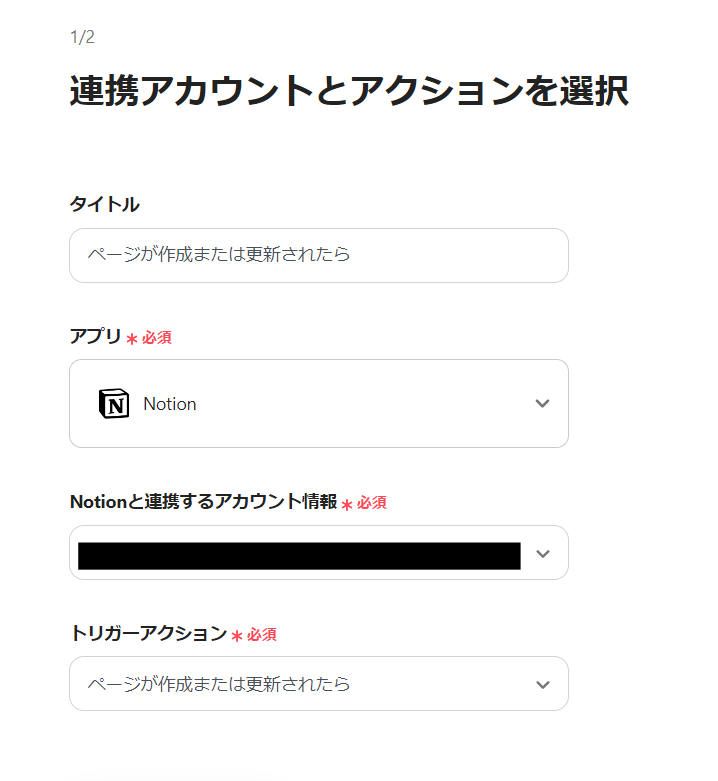
Click "App Trigger: When a page is created or updated".
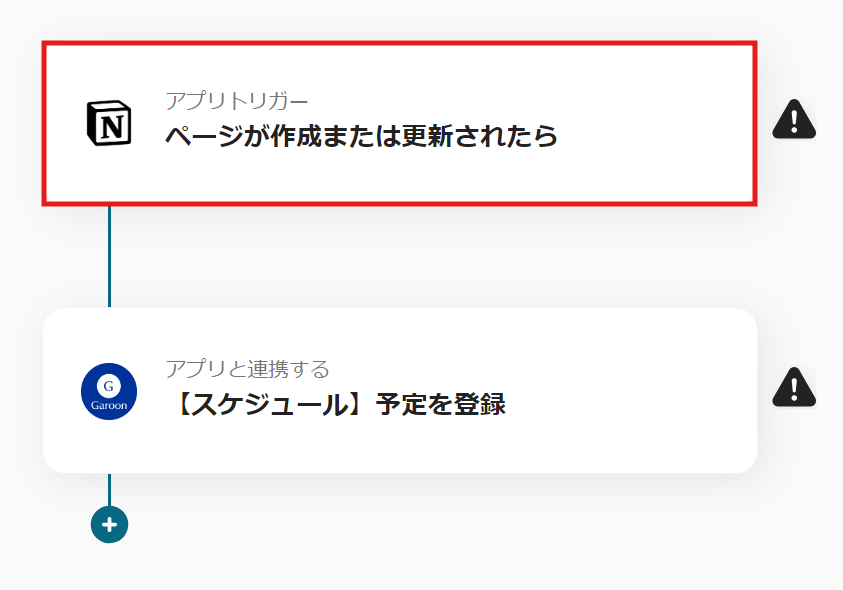
4) Select the action "When a page is created or updated" and click "Next".
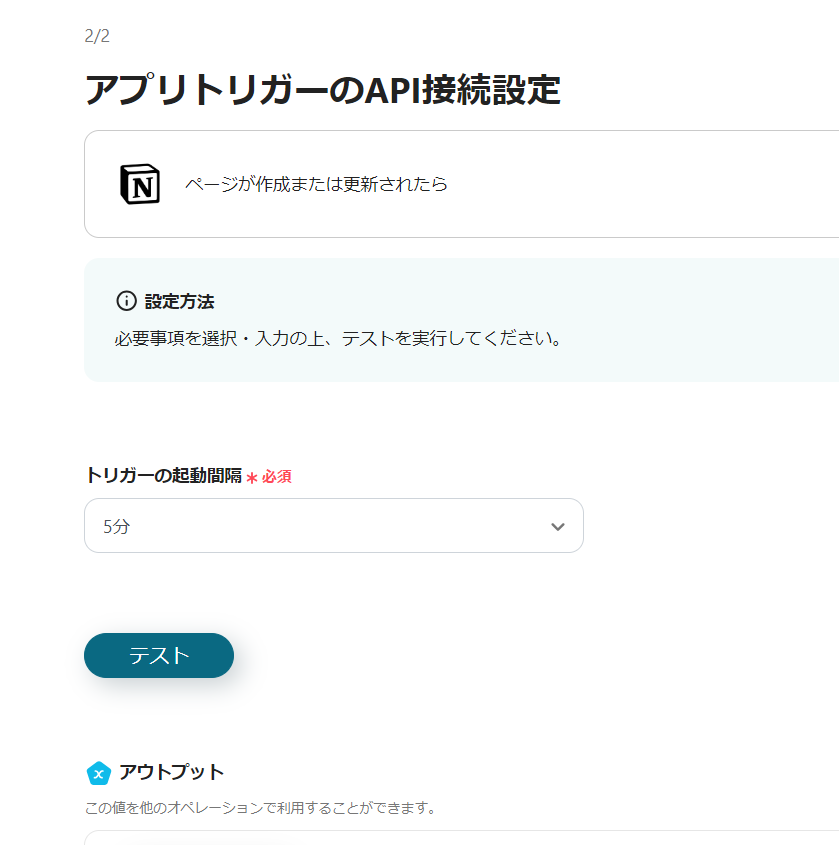
5) Select the trigger interval and click "Test".
If successful, click "Save".
*The trigger interval varies depending on the subscription plan.
Refer to the Yoom Help Center for details on each plan.
List of Feature Restrictions and Usage Limits for Each Plan | Yoom Help Center (intercom.help)
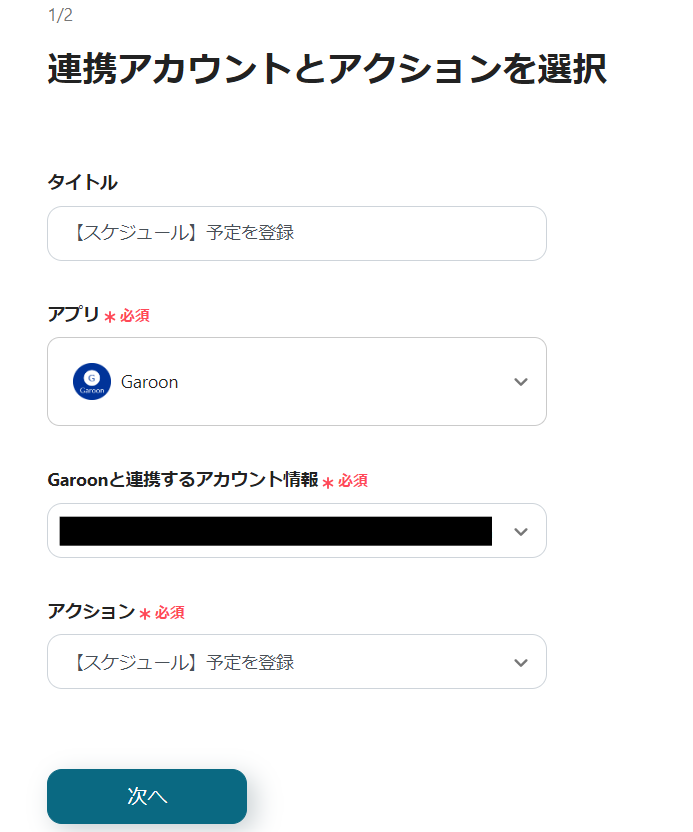
6) Return to the flow and click the "App Trigger [Schedule] Register Schedule" icon.

7) Select the action "[Schedule] Register Schedule" and click "Next".
8) Enter the required fields.
If the app registration is complete, use the output information to select and enter from the options.
Once the input is complete, click "Save".


9) This completes the flow of [Registering task information from Notion into Garoon's calendar].
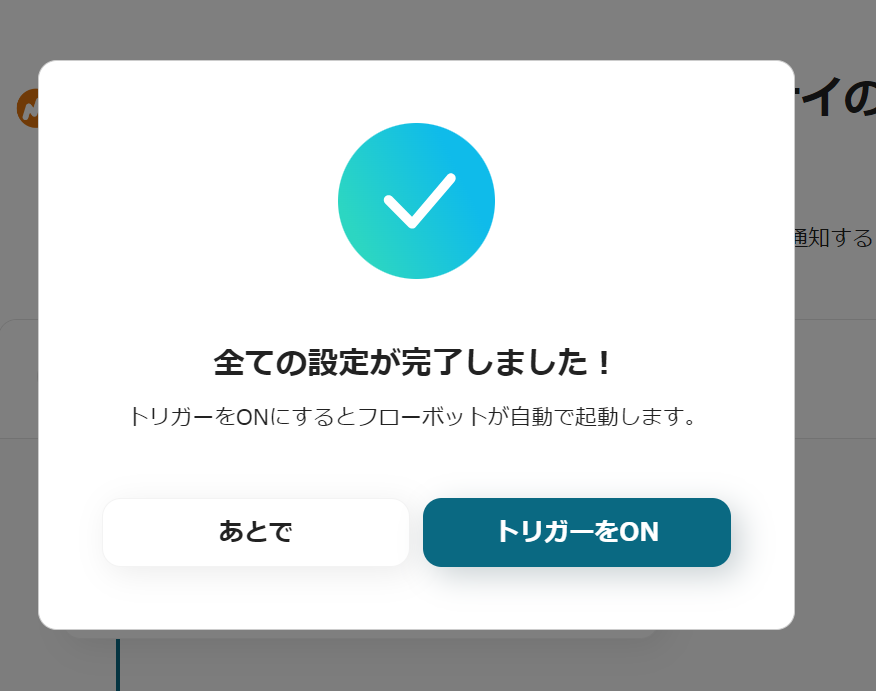
Step 4: Testing and Verification
Once the setup is complete, the following display will appear, so click "Turn on Trigger".
Start the flow bot and verify that it operates correctly.
Here is the template used this time


.avif)

.avif)


