


The template will be copied to my project. Click on the title within the red frame to navigate to the settings screen.

Step 3: App Trigger "When Form is Submitted"

Click on the first process of the template! Here, you will set up the information to be extracted from Wix.
(1/2) Select Linked Account and Action
The items displayed here are pre-configured.
- App Trigger Title
- App
- Account Information Linked with Wix
- Trigger Action
→ Click Next
(2/2) Select Linked Account and Action

Please log in to the Wix dashboard.

- Click on Automation in the side menu, then click on + New Automation in the top right corner.
- Create a new automated workflow.
- Select "When form is submitted" as the trigger. This trigger automatically executes an action when the form is submitted.
- Next, in "Choose Action," select "Send Webhook."
- Copy and enter the Webhook URL provided by Yoom in the displayed screen.
- After entering the Webhook URL, click "Save" to complete the setup. This will automatically execute the Webhook and send data to Yoom when the form is submitted.
Return to the Yoom settings screen.
→ Click Test → Success, you can retrieve form items from the output.

→ Click Save
Step 4: Send Message to Integrate with App

Click on the second template! In this process, you will set up the content to be automatically sent to Telegram.
(1/2) Select Linked Account and Action
These items are pre-configured.
- App Trigger Title
- App
- Account Information Linked with Telegram
- Trigger Action
→ Click Next
(2/2) API Connection Settings

- Chat ID
- The chat ID for Telegram is not displayed in the usual UI, but it can be obtained using a bot. Use the obtained access token (API key) to access the following API endpoint.
- https://api.telegram.org/bot<access_token>/getUpdates
- Accessing this endpoint will display the group information the bot is participating in, including the group ID. For example, chat":{"id":-123456789,...} shows the group ID as the value of id.

- Message Content
- Clicking on the edit field will display the extracted output in a dropdown. Clicking on an item will automatically embed the citation code. It is easier to understand if you enter an item before the citation code.

→ Click Test → Success
→ Click Save This concludes the setup for this flow.
Step 5: Turn the App Trigger [ON]
Once all processes are configured, a complete screen will pop up.
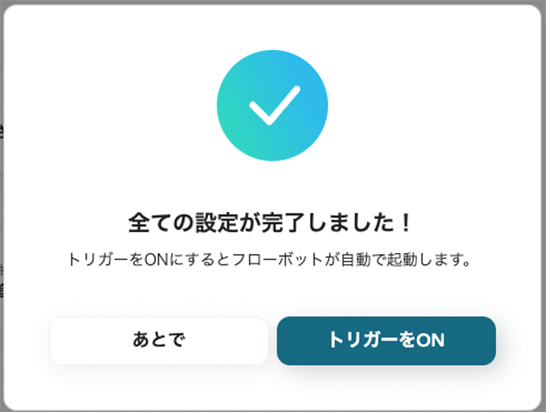
Turn the App Trigger [ON] and activate the flow bot.

<span class="mark-yellow">Automation was achieved in a short time without using programming.</span> Here is the template for this time.


.avif)

.avif)
.avif)


