


Integrate Zendesk and Google Sheets with My App
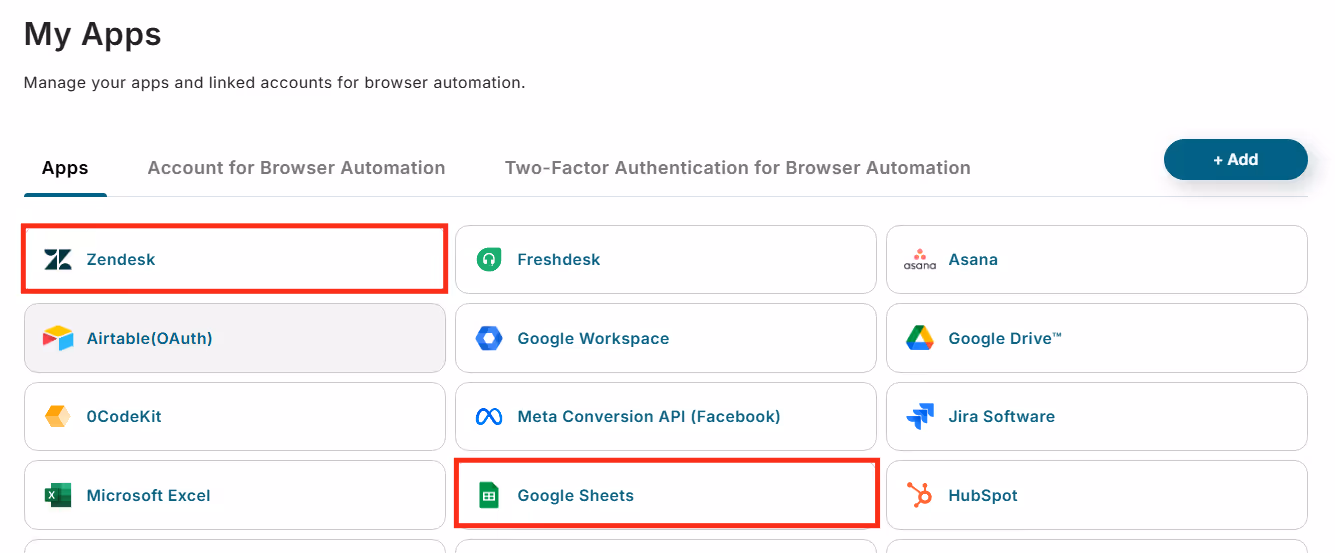
After copying the template, register Zendesk and Google Sheets from Yoom's "My App" as a preliminary step.
※ If already registered, proceed to "Step 1. Set App Trigger".
<Procedure>
1. After logging into Yoom, click "+ New Connection" from the "My App" menu on the left.

2. Search for the app name.

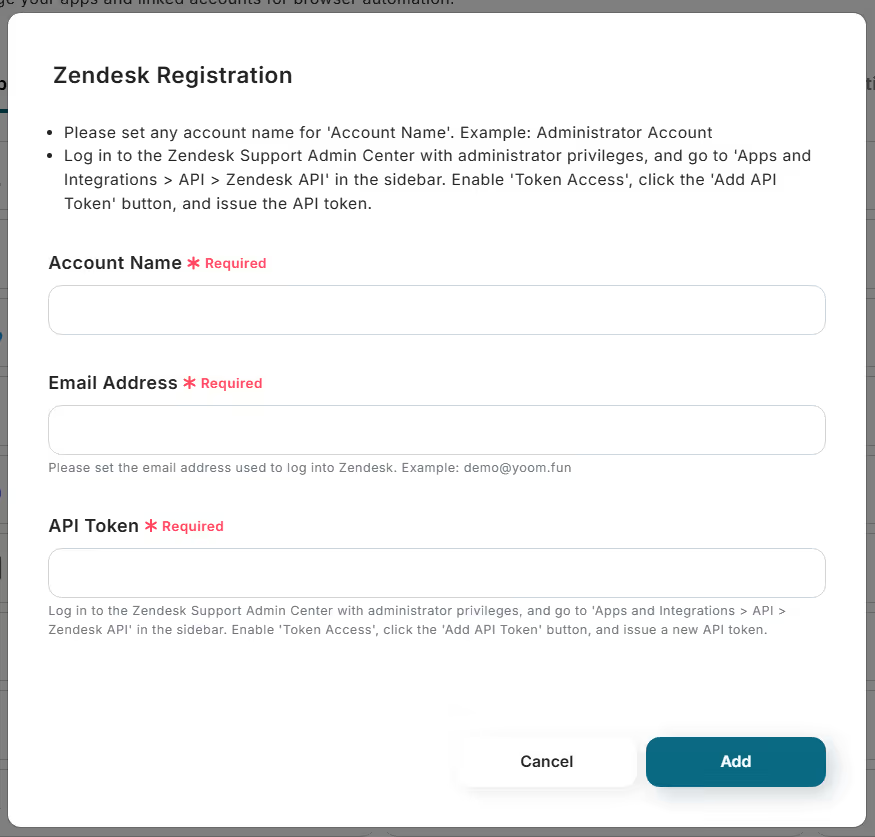
<For Zendesk>
Enter the account name, email address, and API token, then click "Add" to complete the registration in My App.
※ For detailed instructions on obtaining the API token, please refer to this help page.
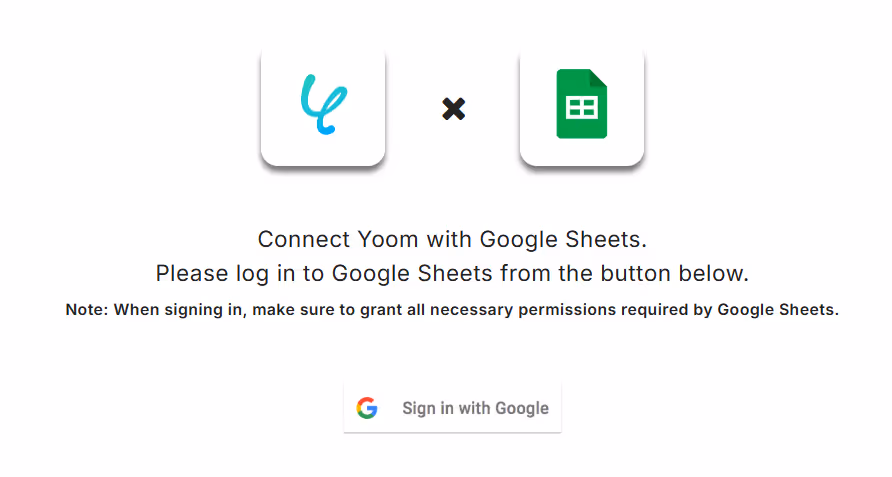
<For Google Sheets>
Click "Sign in with Google".
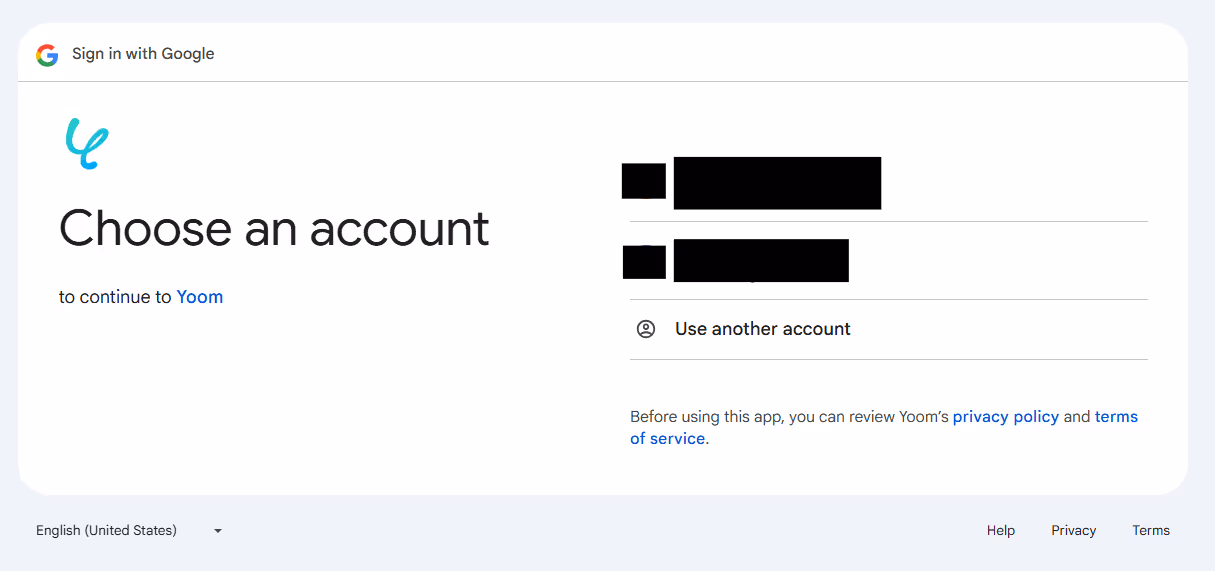
Select the account to integrate.
Review the account and click "Next".
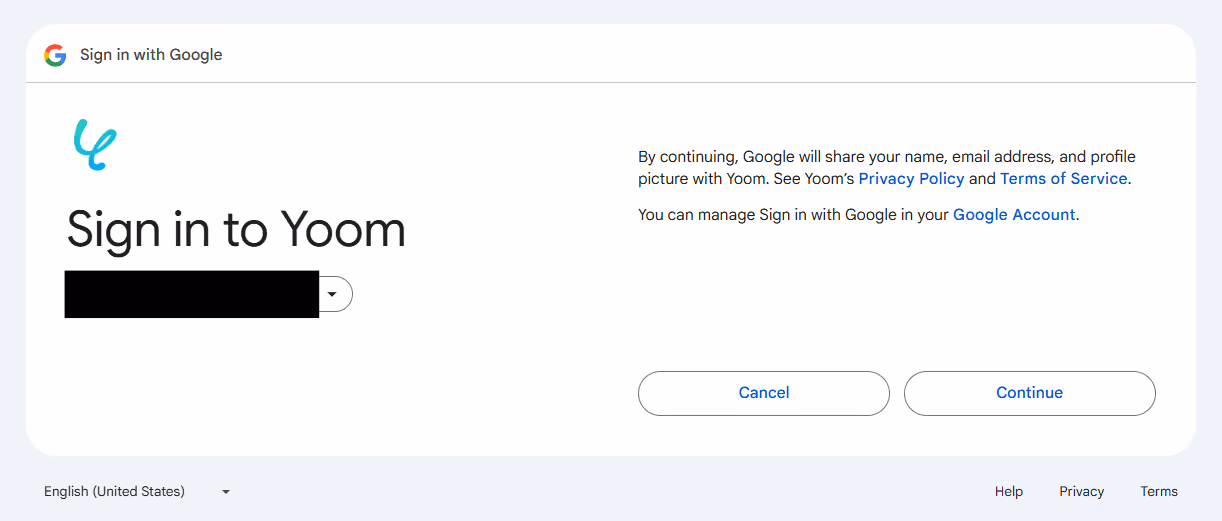
Click "Continue" to complete the registration in My App.

Once Zendesk and Google Sheets appear in the My App list, you're all set!
Let's proceed to the detailed settings!
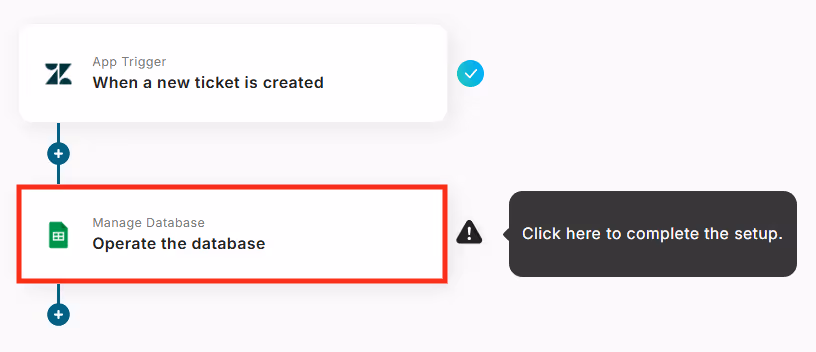
Step 1. Set App Trigger
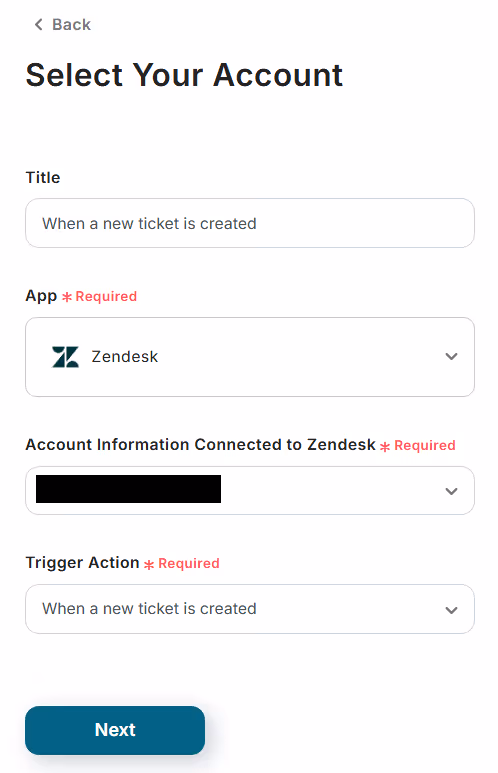
First, click the app trigger "When a new ticket is created".

On the first page, confirm the pre-integrated account information displayed.
If there are no issues, click "Next".
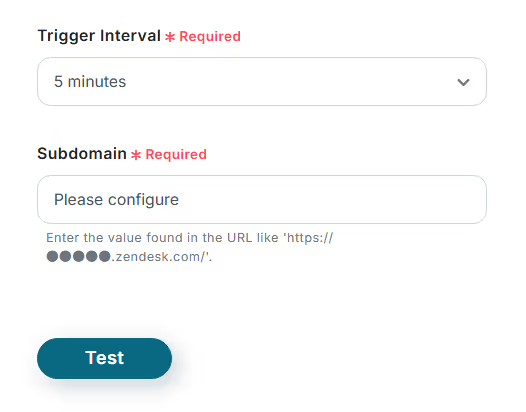
On the next page, configure the settings to connect with Zendesk via API.
Enter the trigger interval and subdomain.
※ The trigger interval varies depending on your subscription plan. For details, please seehere.
Once all fields are filled, click "Test" to check for errors.
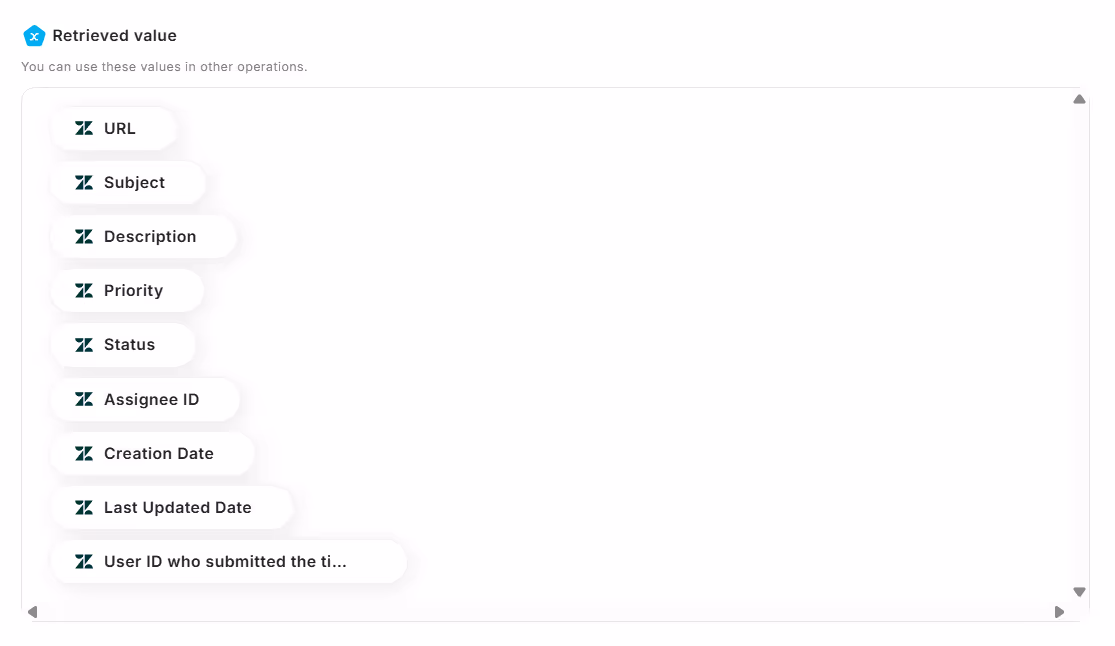
If the test is successful, the specified Zendesk items will be reflected in the output.
If everything is fine, click "Save" to complete the trigger settings.
Step 2. Add Record
Next, click "Add Record".
At the beginning of the page, confirm the account information displayed, similar to Step 1.
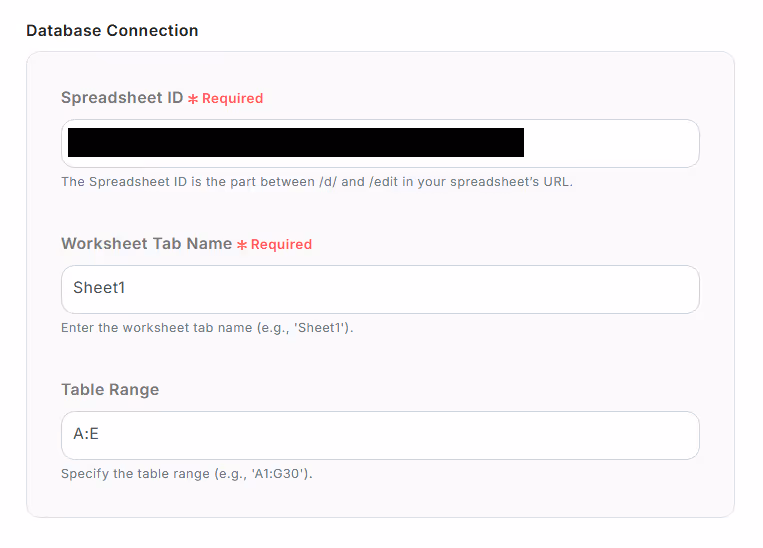
Below that, specify the spreadsheet ID and tab name, then click "Next".
On the next page, set the values for the record to be added.
Utilize the information output from Zendesk.

Click "Test" and if there are no errors, click "Save".
If a popup like the image below appears, all settings are complete.
Turn on the trigger to execute the flow.

The template used this time is here↓


.avif)
.avif)
.avif)


