How to integrate Outlook with Backlog to extract information from Outlook emails using AI and add tasks to Backlog
How to Integrate Applications
・
2025/01/21
How to integrate Outlook with Backlog to extract information from Outlook emails using AI and add tasks to Backlog
t.aizawa
Have you ever felt the need to "manage tasks efficiently without missing important content" amidst the daily influx of emails? Especially when interactions with clients and team members are frequent, organizing email information and converting it into tasks can be cumbersome and may sometimes lead to errors. This challenge can be addressed by a system that extracts information from Outlook emails using AI and automatically adds tasks to Backlog. By leveraging this, you can reduce manual work and speed up information sharing, leading to more efficient project management. This article explains the specific benefits and methods of this integration.
Recommended for
Companies that use different tools like Outlook and Backlog and want to efficiently integrate them
Sales representatives who frequently interact with clients and need to process a large number of emails daily
Those who want to eliminate the hassle of manually transcribing emails and focus on their core tasks
Benefits and Examples of Integrating Outlook and Backlog
Benefit 1: Efficiency through Reduction of Manual Work
Manually, extracting necessary content from emails and entering it into a task management tool can be time-consuming and prone to errors. However, by using this integration, you can eliminate the hassle of transcribing to Backlog. For example, if a customer request change or question arrives, instead of the person in charge manually organizing the email content, AI automatically registers it as a task. Even when processing a large number of emails at once, AI can handle it efficiently. This can particularly reduce the workload of the person in charge when unexpected tasks arise. By shortening the work time, you can increase the time available to focus on other tasks, thereby improving efficiency.
Benefit 2: Centralized Task Management
By consolidating Outlook email information into Backlog, you can centrally manage tasks related to the project. When email content is saved separately, it becomes difficult to confirm which email is related to which task, increasing the risk of oversight or duplicate responses. By using AI to automatically register tasks, all email content is compiled in Backlog, allowing for task visualization. For example, even in projects progressing simultaneously with multiple clients, AI automatically organizes the information received from each client and adds it as a task. This makes it easier to check the progress and understand priorities, allowing you to see the overall flow of tasks.
Benefit 3: Improved Speed of Information Sharing
By converting the content received via email into tasks using AI, information sharing within the team can proceed smoothly. With manual input, there is the hassle of individually communicating important content to members or forwarding emails. However, with this integration, received emails are timely registered as tasks in Backlog, making it easier for everyone involved in the project to grasp the information immediately. For example, if new requirements arrive from a customer, AI automatically extracts the task and registers it in Backlog, allowing leaders and members to respond quickly. This benefit becomes even more significant when there are members working at multiple locations.
Now, let's explain how to use the no-code tool Yoom to extract information received in Outlook emails using AI and add tasks to Backlog.
[What is Yoom]
How to Extract Information from Outlook Emails Using AI and Add Tasks to Backlog
Automatically extract information received in Outlook using AI and add the email content to Backlog. This eliminates the need for manual transcription. Generally, programming knowledge is required to achieve this, but with the no-code tool Yoom, it can be easily achieved without programming knowledge.
The integration flow is broadly created through the following processes:
Registering My Apps for Outlook and Backlog
Setting up to receive emails in conjunction with Outlook
Extracting information from the email body using AI features
Adding tasks in conjunction with Backlog
If you haven't used Yoom yet, please register for free from here.
If you are already using Yoom, please log in.
Step 1: Connect Outlook and Backlog with My Apps
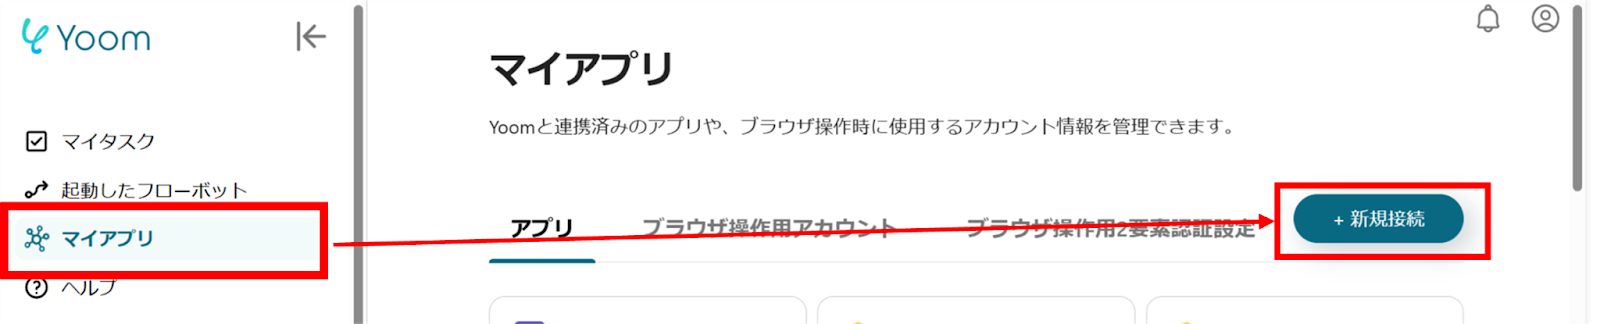
(1) After logging into Yoom, select "My Apps" from the left column and click "+ New Connection".
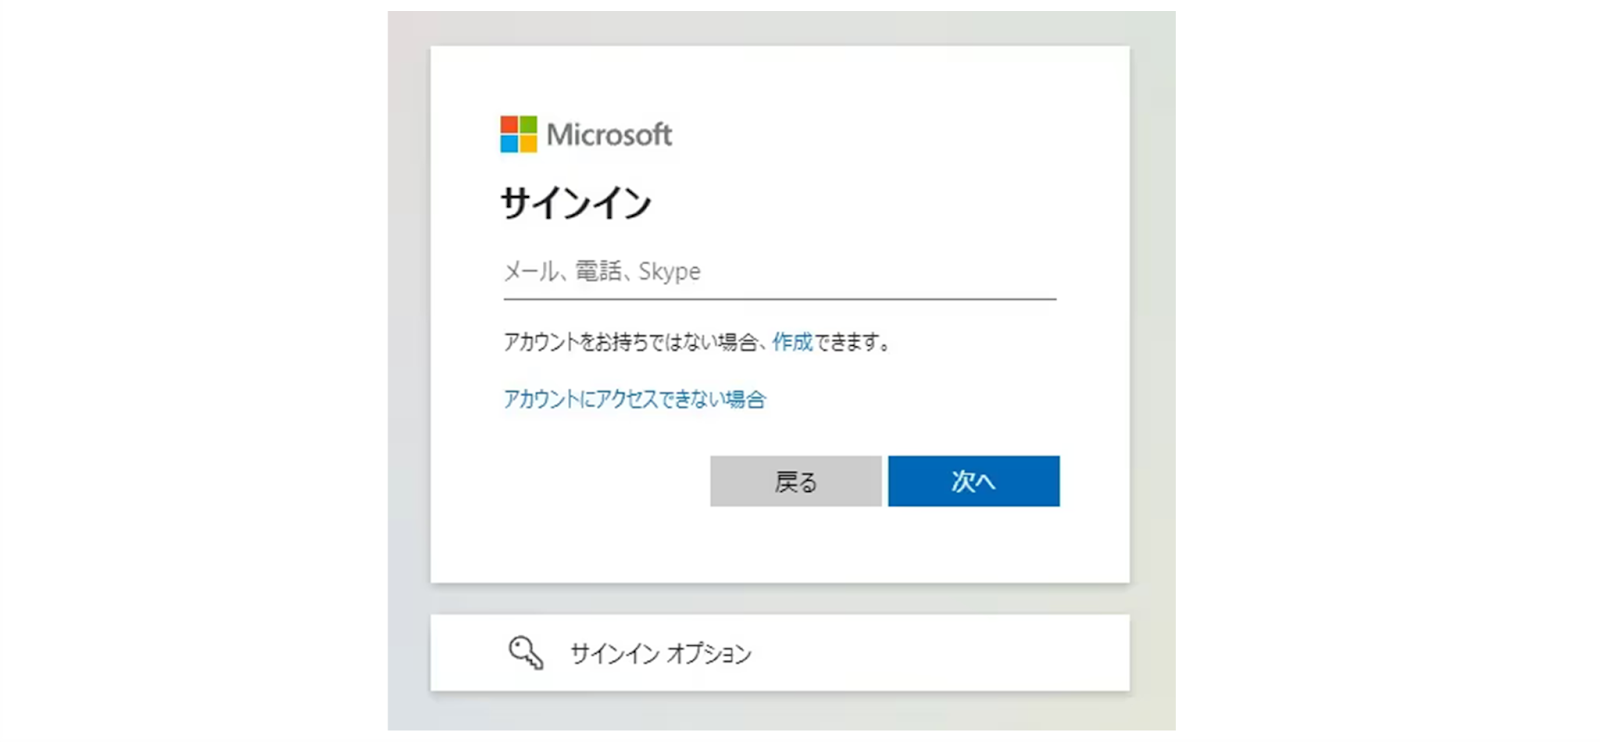
(2) From the list of new connections in My Apps, click on Outlook. ※ Microsoft365 (formerly Office365) has both a home plan and a general business plan (Microsoft365 Business). If you are not subscribed to the general business plan, authentication may fail. (3) Log in with your account from the sign-in screen.
(4) Next, register Backlog in My Apps. Similarly, click on Backlog from the list of new connections in Yoom. (5) On the "New Backlog Registration" screen, check the red line and enter the domain. Once the input is complete, click "Add".
(6) You will be taken to a screen like the one below, so click "Allow". If you encounter issues with Backlog app integration, please refer to the site below.
Once the integration is complete, Outlook and Backlog will be registered in My Apps on Yoom.
This completes the My Apps registration. Next, let's set up triggers using templates!
Step 2: Set up for receiving emails with Outlook integration
(1) We will use the template introduced earlier. Click "Try it" on the banner below.
Click on "When an email is received" in the app trigger.
(2) From the "Select Linked Account and Action" screen in Outlook, check if there are any errors in the account information linked with Outlook, keep the trigger action as "When an email is received," and click "Next."
(3) From the "API Connection Settings for App Trigger" screen, select the trigger activation interval. Select the trigger activation interval from the dropdown menu with options of 5 minutes, 10 minutes, 15 minutes, 30 minutes, or 60 minutes. ※ Please note that the shortest trigger activation interval varies depending on the plan.
Scroll down and select the email folder ID from the suggestions.
Once the selection is complete, click "Test" at the bottom, and if no errors occur, click "Save."
Step 3: Extract Information from Email Body Using AI Features
(1) Next, use AI features to extract information from the email body. Click "Extract Information from Email Body."
※ AI operations are only available in the Team Plan and Success Plan. In the case of the Free Plan or Mini Plan, the operation of the flow bot you set will result in an error, so please be careful. Paid plans such as the Team Plan and Success Plan offer a 2-week free trial. During the free trial, you can use restricted apps and AI features (operations).
(2) Click "Change" from the "Select Action" screen.
Select the conversion type according to the number of characters in the text.
Once the selection is complete, click "Next." (3) From the "Set Details" screen, enter the target text. You can reference Outlook information by selecting from the output.
Scroll down and directly enter the items you want to extract. Once the input is complete, click "Test," and if no errors occur, click "Save" at the bottom.
Step 4: Integrate with Backlog to Add Issues
(1) Next, integrate with Backlog to add issues. Click "Add Issue."
(2) From the "Select Linked Account and Action" screen in Backlog, check if there are any errors in the account information linked with Backlog, keep the action as "Add Issue," and click "Next."
(3) From the "API Connection Settings" screen, check the red line and enter the domain, project ID for registering the issue, and issue identification ID. Select the issue subject from the output.
Other fields are not mandatory. Please fill in the necessary fields. Once the input is complete, click "Test" at the bottom, and if no errors occur, click "Save." (4) Finally, click "Turn ON Trigger."
This completes the flow bot "Extract information from Outlook emails using AI and add issues to Backlog."
Other Automation Examples Using Outlook and Backlog
At Yoom, there are other examples of automation using Outlook and Backlog, and we would like to introduce a few of them.
1. Send to Outlook When a Task is Added to Backlog
By adding a task to Backlog, you can automatically send the added content to Outlook. This flow is ideal for those who want to share Backlog information using Outlook. Automating this process is expected to prevent information leaks.
2. When new data is updated in Notion, create a task in Backlog and send an email in Outlook
By utilizing this flow, you can eliminate the hassle of transcribing to Backlog and Outlook, allowing you to proceed with your work smoothly. Additionally, automation is expected to prevent input errors and omissions.
3. Add tasks to Backlog based on the content of emails received in Gmail or Outlook
You can automatically reflect emails from Gmail or Outlook in Backlog. This saves the effort of manually transcribing into Backlog and allows for centralized information management. It will also make it easier for other departments to understand the information.
Additionally, if you would like to check templates using Outlook and Backlog, please visit the following site.
The system that extracts information from Outlook emails using AI and adds tasks to Backlog seems to be a useful solution for business professionals aiming to improve work efficiency! It offers numerous benefits such as reducing manual work, speeding up information sharing, centralizing task management, clarifying prioritization, and reducing human errors, which can enhance daily work efficiency. It will be particularly effective in environments with large volumes of emails or when progressing projects as a team. If you are utilizing Outlook and Backlog in your daily work, please consider implementing this system!
The person who wrote this article
t.aizawa
I hope everyone's everyday work will be much easier!
We will continue to send out information on improving work efficiency using Yoom!
Conventional RPA can only automate simple repetitive tasks, and the setup process was very complicated. With “hyperautomation,” which combines various technologies such as AI, API, RPA, and OCR, it is possible to automate many tasks that could not be realized until now more easily than before.
Most tools simply connect one app to another, leaving the complex tasks to you. Yoom goes much further: From document creation and browser automation to OCR and generative AI, Yoom handles it all seamlessly in one platform.
Why settle for basic integrations? Streamline your entire workflow with Yoom’s powerful hyperautomation.


.avif)


.avif)
.avif)
.avif)
.avif)


